For 1990-2009 cars only
Generator Bracket Replacement 4.8L/5.3L/6.0L
Removal Procedure
- Remove the generator. Refer to Generator Replacement.
- Remove the power steering pump. Refer to Power Steering Pump Replacement.
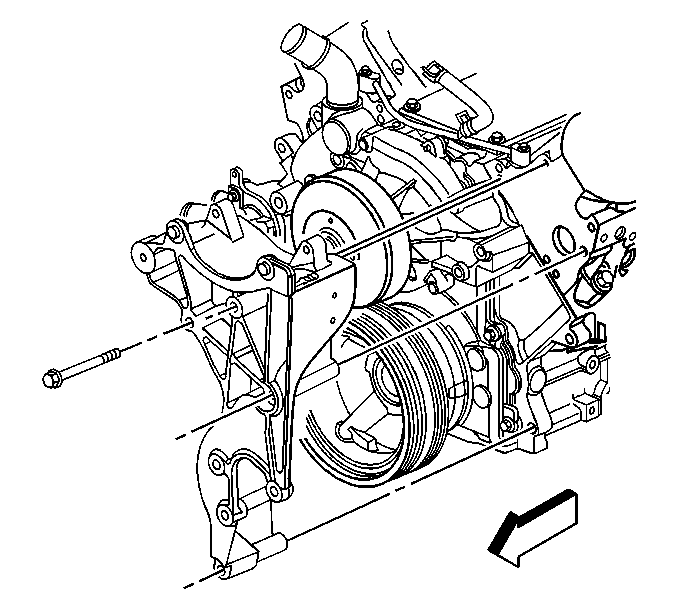
- Remove the generator bracket bolts.
- Remove the generator bracket.
Installation Procedure
- Install the generator bracket.
- Install the generator bracket bolts and tighten to 50 N·m (37 lb ft).
- Install the power steering pump. Refer to Power Steering Pump Replacement.
- Install the generator. Refer to Generator Replacement.
Warning: Refer to Fastener Caution in the Preface section.

Generator Bracket Replacement 6.6L
Removal Procedure
Warning: Refer to Battery Disconnect Warning in the Preface section.
- Remove the cooling fan. Refer to Fan Replacement.
- Remove the drive belt. Refer to Drive Belt Replacement.
- Disconnect the generator electrical connector.
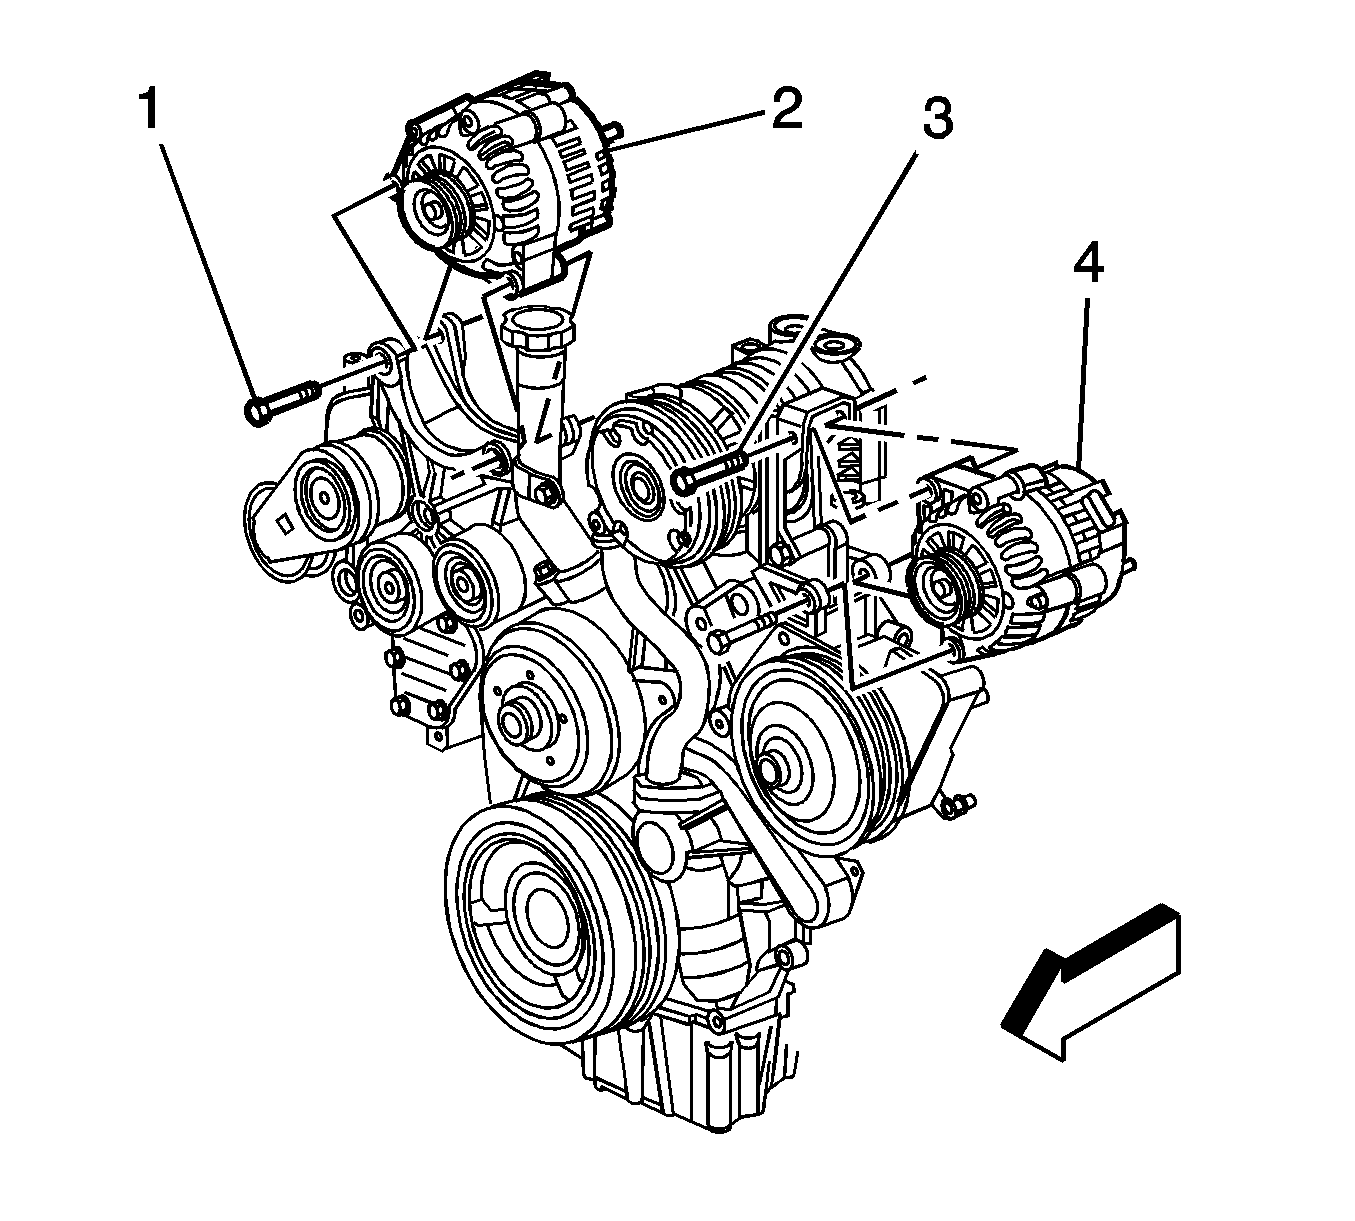
- Remove the generator bolts (1).
- Remove the generator (2).
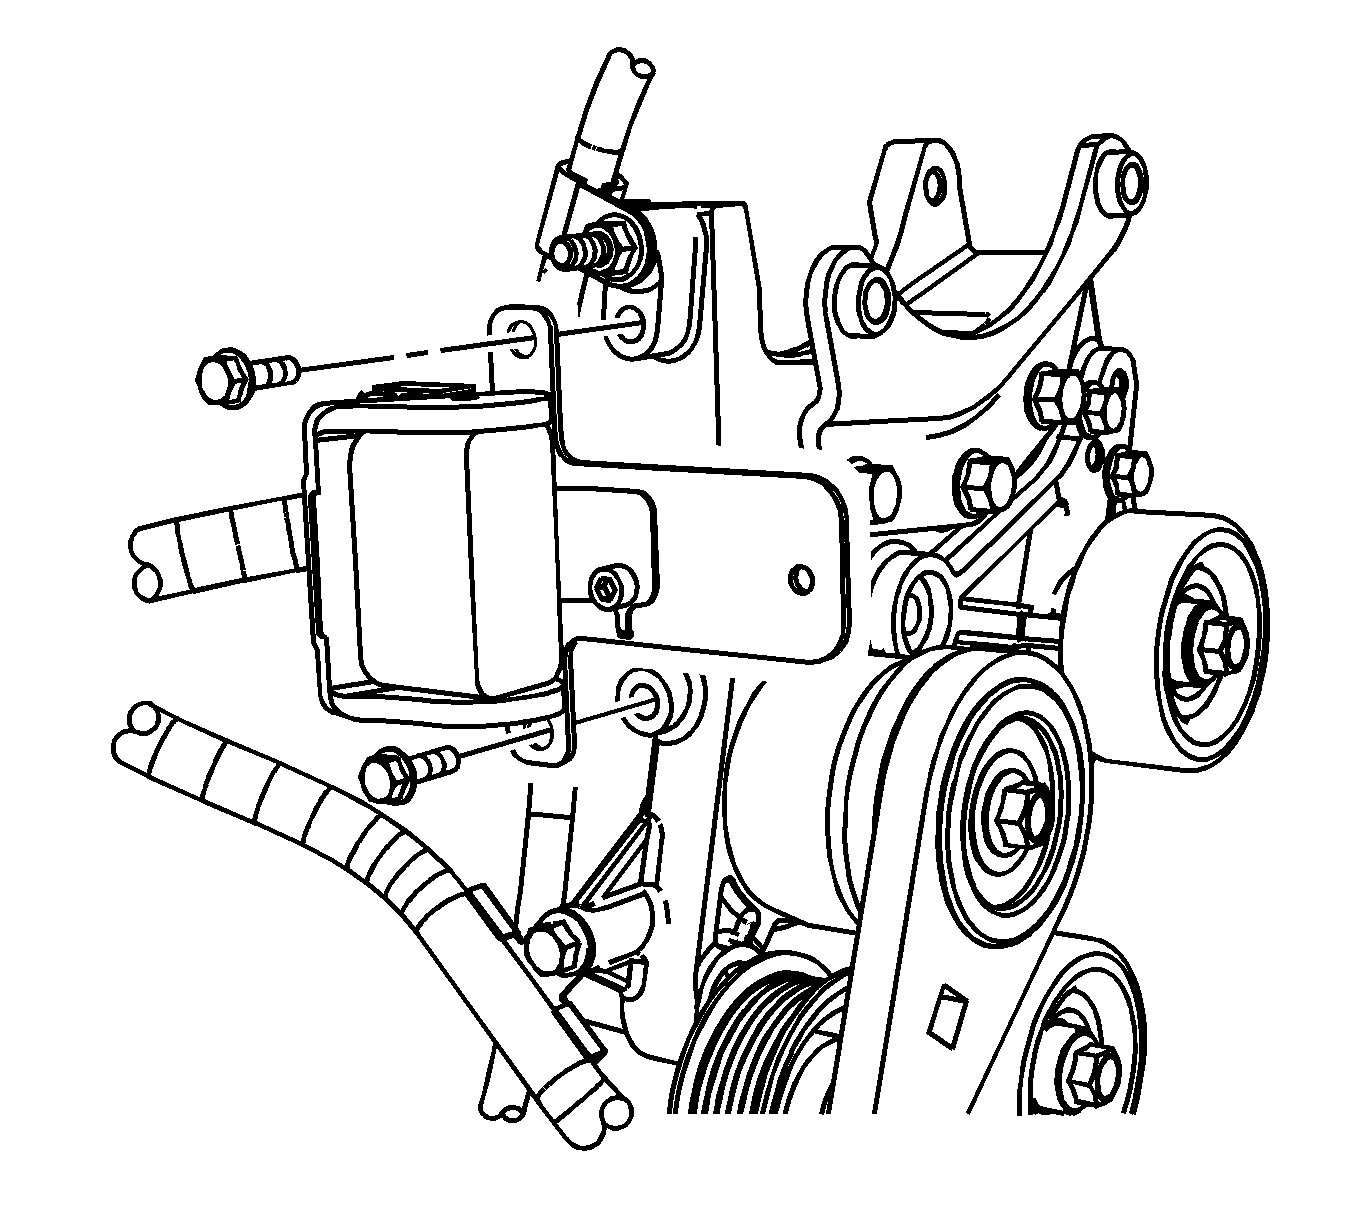
- Remove the positive battery cable from the generator, perform the following:
- Disconnect the right engine wiring main harness connector.
- Remove the 2 right engine wiring harness bracket bolts and position aside.
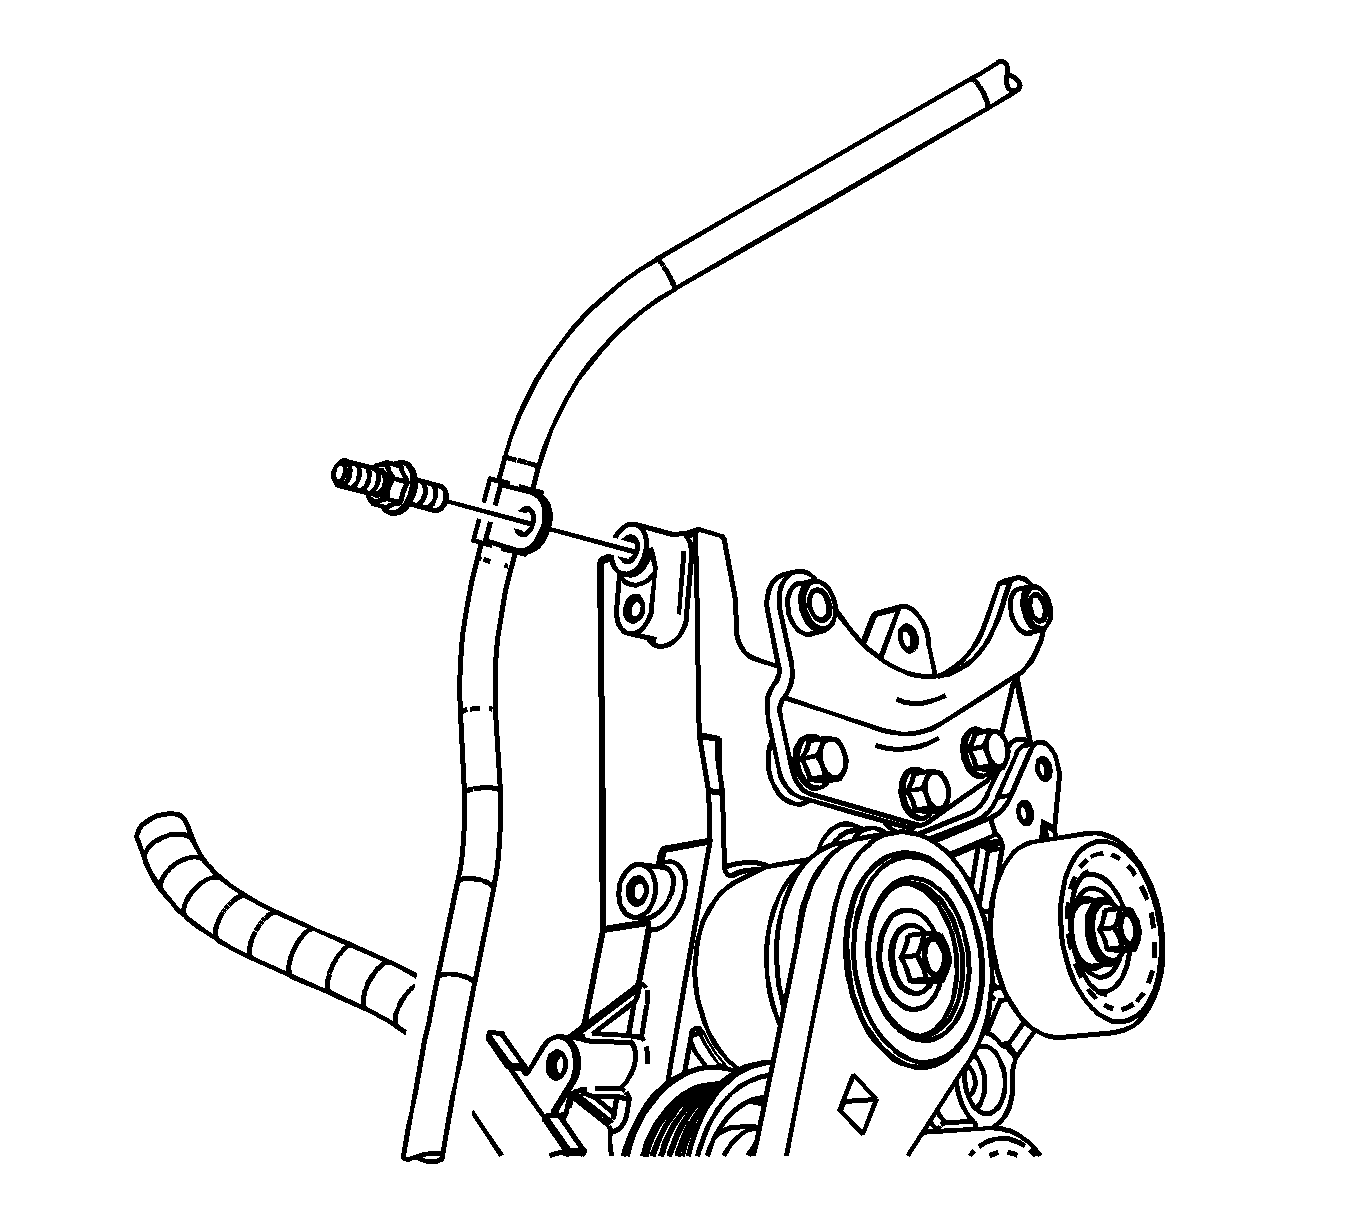
- Remove the 2 wiring harness routing bolts.
- Remove the oil indicator tube bracket bolt.
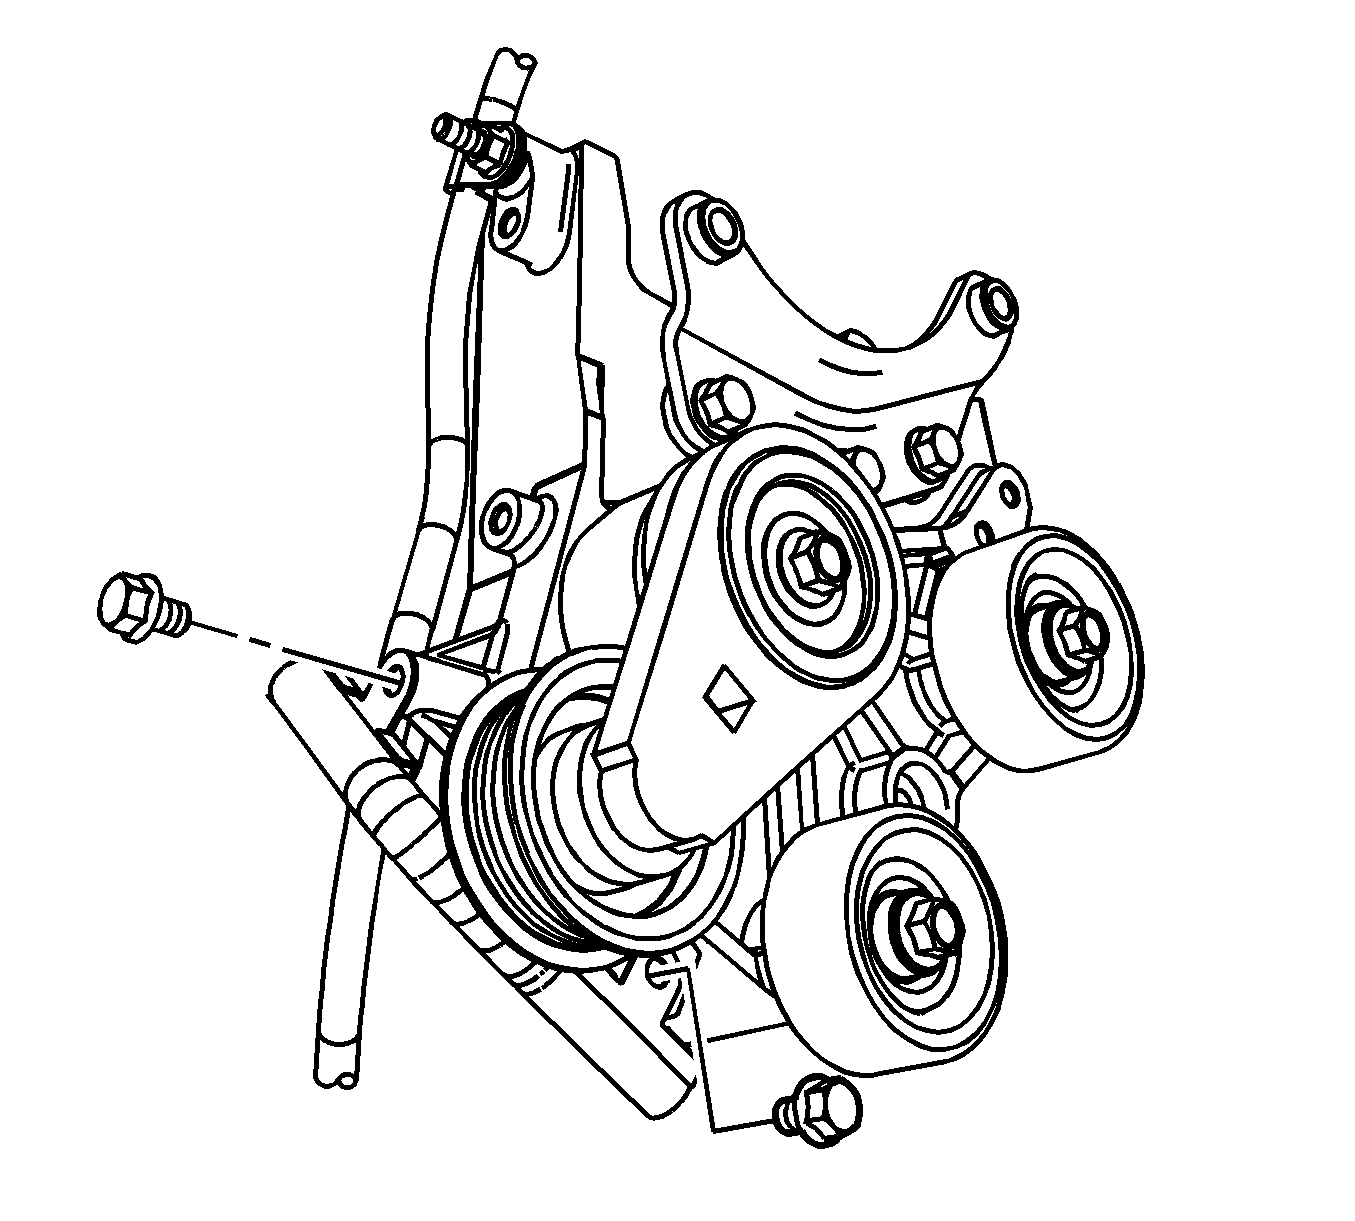
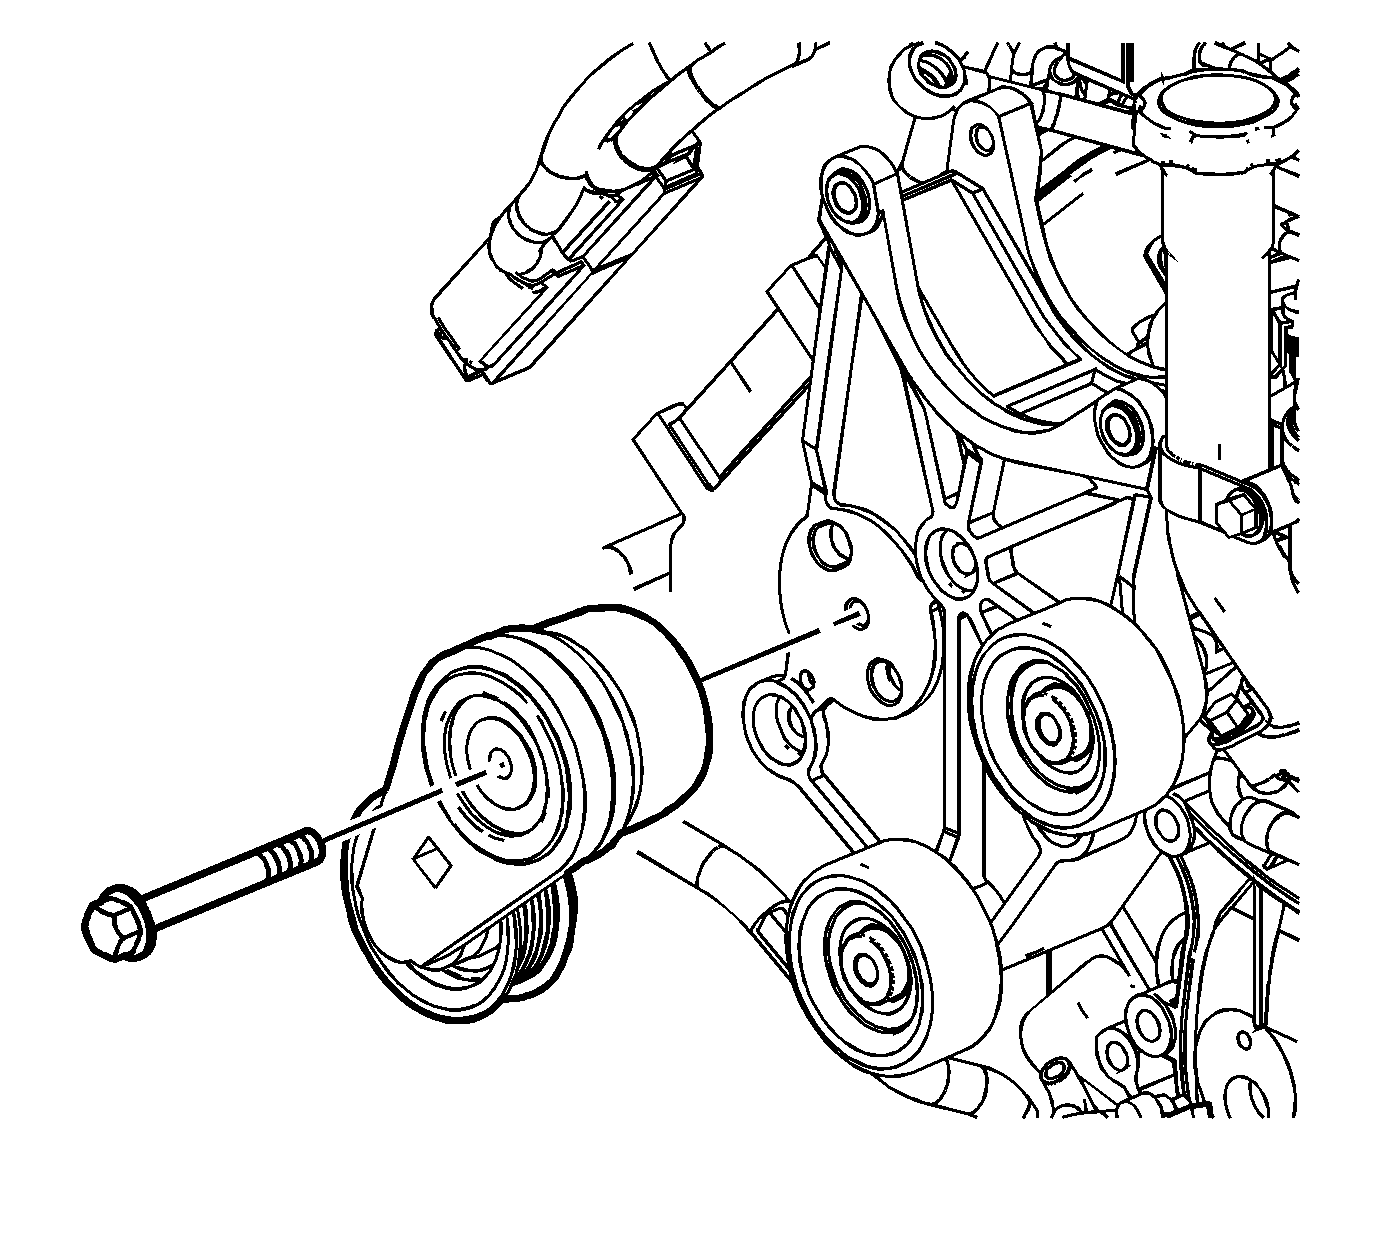
- Remove the drive belt tensioner bolt and tensioner.
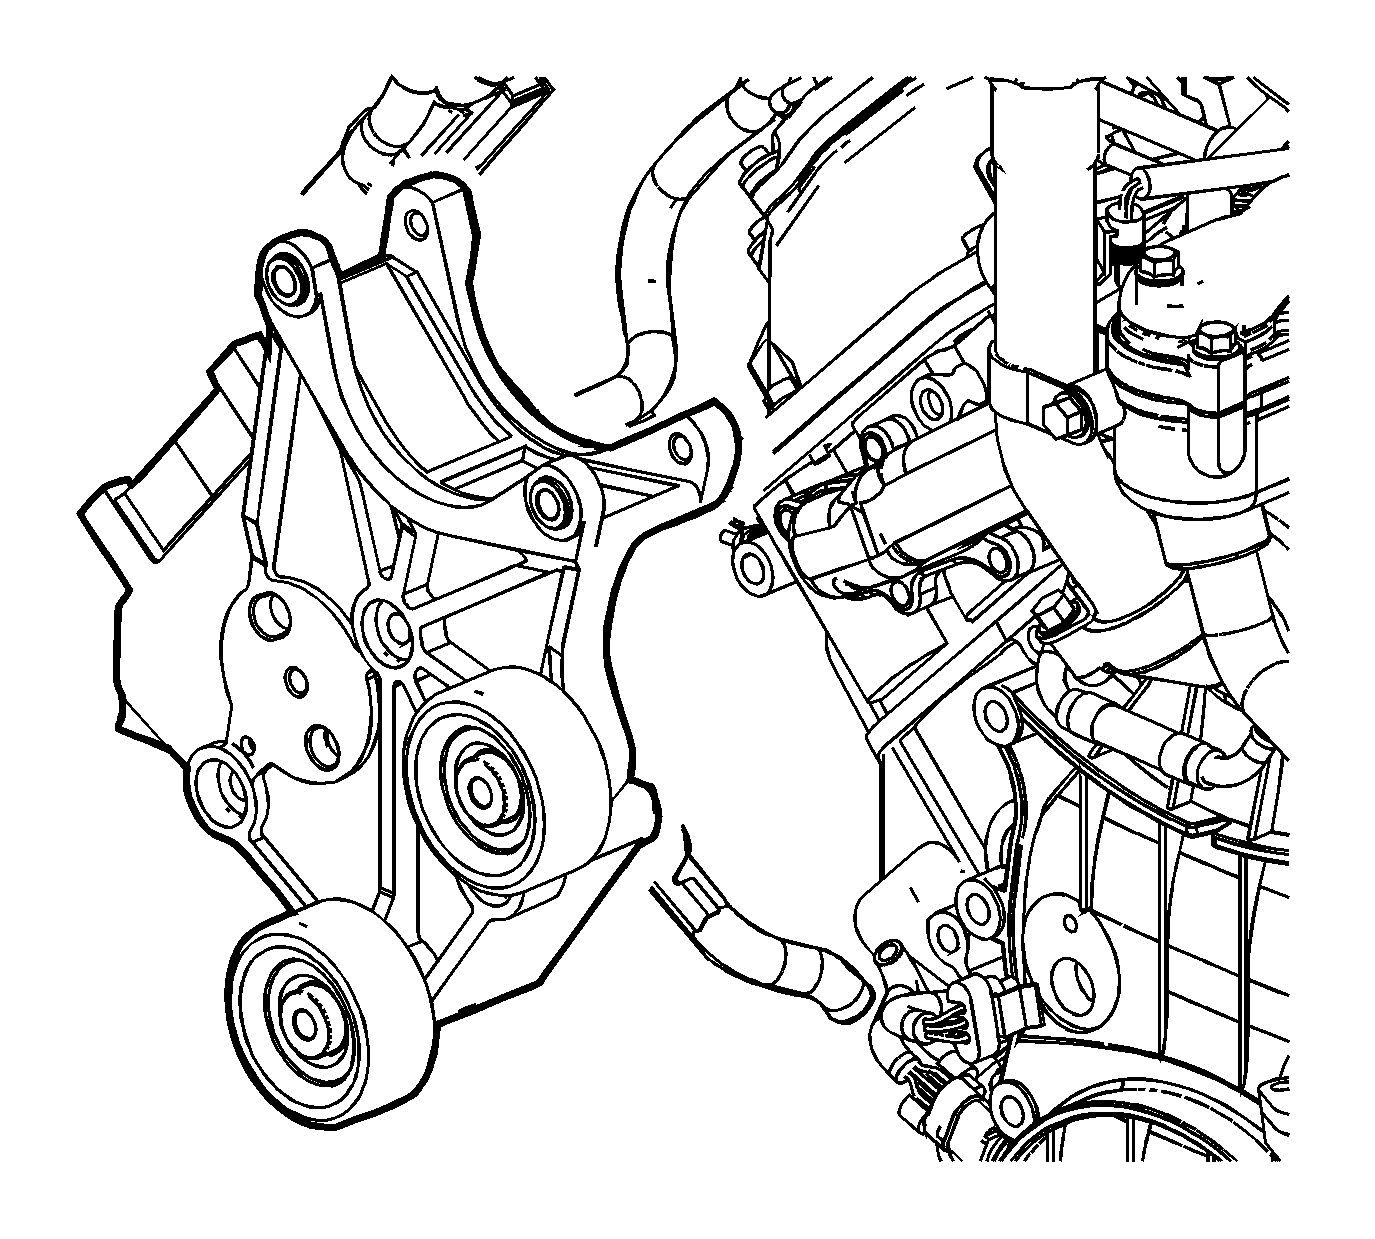
- Remove the bolts and nut and the generator mounting bracket.
- Transfer any parts as needed.
| 6.1. | Slide the boot down to access the terminal stud. |
| 6.2. | Remove the positive cable nut. |
| 6.3. | Remove the positive cable. |
Installation Procedure
- Position the generator mounting bracket and install the bolts and tighten to 50 N·m (37 lb ft).
- Position the drive belt tensioner and install the bolt and tighten to 50 N·m (37 lb ft).
- Install the oil indicator tube bracket bolt and tighten to 21 N·m (15 lb ft).
- Install the 2 wiring harness routing bolts and tighten to 10 N·m (89 lb in).
- Position the right engine wiring harness bracket and install the 2 bolts and tighten to 10 N·m (89 lb in).
- Connect the right engine wiring harness connector.
- Install the positive cable to the auxiliary generator, perform the following:
- Position the generator.
- Install the generator bolts (1) and tighten to 50 N·m (37 lb ft).
- Connect the generator electrical connector.
- Install the drive belt. Refer to Drive Belt Replacement.
- Install the cooling fan. Refer to Fan Replacement.
Caution: Refer to Fastener Caution in the Preface section.


| 7.1. | Install the positive cable. |
| 7.2. | Install the positive cable nut and tighten to 9 N·m (80 lb in). |
| 7.3. | Slide the boot to cover the terminal stud. |

Generator Bracket Replacement 4.3L
Removal Procedure
- Remove the generator. Refer to Generator Replacement.
- Remove the drive belt tensioner. Refer to Drive Belt Tensioner Replacement.
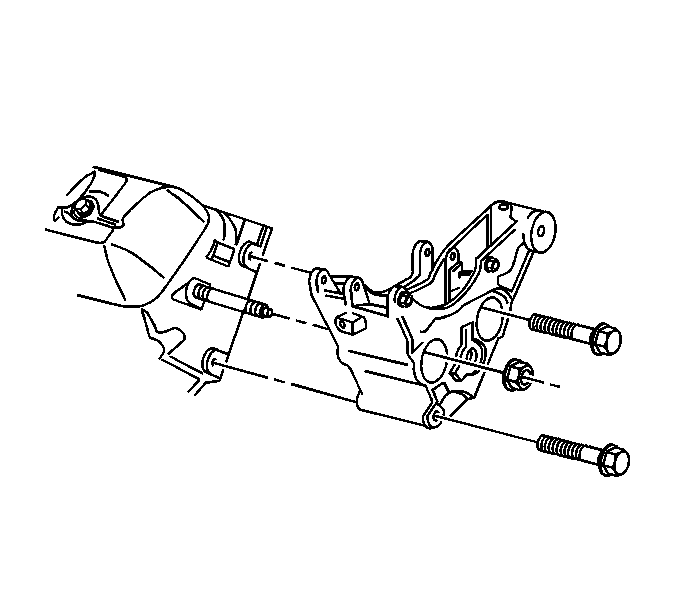
- Remove the generator bracket bolts and nut.
- Remove the generator bracket.
Installation Procedure
- Install the generator bracket.
- Install the generator bracket bolts and nut and tighten to 41 N·m (30 lb ft).
- Install the drive belt tensioner. Refer to Drive Belt Tensioner Replacement.
- Install the generator. Refer to Generator Replacement.
Caution: Refer to Fastener Caution in the Preface section.

