For 1990-2009 cars only
Special Tools
J 38185 Hose Clamp Pliers
- Position the core support and the cooling layer to the vehicle.
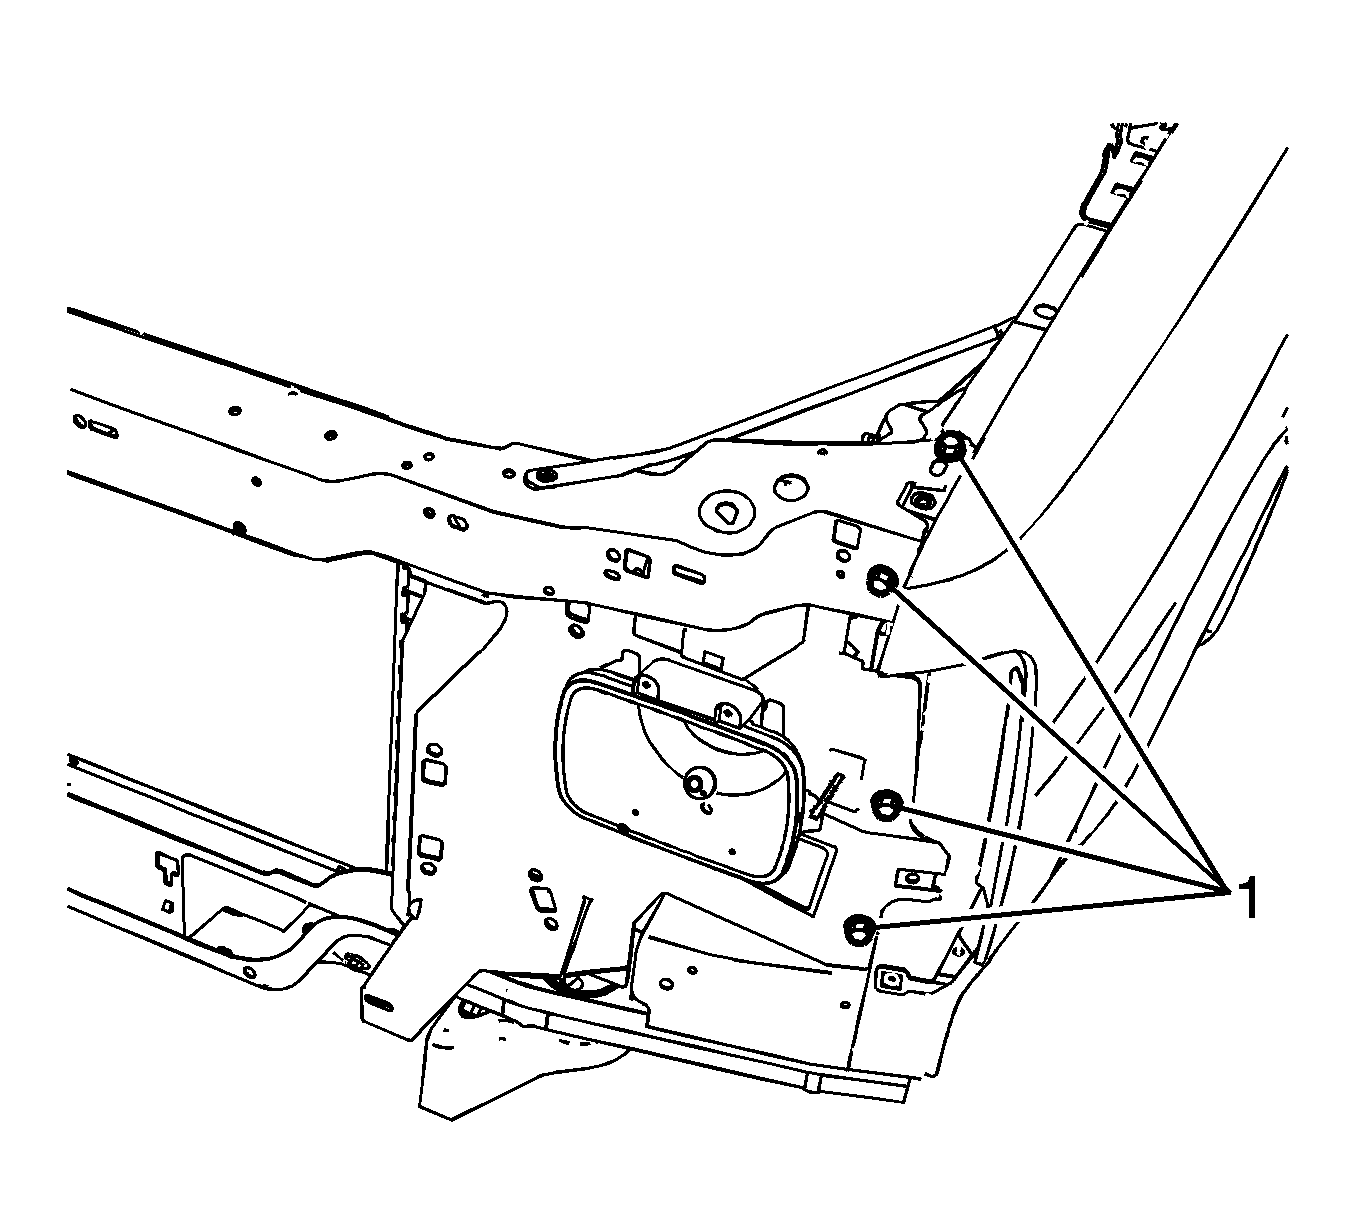
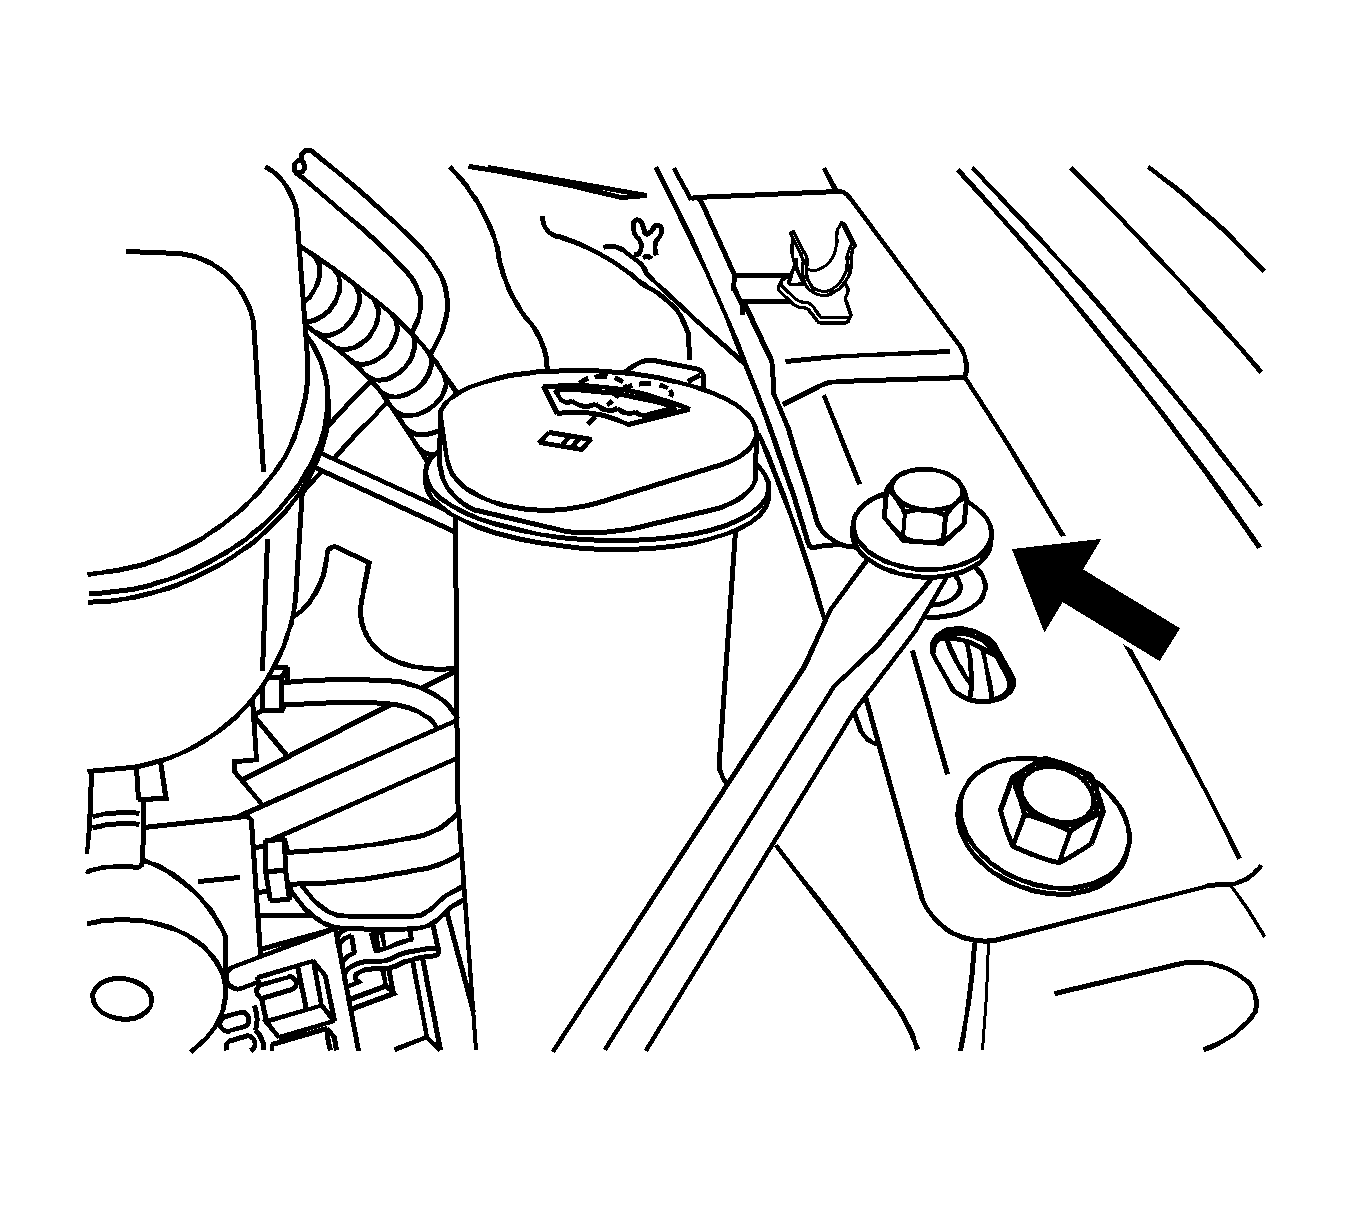
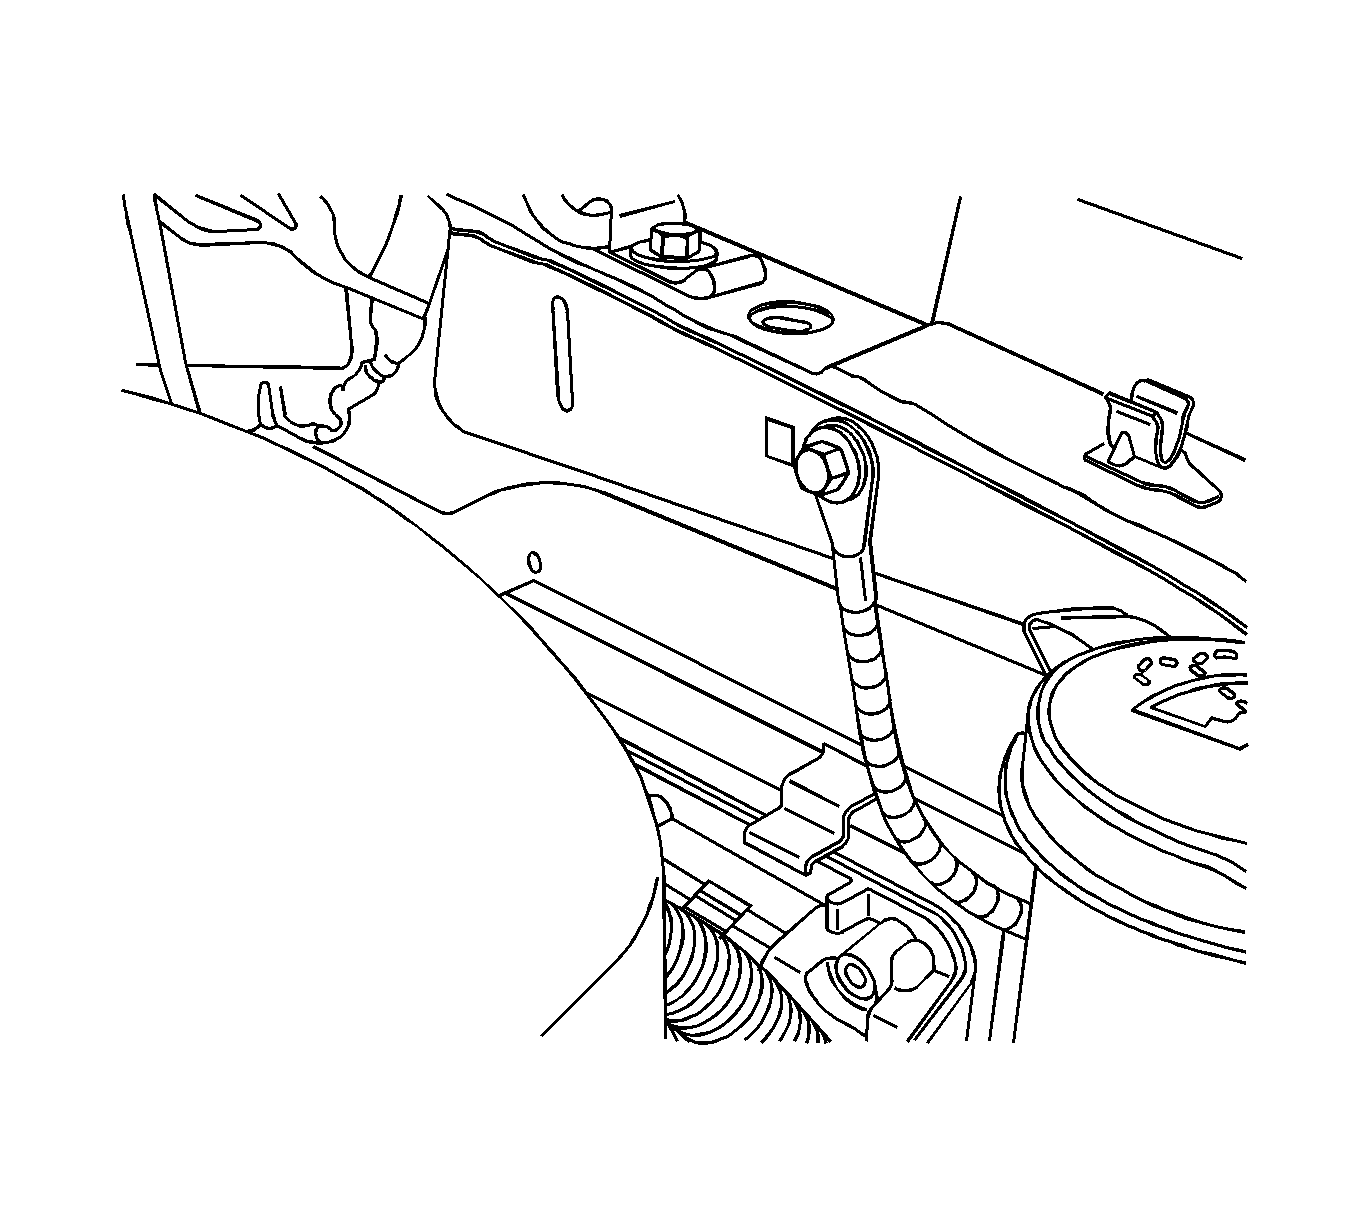
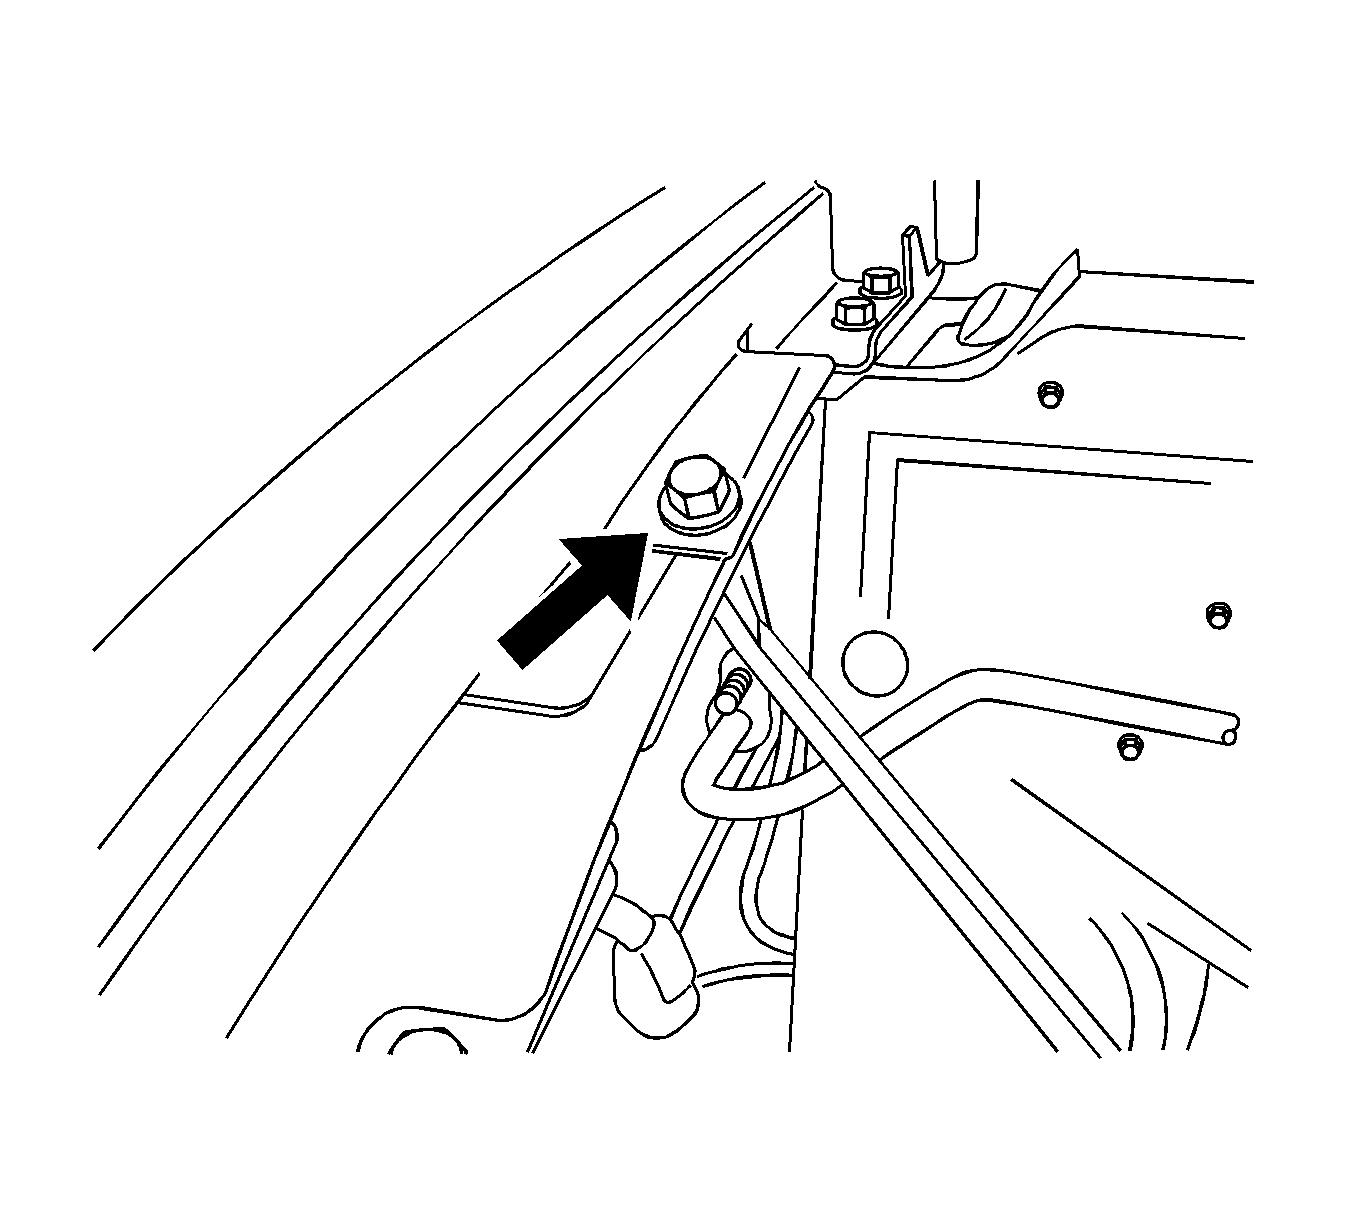
- Install the 4 LH and RH core support bolts.
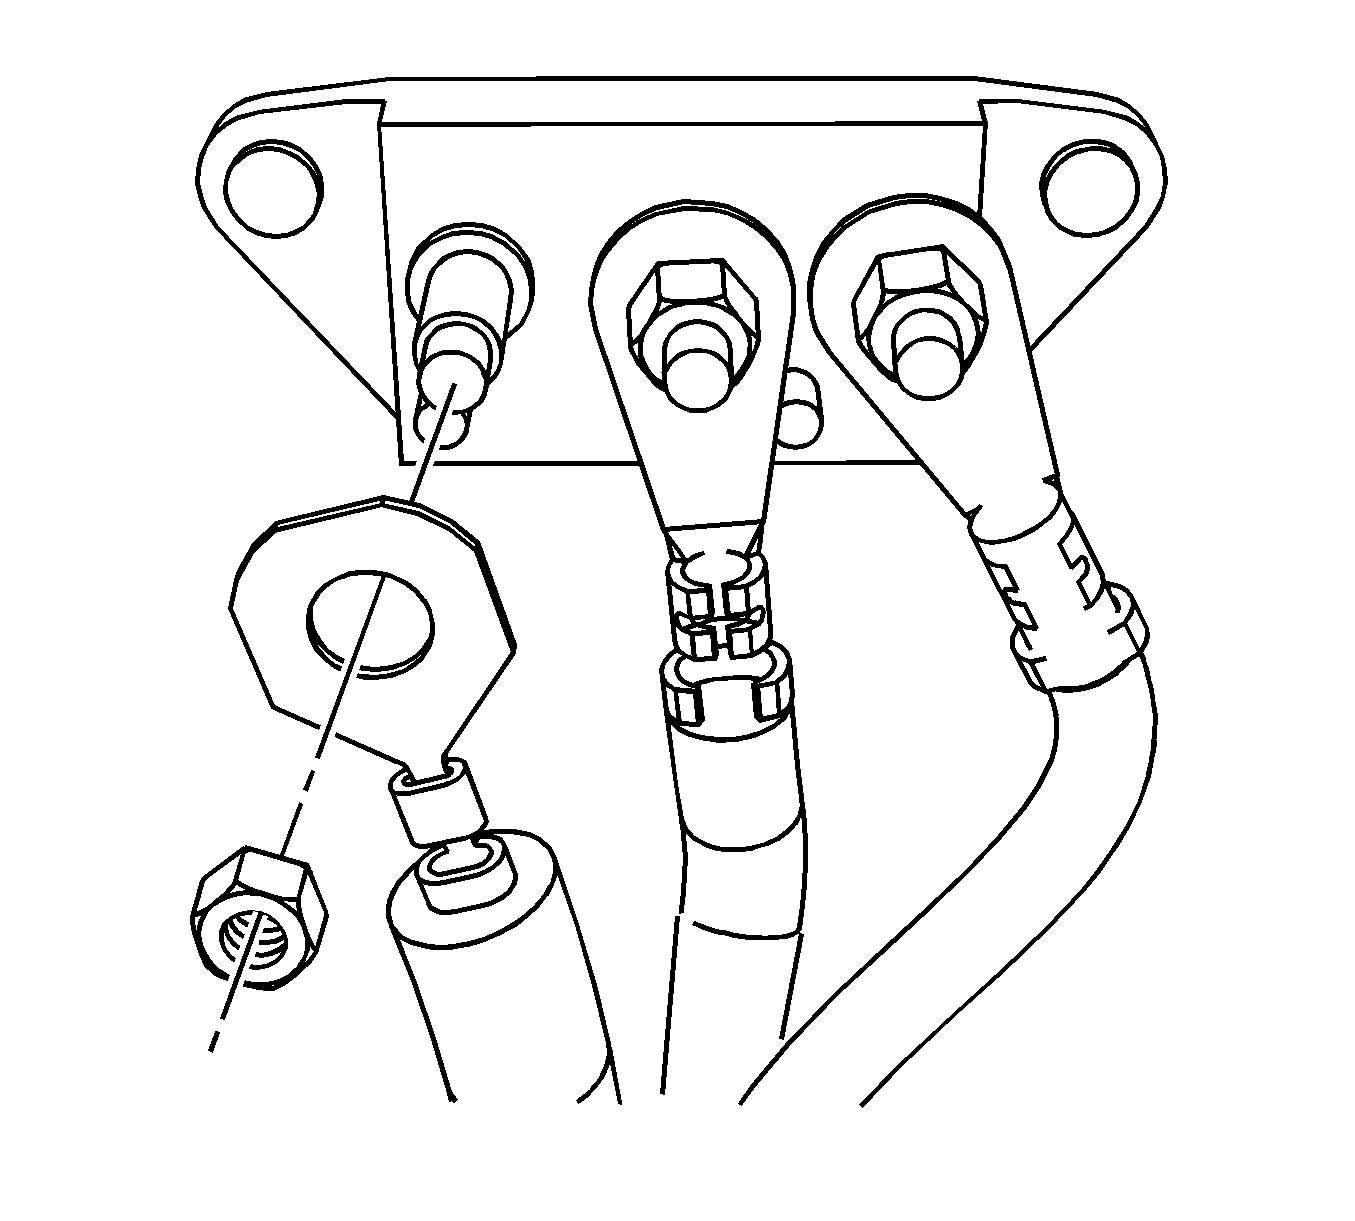
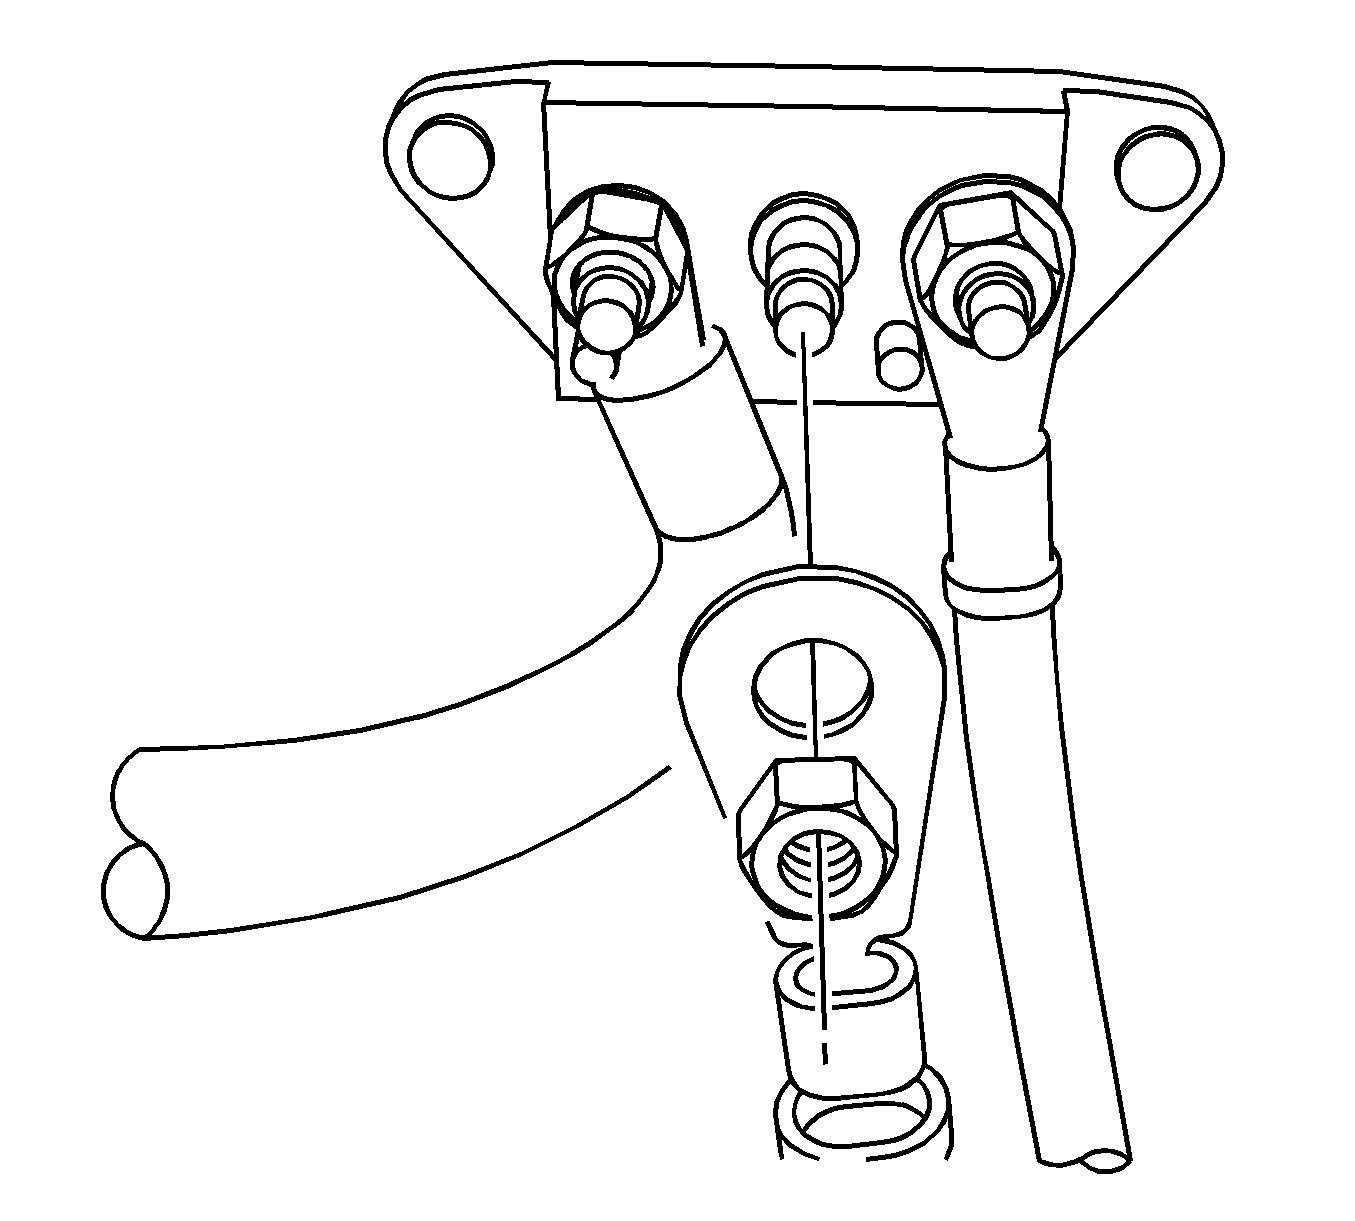
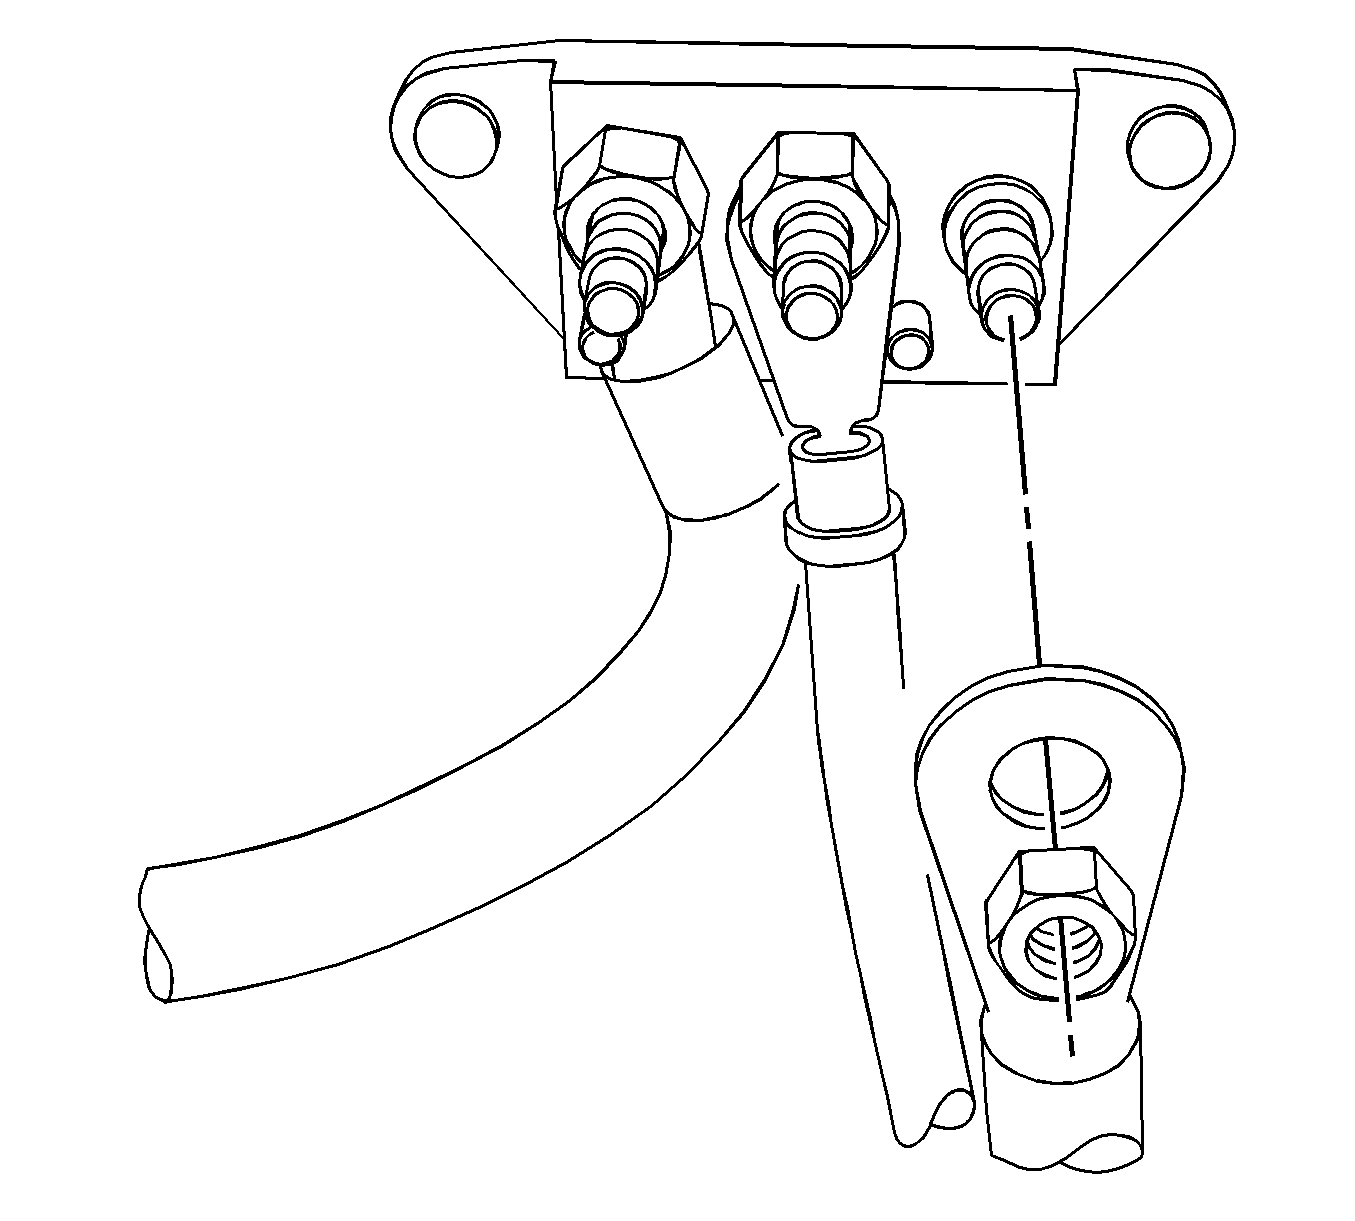
- Position the positive battery to underhood bused electrical center (UBEC) cable to the junction block and install the nut.
- Position the auxiliary positive cable to the junction block and install the nut.
- Position the positive battery cable to the junction block and install the nut.
- Reposition and connect the hood release cable to the hood release latch.
- Connect the wiring harness electrical connector at the UBEC.
- Position the LH fender to core support brace and install the bolts.
- Position the wiring ground to the LH fender and install the bolt.
- Position the RH fender to core support brace and install the bolts.
- Clip the wiring harness to the tie bar.
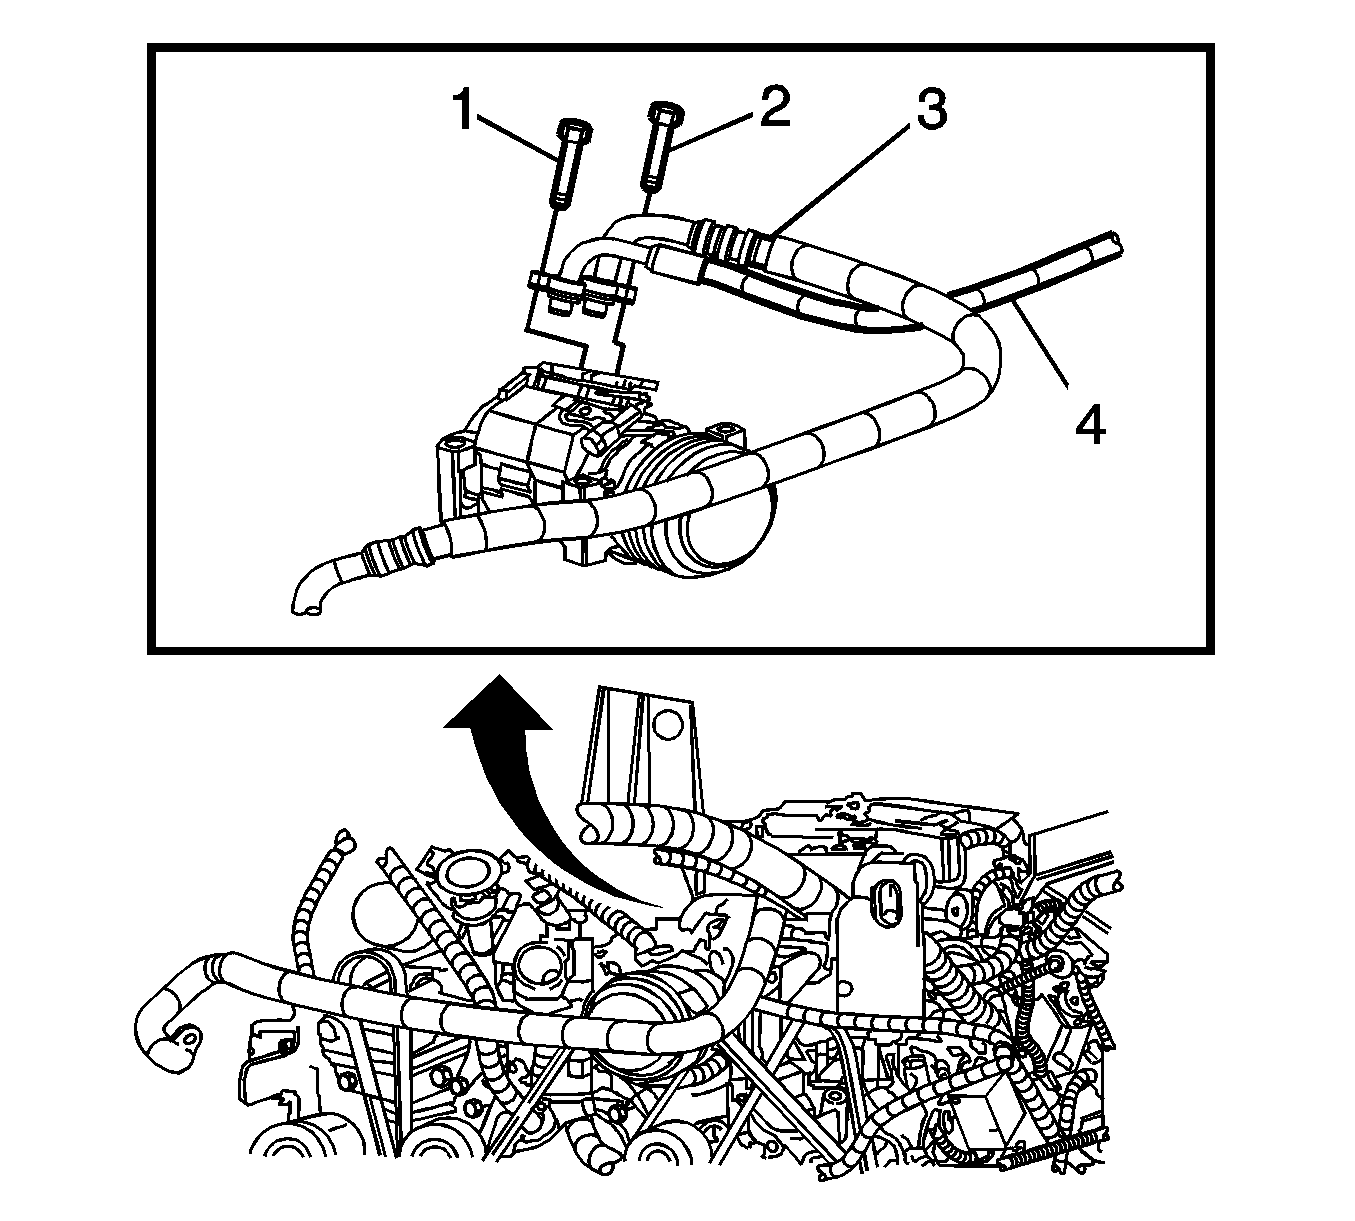
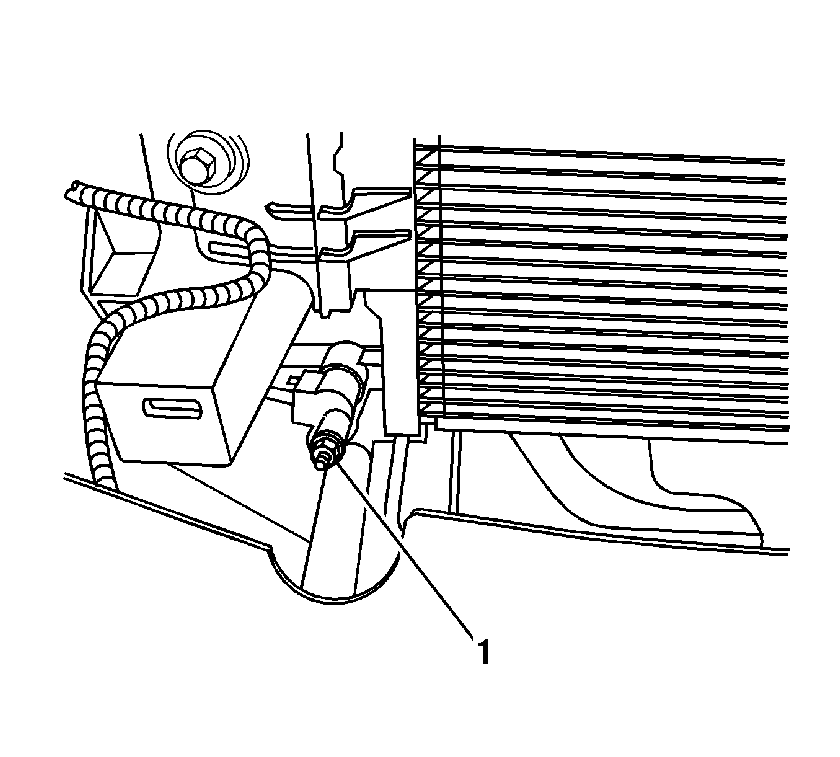
- Connect the suction hose (4) to the air conditioning (A/C) compressor.
- Install the suction hose bolt (1) to the A/C compressor.
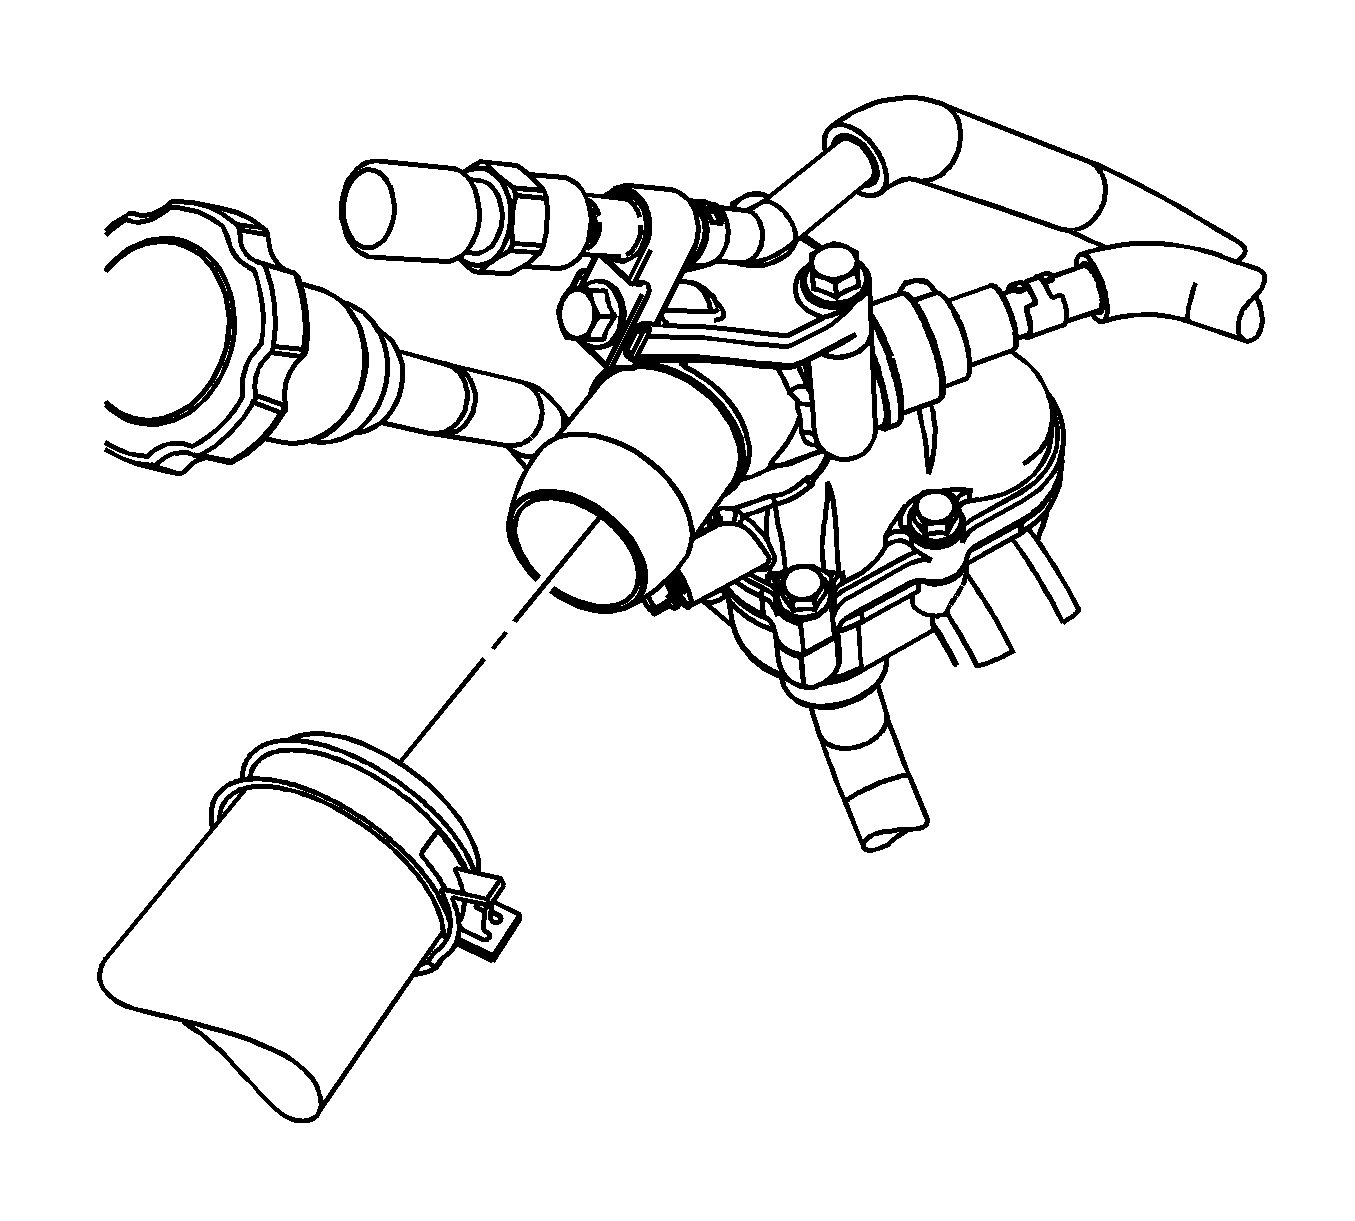
- Position the evaporator to condenser hose to the condenser.
- Install the evaporator to condenser hose nut.
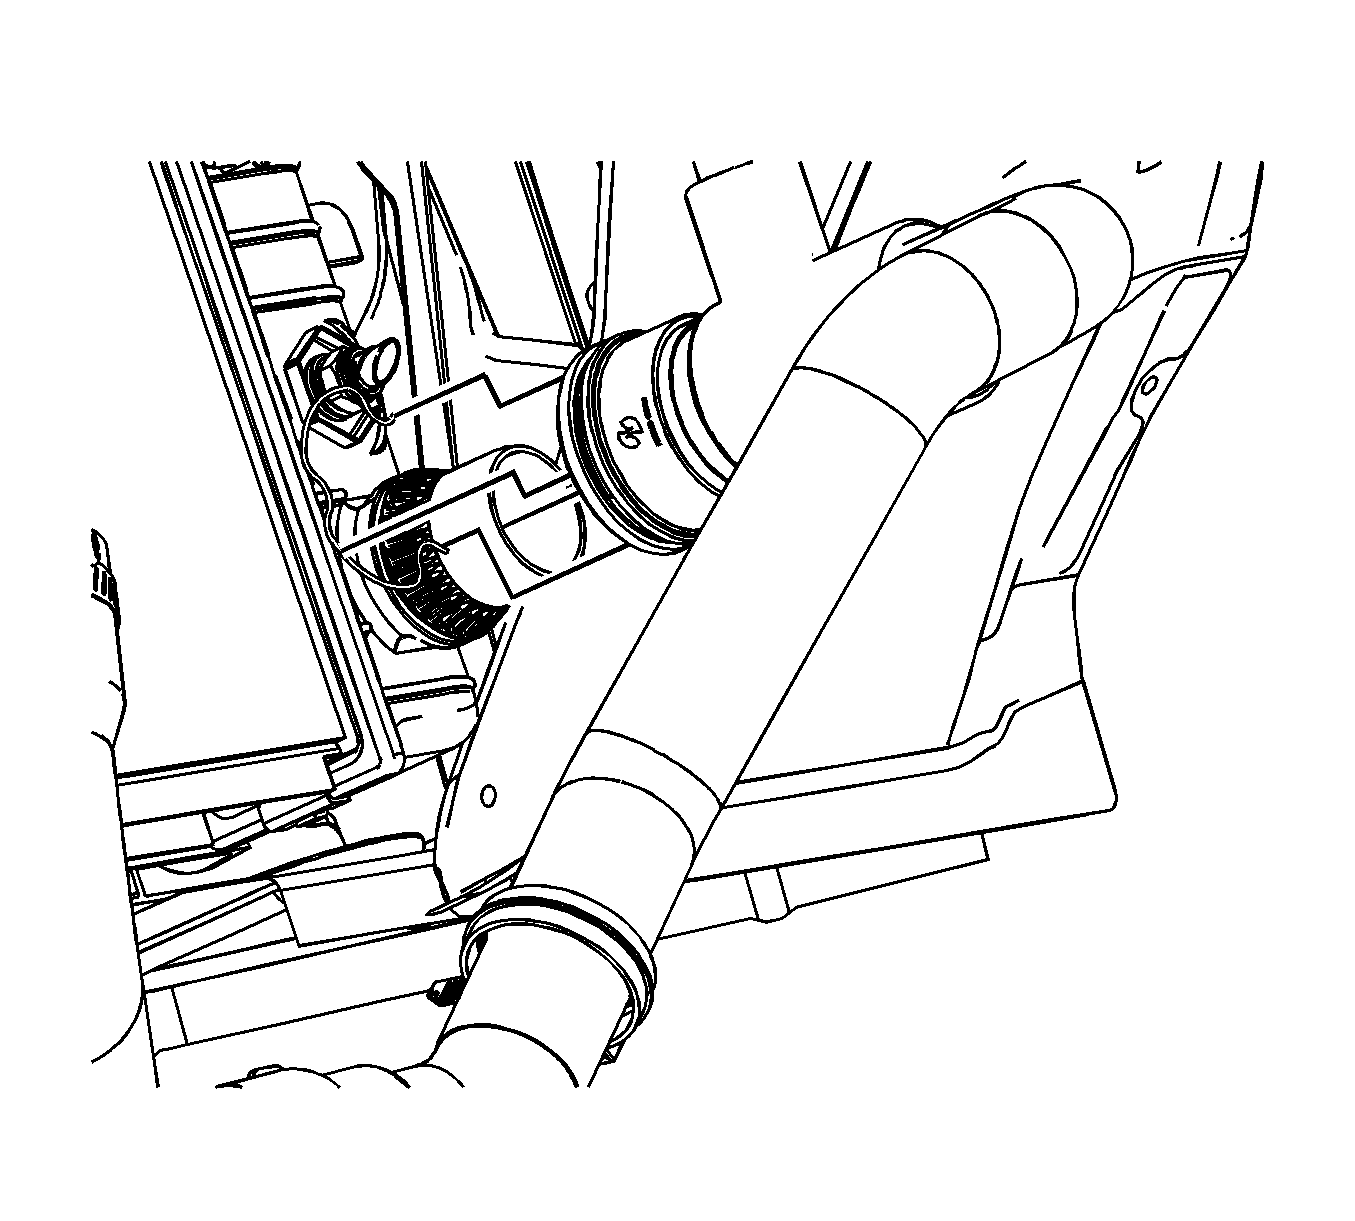
- Position the transmission cooler line to the auxiliary transmission cooler and install the retaining clip.
- Position the upper transmission cooler line to the radiator and install the retaining clip.
- Lower the vehicle.
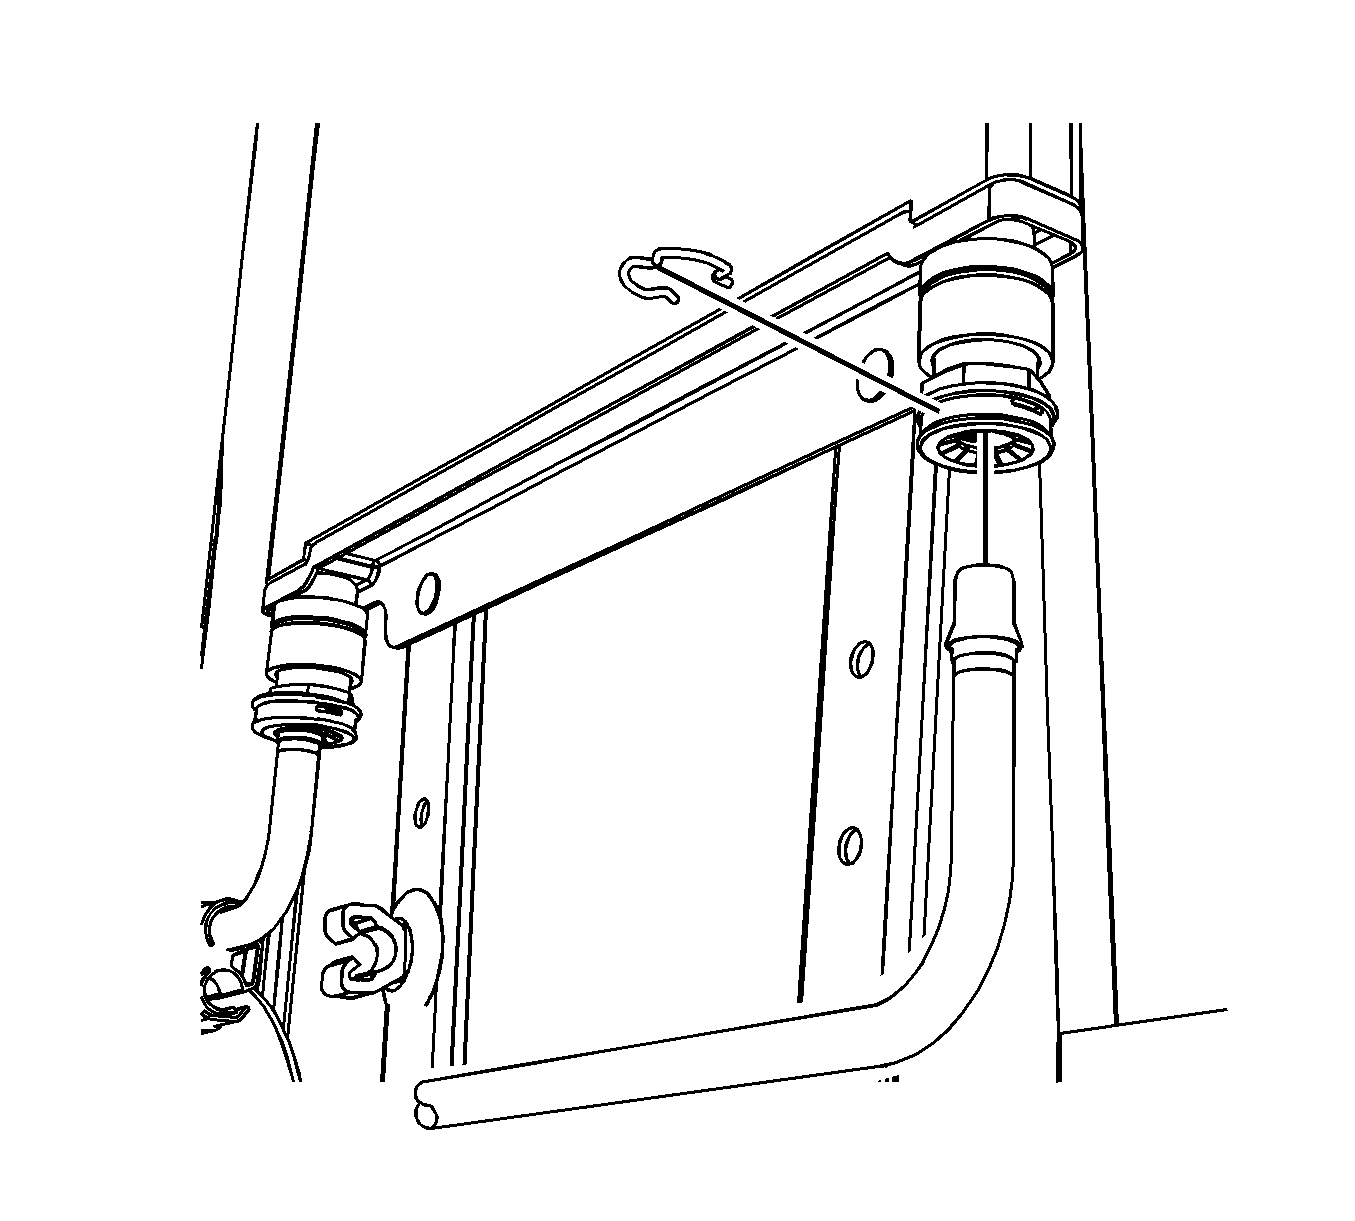
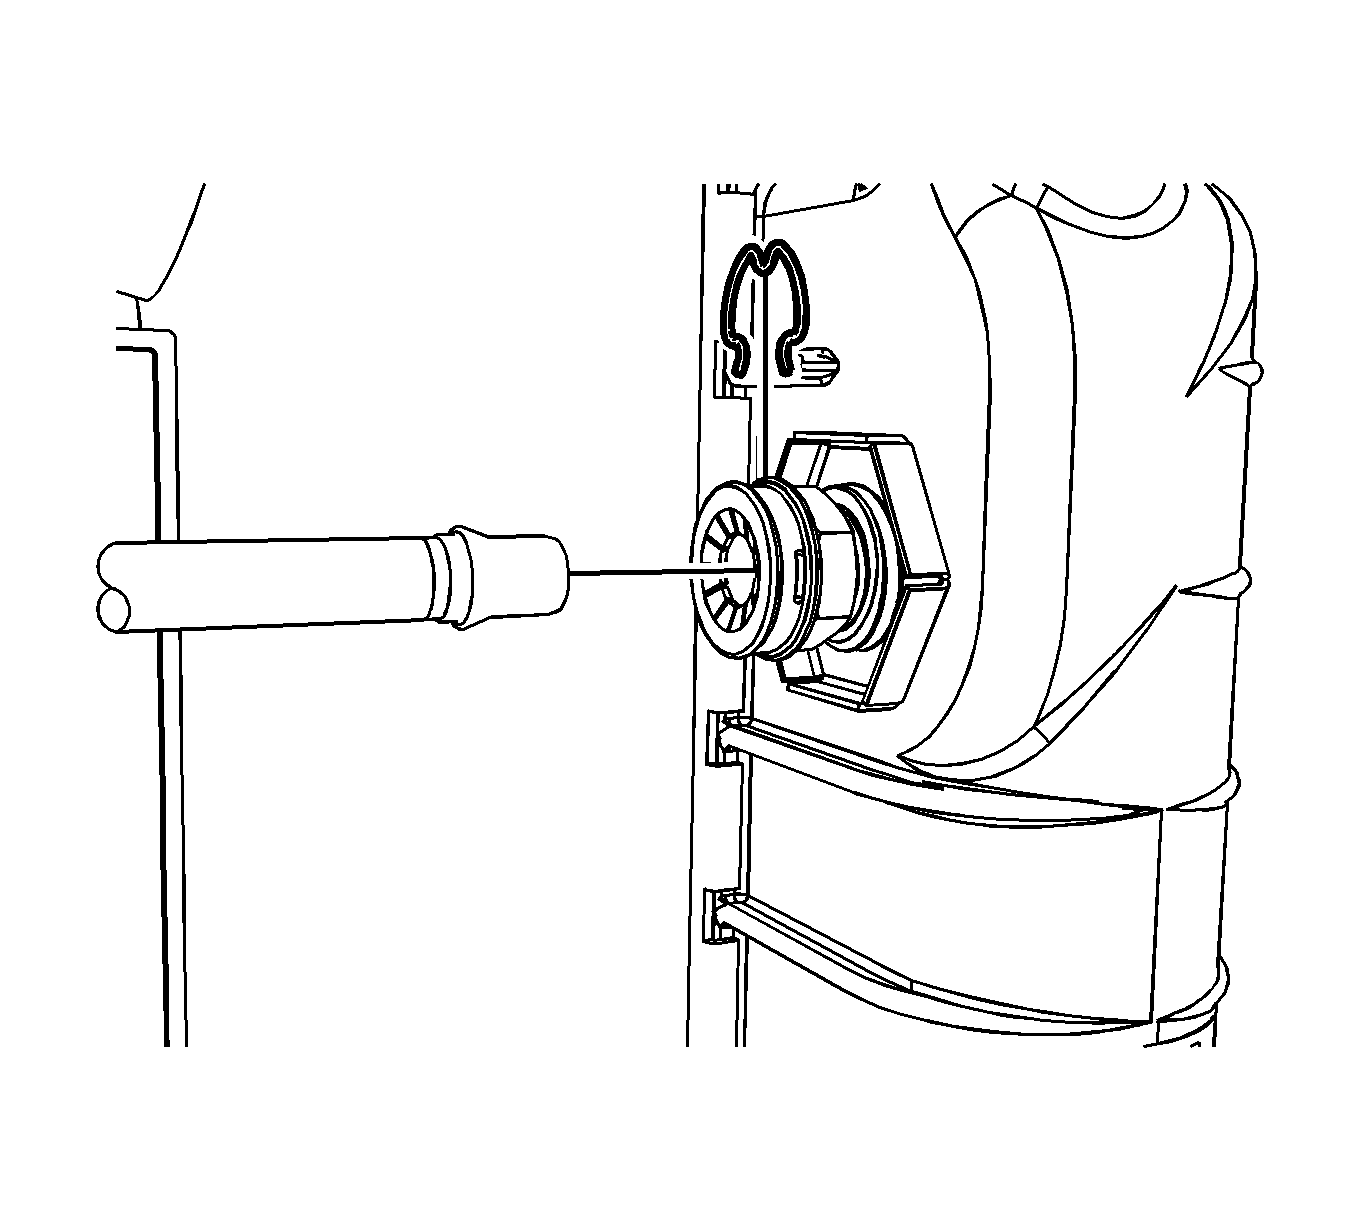
- Position the radiator outlet hose to radiator and install the retaining clip.
- Connect the radiator inlet hose to the radiator.
- Using the J 38185 , reposition the radiator inlet hose clamp.
- Install the upper fan shroud. Refer to Engine Coolant Fan Upper Shroud Replacement .
- Install the front bumper. Refer to Front Bumper Replacement .
- Install the front grille. Refer to Grille Replacement .
- Install the coolant recovery reservoir. Refer to Coolant Recovery Reservoir Replacement .
- Install the air cleaner assembly. Refer to Air Cleaner Assembly Replacementfor 4.3L engine and Air Cleaner Assembly Replacementfor 4.8L, 5.3L, 6.0L engines.
- Connect the negative battery cable. Refer to Battery Negative Cable Disconnection and Connection .
- Recharge the refrigerant. Refer to Refrigerant Recovery and Recharging .
- Fill the cooling system. Refer to Cooling System Draining and Filling .
Notice: Refer to Fastener Notice in the Preface section.
Tighten
Tighten the core support bolts to 25 N·m (18 lb ft).
Tighten
Tighten the positive battery cable to junction block bolt to 8 N·m (71 lb in).
Tighten
Tighten the auxiliary positive battery cable to junction block bolt to 8 N·m (71 lb in).
Tighten
Tighten the positive battery cable to junction block bolt to 8 N·m (71 lb in).
Tighten
Tighten the ground bolt to 9 N·m (80 lb in).
Tighten
Tighten the suction hose bolt to 16 N·m (12 lb ft).
Tighten
Tighten the evaporator to condenser nut to 16 N·m (12 lb ft).