For 1990-2009 cars only
Battery Replacement Primary
Removal Procedure
Warning: Batteries produce explosive gases. Batteries contain corrosive acid. Batteries supply levels of electrical current high enough to cause burns. Therefore, in order to reduce the risk of personal
injury while working near a battery, observe the following guidelines:
• Always shield your eyes. • Avoid leaning over the battery whenever possible. • Do not expose the battery to open flames or sparks. • Do not allow battery acid to contact the eyes or the skin. - Flush any contacted areas with water immediately and thoroughly. - Get medical help.
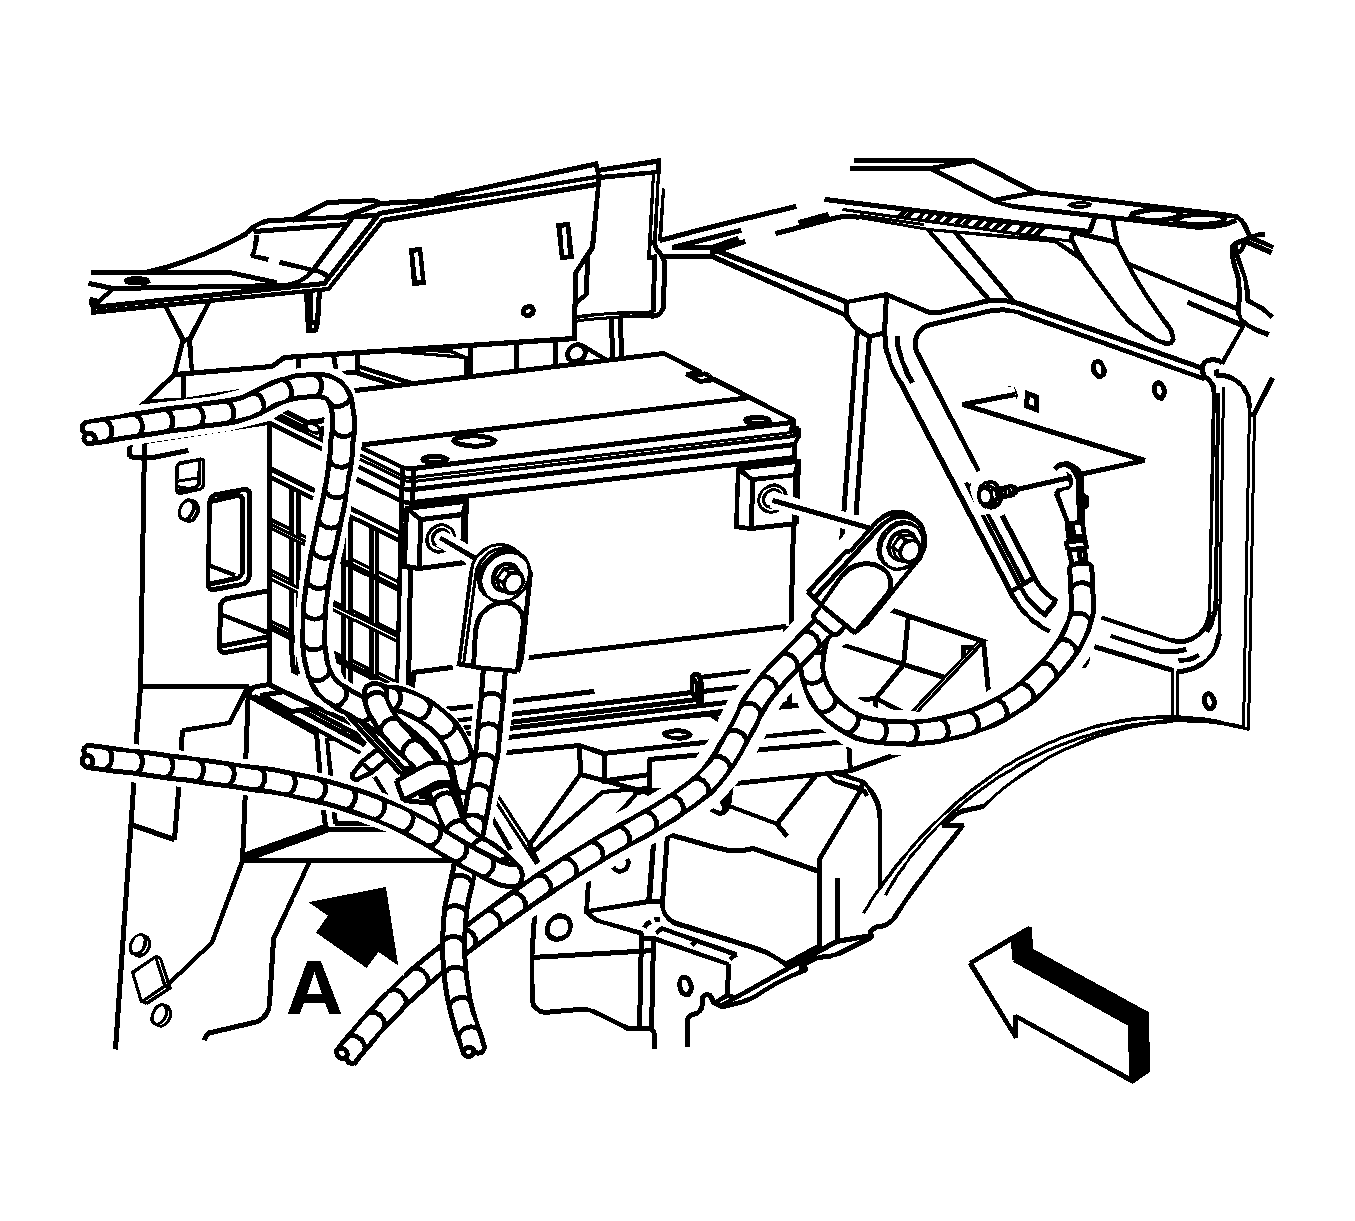
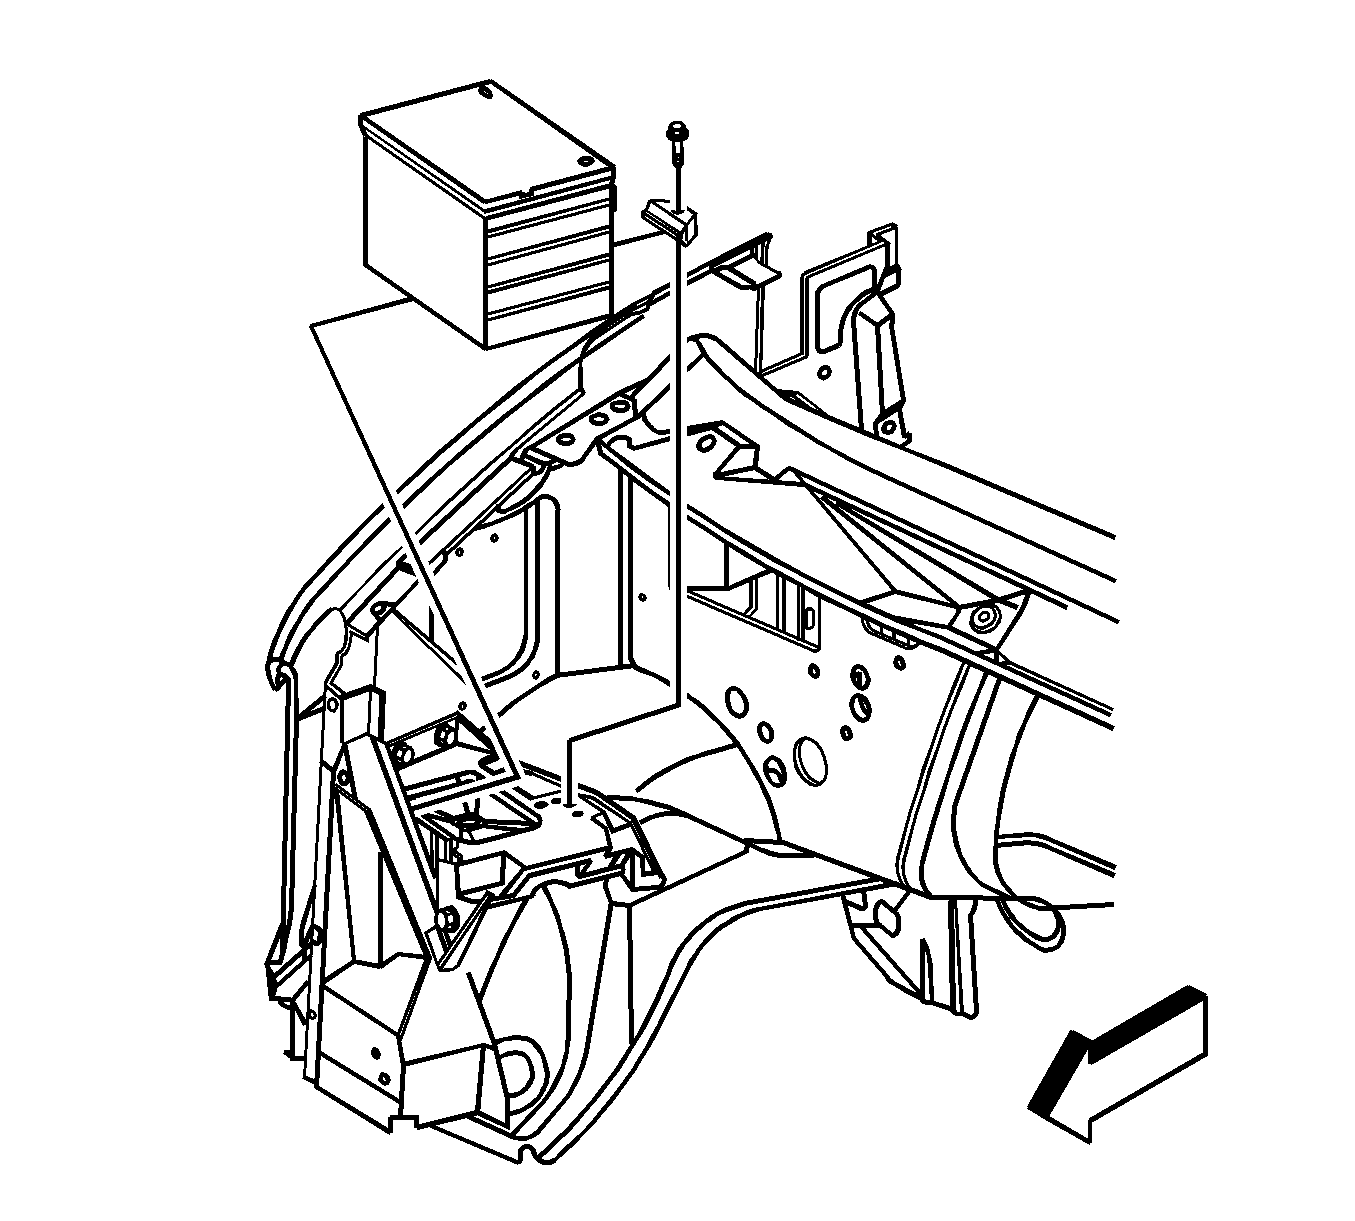
- Remove the fender brace.
- Disconnect the battery negative cable from the negative battery terminal. Refer to Battery Negative Cable Disconnection and Connection.
- Disconnect the battery positive cable from the positive battery terminal. Refer to Battery Positive Cable Replacement.
- Remove the battery hold-down retainer bolt and retainer.
- Remove the battery from the vehicle.
- Inspect the battery for:
- If damage is noted, find and correct the cause.
- Clean any corrosion form the battery cables and connectors.
- Clean the battery tray and remove any foreign objects from the tray.
| • | Damage |
| • | Worn or corroded cables and connectors |
| • | Damage or foreign objects in the battery carrier |
Installation Procedure
- Install the battery into the battery tray.
- Install the battery hold-down retainer and bolt and tighten to 18 N·m (12 lb ft).
- Connect the battery positive cable and the positive battery cable terminal to the battery. Refer to Battery Positive Cable Replacement.
- Connect the battery negative cable and the negative battery cable terminal to the battery. Refer to Battery Negative Cable Disconnection and Connection.
- Install the fender brace.
Caution: Refer to Fastener Caution in the Preface section.
