Important: The needle roller bearing assembly used with the mainshaft reverse gear, is a selective fit. Should any component associated with this gear and or the mainshaft need to be replaced, then the following procedure must be adopted, to ensure that the correct replacement parts are fitted.
Important: The mainshaft reverse gear, caged needle roller bearing is a selective fit, with the various sizes identified by different color needle roller bearing cages.
Both the mainshaft and reverse gear are accurately measured after manufacture and the size recorded by using different color paint daubs on each component.
Depending on the combination of the two different colors, and therefore sizes, the correct needle roller bearings can then be selected, also by a color coding of the cage.
Examples of the selection process, using the Reverse Gear and Needle Roller Bearing Selection table on page 7-2.
- With a white paint daub on the mainshaft and a green daub on the reverse gear, the correct needle roller selection would be one that had a red cage.
- A yellow daub on the mainshaft with a yellow daub on the reverse gear, indicates the correct needle roller selection as being one with a white cage.
- Those combinations marked '*' are a non-preferred combinations. If possible, an alternative mainshaft or reverse gear color would be preferred. However, if this is not possible, then the choices as listed, can be used.
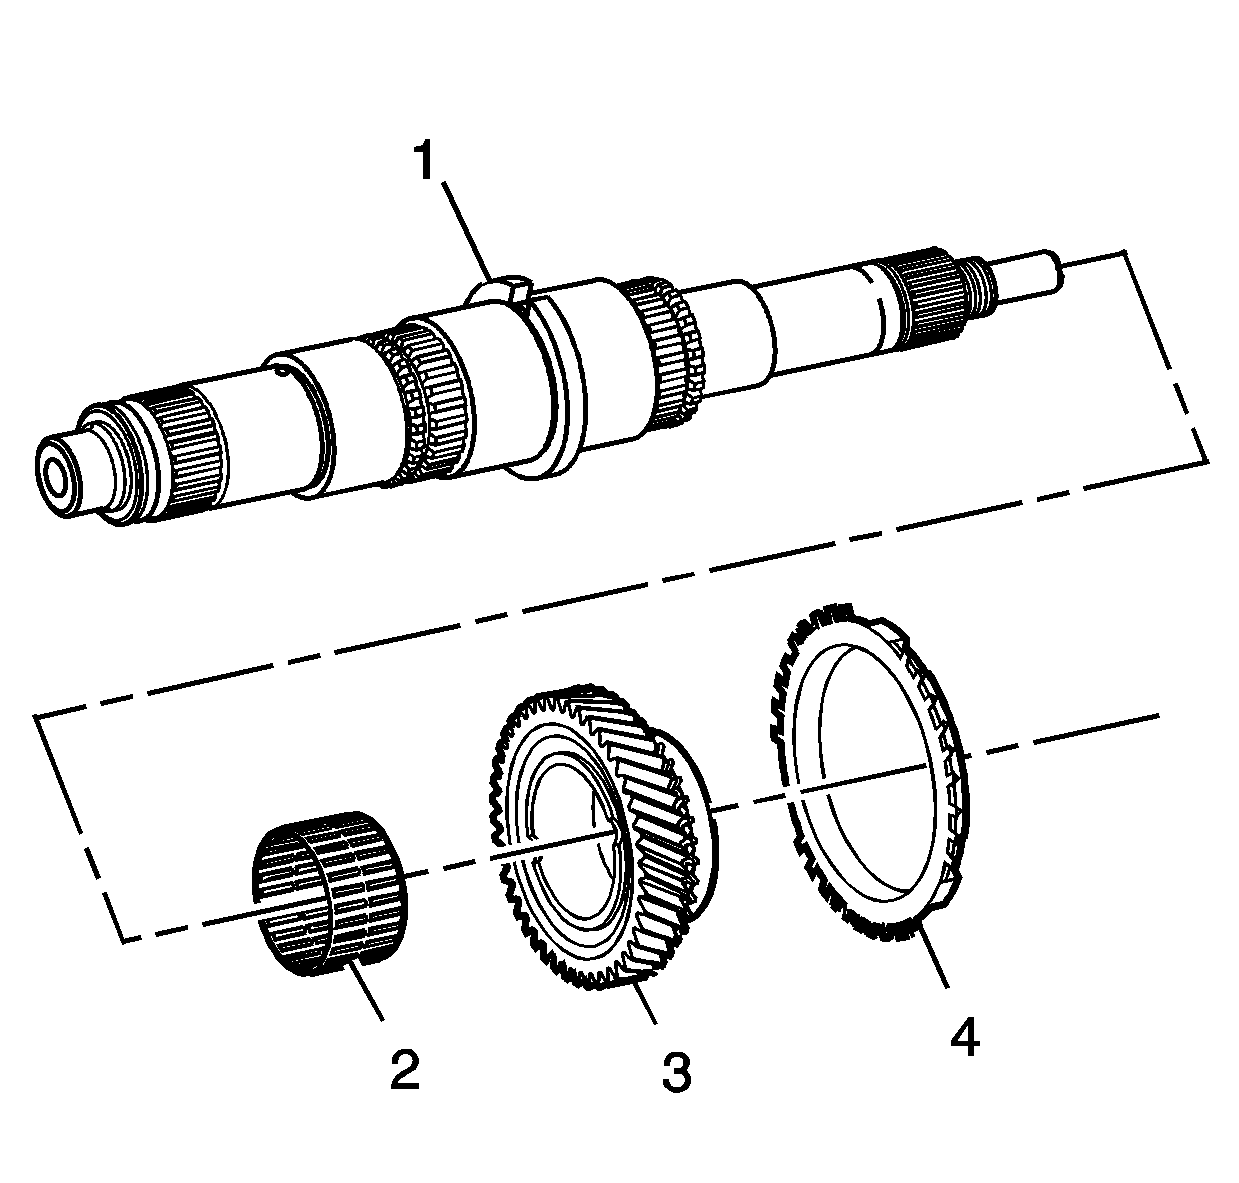
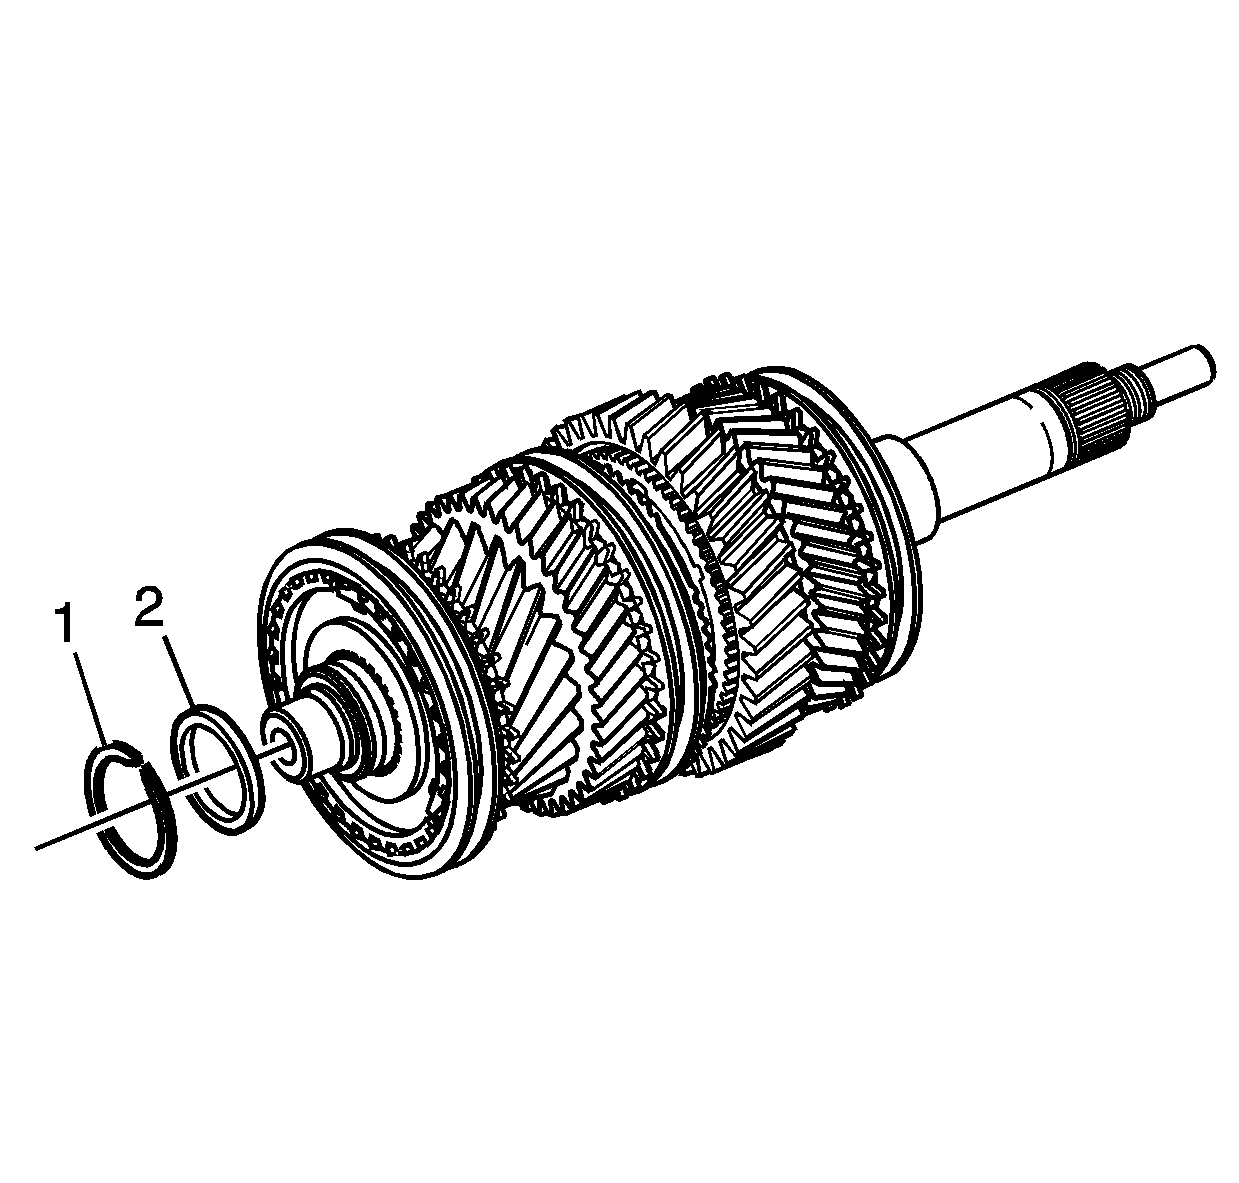
- Coat the mainshaft (1), all gear bores (3) and needle bearings (2) with transmission fluid.
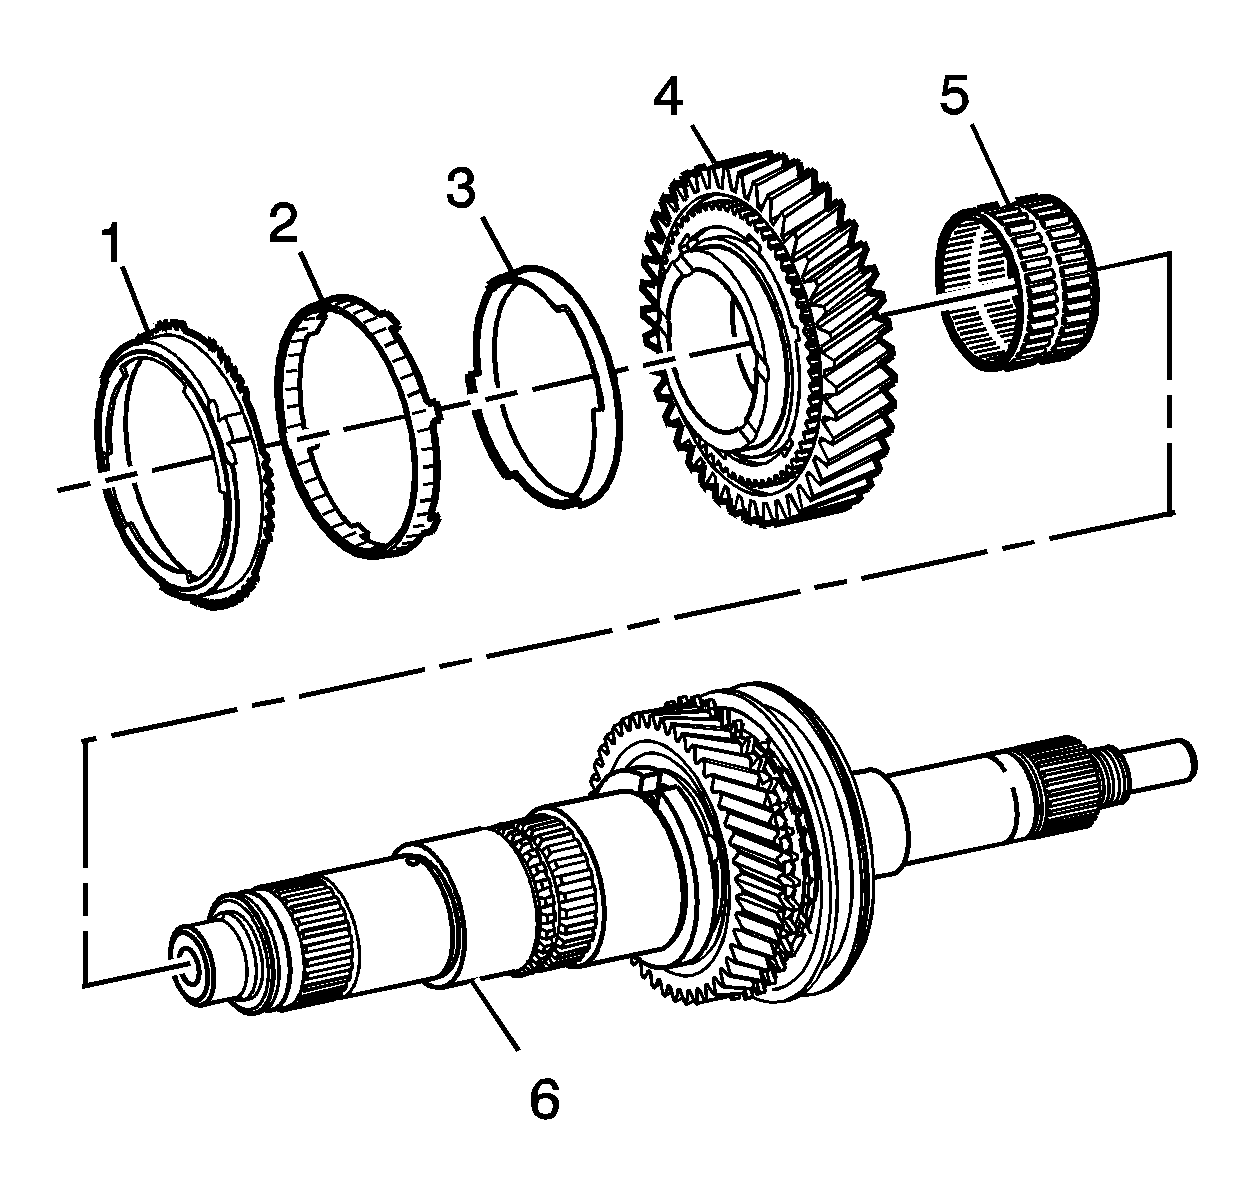
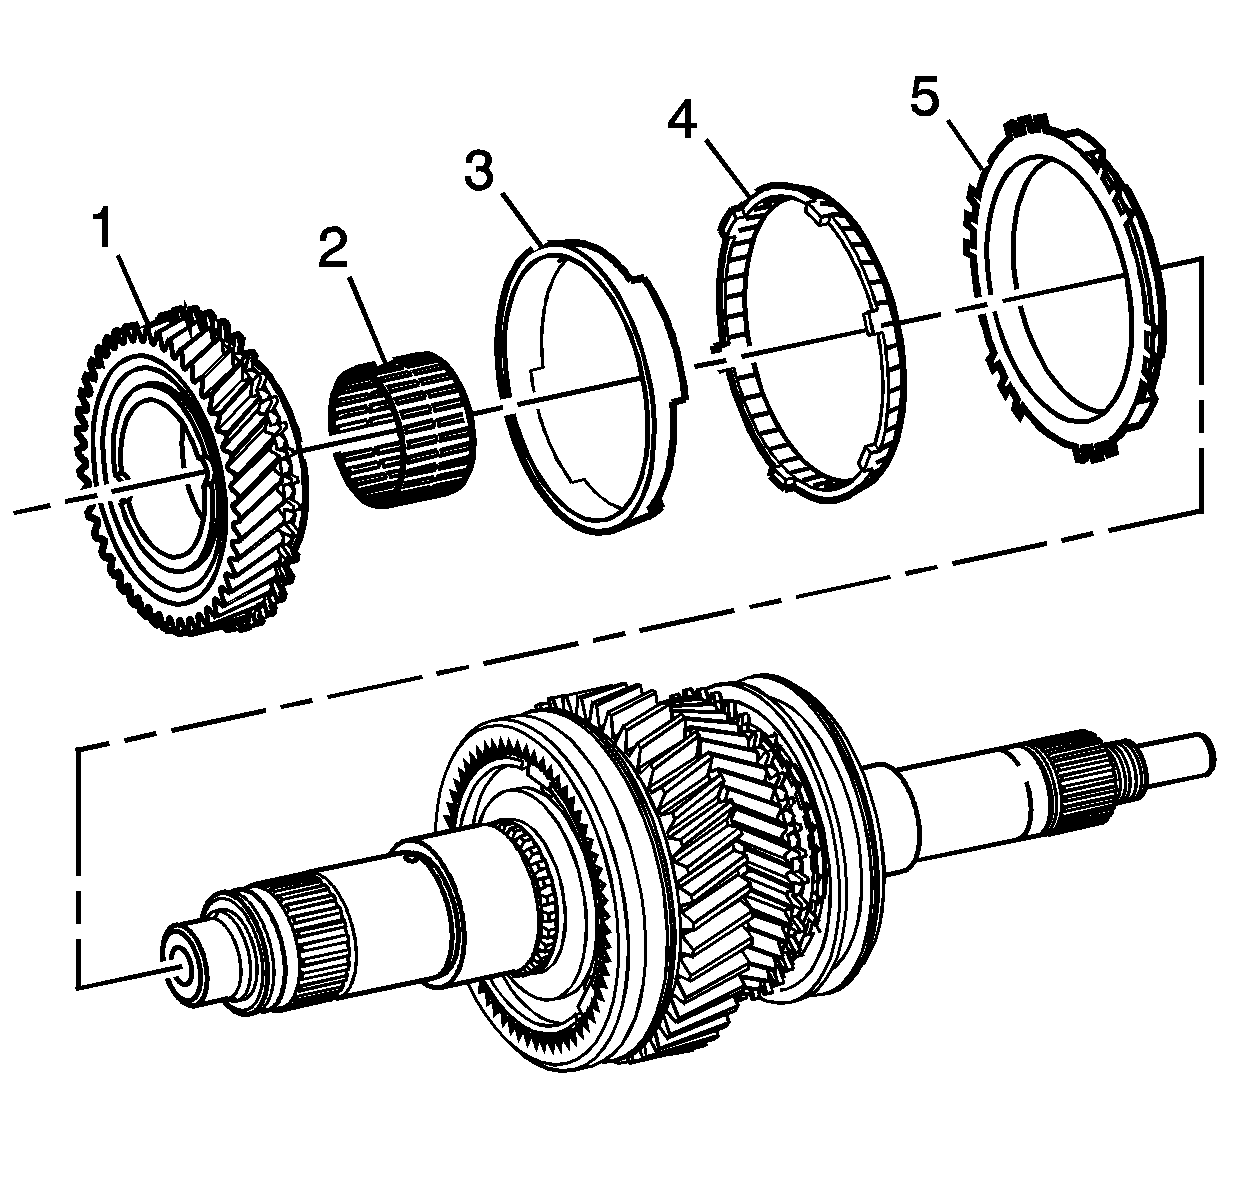
- Assemble the color coded, selective reverse gear needle bearing (2), gear (3) and synchromesh ring (4) to the mainshaft (1).
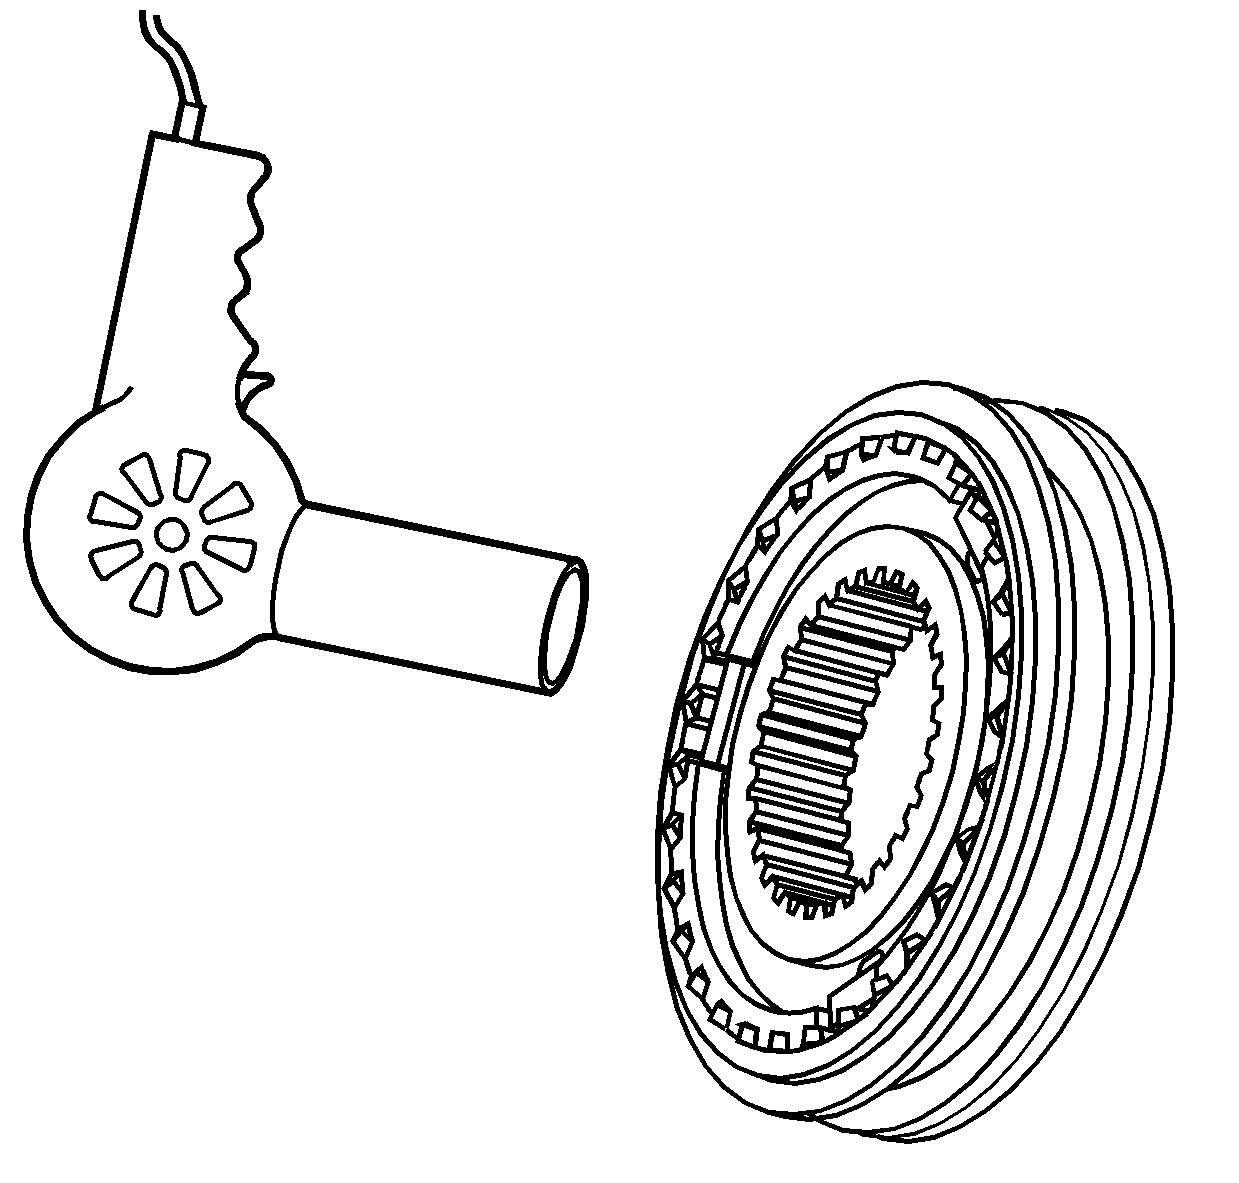
- Heat the 5th/Reverse synchromesh hub approximately 100°C (212°F).
- Using a welding glove, position the synchromesh assembly onto the mainshaft, with the groove in the outer sleeve facing the 5th gear and aligning the mainshaft and the hub splines.
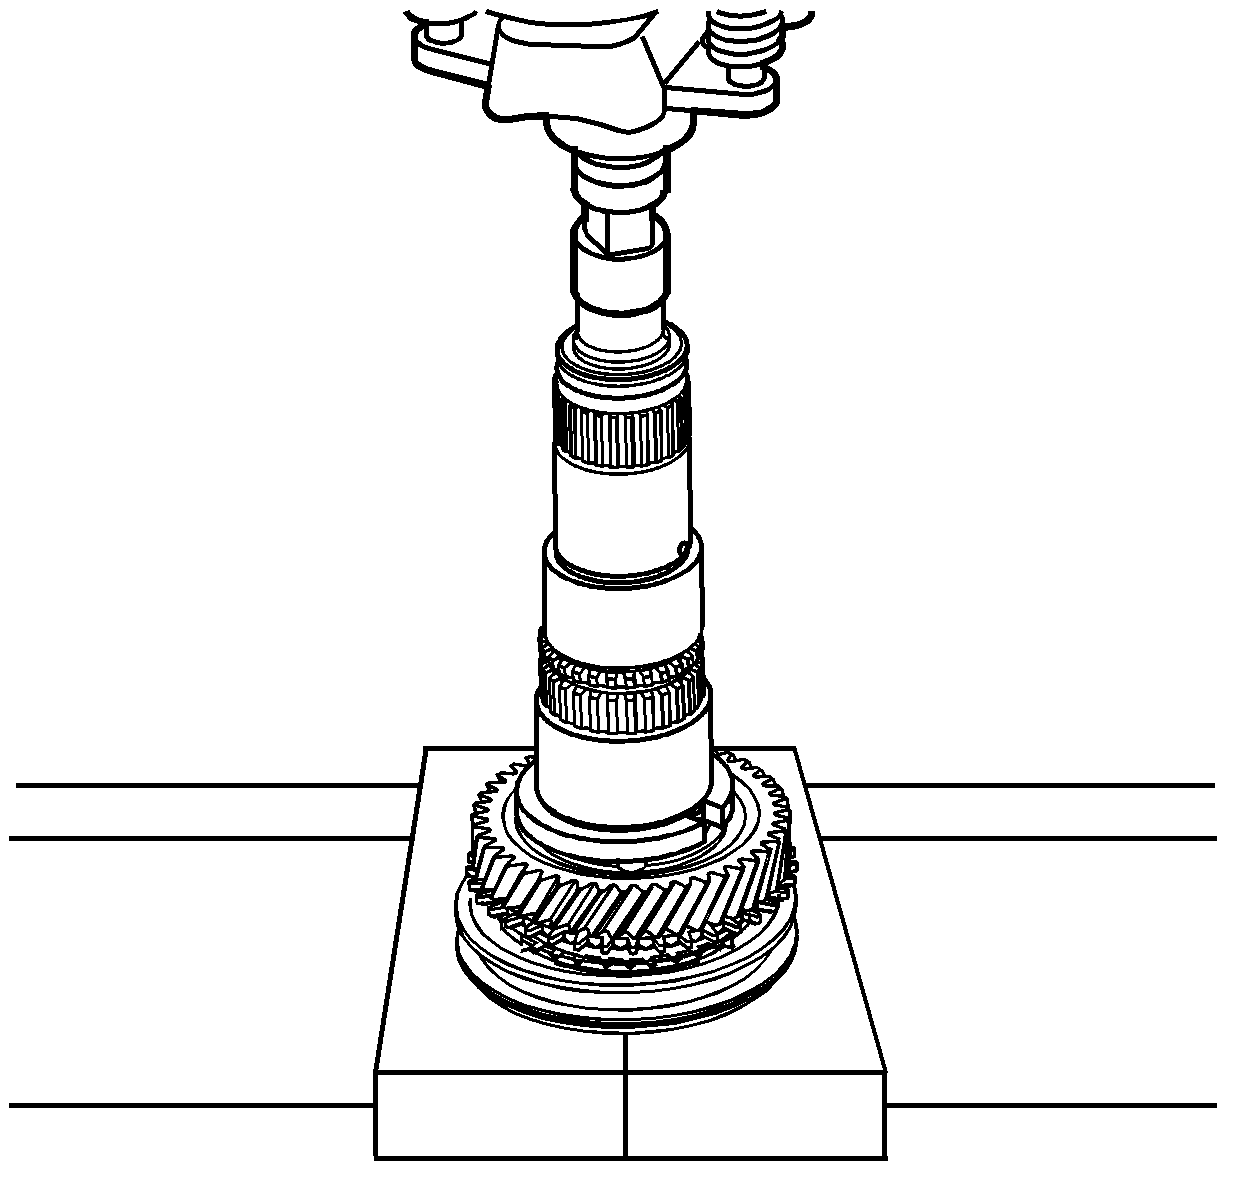
- Using a suitable sleeve under the hub, press the mainshaft into the synchromesh hub, ensuring that the synchromesh ring slots align with the sliding keys in the synchromesh assembly.
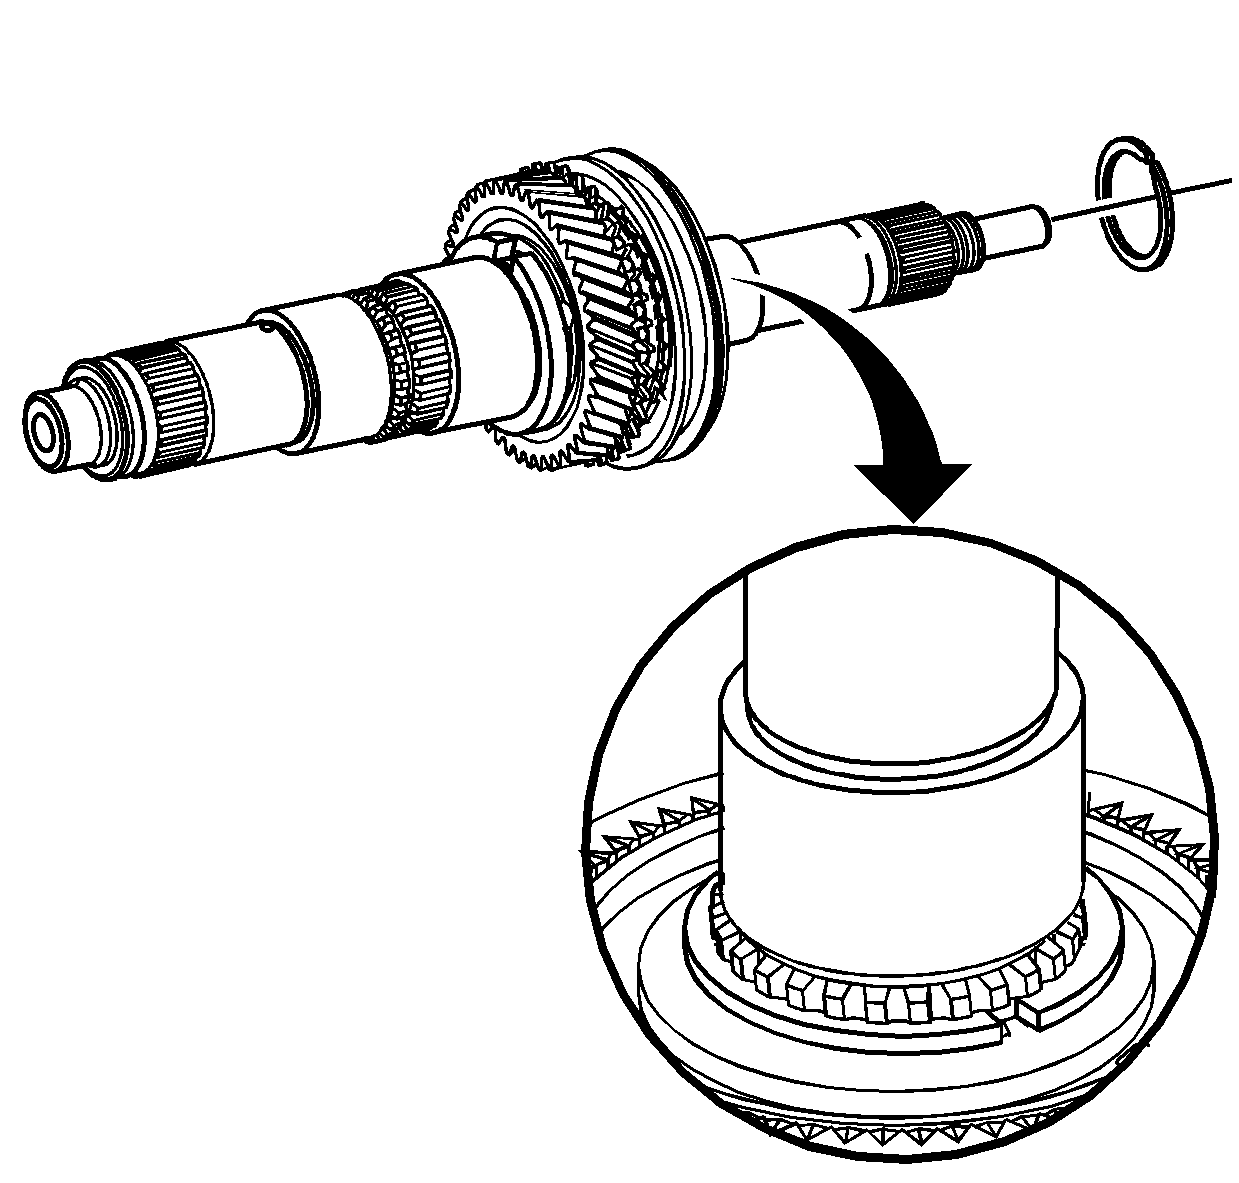
- Remove the mainshaft from the press, and if necessary, move up the synchromesh ring with a screwdriver so that it is not jammed on the gear cone.
- Install the selective snap ring onto the mainshaft, ensuring that no gap exists between the synchromesh hub and the installed snap ring and the snap ring is seated correctly in the groove.
- Install the 1st speed gear (4), caged needle bearing (5), 1st gear friction ring (3), cone ring (2) and the synchromesh ring (1) onto the mainshaft (6).
- The 1st gear (1) cone ring is - 040.8.0069.00 and the 2nd gear (2) cone ring is - 040.8.0059.00.
- Heat the 1st/2nd synchromesh hub to 100°C (212°F).
- Using a welding glove, position the synchromesh assembly onto the mainshaft, aligning the mainshaft and hub splines.
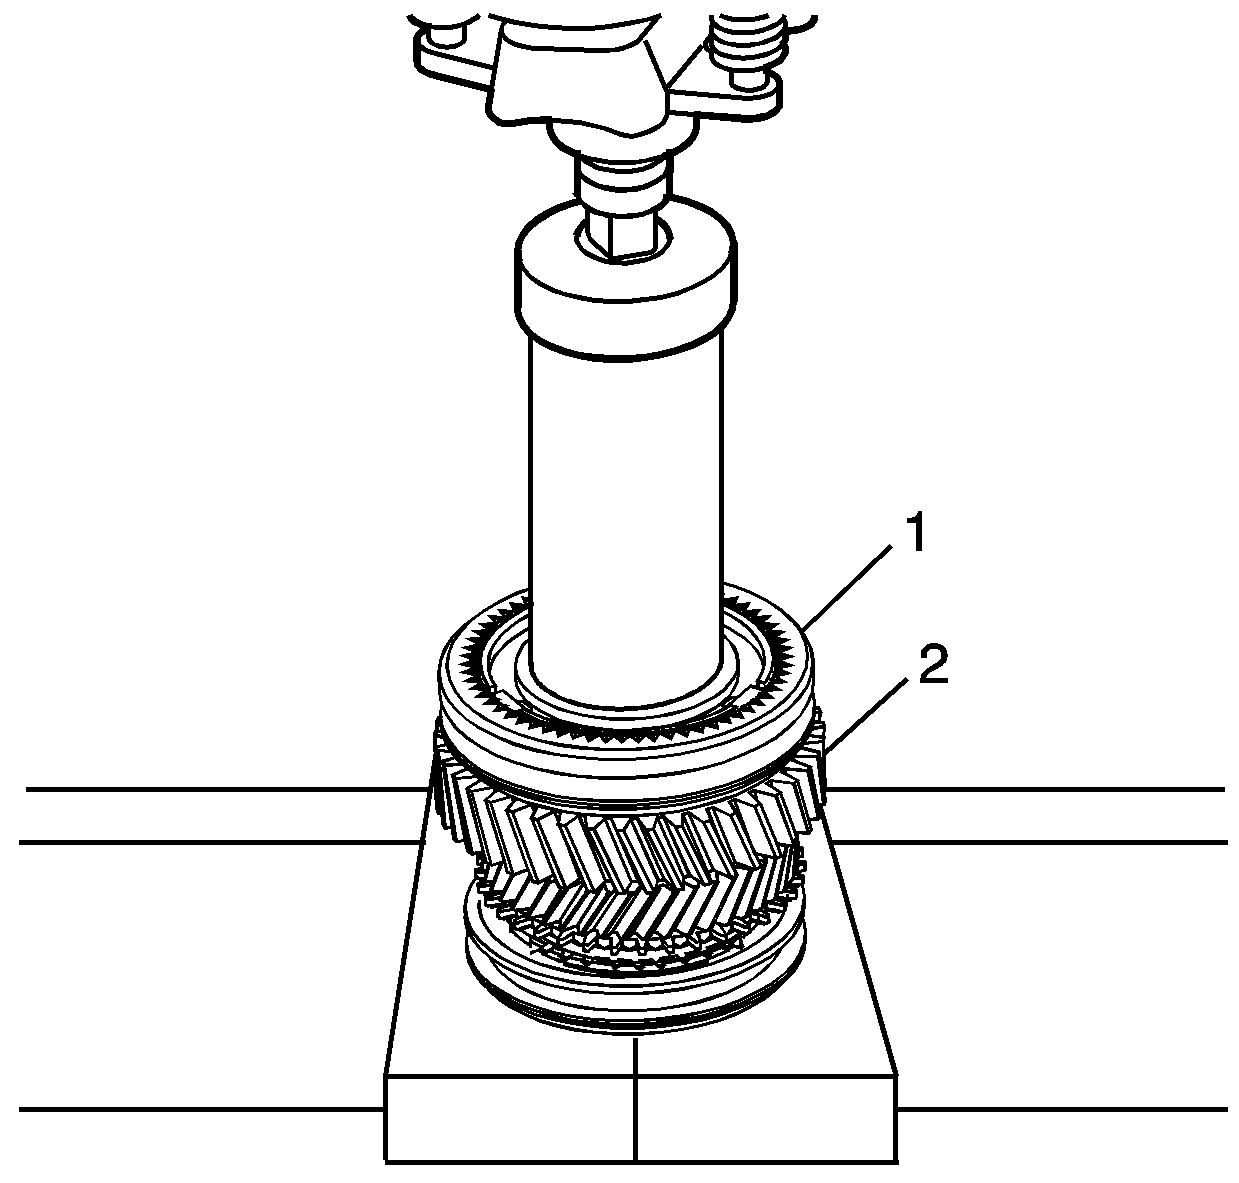
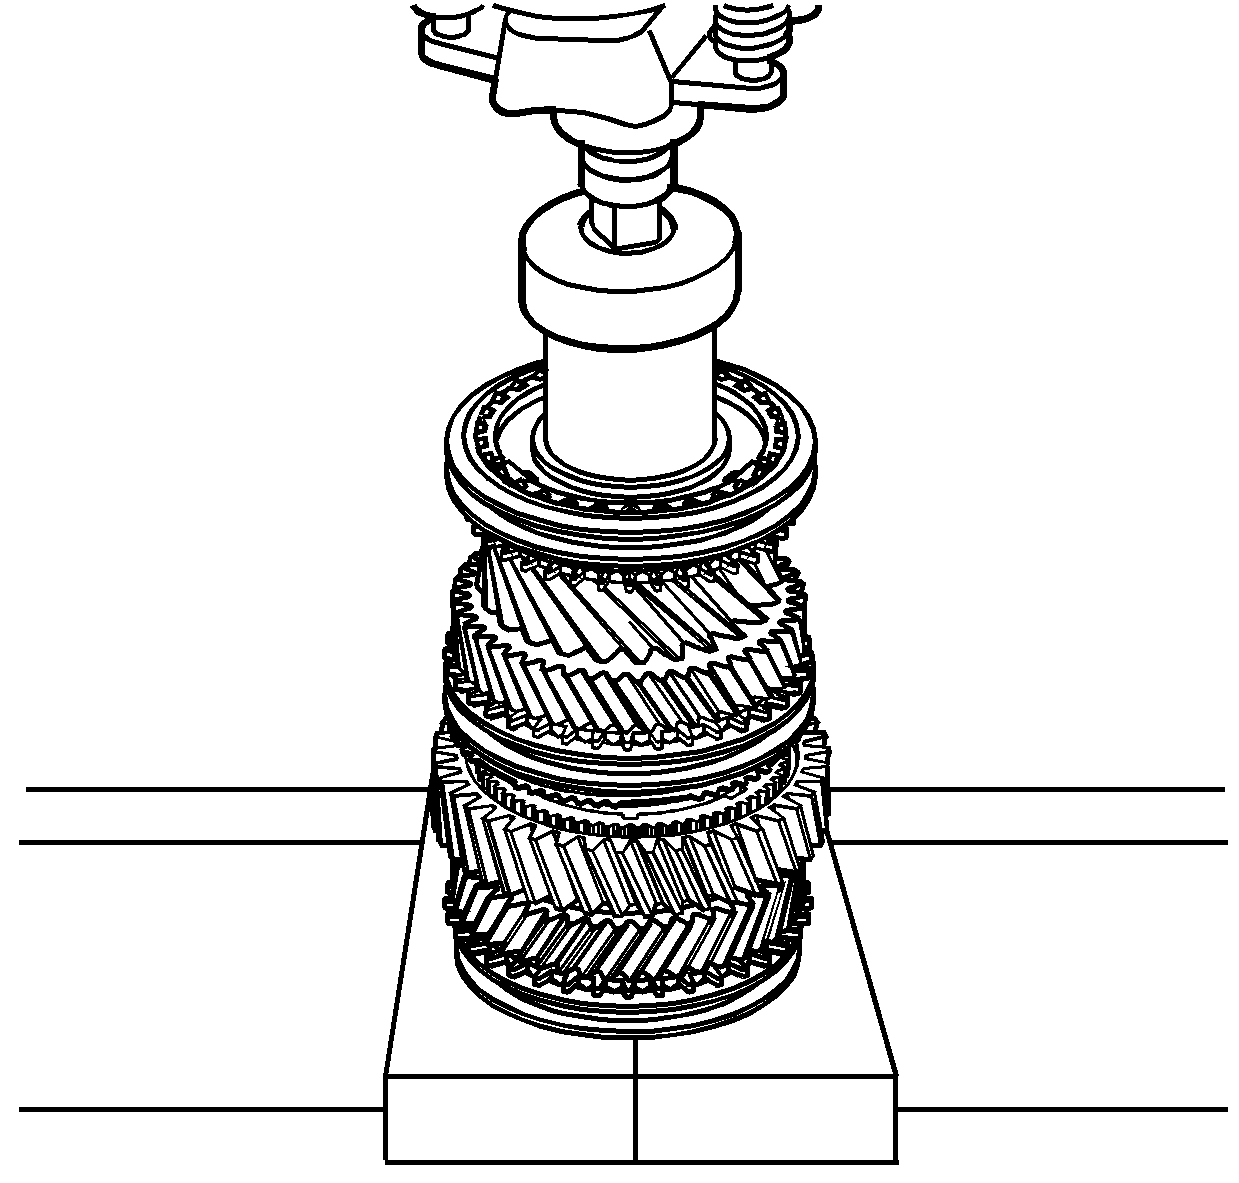
- Using a press and press tube, press the hub onto the mainshaft, ensuring that the synchromesh ring slots align with the sliding keys.
- Remove the mainshaft from the press, move the synchromesh ring up so that it is not jammed on the gear cone.
- Mount the rear end of the mainshaft in a vice with soft metal jaws.
- Install the synchromesh assembly, selective snap ring (1) onto the mainshaft (2), ensuring that the snap ring is correctly seated in the groove, without any end clearance.
- Install the 2nd gear (1) with the caged needle roller bearing (2), the friction cone (3), the cone ring (4) and the synchromesh ring (5) on the mainshaft. Ensuring the synchromesh ring (5) is correctly located in the synchromesh assembly.
- Install the small locating ball (2) in the mainshaft, securing with petroleum jelly.
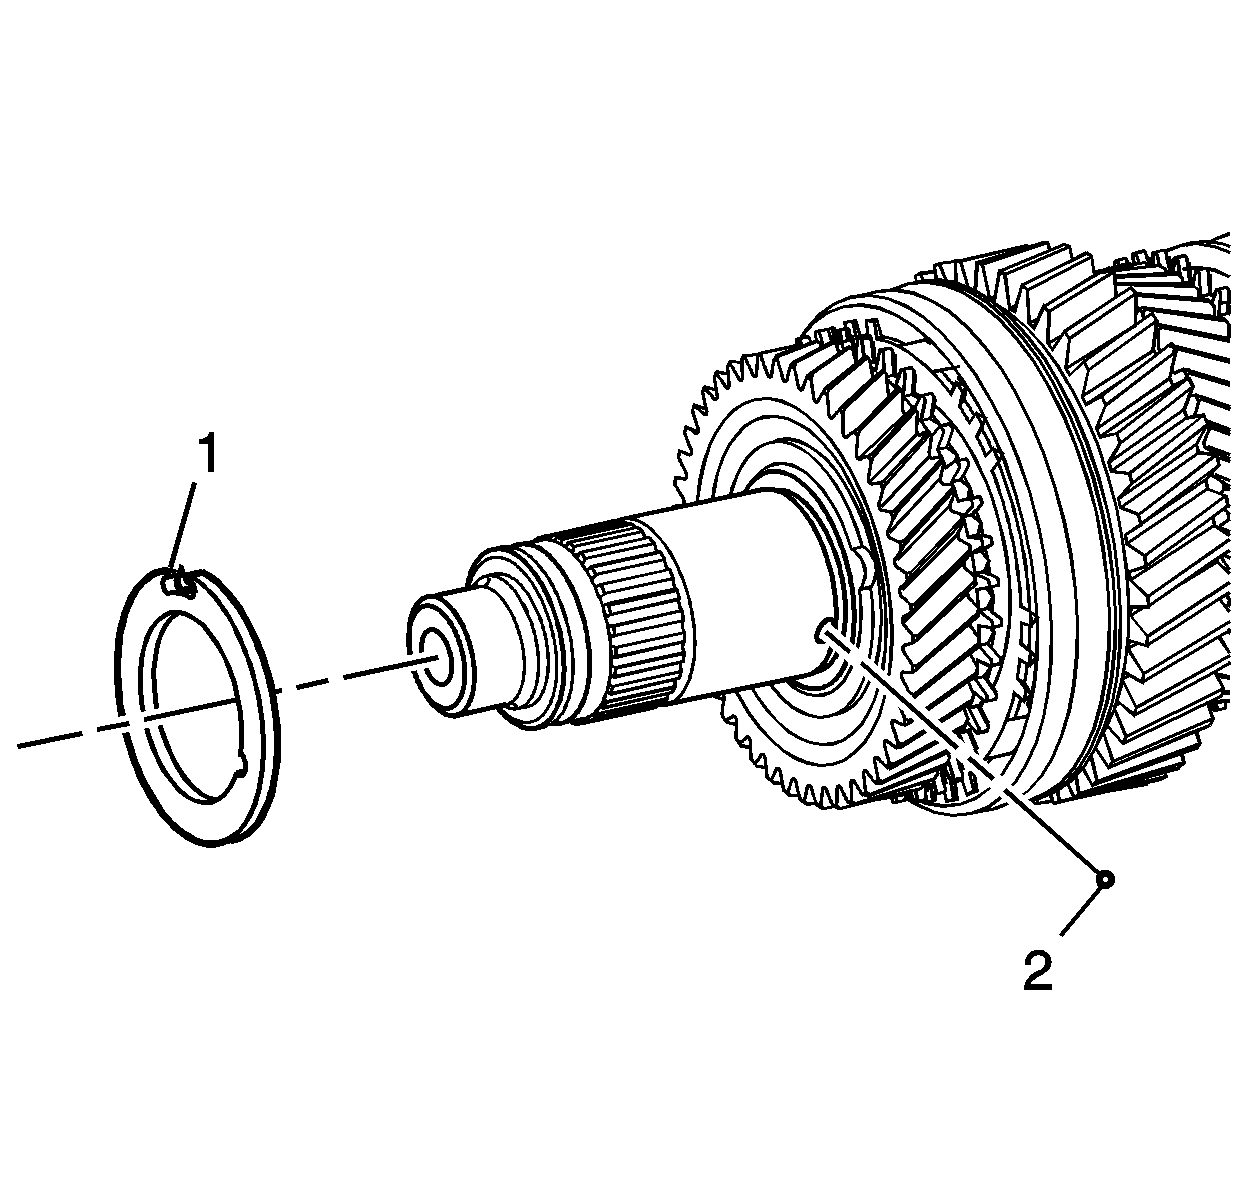
- Install the thrust washer (1) over the ball on the mainshaft.
- Heat the 3rd speed gear roller bearing sleeve (2) to 100°C (212°F).
- Use a welding glove to place the sleeve (2) on the mainshaft.
- It may be necessary to press the sleeve (2) onto the mainshaft. Ensure that the thrust washer remains in place over the retaining ball.
- Install bearing (3) over sleeve (2).
- Install 3rd gear (4) onto the mainshaft.
- Install the synchromesh ring (1) onto the 3rd gear (4).
- Heat the 3rd/4th synchromesh hub to 100°C (212°F).
- Using a glove, place the synchromesh hub over the mainshaft and align the splines.
- Using a press tube, press the hub on the mainshaft. Ensure that the synchromesh ring slots align with the sliding keys.
- Remove the mainshaft from the press, move the 3rd synchromesh ring up so it is not jammed on the gear cone.
- Install the washer (2) and snap ring (1) to the mainshaft, ensuring that the snap ring is correctly seated in the groove with no clearance between the snap ring and the washer.
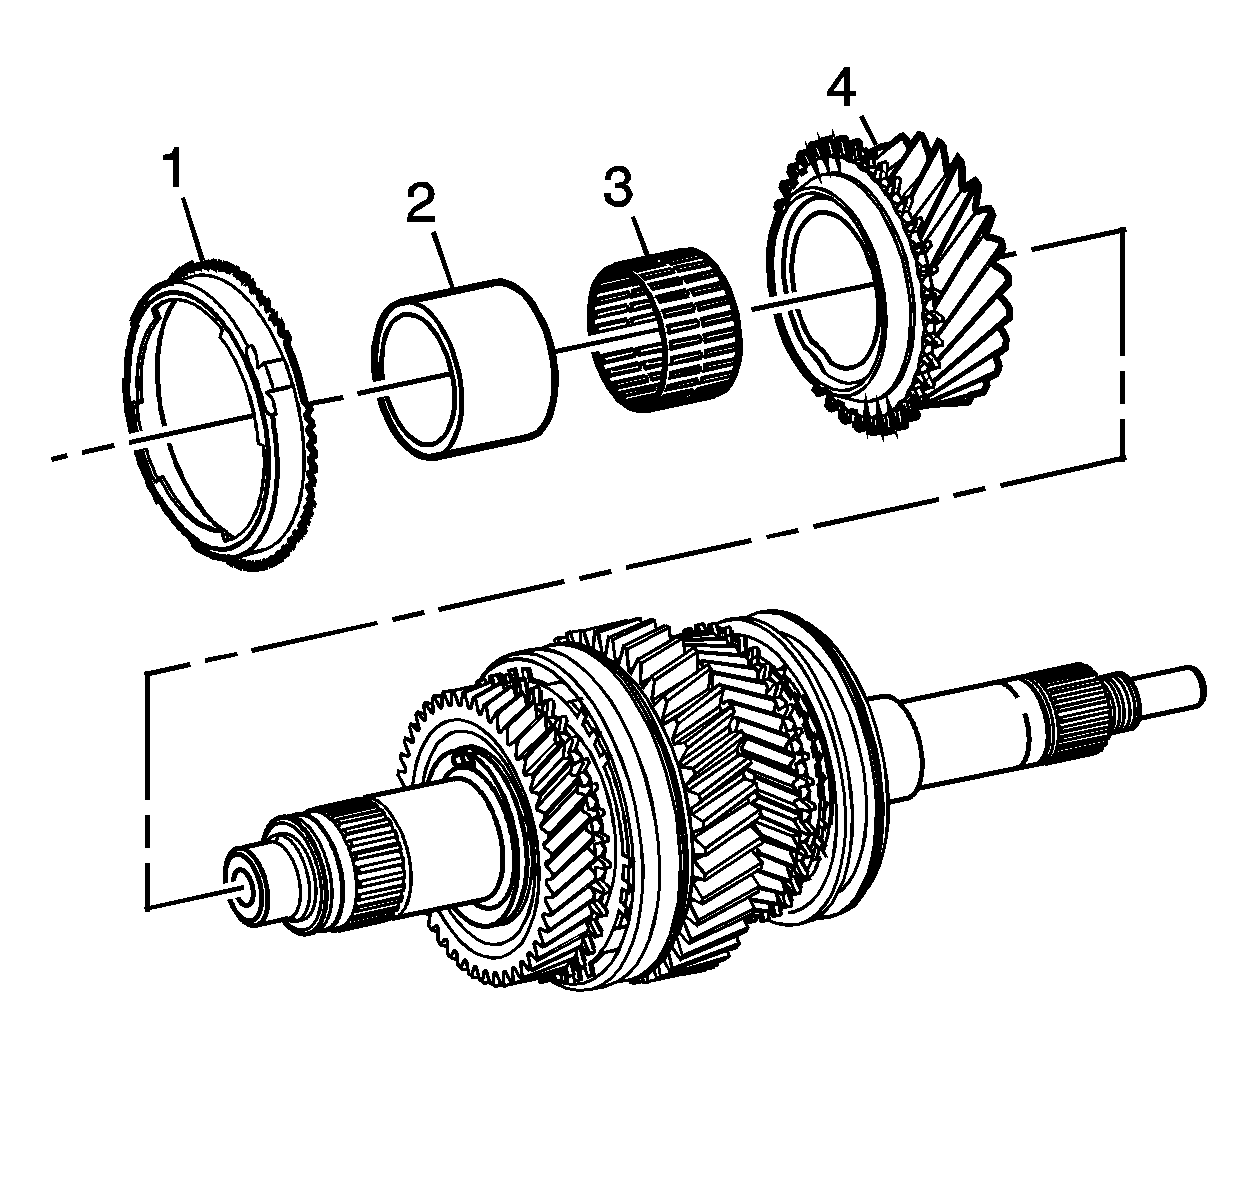
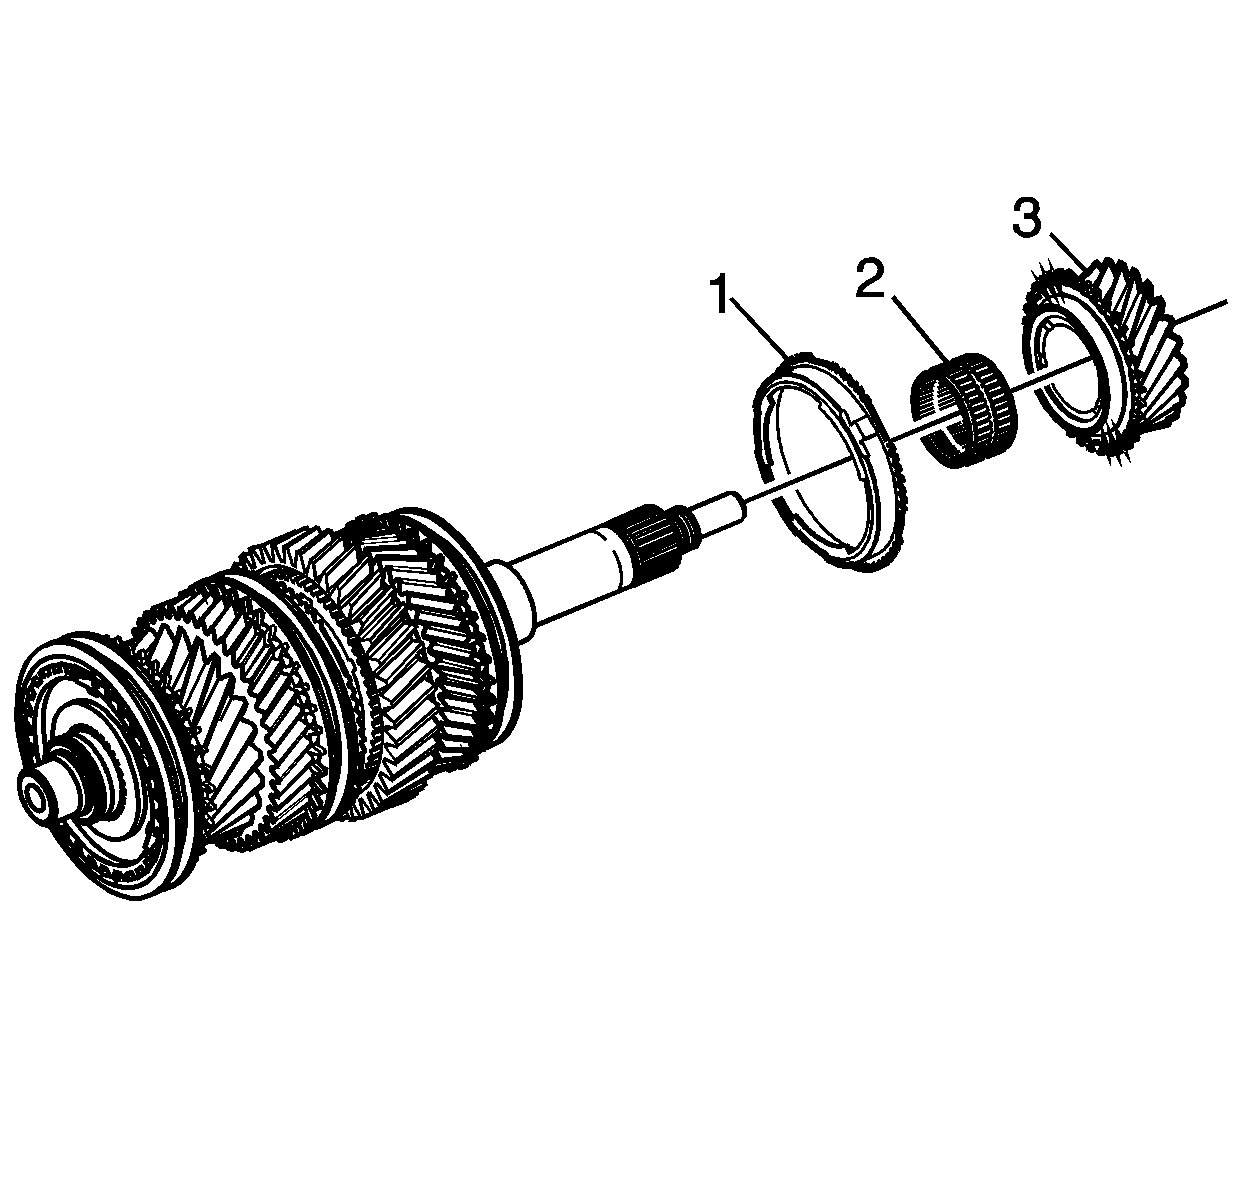
- Install the 5th speed caged needle bearing (2) onto the mainshaft. Then install the synchromesh ring (1), engaging ring slots with the sliding blocks of the synchromesh assembly and finally, the fifth speed gear (3).
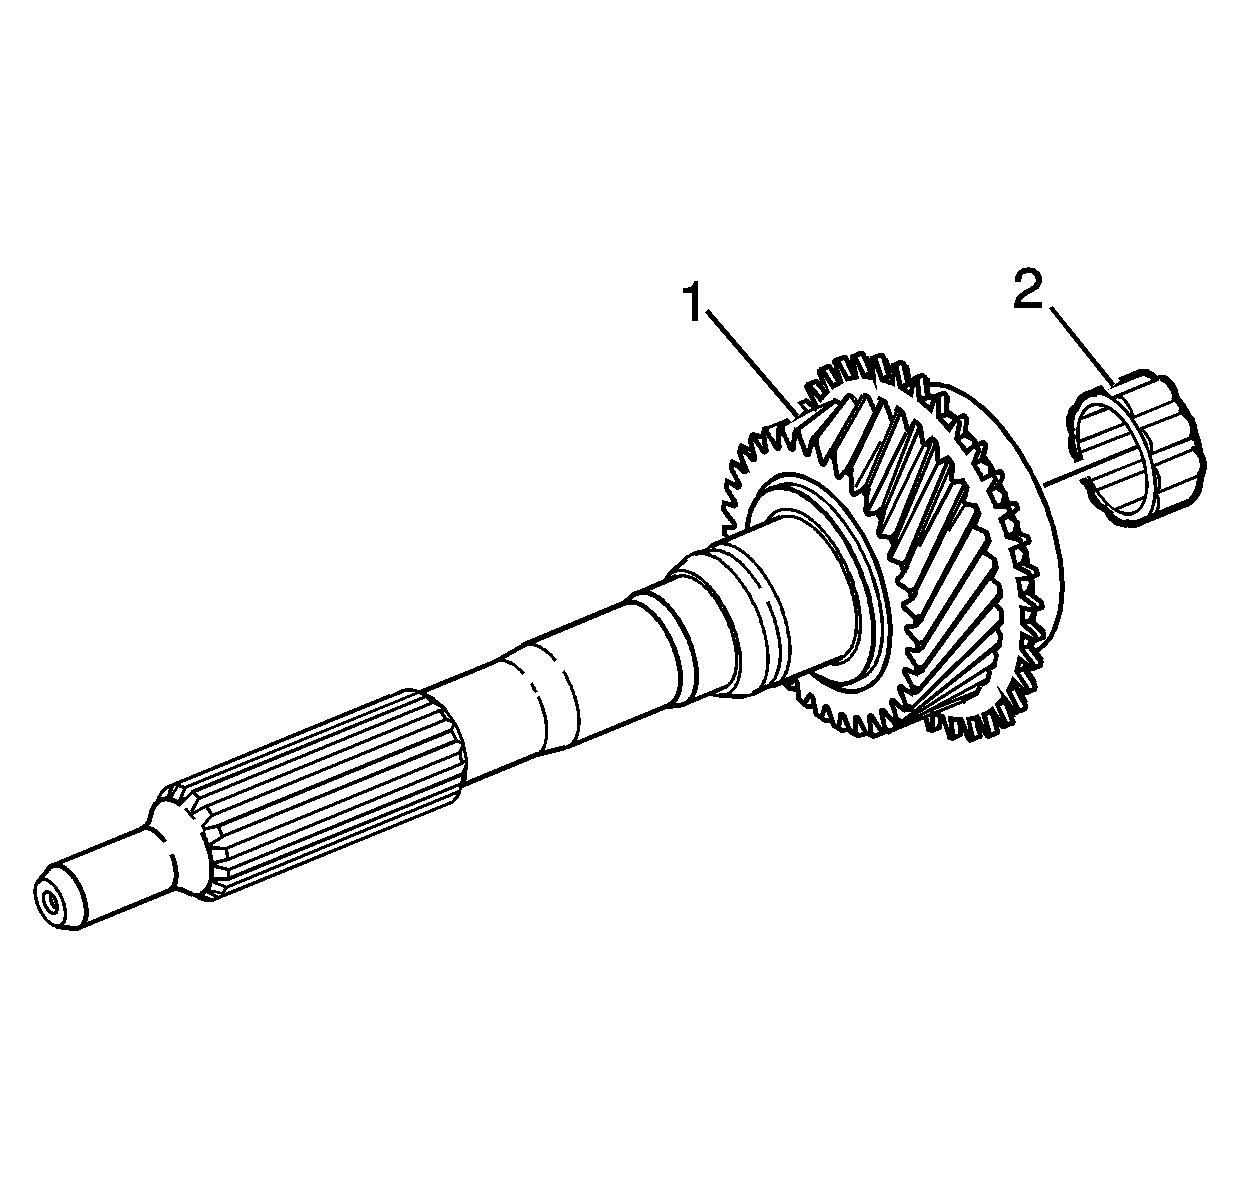
- Coat the main drive gear needle bearing (2) with trans jell.
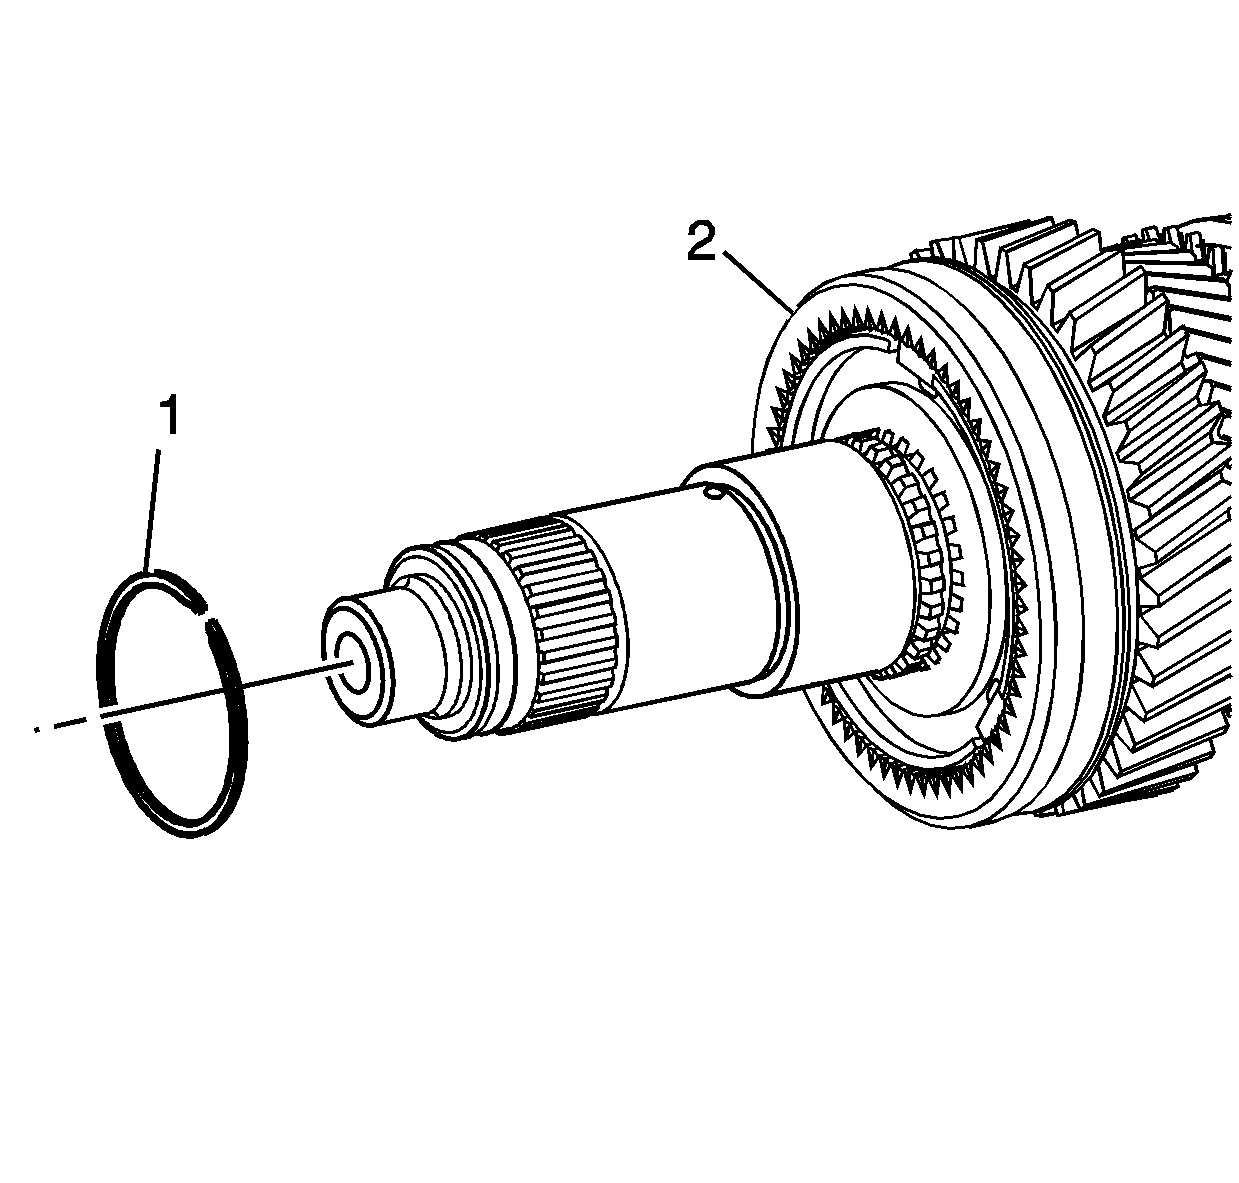
- Insert the bearing assembly (1) into the main drive gear.
- Lubricate the reverse idler gear shaft (4) with clean transmission fluid, install the two caged needle bearings (2).
- Locate the roller bearings by installing NEW snap rings (1) to each groove on the reverse idler gear shaft.
Important: The snap rings are available in thickness of 1.8, 1.85, 1.9, 1.95 and 2 mm (0.07-0.08 in).
Important: The side with the smaller outer surface (1) and the step, faces first gear (2).
Important: The snap rings are available in thickness of 1.8, 1.85, 1.9, 1.95 and 2 mm (0.07-0.08 in).
Important: Ensure that the synchromesh cone ring (4) is correct. The side with the smaller outer surface and the step, faces the first gear.
Important: The 3rd/4th selector fork offset in the outer sleeve faces away from the 3rd gear.
Important: Do not hit the synchromesh hub ring, it will cause the springs and balls to come apart.
Important: Snap rings are available in thickness of 2.0, 2.1, 2.2, 2.3, 2.4 and 2.5 mm (0.08-0.10 in).
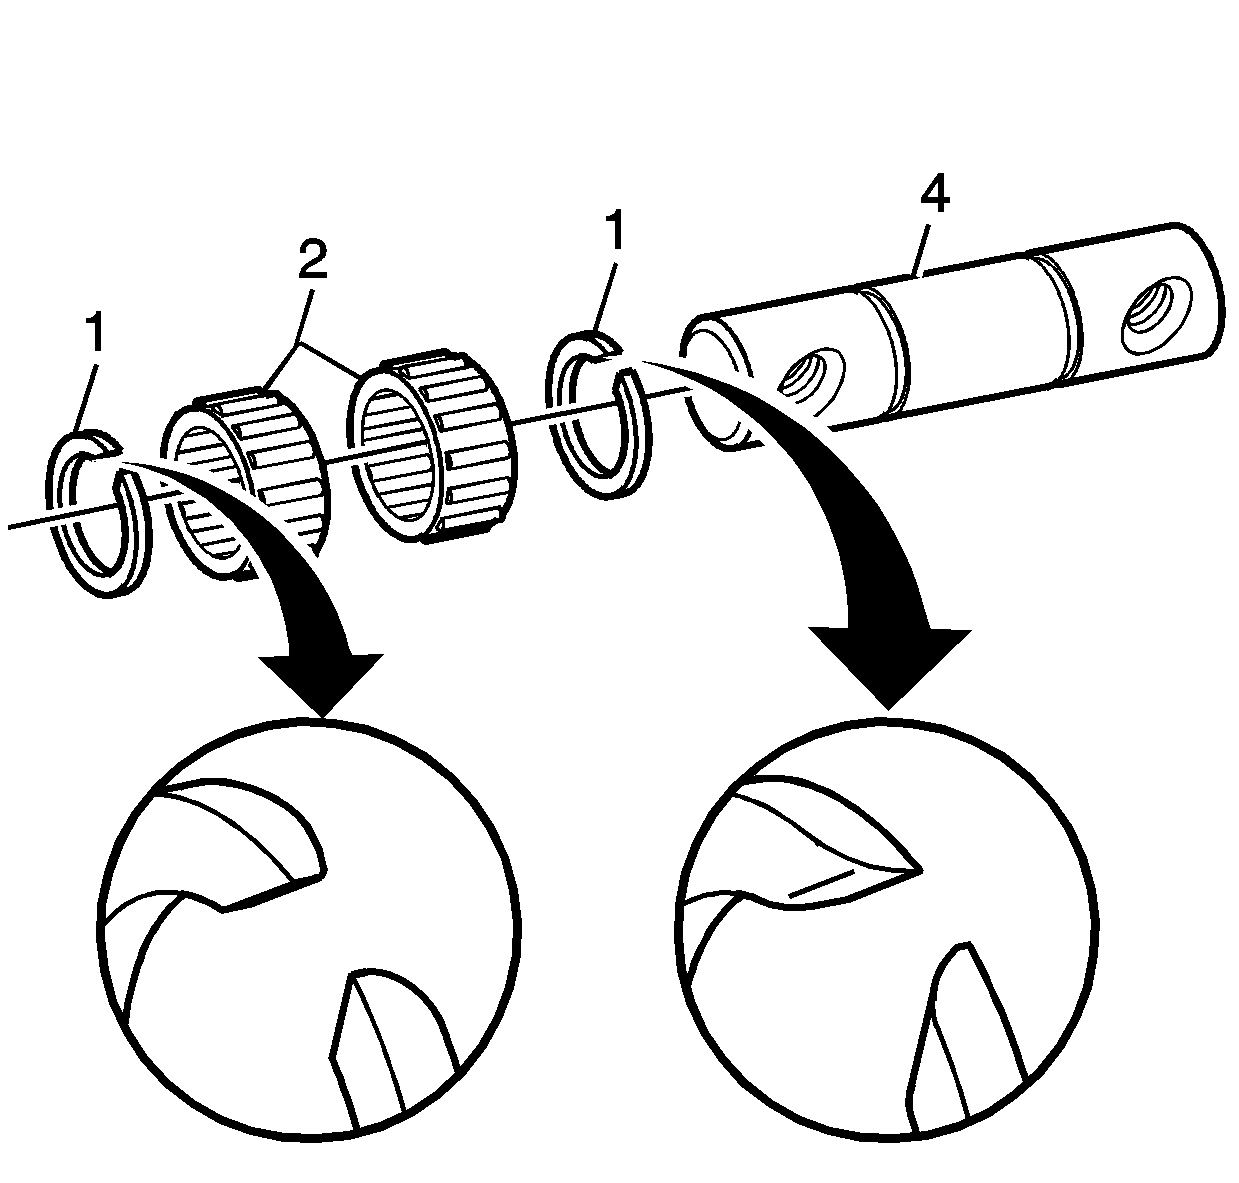
Important: Snap rings must be installed with curved out portion of each snap ring end AWAY from the roller bearings. If the snap rings are not installed as shown, then a transmission noise will be created.
