For 1990-2009 cars only
Removal Procedure
- Install the pin into the park brake lever. Refer to Parking Brake Cable Adjuster Disabling in Parking Brake.
- Raise and suitably support the vehicle. Refer to Lifting and Jacking the Vehicle in General Information.
- Remove the tire and the wheel assembly from the vehicle. Refer to Tire and Wheel Removal and Installation in Tires and Wheels.
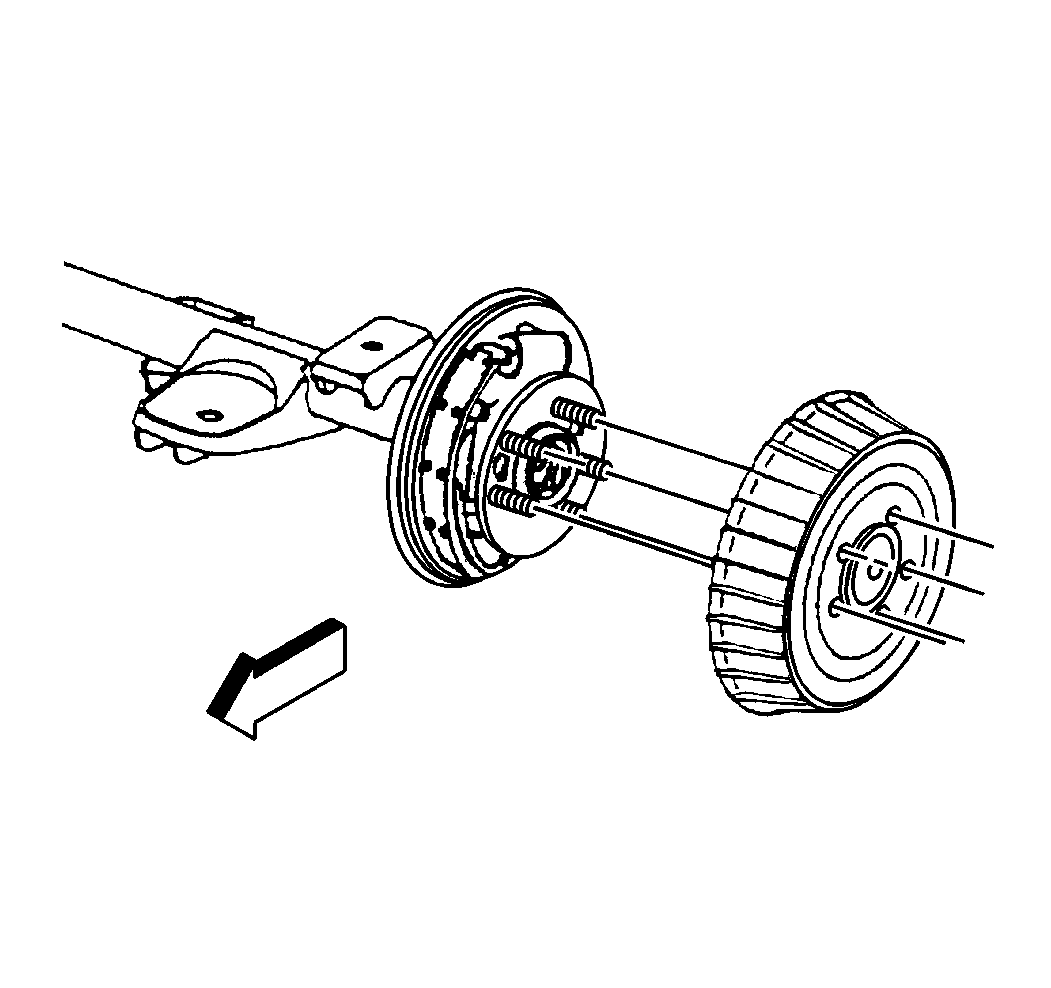
- Mark the relationship of the drum to the hub.
- Remove the brake drum retaining clips (if applicable).
- Remove the brake drum.
- If the brake drum does not come off easily, perform the following steps:


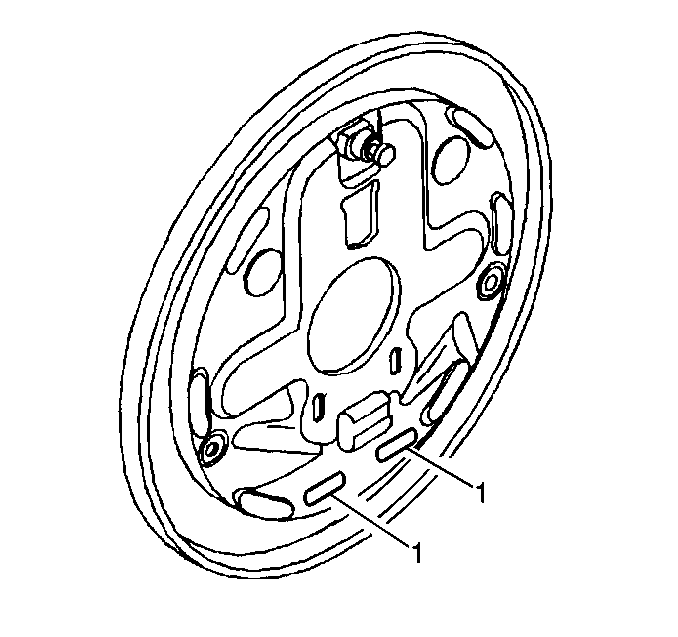
| 7.1. | Remove the access hole plug from the backing plate. |
| 7.2. | Insert a flat-bladed tool through the backing plate access hole (1) in order to disengage the self adjuster. |
| 7.3. | Insert another flat-bladed tool through the same backing plate access hole in order to loosen the adjuster screw. |
| 7.4. | Install the access hole plug in order to prevent dirt or contamination from entering the drum brake. |
| 7.5. | Apply a small amount of penetrating oil around the brake drum center hole. |
| 7.6. | Remove the brake drum. |
Installation Procedure
- Locate the relationship mark and install the brake drum to the axle.
- Install the rear brake drum retainers if present.
- Remove the pin from the park brake lever. Refer to Parking Brake Cable Adjuster Enabling in Parking Brake.
- Install the tire and the wheel assembly. Refer to Tire and Wheel Removal and Installation in Tires and Wheels.
- Adjust the rear brakes. Refer to Drum Brake Adjustment .
- Lower the vehicle.
- With the engine OFF, gradually apply the brake pedal approximately 2/3 of its travel distance.
- Slowly release the brake pedal.
- Wait 15 seconds, then repeat steps 7-8 until a firm brake pedal is obtained. This will properly seat the wheel cylinders and brake shoes.

