Notice: Broken or deteriorated mounts can cause misalignment and destruction
of certain drive train components. When a single mount breaks, the remaining
mounts are subjected to abnormally high stresses.
- Raise the vehicle.
Refer to
Lifting and Jacking the Vehicle
in General Information.
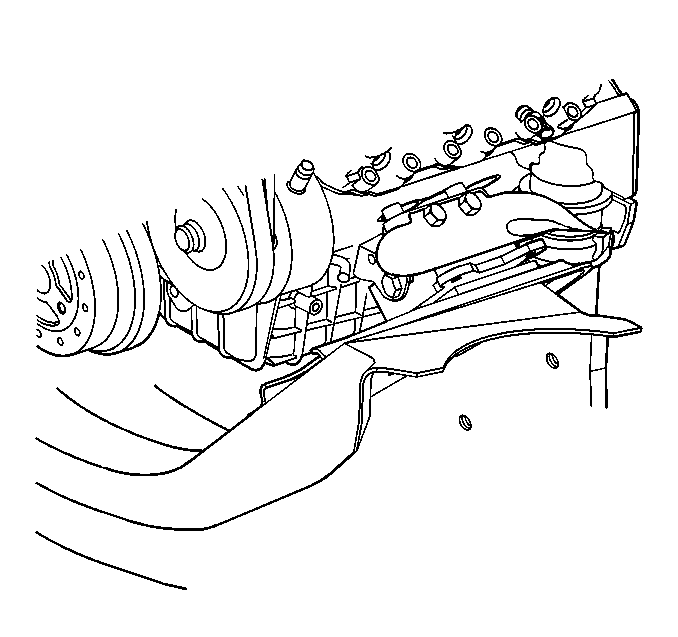
- Inspect for loose or missing bolts at the following locations:
| • | The engine mount bracket to the engine |
| • | The engine mount to the engine mount frame bracket and the through-bolts. |
| • | The engine mount frame bracket to the frame. |
- Replace loose or missing bolts. Refer to the following procedures:
Notice: When raising or supporting the engine for any reason, do
not use a jack under the oil pan, any sheet metal, or the crankshaft pulley.
Lifting the engine in an unapproved manner may cause component damage.
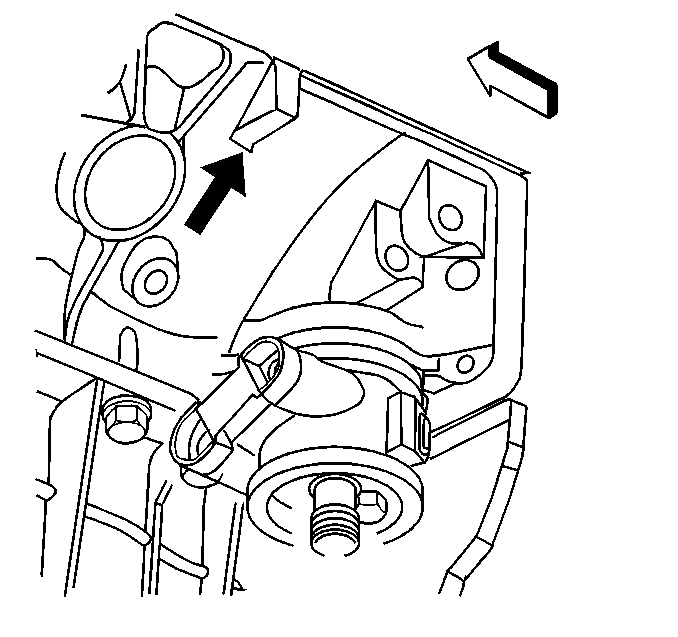
- Using a jack
on the square tab at the rear of the engine block (left side shown the right
side requires removal of the starter) raise the engine in order to complete
the following tasks:
| • | Remove weight from the engine mount. |
| • | Place a slight tension on the rubber cushion. |
| • | Observe the engine mount while raising the engine. |
- Replace the engine mount if the following conditions exist:
| • | Heat check cracks cover the hard rubber surface. |
| • | The rubber cushion is separated from the metal plate of the engine
mount. |
| • | There is a split through the rubber cushion. |
- Lower the vehicle.
