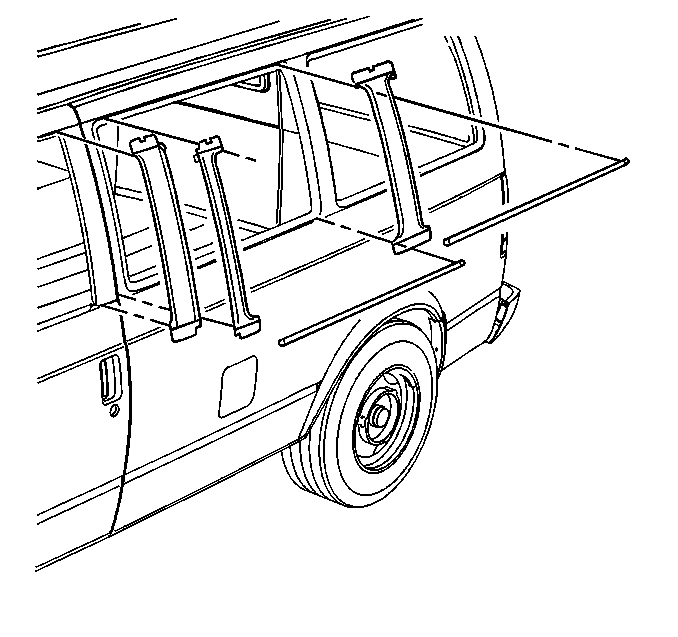
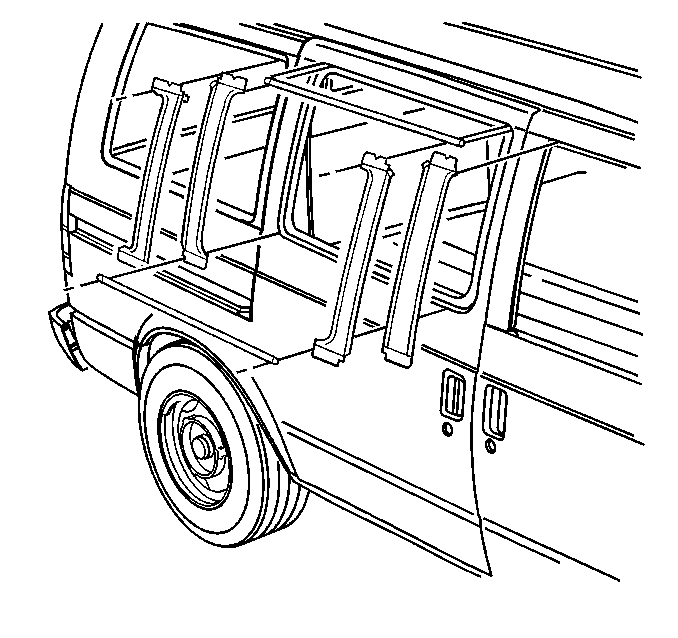
For 1990-2009 cars only
Removal Procedure
- Remove the door trim panel. Refer to Door Trim Panel Replacement .
- Remove the door window run channel from the door frame.
- Remove the emblem from the door. Refer to Exterior Trim Molding/Nameplate Replacement .
- Use a heat gun or other suitable tool in order to heat the transfer.
- Slowly peel the transfer from the door.

Important: Apply the transfers in a clean environment where dust or fibers will not interfere with proper adhesion.

Installation Procedure
- Clean the area where the transfer will be mounted. Use a suitable solvent, such as a mixture of 50 percent isopropyl alcohol and 50 percent water.
- Dry the area thoroughly.
- Position the transfer to the door.
- Use a wax pencil in order to mark the upper and the lower locations of the transfer on the door.
- Begin at the top of the transfer and peel the backing paper from a workable section of the transfer.
- Begin applying the transfer to the door.
- Use a small roller or other suitable tool in order to gently press the transfer to the door and insure proper adhesion.
- Verify that there are no air bubbles visible on the transfer.
- Install the emblem to the door. Refer to Exterior Trim Molding/Nameplate Replacement .
- Install the door window run channel to the door frame.
- Install the door trim panel. Refer to Door Trim Panel Replacement .
Important: If paint in the area is chipped or gouged, repaint the area, otherwise the surface imperfection will be visible through the blackout transfer.

Continue applying the transfer to the door in small, workable sections, until finished.

Important: Use care not to stretch the transfer during application.
If there are air bubbles, use a small pin in order to help eliminate the air bubbles.
