Removal Procedure
- Open the hood.
- Remove the engine cover. Refer to Engine Cover Replacement in Instrument Panel, Gages and Console.
- Do not remove the C-clip from the cruise control end connector.
- Do not remove the adjuster screw from the end of the cruise control cable. Adjustments will not be needed.
- Remove the cruise control cable from the throttle linkage, using a suitable tool in order to lightly pry off the end of the cruise control cable.
- Disconnect the cruise control cable from the throttle linkage.
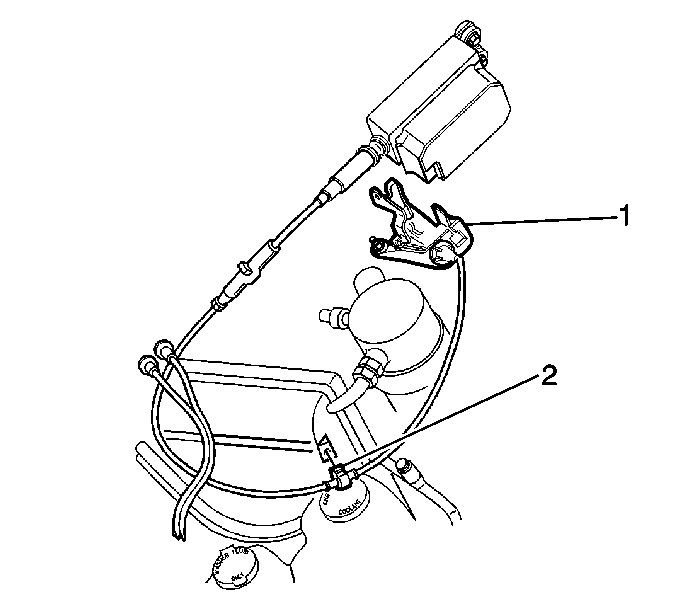
- Disconnect the cruise control cable from the cable bracket (1).
- Remove the screw that retains the cruise control cable to the HVAC module (2).
- Remove the cruise control cable from the cruise control module housing.
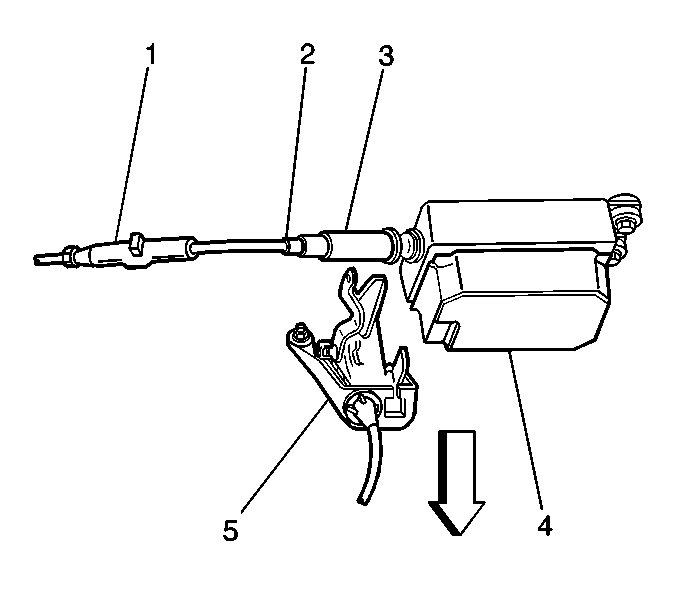
- Disconnect the cruise control cable bead (2) from the end of the ribbon (1).
- Remove the cruise control cable from the vehicle.
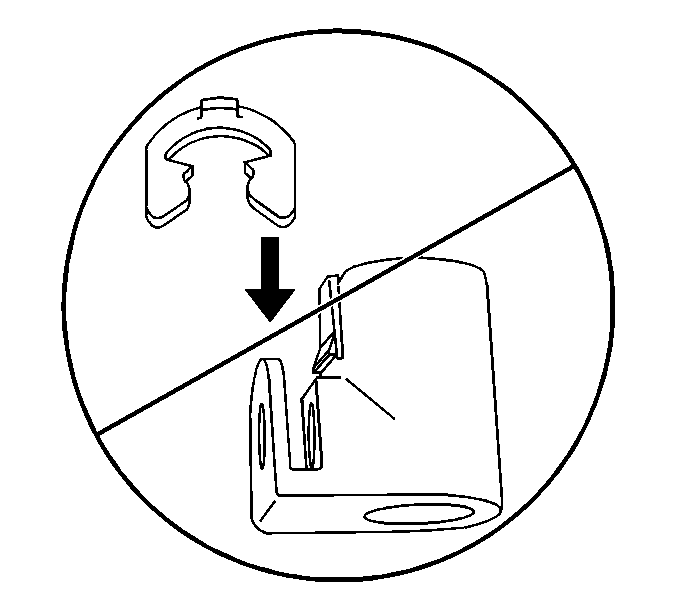
Notice: Do not remove the C-clip from the cruise control connector. The C-clip was not designed for removal. Damage may occur when removing.
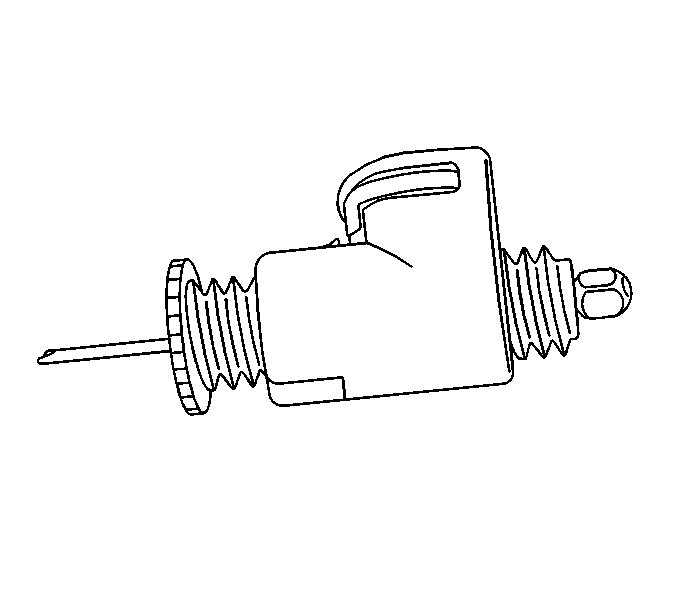
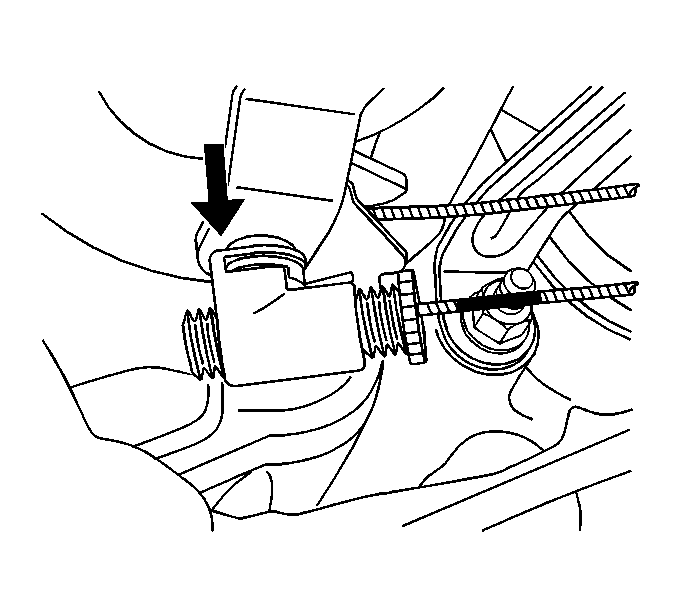
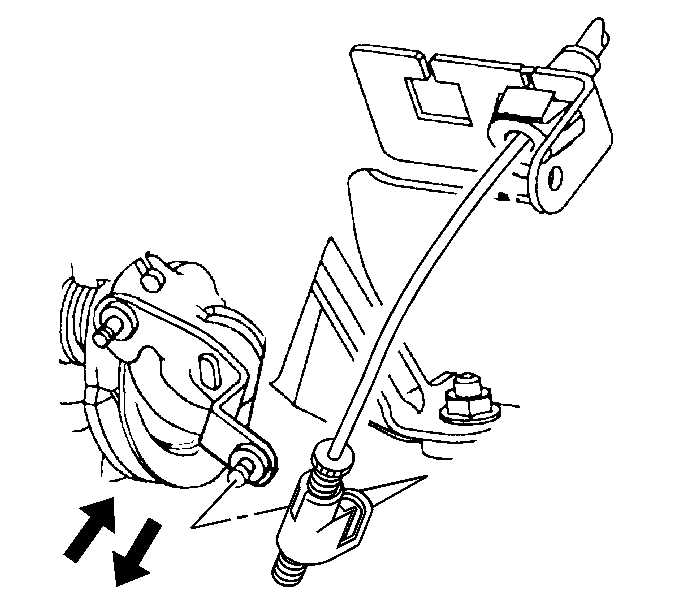
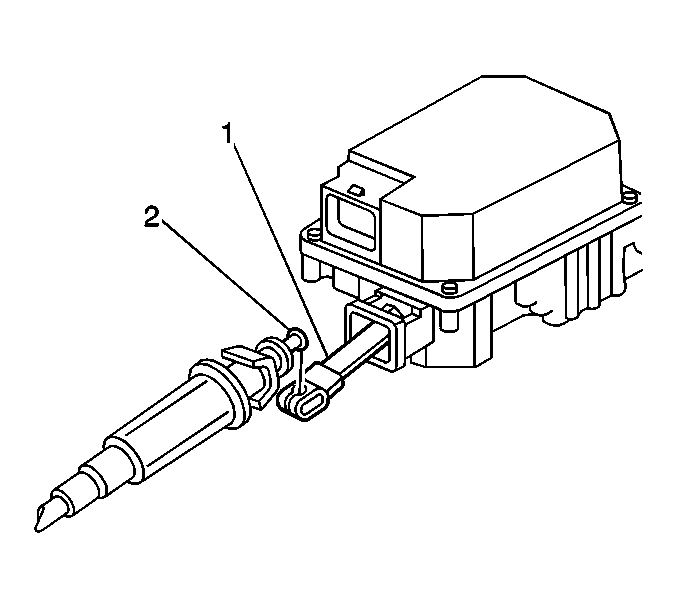
Important: Do not allow the cruise control ribbon to retract into the module assembly.
Installation Procedure
- Install the cruise control cable to the vehicle.
- Remove all bends and twists from the cruise control module ribbon and cable by rotating until removed.
- Attach the cruise control cable bead (2) to the cruise control module ribbon (1).
- Inspect the orientation of the cruise control ribbon buckle to the cable end fitting.
- Install the cruise control cable to the cable bracket (1).
- Install the screw that retains the cruise control cable to the HVAC module (2).
- Install the cruise control cable to the cruise control module housing.
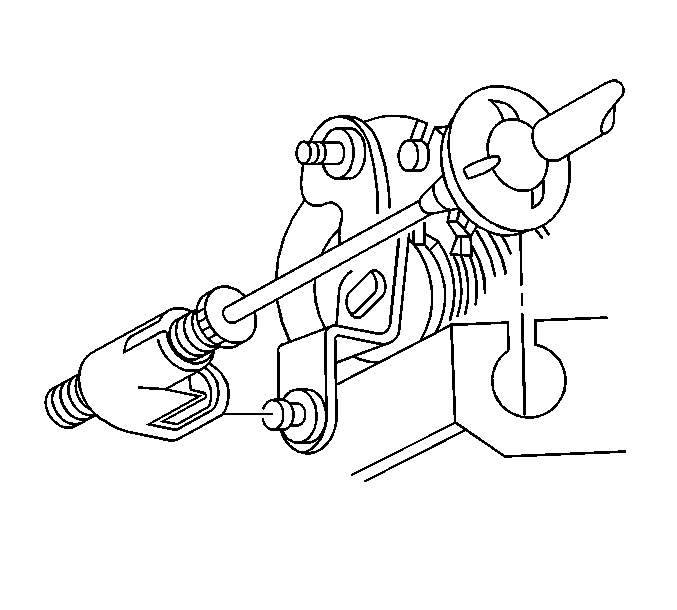
- Connect the cruise control cable to the throttle linkage.
- Snap the cruise control cable fitting (3) into the cruise control module (4).
- In order to install a new cruise control cable, pull the cruise control cable ferrule through the opposite end of the fitting.
- From inside the vehicle, snap the cable fitting onto the stud on the throttle body linkage.
- Reroute and insert the cruise control cable fitting into the round hole in the accelerator bracket.
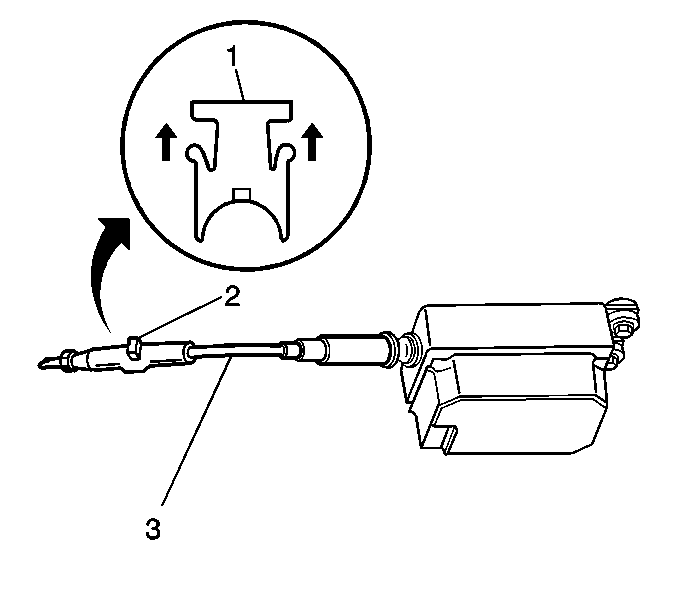
- When installing a new cruise control cable or adjusting an old cruise control cable (3), engage the lock (1) on the cruise control adjuster (2).
- Install the cruise control cable to the HVAC module by placing the cable inside the module clip and snapping the clip closed.
- Perform the Cruise Control System Functional Test. Refer to Cruise Control Inoperative/Malfunctioning .
- If the cruise control cable (3) requires adjustment, release the lock on the cable adjuster (2) using the following steps:
- After completing the adjustment, reset the lock.
- Install the engine cover. Refer to Engine Cover Replacement in Instrument Panel, Gages and Console.
- Close the hood.
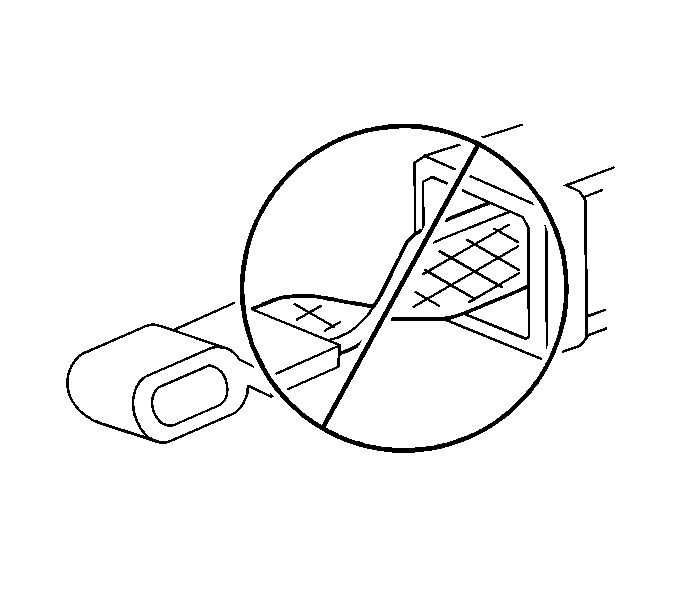

Important:
• Do not twist the cruise control module ribbon (1). • Pull the cruise control cable (2) in order to verify retention
to the ribbon (1).
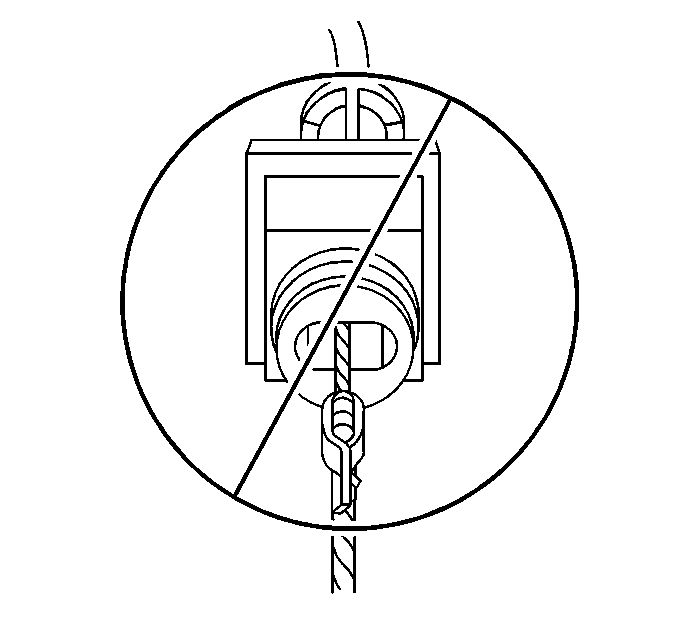


The ferrule color is natural and must be visible when pulled through the fitting.
Important: Verify that the cable fitting locking tabs are expanded, and that the tabs are locked in the accelerator bracket hole.
Important: The cruise control cable does not require mechanical adjusting after the replacement. The cruise control module internally adjusts the cable.
The white paint mark will disappear when the adjuster is locked.

| 16.1. | Gently squeeze the tabs on the adjuster plunger (1). |
| 16.2. | Pull upward on the adjuster plunger (1). |
| 16.3. | Rotate the black plastic screw on the cruise control cable end that connects to the throttle body until the proper lash is achieved. |
Specification
The lash should be within 0.0-0.6 mm (0.0-0.024 in).
