For 1990-2009 cars only
Tools Required
J 21366 Converter Holding Strap
Removal Procedure
- Disconnect the battery. Refer to Battery Negative Cable Disconnection and Connection in Engine Electrical.
- Raise the vehicle. Refer to Lifting and Jacking the Vehicle in General Information.
- Drain the transmission fluid if necessary. Refer to Automatic Transmission Fluid and Filter Replacement .
- Remove the rear propeller shaft. Refer to One-Piece Propeller Shaft Replacement or Two-Piece Propeller Shaft Replacement in Propeller Shaft.
- Support the transmission with a transmission jack.
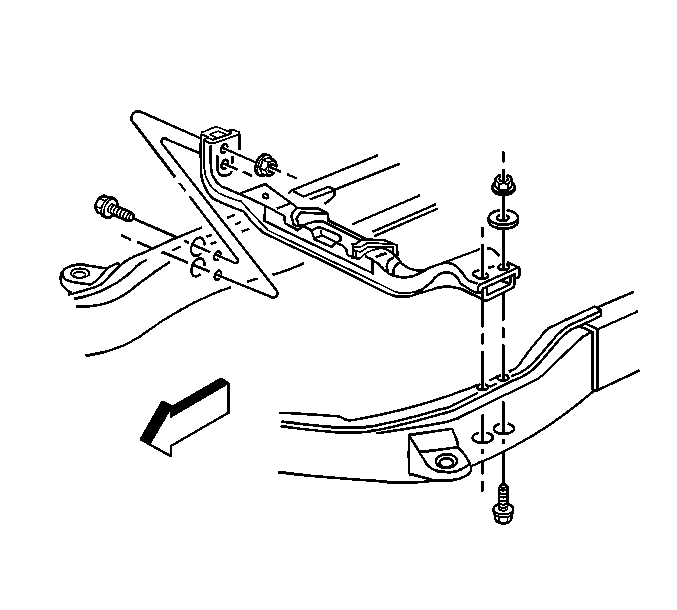
- Remove the transmission support from the vehicle. Refer to Transmission Support Replacement in Frame and Underbody.
- Remove the exhaust crossover pipe assembly. Refer to Exhaust Manifold Pipe Replacement in Engine Exhaust.
- Lower the transmission to gain access to the top and sides of the transmission.
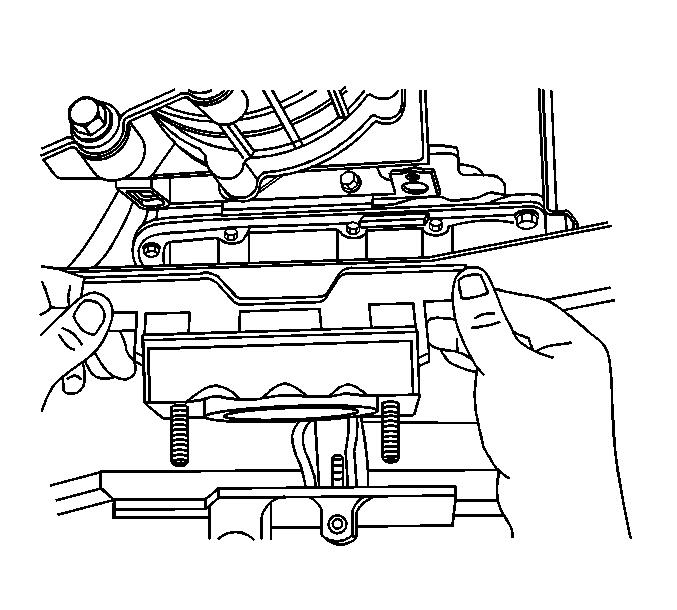
- Remove the transmission mount. Refer to Transmission Mount Replacement .
- Remove the transfer case, if equipped. Refer to Transfer Case Assembly Replacement in Transfer Case - 233-NP1 or Transfer Case Assembly Replacement in Transfer Case - NVG 236/246-NP8.
- Remove the shift cable end from the transmission shift lever ball stud and the pan rail bracket. Refer to Range Selector Lever Cable Replacement .
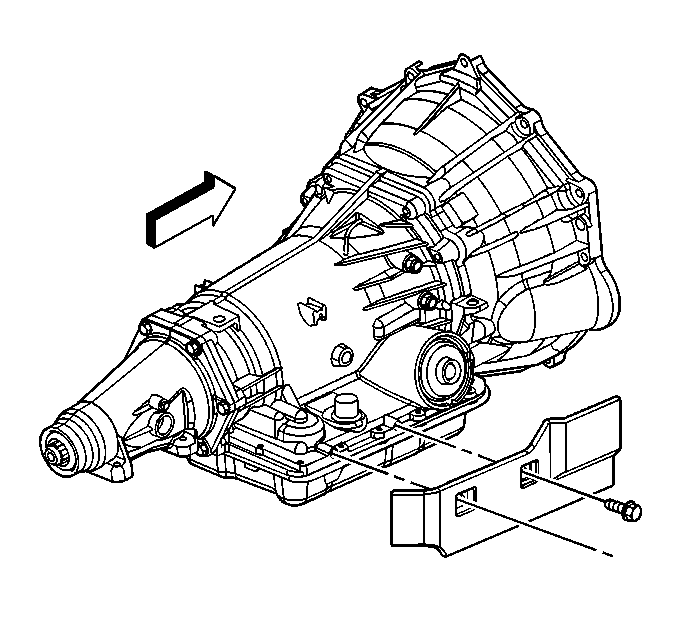
- Remove the transmission heat shield, if equipped.
- Disconnect the transmission vent hose, the park/neutral position switch connector, and the main electrical connector from the transmission. Refer to Park/Neutral Position Switch Replacement .
- Remove the bolt that secures the fuel line bracket to the left side of the transmission.
- Remove the torque converter access plug.
- Remove the starter motor to gain access to the torque converter bolts. Refer to Starter Motor Replacement in Engine Electrical.
- Mark the flywheel to torque converter relationship.
- Remove the flywheel to torque converter bolts. Use care not to drop the bolts into the bell housing.
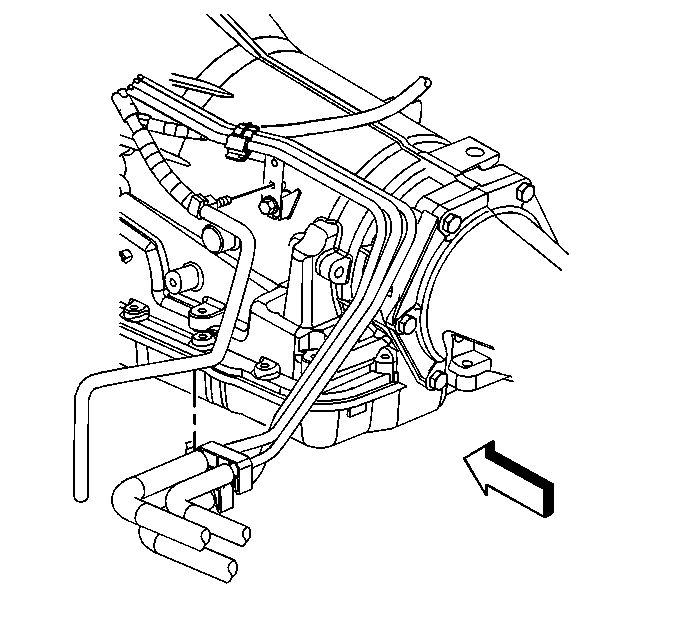
- Disconnect the transmission oil cooler lines from the transmission. Refer to Transmission Fluid Cooler Hose/Pipe Replacement .
- Plug the transmission oil cooler line connectors in the transmission case.
- Install a safety chain around the transmission.
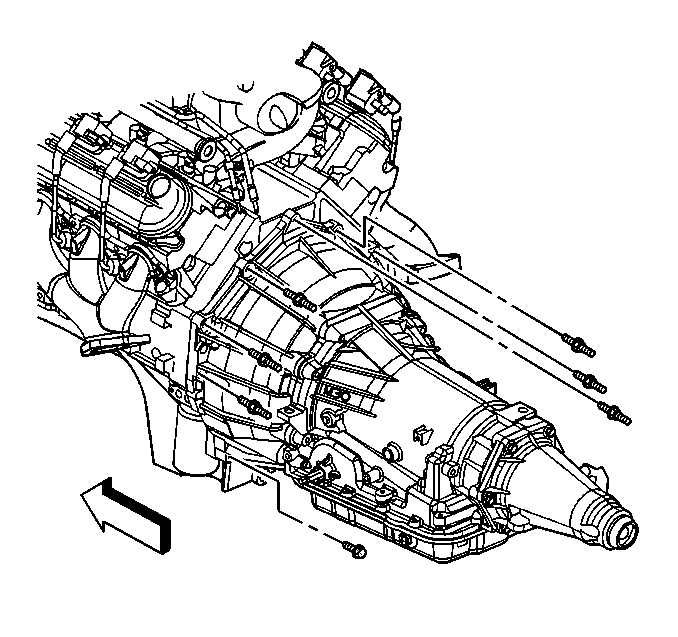
- Remove the studs and/or bolts that secure the transmission to the engine.
- Install the J 21366 onto the transmission bell housing to retain the torque converter.
- Pull the transmission straight back.
- Remove the transmission from the vehicle.
- Flush the transmission oil cooler and lines. Refer to Transmission Fluid Cooler Flushing and Flow Test .
Installation Procedure
- Install the J 21366 onto the transmission bell housing to retain the torque converter.
- Raise the transmission into place and remove the J 21366 from the transmission.
- Slide the transmission straight onto the locating pins while lining up the marks on the flywheel and the torque converter made during removal.
- Install studs and/or bolts securing the transmission to the engine.
- Install the flywheel to torque converter bolts. Use care not to drop the bolts into the bell housing.
- Install the starter motor. Refer to Starter Motor Replacement in Engine Electrical.
- Install the torque converter access plug.
- Remove the safety chain from the transmission.
- Install the transmission vent hose, fuel lines, and the wiring harness to the transmission.
- Install the bolts securing the heat shield to the transmission.
- Install the shift cable end to the transmission shift lever ball stud. Refer to Range Selector Lever Cable Replacement .
- Install the transfer case, if equipped. Refer to Transfer Case Assembly Replacement in Transfer Case - 233-NP1 or Transfer Case Assembly Replacement in Transfer Case - NVG 236/246-NP8.
- Connect the vent tube hose and the electrical connections to the transfer case, if equipped.
- Install the transmission mount to the transmission (2WD) or transfer case adapter (4WD). Refer to Transmission Mount Replacement .
- Install the exhaust crossover pipe assembly. Refer to Exhaust Manifold Pipe Replacement in Engine Exhaust.
- Install the transmission support to the vehicle. Refer to Transmission Support Replacement in Frame and Underbody.
- Remove the transmission jack from the transmission.
- Install the rear propeller shaft. Refer to One-Piece Propeller Shaft Replacement or Two-Piece Propeller Shaft Replacement in Propeller Shaft.
- Flush the transmission oil cooler and cooling lines at this time if necessary. Refer to Transmission Fluid Cooler Flushing and Flow Test .
- Connect the transmission oil cooler lines to the transmission. Refer to Transmission Fluid Cooler Hose/Pipe Replacement .
- Lower the vehicle.
- Connect the battery. Refer to Battery Negative Cable Disconnection and Connection in Engine Electrical.
- Fill the transmission to the proper level with DEXRON VI transmission fluid. Refer to Transmission Fluid Check .
- Reset the TAP values. Refer to Adapt Function .
- Road test the vehicle to check for proper operation. Check the transmission for leaks.

The torque converter must be flush onto the flywheel and rotate freely by hand.
Notice: Refer to Fastener Notice in the Preface section.
Tighten
Tighten the studs and/or bolts to 50 N·m (37 lb ft).
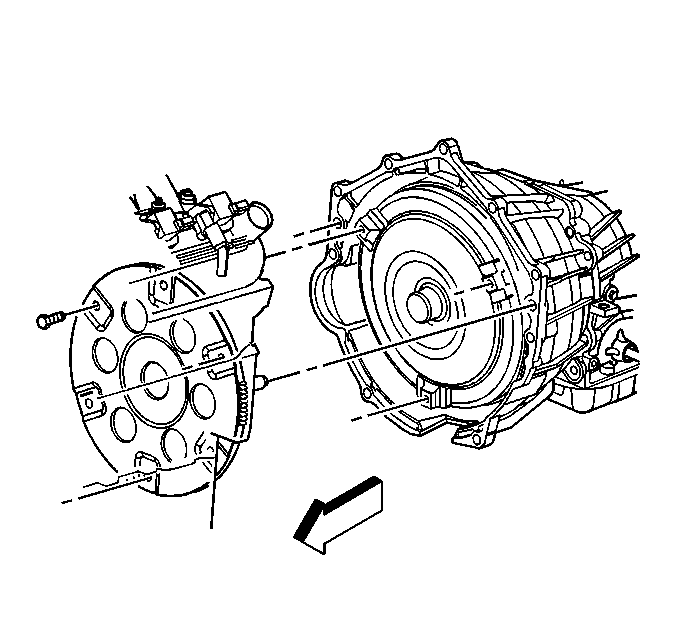
Tighten
Tighten the bolts to 60 N·m (44 lb ft).
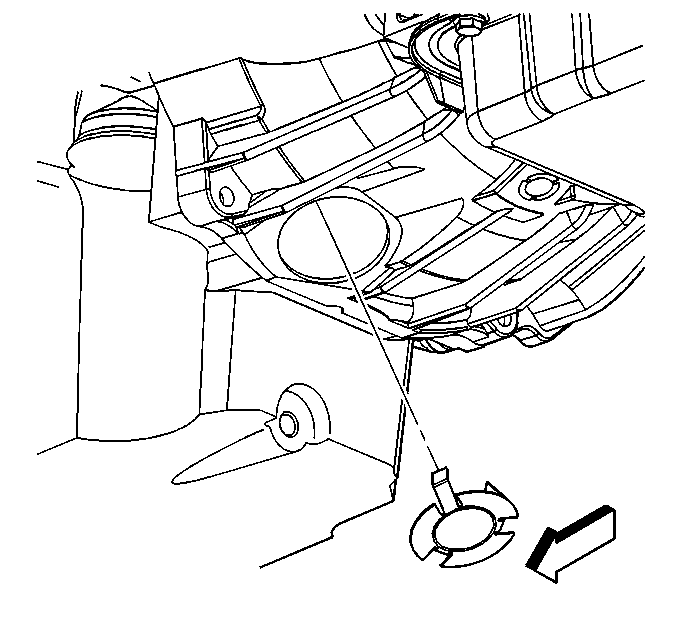


Tighten
Tighten the bolts to 17 N·m (13 lb ft).


Important: It is recommended that transmission adaptive pressure (TAP) information be reset.
Resetting the TAP values using a scan tool will erase all learned values in all cells. As a result, The ECM, PCM or TCM will need to relearn TAP values. Transmission performance may be affected as new TAP values are learned.