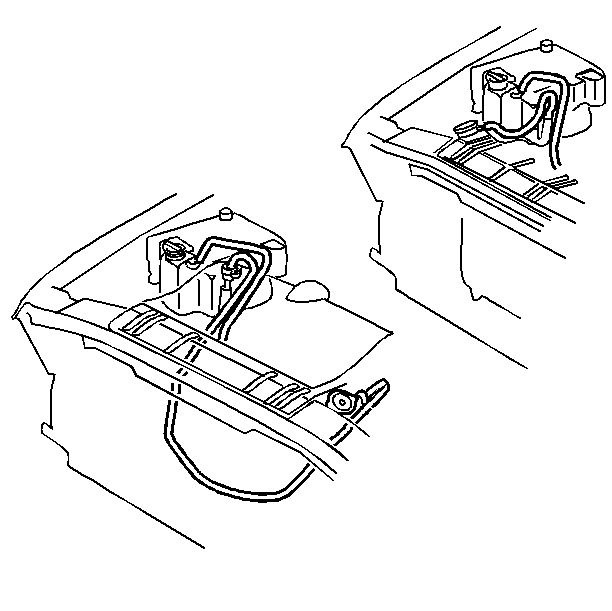
Engine Coolant Recycling
The use of a waterless, GM approved coolant recycling system on the vehicle eliminates the need for evacuation. This system is available through the GM Dealer Equipment program or the equivalent. This method removes the used coolant and replaces the used coolant with approved new or with recycled coolant. When this equipment is not available use the following procedure.
Draining Procedure
Caution: To avoid being burned, do not remove the radiator cap or surge tank cap while the engine is hot. The cooling system will release scalding fluid and steam under pressure if radiator cap or surge tank cap is removed while the engine and radiator are still hot.
Caution: As long as there is pressure in the cooling system, the temperature can be considerably higher than the boiling temperature of the solution in the radiator without causing the solution to boil. Removal of the pressure cap while the engine is hot and pressure is high will cause the solution to boil instantaneously -- possibly with explosive force -- spewing the solution over the engine, fenders and the person removing the cap.
- Ensure that the system has cooled, then remove the radiator filler cap.
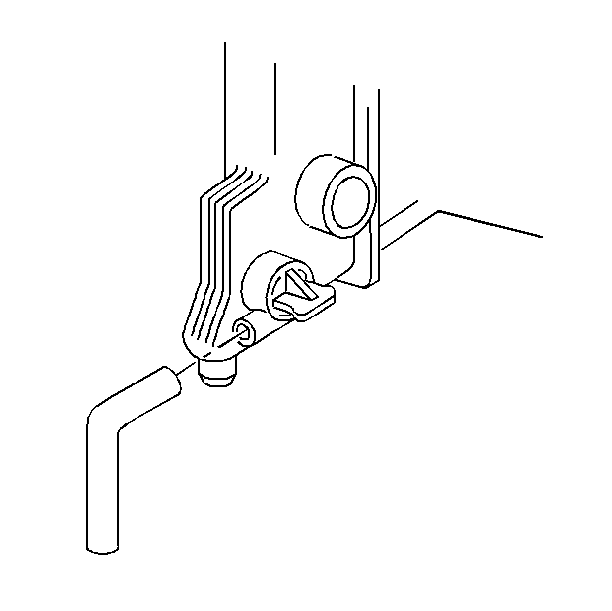
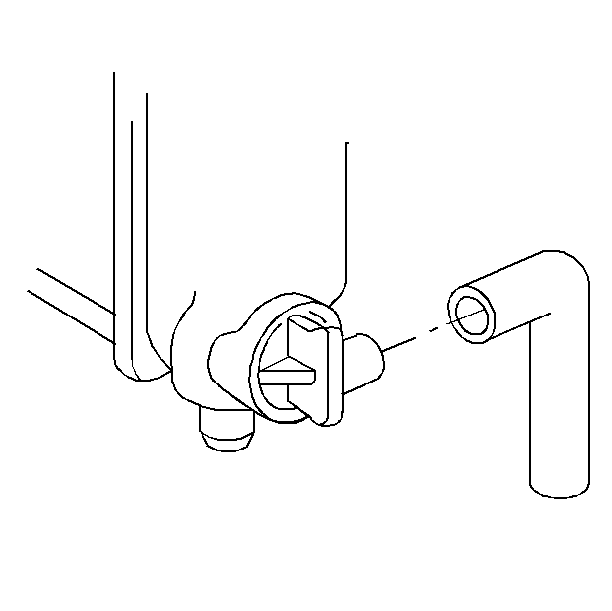
- Place a drain pan under the radiator drain cock.
- Install a tube on the drain cock, if necessary.
- Place the end of the tube in the drain pan.
- Open the drain cock completely.
- Allow the cooling system to drain until the flow stops. If only the radiator is drained, up to 40 percent of the old coolant will remain in the system.
- Place a drain pan under the engine.
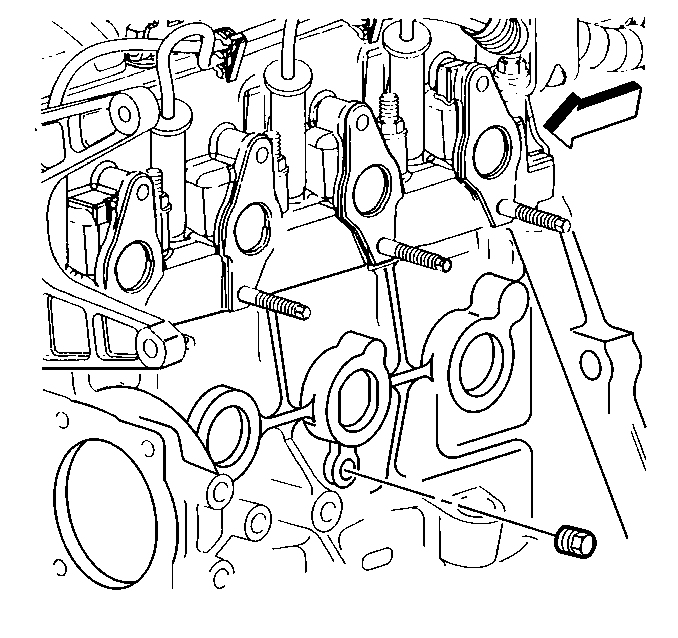
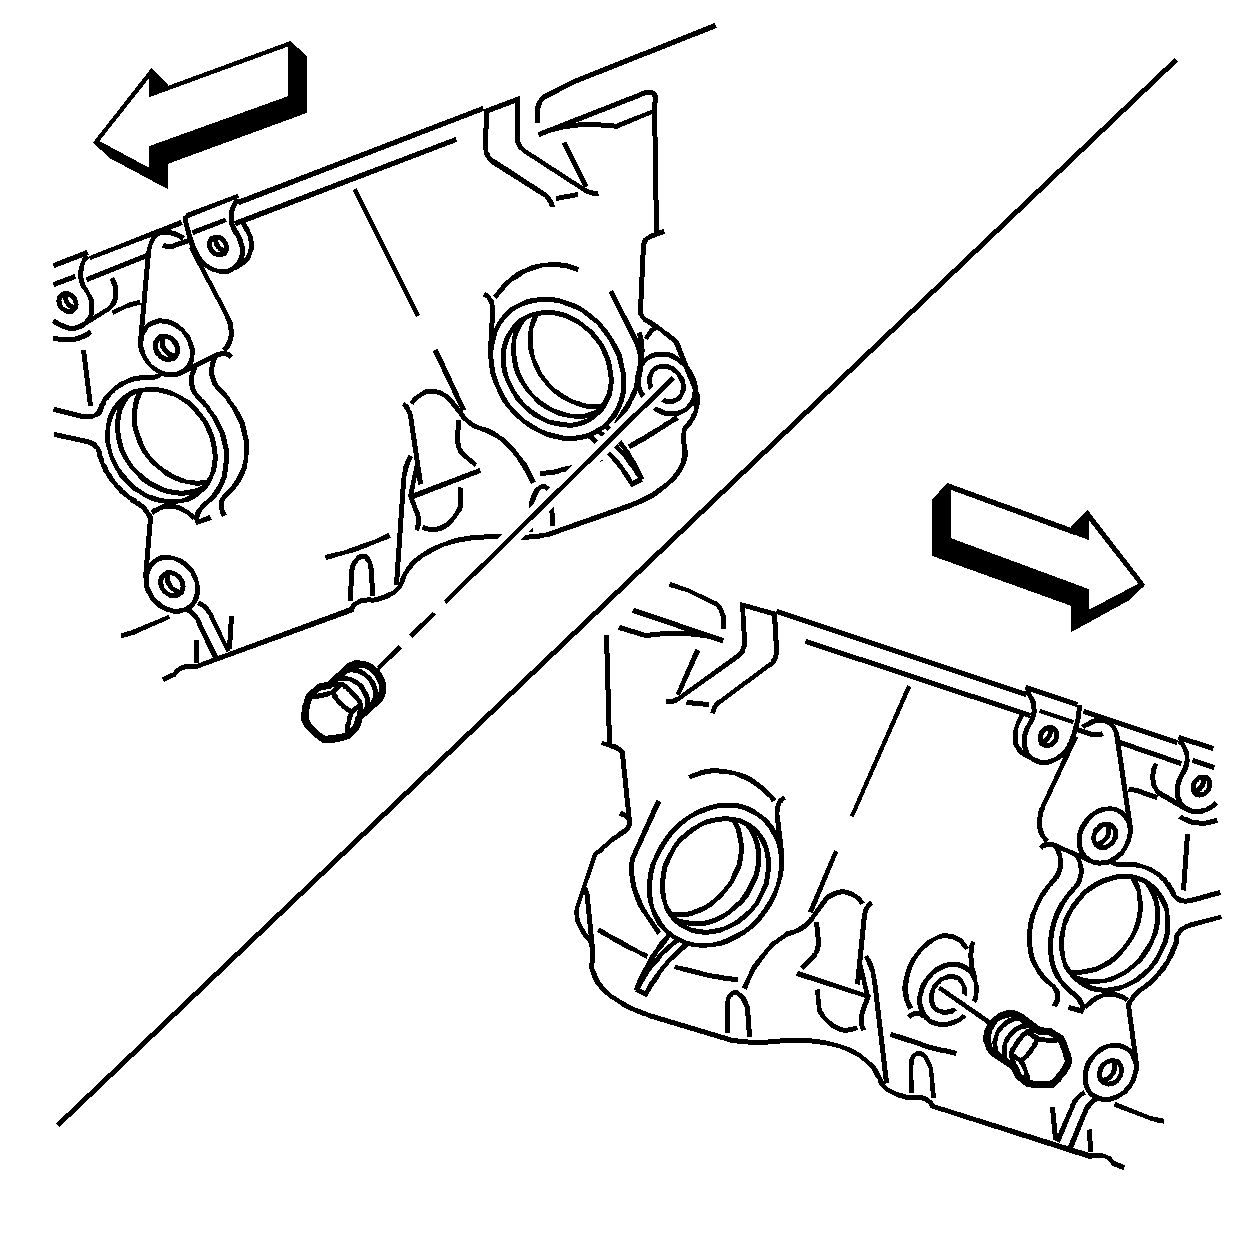
- Remove the drain plug from the side of the engine block, 2.2L shown.
- Remove the drain plugs from each side of the engine block, 4.3L shown.
- Apply a sealer, GM P/N 12346004 (Canadian P/N 10953480) to the threads and then tighten the engine block drain plugs.
| • | There may be more drainage from the radiator at this time. |
| • | Allow the engine block to drain until the flow stops. |
Notice: Use the correct fastener in the correct location. Replacement fasteners must be the correct part number for that application. Fasteners requiring replacement or fasteners requiring the use of thread locking compound or sealant are identified in the service procedure. Do not use paints, lubricants, or corrosion inhibitors on fasteners or fastener joint surfaces unless specified. These coatings affect fastener torque and joint clamping force and may damage the fastener. Use the correct tightening sequence and specifications when installing fasteners in order to avoid damage to parts and systems.
Important: Dispose of the used engine coolant properly. Store the used coolant
in a used coolant Holding Tank awaiting proper disposal or recycling. Do not
pour used coolant down the drain. Dex-Cool® antifreeze is a very
toxic chemical. Disposal into the sewer system or into the ground water
is both environmentally irresponsible and illegal.
• If the drained coolant is discolored, flush the cooling system. Refer
to
Flushing
. • If the drained coolant appears normal, continue with the filling procedure.
Tighten
| • | Tighten the engine block drain plugs 2.2L to 15 N·m (11 lb ft). |
| • | Tighten the engine block drain plugs 4.3L to 18 N·m (13 lb ft). |
Filling Procedure
Notice: Do not add cold water to the cooling system with the engine at or above operating temperature. Adding cold water causes rapid cooling, resulting in possible engine damage.
Notice: Do not use a solution stronger than 70 percent antifreeze. Pure antifreeze can freeze at -22°C (-8°F).
- Ensure that the radiator drain cock is closed.
- Inspect the strength of the old coolant, before attempting to reuse.
- When you need additional antifreeze solution:
- Place a large mouth funnel in the radiator fill opening.
- Slowly add the coolant mixture.
- Fill to ½ inch below the radiator fill opening.
- Start the engine.
- As the cooling system warms up and the thermostat opens, the coolant level will drop.
- Add coolant until the level is up to the radiator fill opening.
- Replace the radiator filler cap.
- Inspect the level in the coolant recovery reservoir, add coolant if needed.
- Inspect the cooling system for leaks.

| 3.1. | For coolant use Dex-Cool® orange-colored silicate free coolant. |
| 3.2. | Pre-mix Dex-Cool® at a ratio of 50/50 with clean, drinkable water. |
| • | Do not spill the coolant onto the exhaust system or other hot engine parts. |
| • | Under some conditions, Dex-Cool® is combustible. |
