For 1990-2009 cars only
Caution: Do not attempt to repair or alter the head impact energy-absorbing material glued to the headliner or to the garnish trims. If the material is damaged, replace the headliner and/or the garnish trim. Failure to do so could result in personal injury.
Removal Procedure
- Remove the I/P top trim panel. Refer to Instrument Panel Upper Trim Panel Replacement in Instrument Panel, Gages, and Console.
- Remove the hinge pillar trim. Refer to Body Hinge Pillar Trim Panel Replacement .
- Remove the windshield pillar garnish molding. Refer to Windshield Pillar Garnish Molding Replacement .
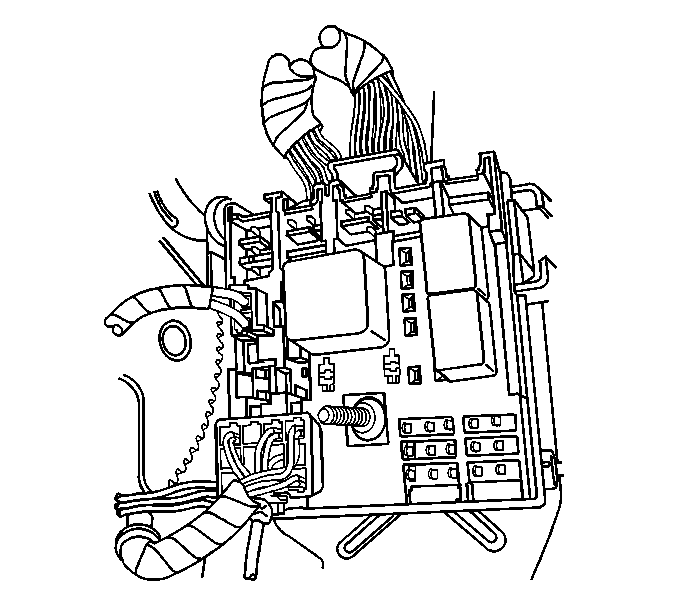
- Disconnect the headliner wire connectors from the junction block located next to the clutch or brake pedal.
- Remove the wire harness retainers along the windshield pillar and I/P assembly.
- Remove the rear quarter trim panels, if necessary. Refer to Rear Quarter Trim Panel Replacement .
- Remove the overhead console, if equipped. Refer to Roof Console Replacement .
- Remove the DVD player, if equipped. Refer to Video Disc Player Replacement in Entertainment.
- Remove both front sunshades. Refer to Sunshade Replacement .
- Remove the rear coat hook, if equipped. Refer to Coat Hook Replacement .
- Remove the interior dome lamp. Refer to Dome Lamp Replacement in Lighting Systems.
- Remove the assist handles, if equipped. Refer to Front Assist Handle Replacement .
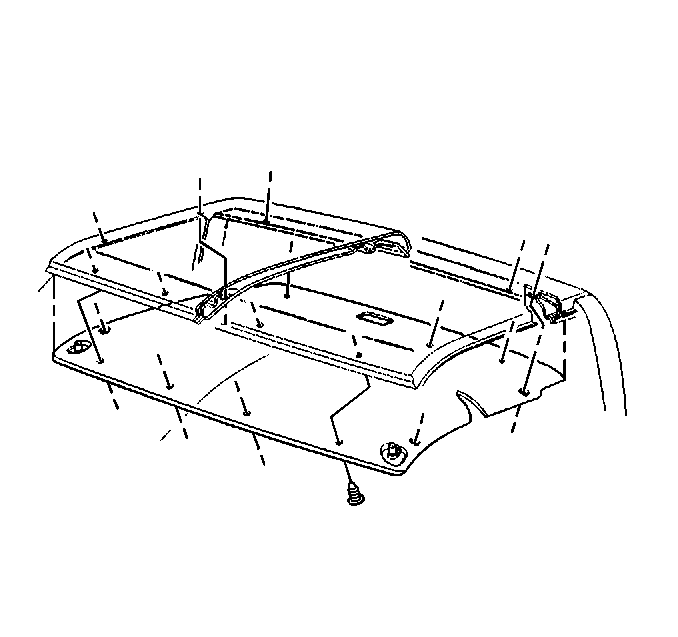
- Disengaging the front of the headliner from the roof.
- If replacing the crew cab headliner, remove the rear window from the vehicle. Refer to Rear Window Replacement in Stationary Windows.
- Remove the headliner from the vehicle by grasping the headliner on the left and the right sides near the front of the cab.
Installation Procedure
- With the aid of an assistant, install the headliner to the vehicle.
- Install the rear window into the vehicle, if removed. Refer to Rear Window Replacement in Stationary Windows.
- Install the assist handles, if equipped. Refer to Front Assist Handle Replacement .
- Install the interior dome lamp. Refer to Dome Lamp Replacement in Lighting Systems.
- Install the rear coat hook, if equipped. Refer to Coat Hook Replacement .
- Install both front sunshades. Refer to Sunshade Replacement .
- Install the DVD player, if equipped. Refer to Video Disc Player Replacement in Entertainment.
- Install the overhead console, if equipped. Refer to Roof Console Replacement .
- Install the rear quarter trim panels, if needed. Refer to Rear Quarter Trim Panel Replacement .
- Connect the headliner electrical connector to the junction block located next to the clutch or brake pedal.
- Connect the electrical connectors to the drivers side accessory housing.
- Install the hinge pillar trim. Refer to Body Hinge Pillar Trim Panel Replacement .
- Install the I/P top trim panel. Refer to Instrument Panel Upper Trim Panel Replacement in Instrument Panel, Gages, and Console.
- Install the windshield pillar garnish molding. Refer to Windshield Pillar Garnish Molding Replacement .
Important: Ensure that all of the wire harness retainers in the I/P and the windshield pillar are all pressed into place in order to prevent rattling during driving.
