For 1990-2009 cars only
Filler Tube Replacement Pickup
Removal Procedure
- Remove the fuel tank filler housing to body screws (1) and retainer (2).
- If necessary, partially drain the fuel tank. Refer to Fuel Tank Draining .
- Remove the fuel tank filler housing to fuel tank fill pipe screws.
- Remove the fuel tank filler housing.
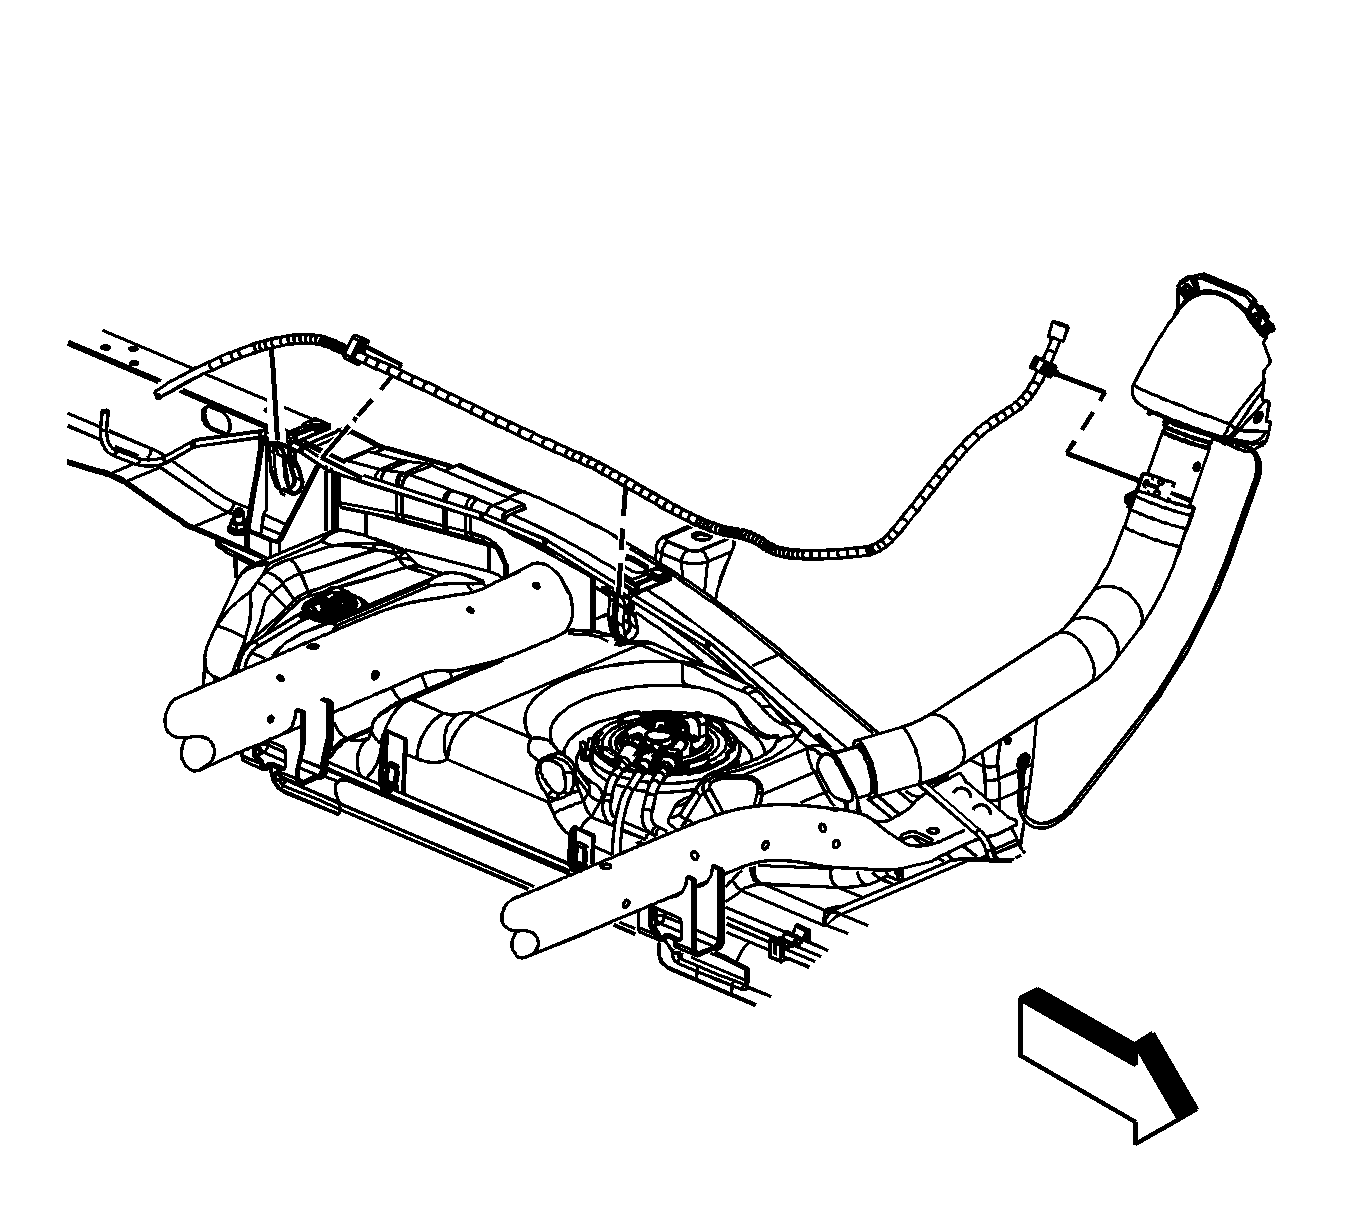
- Raise and suitably support the vehicle. Refer to Lifting and Jacking the Vehicle .
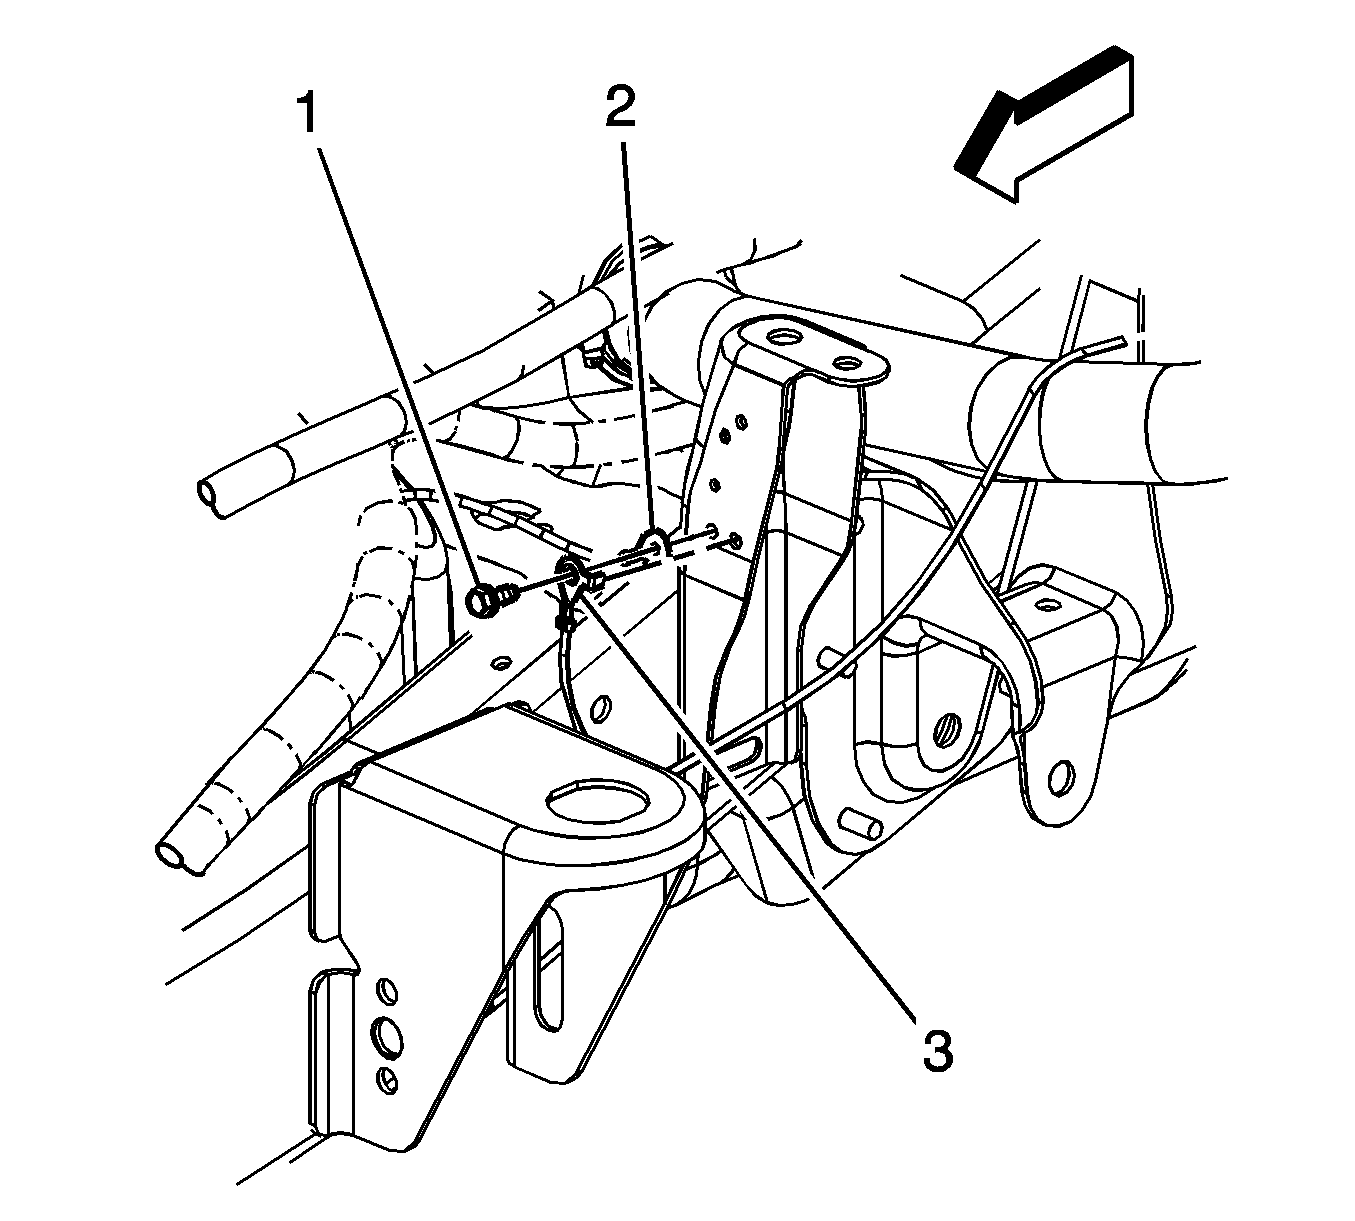
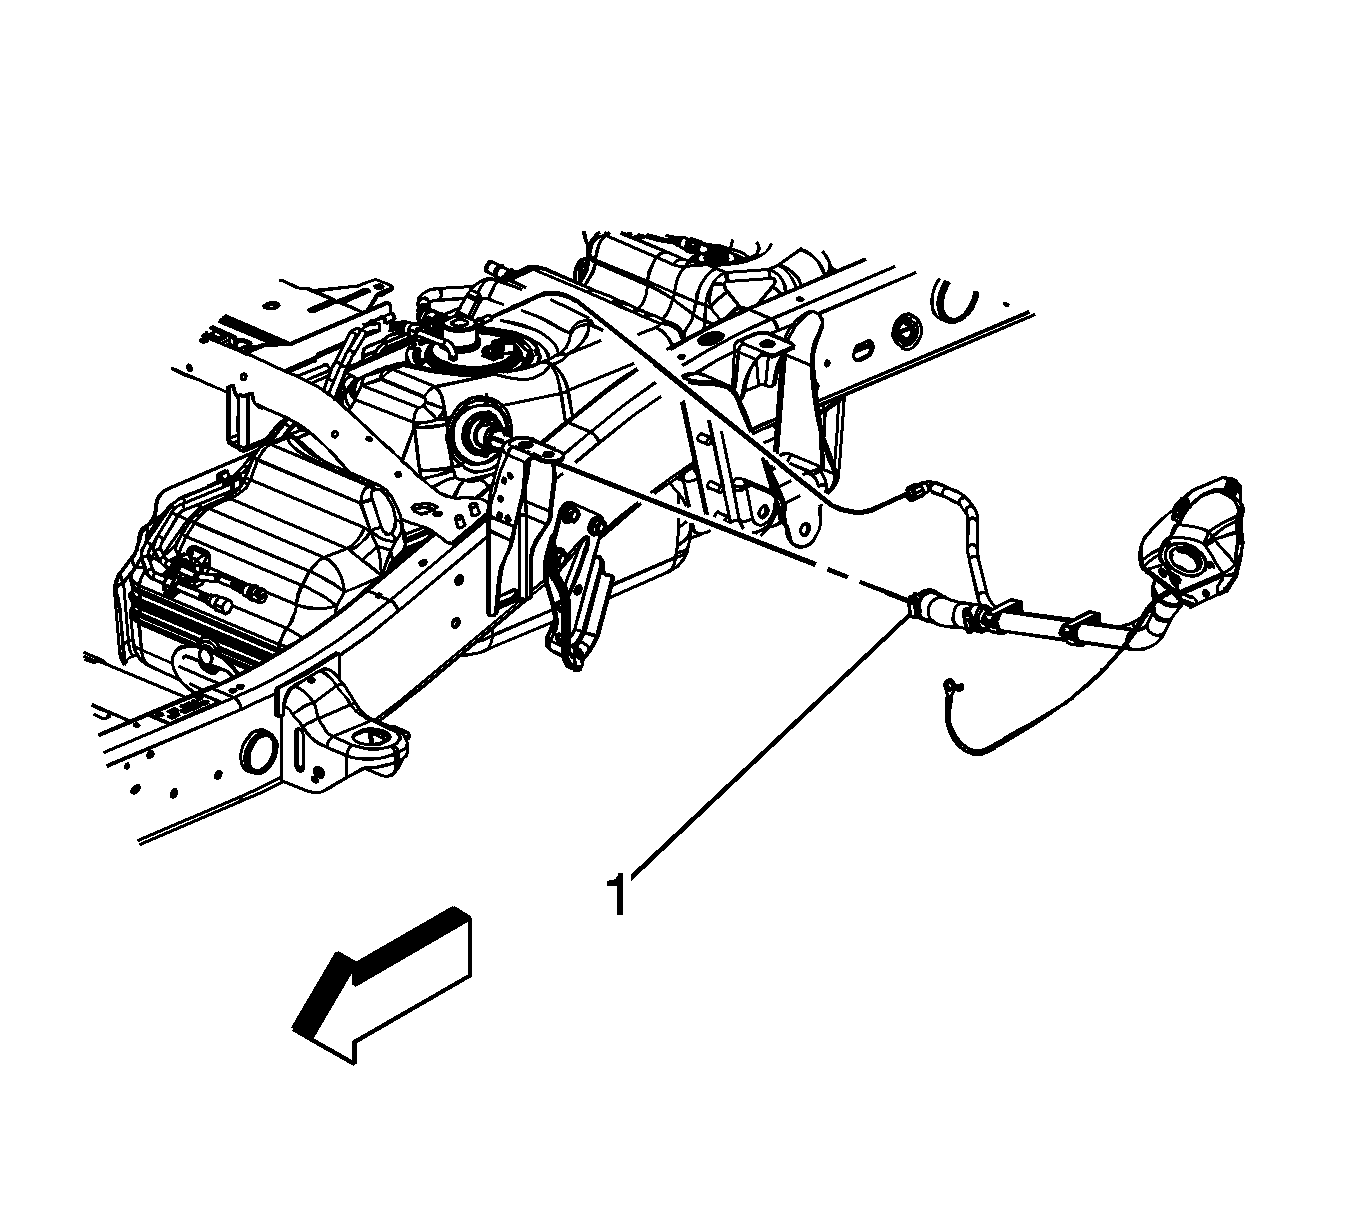
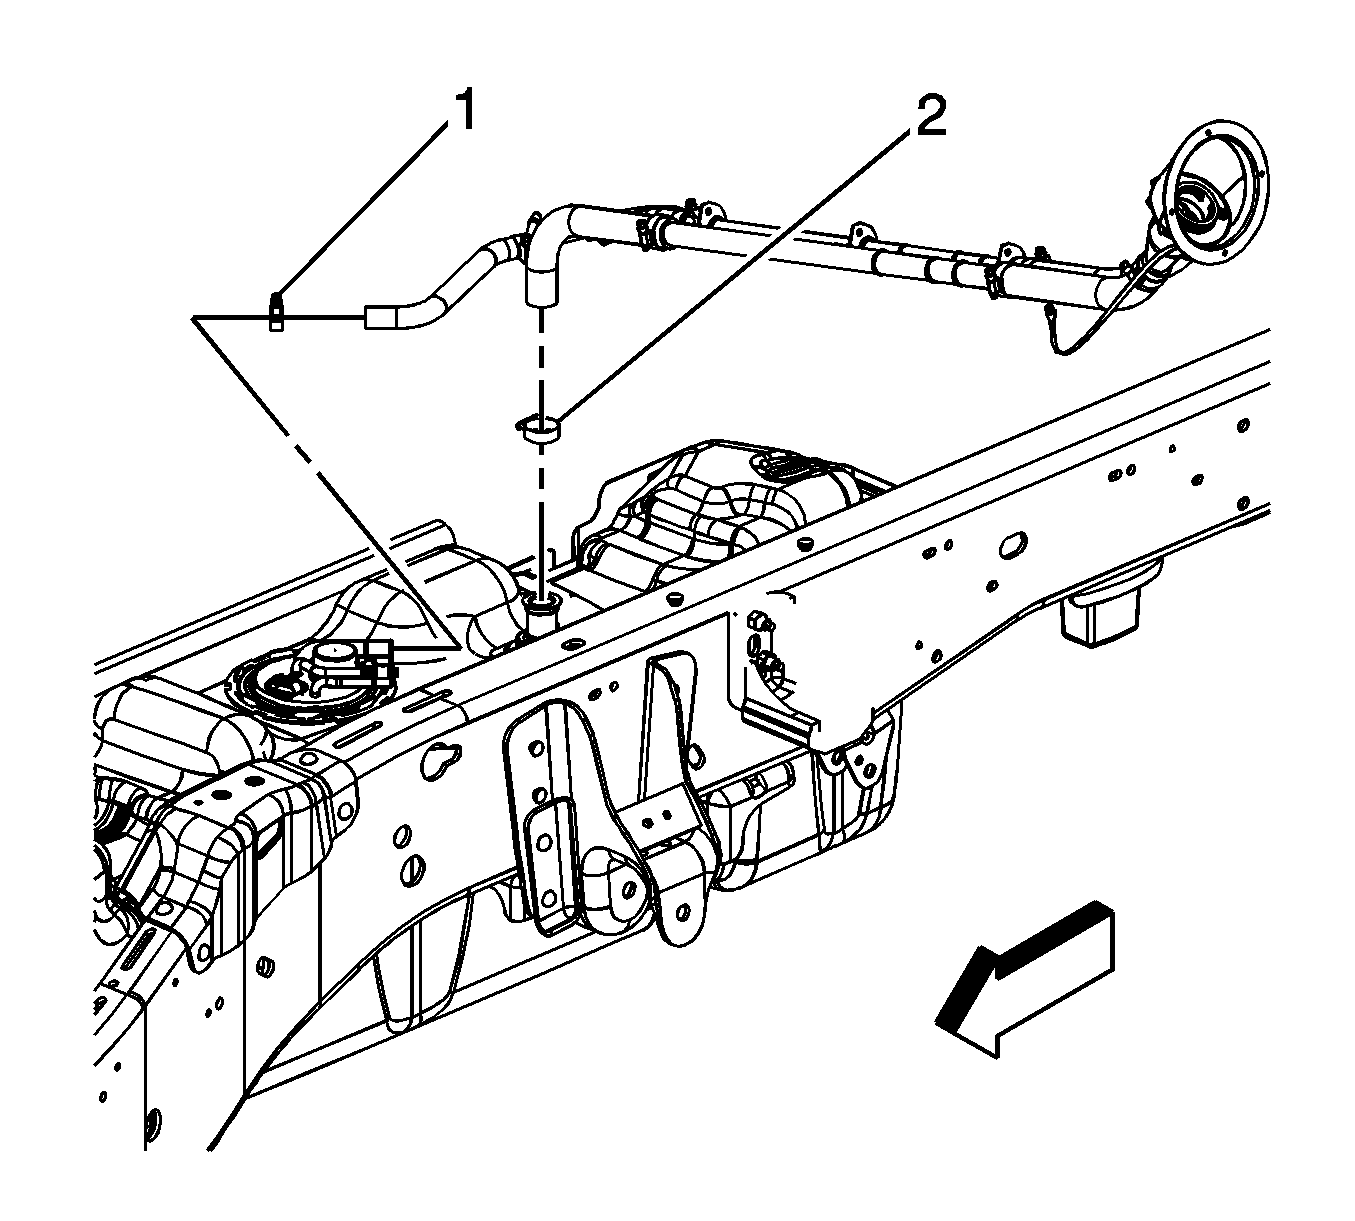
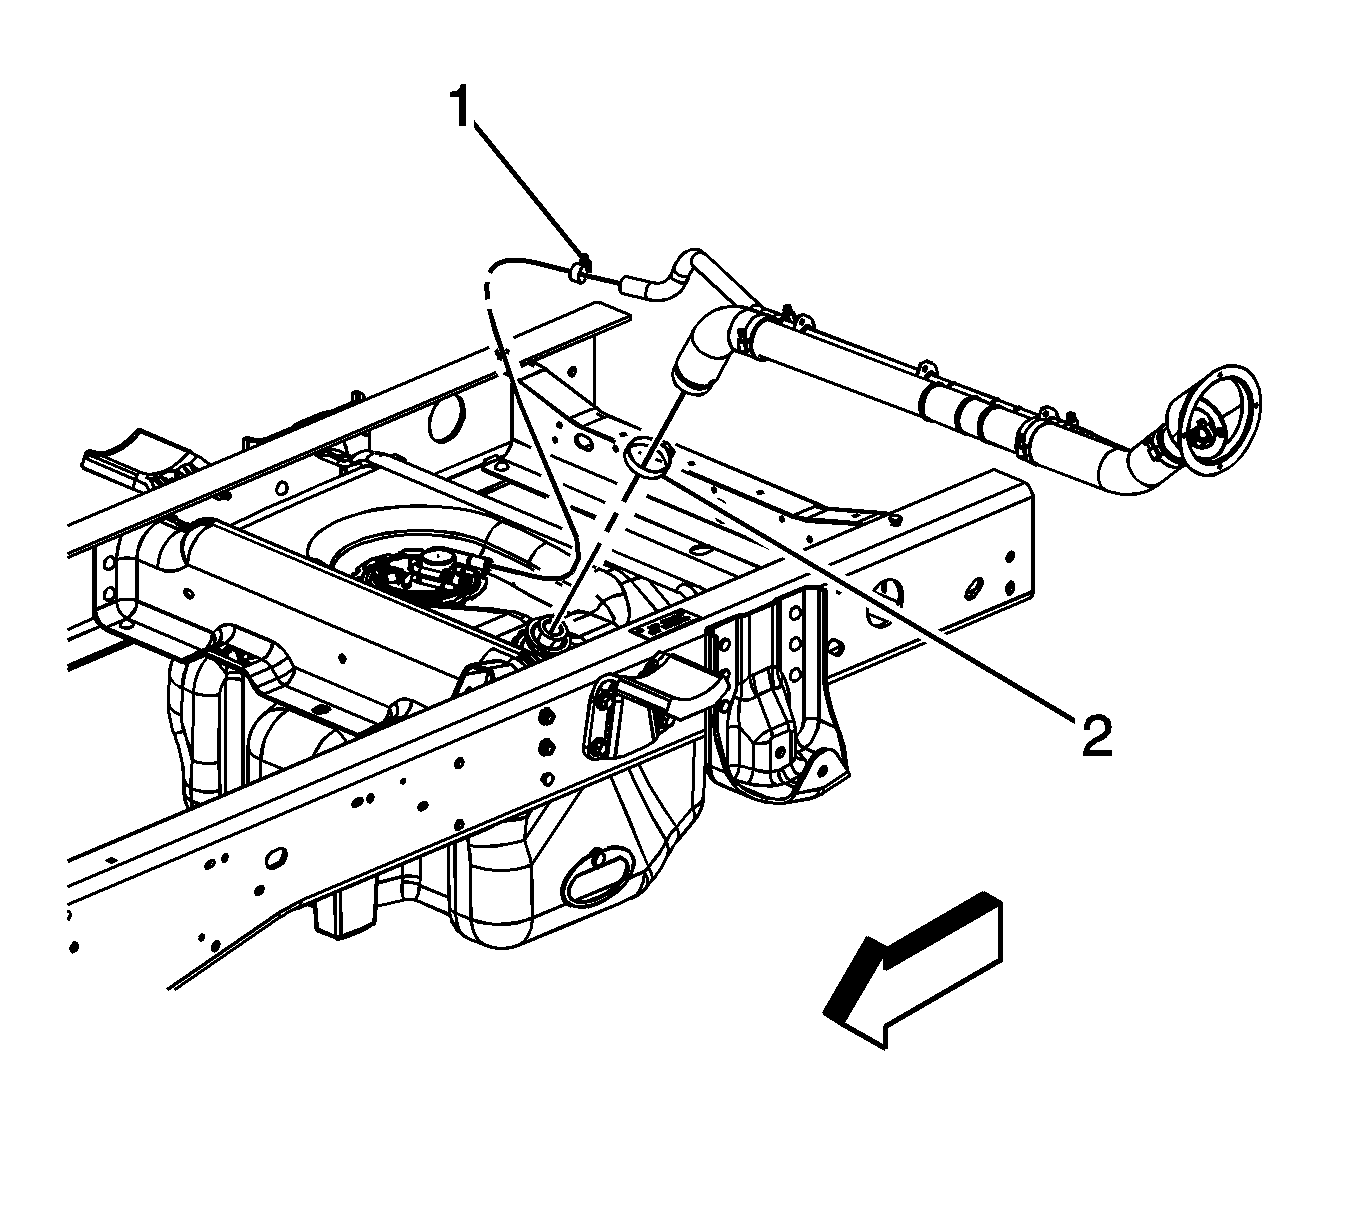
- Remove the fuel tank fill pipe ground wire bolt (1).
- Remove the fuel tank fill pipe ground wire (3) anti-rotation tab from the frame hole.
- Reposition the fuel tank fill pipe ground wire and chassis harness ground wire (2).
- Remove the rear axle vent hose from the clip on the fuel fill pipe bracket.
- Loosen the fuel tank fill pipe clamp (1) at the fuel tank.
- Disconnect the recirculation line from the sending unit. Refer to Plastic Collar Quick Connect Fitting Service .
- Remove the fuel tank fill pipe.
- Cap the opening on the fuel tank in order to prevent possible system contamination.


Installation Procedure
- Remove the cap from the opening on the fuel tank.
- Install the fuel tank fill pipe.
- Connect the recirculation line to the sending unit. Refer to Plastic Collar Quick Connect Fitting Service .
- Tighten the fuel tank fill pipe clamp (1) at the fuel tank.
- Install the rear axle vent hose to the clip on the fuel fill pipe bracket.
- Position the fuel tank fill pipe ground wire and chassis harness ground wire (2).
- Install the fuel tank fill pipe ground wire (3) anti-rotation tab into the frame hole.
- Install the fuel tank fill pipe ground wire bolt (1).
- Lower the vehicle.
- Install the fuel tank filler housing.
- Install the fuel tank filler housing to fuel tank fill pipe screws.
- Install the fuel tank filler housing to body screws (1) and retainer (2).
Notice: Refer to Fastener Notice in the Preface section.
Tighten
Tighten the clamp to 2.5 N·m (22 lb in).
Tighten
Tighten the bolt to 9 N·m (80 lb in).
Tighten
Tighten the screws to 2.3 N·m (20 lb in).
Tighten
Tighten the screws to 2.3 N·m (20 lb in).
Filler Tube Replacement Cab/Chassis - Front
Removal Procedure
- If equipped with a rear auxiliary tank, disconnect the fuel and evaporative emission (EVAP) quick connect fittings. Refer to Metal Collar Quick Connect Fitting Service .
- Cap the fuel feed and EVAP pipes in order to prevent possible system contamination.
- Loosen the fuel fill pipe clamp (2) at the tank.
- Loosen the vent pipe clamp (1) at the tank.
- Remove the fuel fill pipe and vent pipe from the tank.
- Cap the fuel and vent openings in the tank in order to prevent possible system contamination.

Installation Procedure
- Remove the caps from the fuel and vent openings in the tank.
- Install the fuel fill pipe and vent pipe to the tank.
- Tighten the vent pipe clamp (1) at the tank.
- Tighten the fuel fill pipe clamp (2) at the tank.
- Remove the caps from the fuel feed and EVAP pipes.
- If equipped with a rear auxiliary tank, connect the fuel and EVAP quick connect fittings. Refer to Metal Collar Quick Connect Fitting Service .
Notice: Refer to Fastener Notice in the Preface section.
Tighten
Tighten the clamps to 2.5 N·m (22 lb in).
Filler Tube Replacement Cab/Chassis - Rear
Removal Procedure
- Loosen the fuel fill pipe hose clamp (2) at the tank.
- Loosen the fuel vent pipe hose clamp (1) at the tank.
- Remove the fuel fill and vent hoses from the tank.
Installation Procedure
- Install the fuel fill and vent hoses to the tank.
- Tighten the fuel vent pipe hose clamp (1) at the tank.
- Tighten the fuel fill pipe hose clamp (2) at the tank.
Notice: Refer to Fastener Notice in the Preface section.
Tighten
Tighten the clamps to 2.5 N·m (22 lb in).
