For 1990-2009 cars only
Removal Procedure
- Remove the air intake pipe. Refer to Air Intake Pipe Replacement .
- Disconnect the air conditioning (A/C) compressor clutch electrical connector.
- Disconnect the A/C cut out switch electrical connector.
- Remove the A/C compressor bolts.
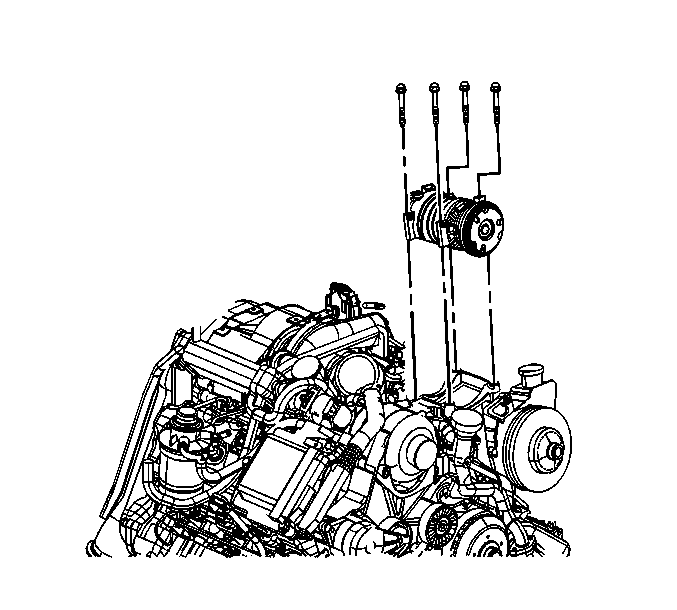
- Remove the generator. Refer to Generator Replacement .
- Reposition the A/C compressor (with the hoses attached) to the right side of the engine compartment.
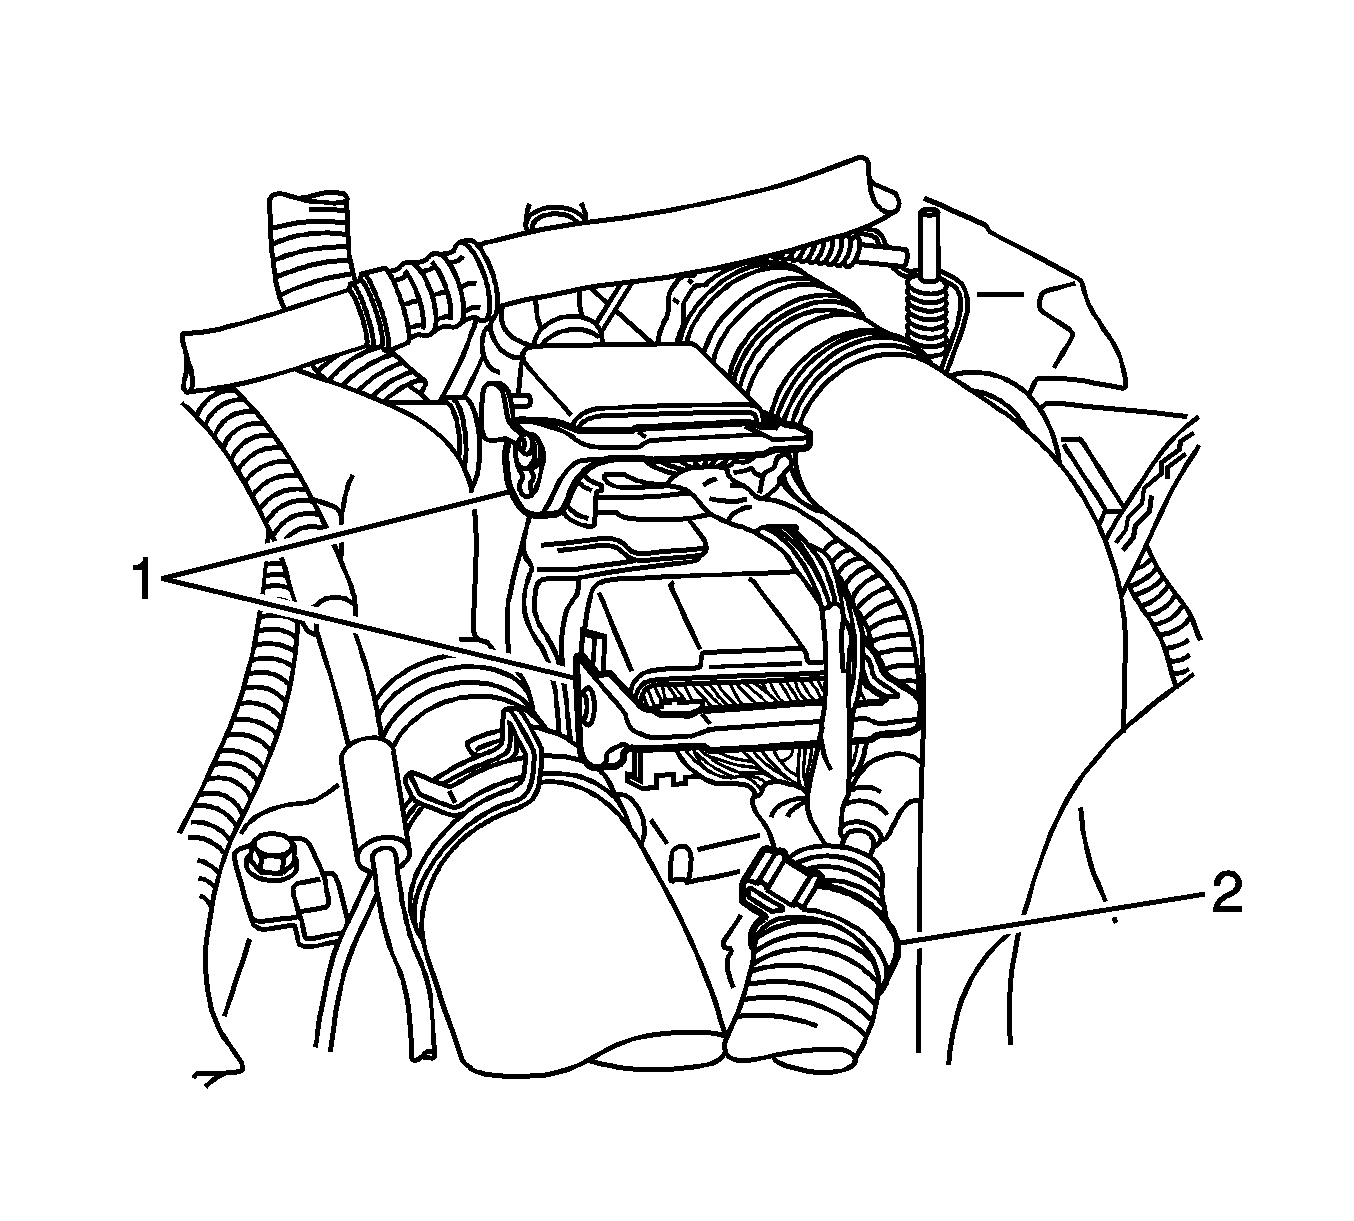
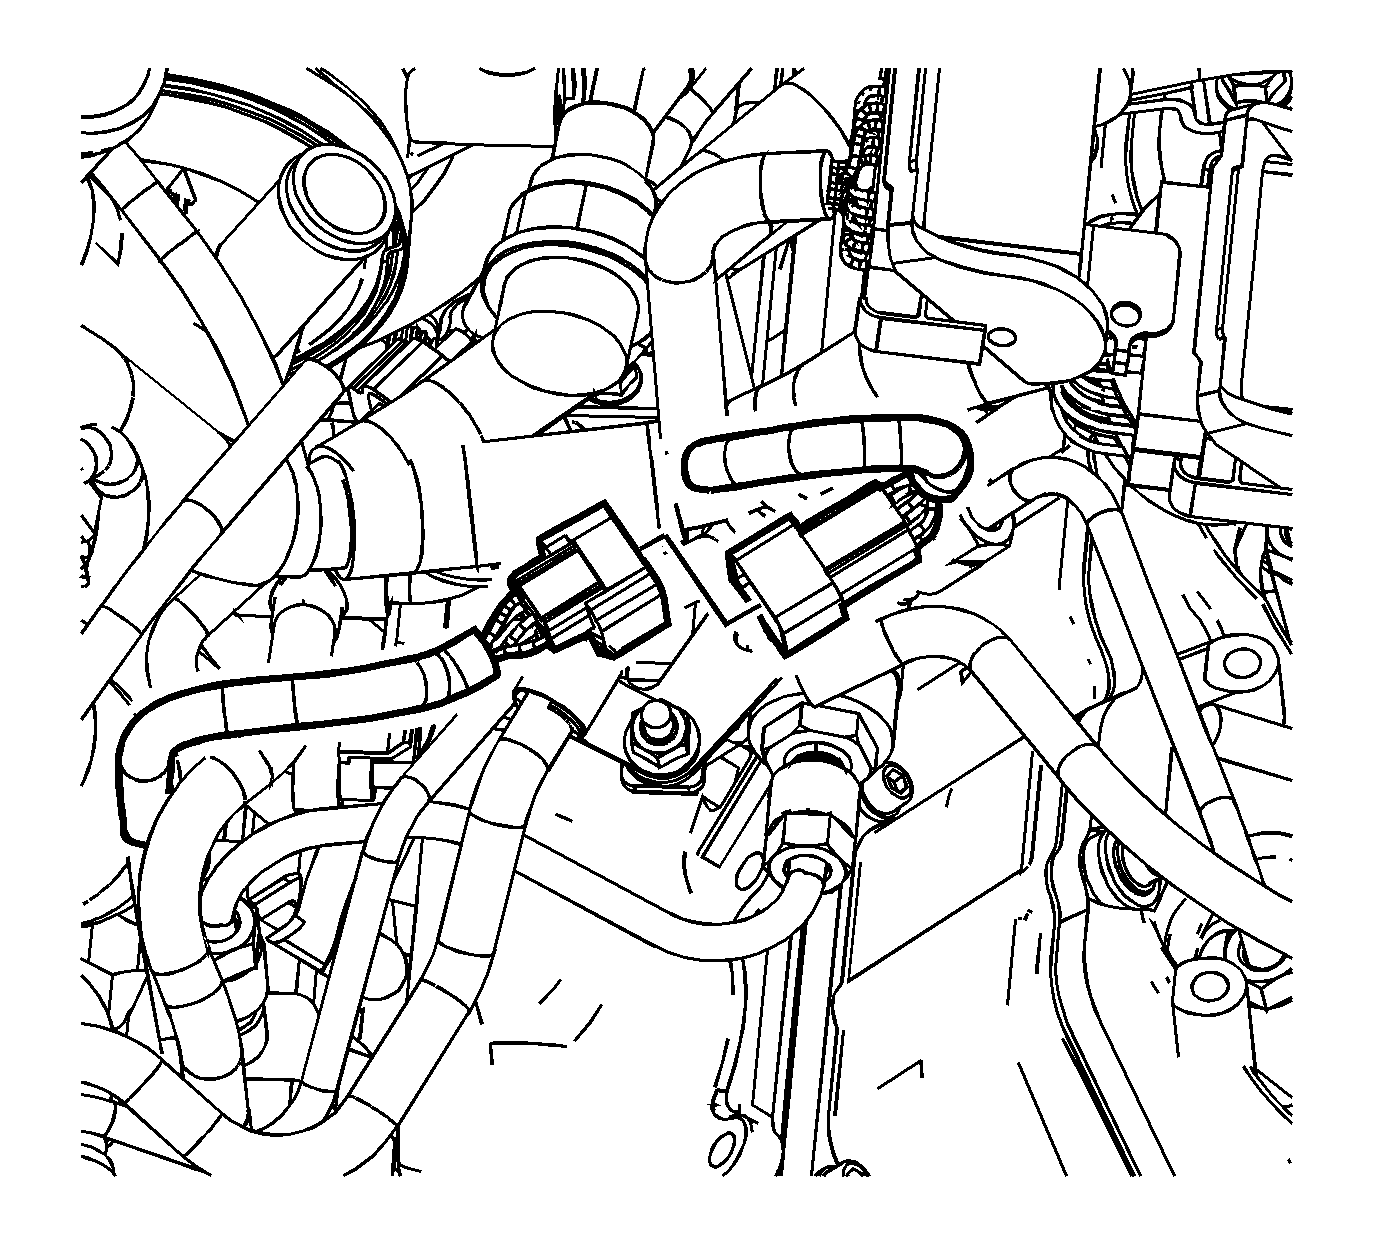
- Disconnect the main engine electrical harness connectors. Lift up on the latches (1) in order to disconnect the connectors.
- Open the harness clip (2).
- Remove the main engine electrical harness connectors.
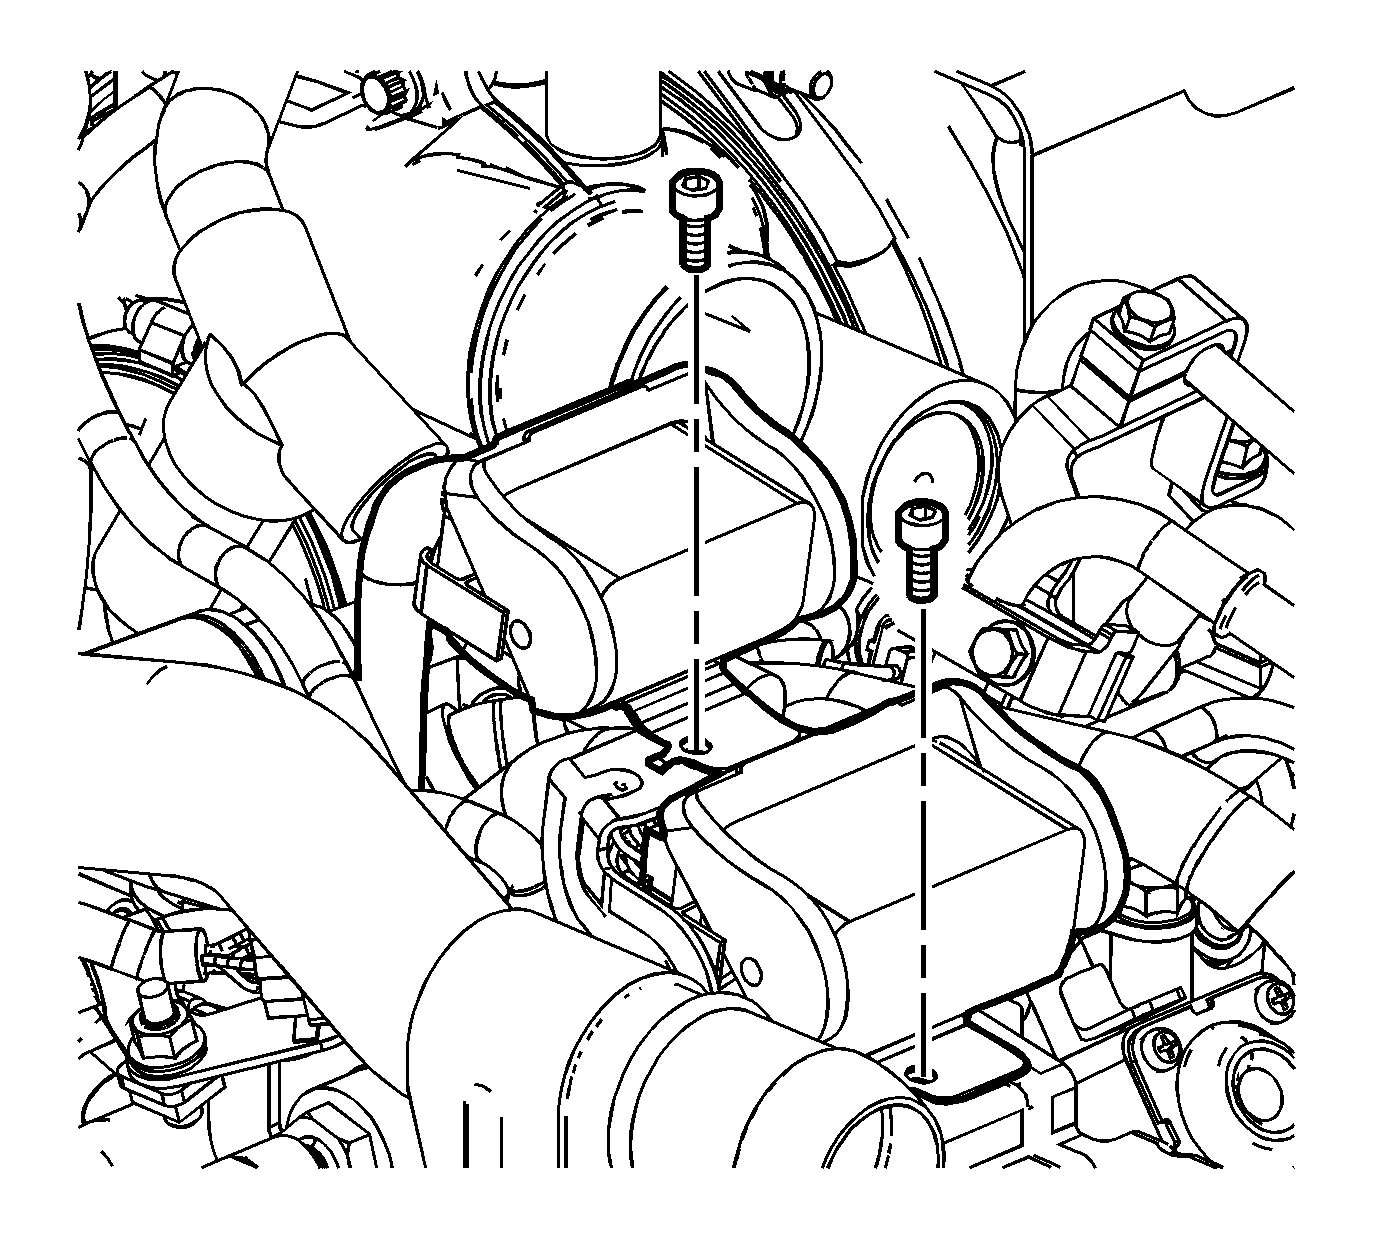
- Remove the main engine harness electrical connector bolts.
- Remove the main connectors from the bracket.
- Disconnect the engine coolant temperature (ECT) sensor electrical connector.
- Remove the water outlet tube. Refer to Water Outlet Tube Replacement .
- Disconnect the fuel temperature sensor electrical connector.
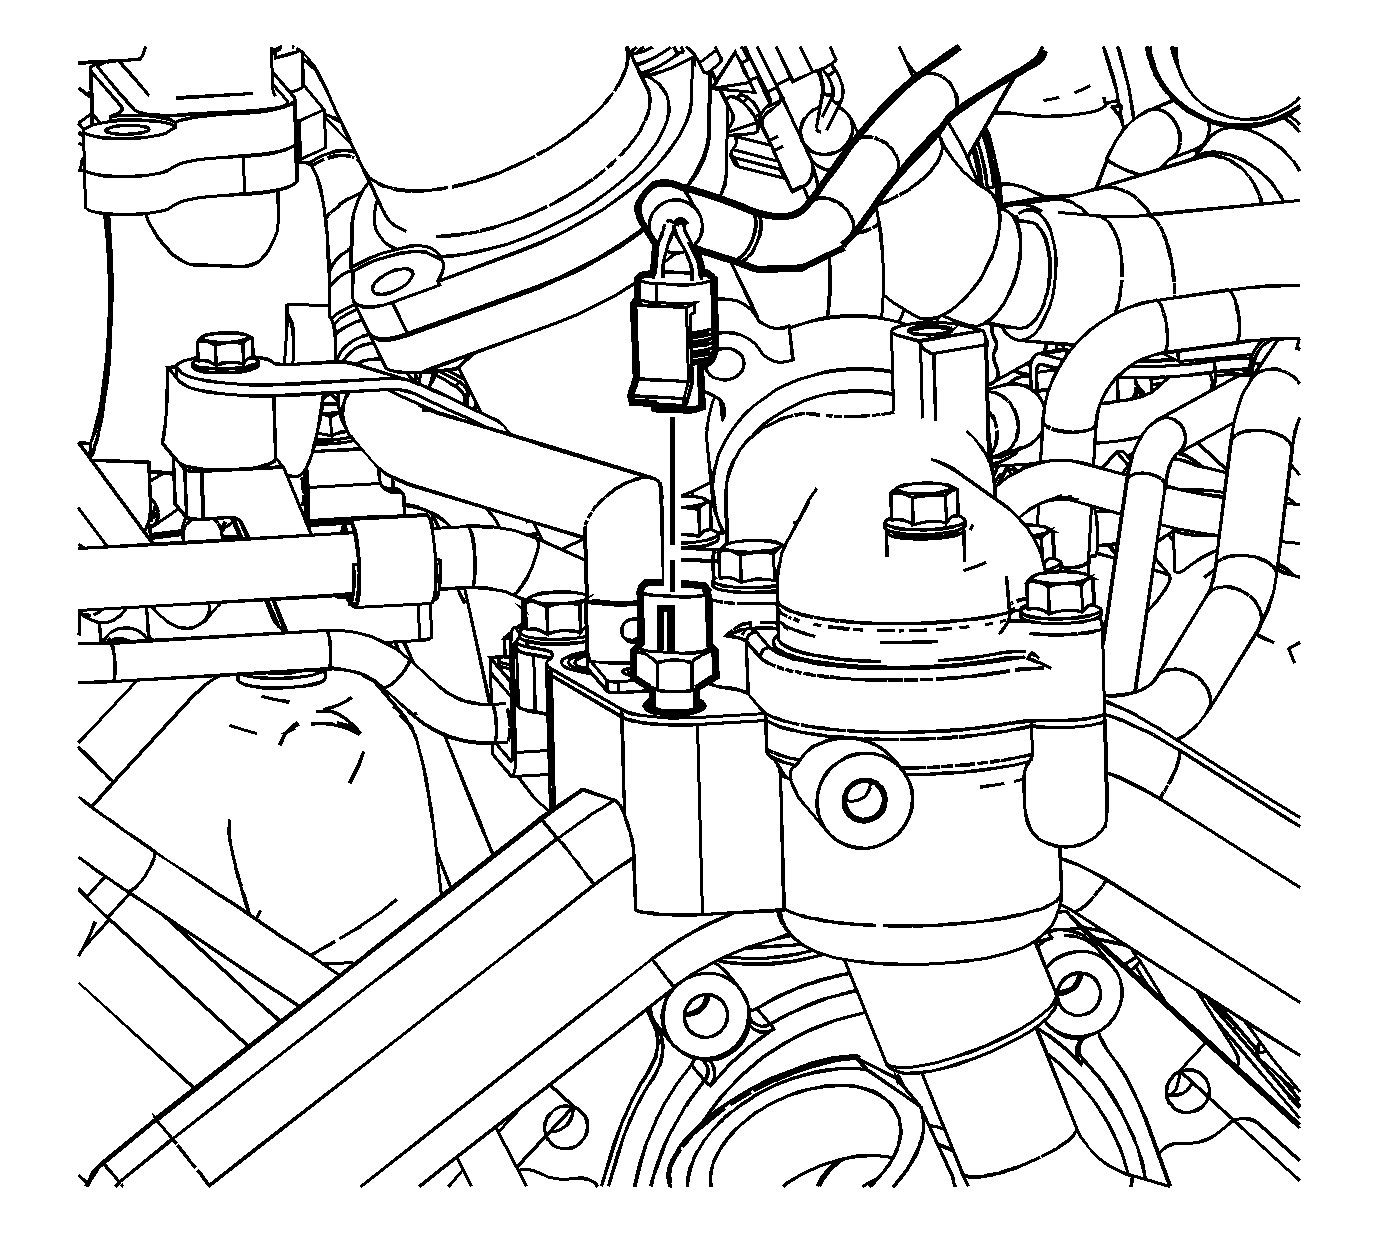
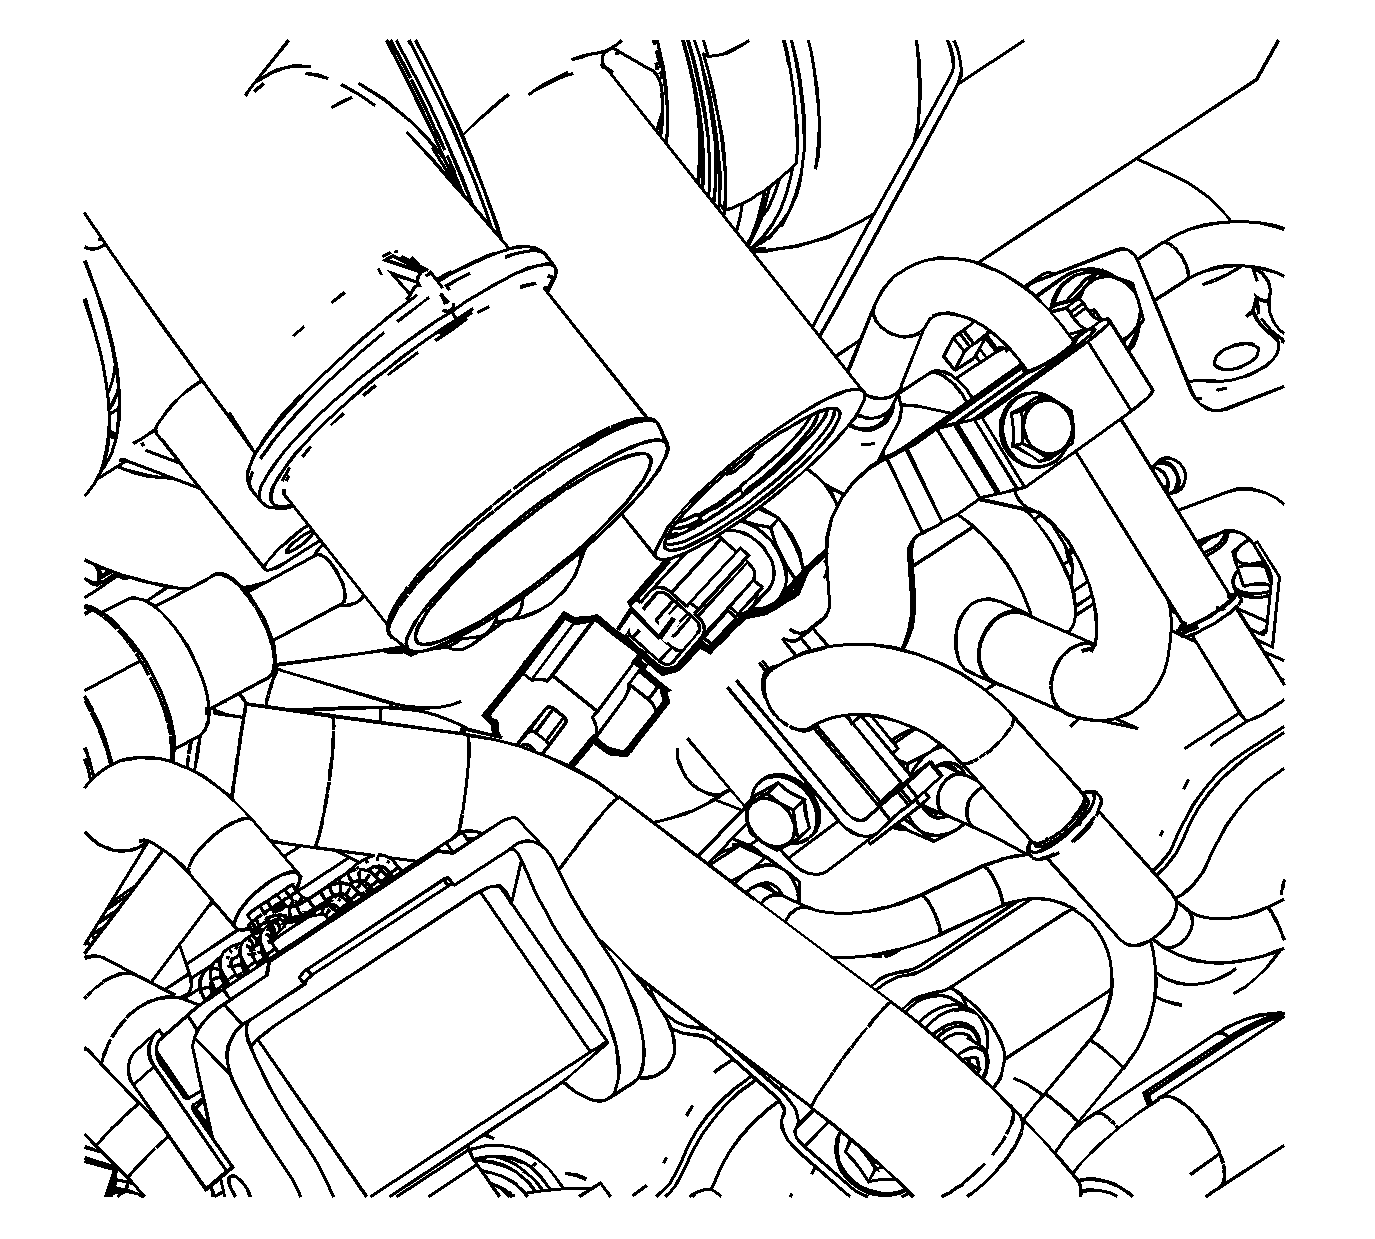
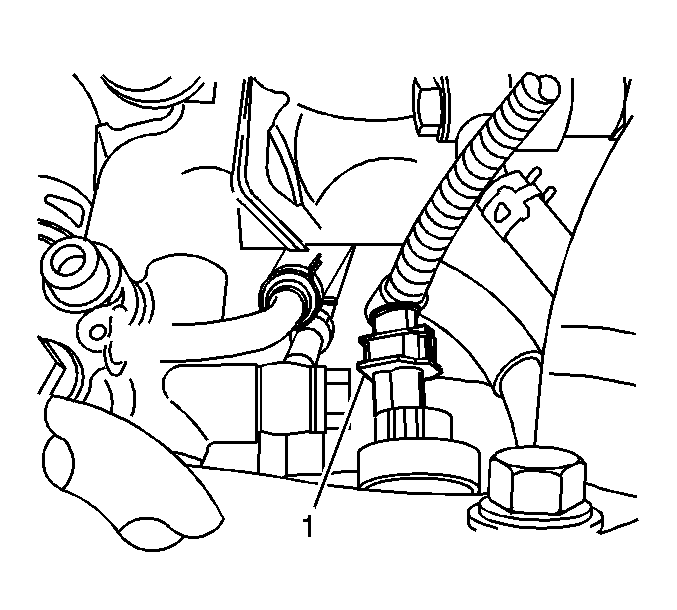
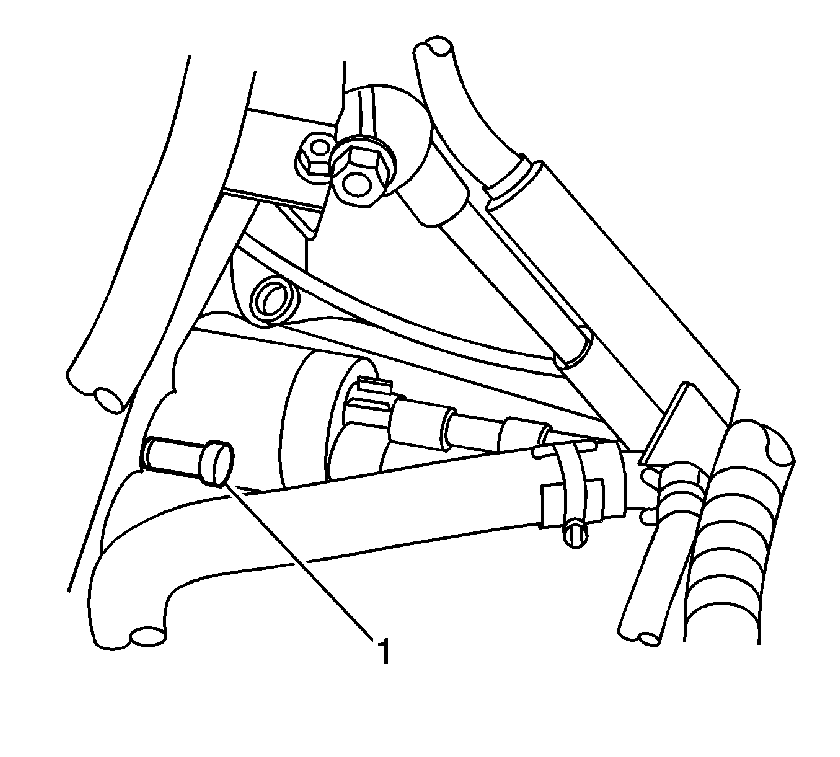
- Disconnect the fuel pressure regulator electrical connector (1).
- Disconnect the oil level sensor harness electrical connector.
- Reposition the distribution block hose clamps.
- Remove the distribution block hoses from the distribution block.
- Clean the fuel pressure regulator and high pressure injection pump thoroughly with solvent, such as GM P/N 12377981 (Canadian P/N 10953463) or equivalent.
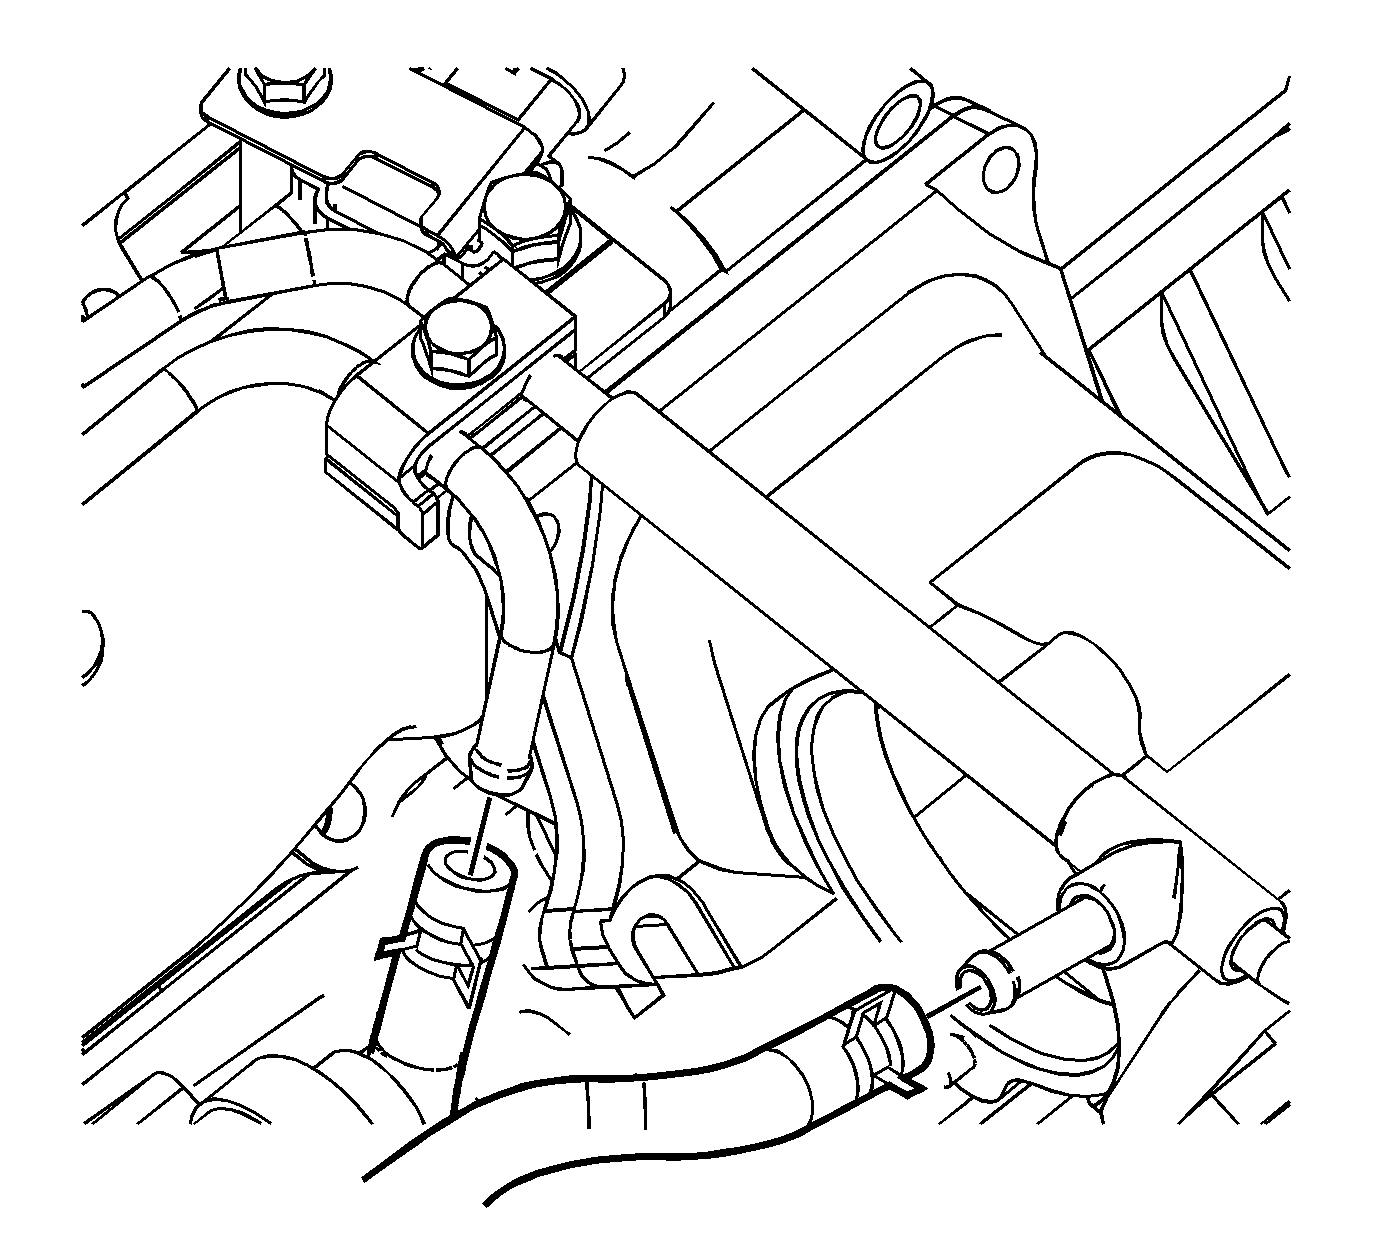
- Remove the exhaust gas recirculation (EGR) coolant pipe bolts.
- Loosen the EGR coolant pipe clamp and position the hose aside.
- Using compressed air, thoroughly blow dry the regulator and pump.
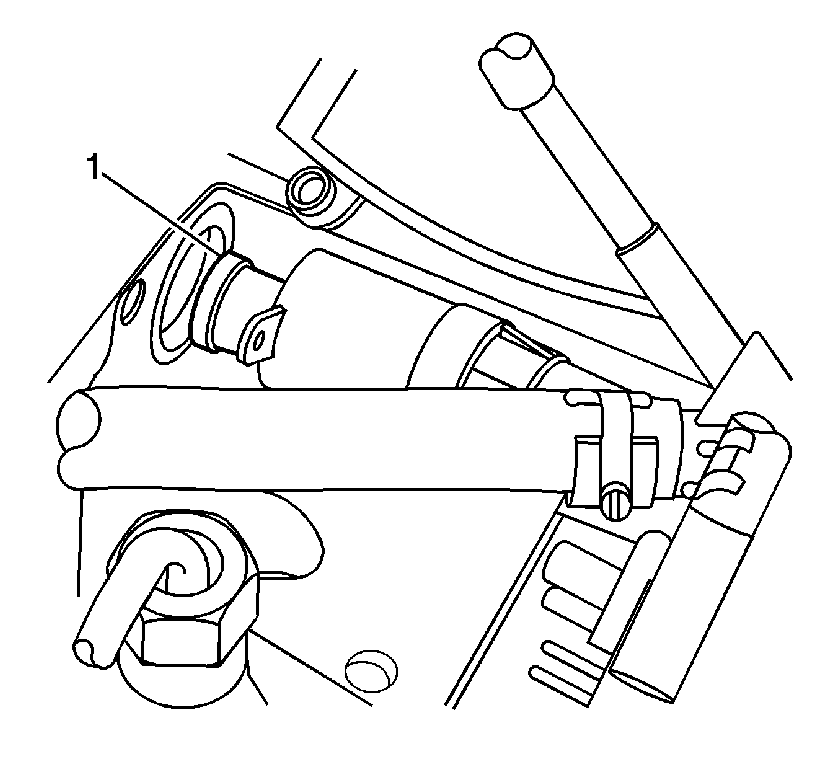
- Remove the 3 fuel pressure regulator screws (1) using a T25 TORX®.
- Remove the fuel pressure regulator (1).
- If dirt or debris is found in the bore or seating surfaces of the fuel injection pump, perform the following:
| • | Place a clean rag over the bore on order to collect the excess fuel. |
| • | Bump the engine over in order to flush any debris out of the regulator bore. |
Installation Procedure
Important: If the pressure regulator is being re-used, check the O-rings for damage. If the O-rings are damaged, install NEW O-rings.
- Lubricate and install NEW O-rings onto the regulator. Lubricate the O-rings with clean, NEW engine oil.
- Install the fuel pressure regulator (1).
- Install the 3 fuel pressure regulator screws (1) using a T25 TORX®.
- Position the EGR coolant pipe clamp and install the coolant pipe to the thermostat housing.
- Install the EGR coolant pipe retaining bolts.
- Install the distribution block hoses to the distribution block.
- Position the distribution block hose clamps.
- Connect the oil level sensor harness electrical connector.
- Connect the fuel pressure regulator electrical connector (1).
- Connect the fuel temperature sensor electrical connector.
- Install the water outlet tube. Refer to Water Outlet Tube Replacement .
- Connect the ECT sensor electrical connector.
- Install the main connectors to the bracket.
- Install the main engine harness electrical connector bolts.
- Connect the main engine electrical harness connectors.
- Push down on the latches (1) in order to connect the connectors.
- Close the harness clip (2).
- Position the A/C compressor.
- Install the A/C compressor bolts.
- Connect the A/C cut out switch electrical connector.
- Connect the A/C compressor clutch electrical connector.
- Install the generator. Refer to Generator Replacement .
- Install the air intake pipe. Refer to Air Intake Pipe Replacement .
- Prime the fuel system. Refer to Fuel System Priming .
- Start the engine. If the engine stalls, repeat the above step.
- Once the engine starts, inspect for fuel leaks.
Important: If the regulator is installed at an angle the O-rings may be damaged, resulting in possible fuel leakage.
Notice: Refer to Fastener Notice in the Preface section.
Tighten
| • | Tighten the screws a first pass to 4 N·m (35 lb in). |
| • | Tighten the screws a final pass to 7 N·m (62 lb in). |
Tighten
Tighten the EGR coolant pipe bolts to 21 N·m (15 lb ft).
Tighten
Tighten the bolts to 21 N·m (15 lb ft).
Tighten
Tighten the bolts to 50 N·m (37 lb ft).
