Tools Required
| • | EN-47909
Injector Bore and Sleeve Cleaning Kit |

- Clean the cylinder head of all foreign material. Do not use a motorized wire brush on any gasket sealing surface.
- Clean the threaded holes.
- Clean the injector bores using
EN-47909
.
- Inspect the cylinder head for the following:
| • | Damage to the gasket surfaces |
| • | Damage to the threaded bolt holes |
| • | Cracks in the exhaust ports |
| • | External cracks in the water chamber |
| • | Cracks between the valve seats |
| • | Restrictions in the intake or exhaust passages |
| • | Restrictions in the cooling system passages |
| • | Rusted, damaged or leaking core plugs |
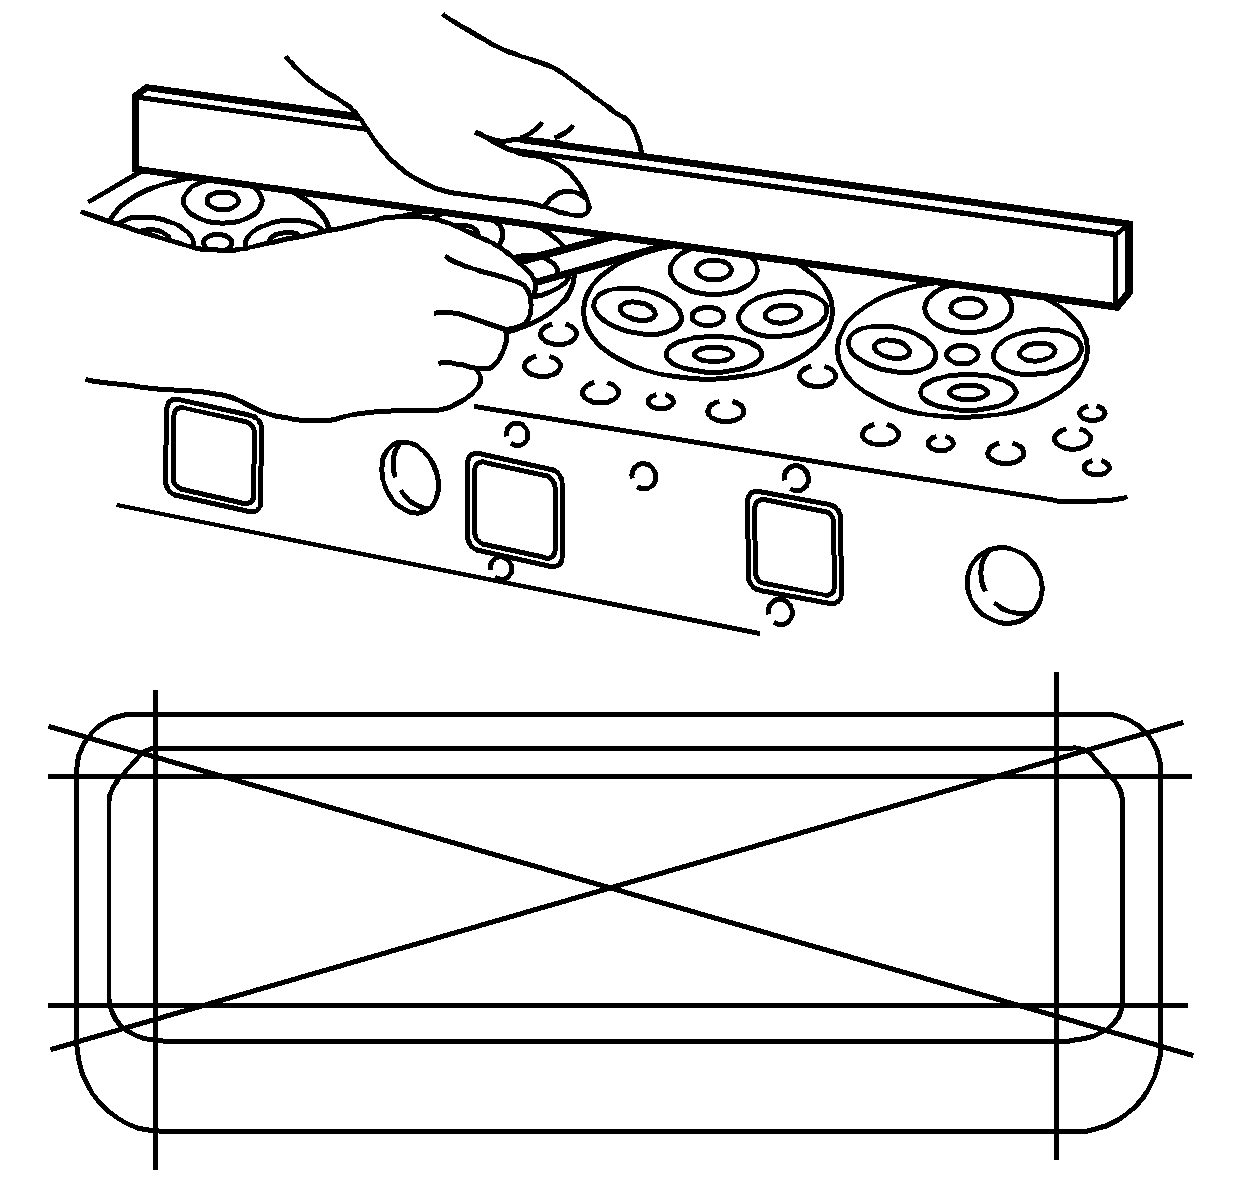
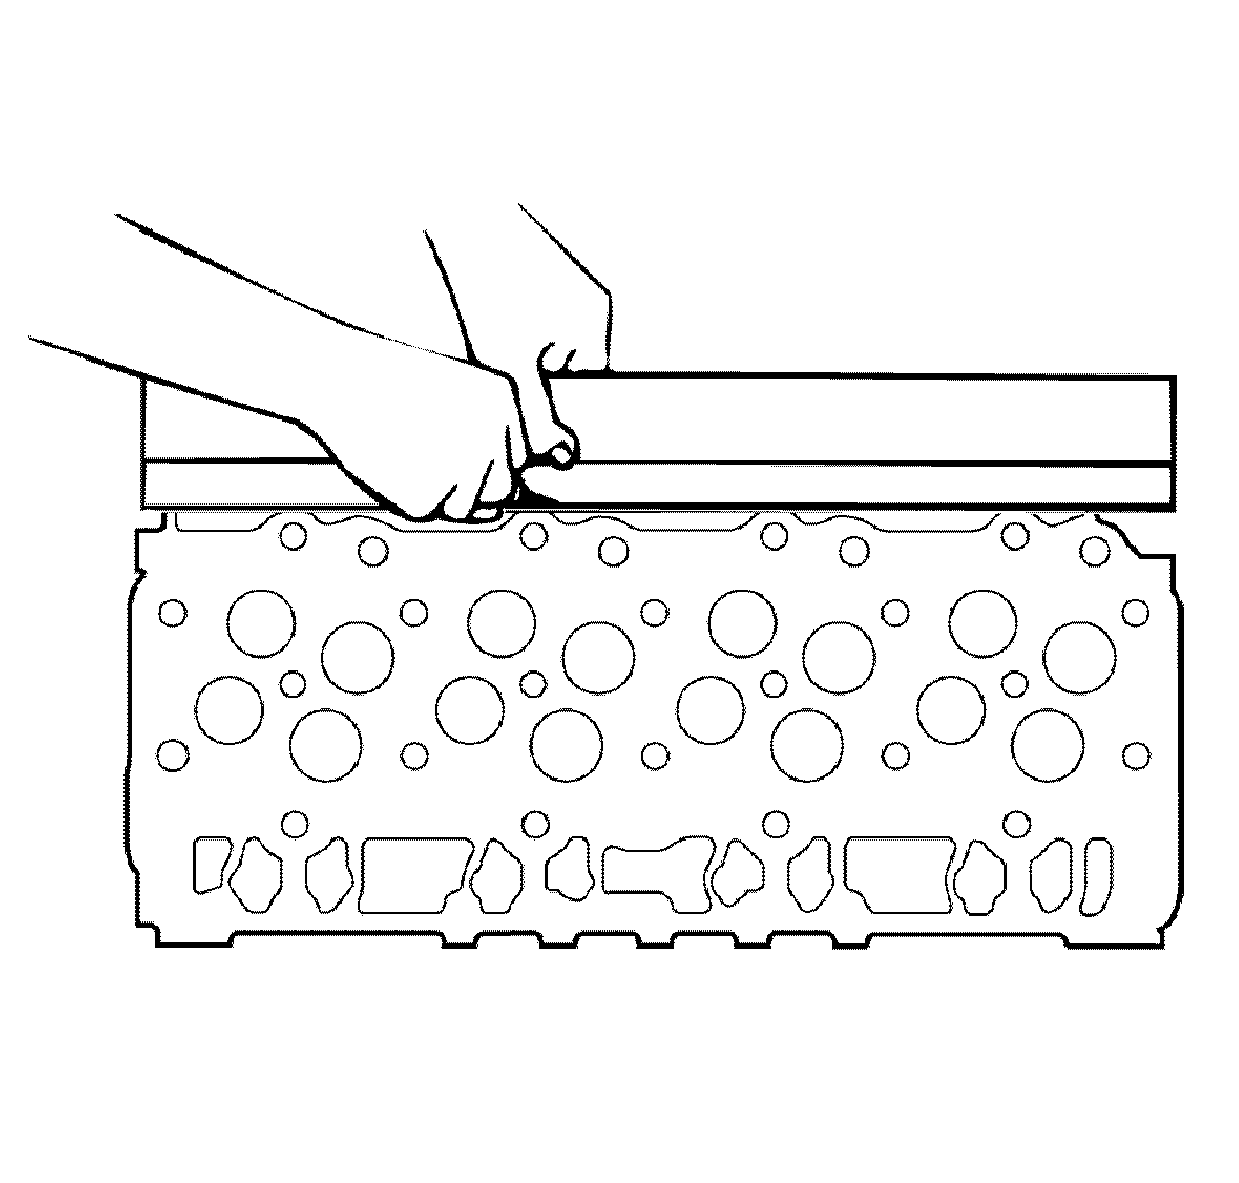
- Measure the cylinder head for warpage with a straight edge and a feeler gauge. A cylinder head block deck with warpage in excess of 0.075 mm (0.0030 in) within a 516.5 mm (20.33 in) area must be replaced.

- Measure the cylinder head exhaust manifold deck for warpage. A cylinder head exhaust
manifold deck with warpage in excess of 0.1 mm (0.0039 in) within a 453 mm (17.83 in) area must be replaced.

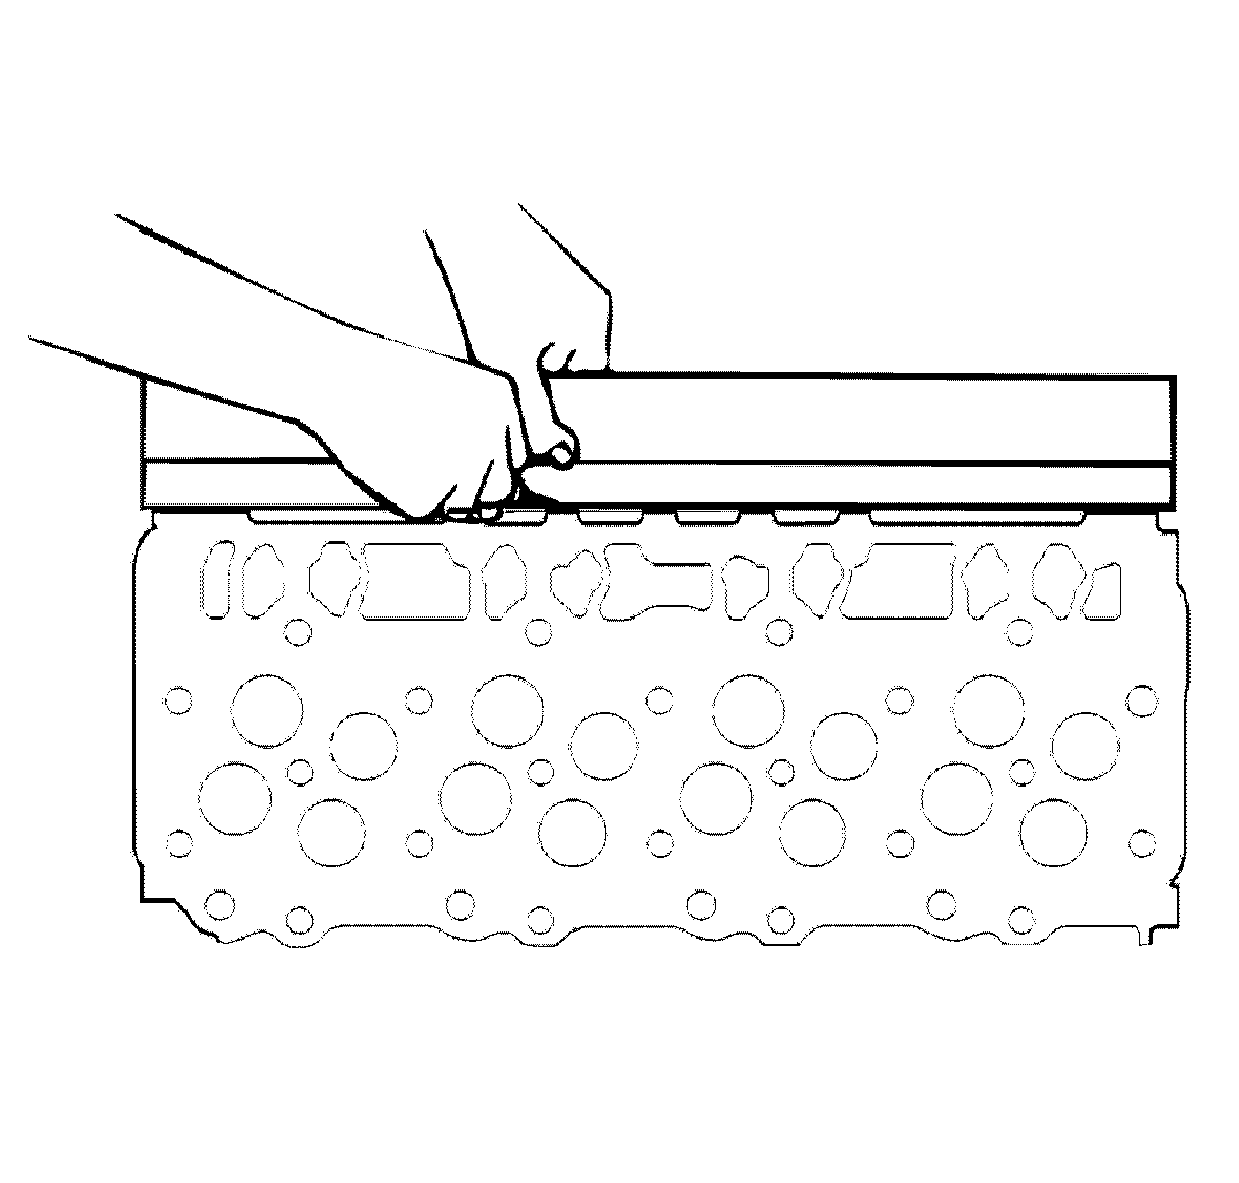
- Measure the cylinder head intake manifold deck for warpage. A cylinder head intake
manifold deck with warpage in excess of 0.3 mm (0.011 in) within a 493 mm (19.41 in) area must be replaced.

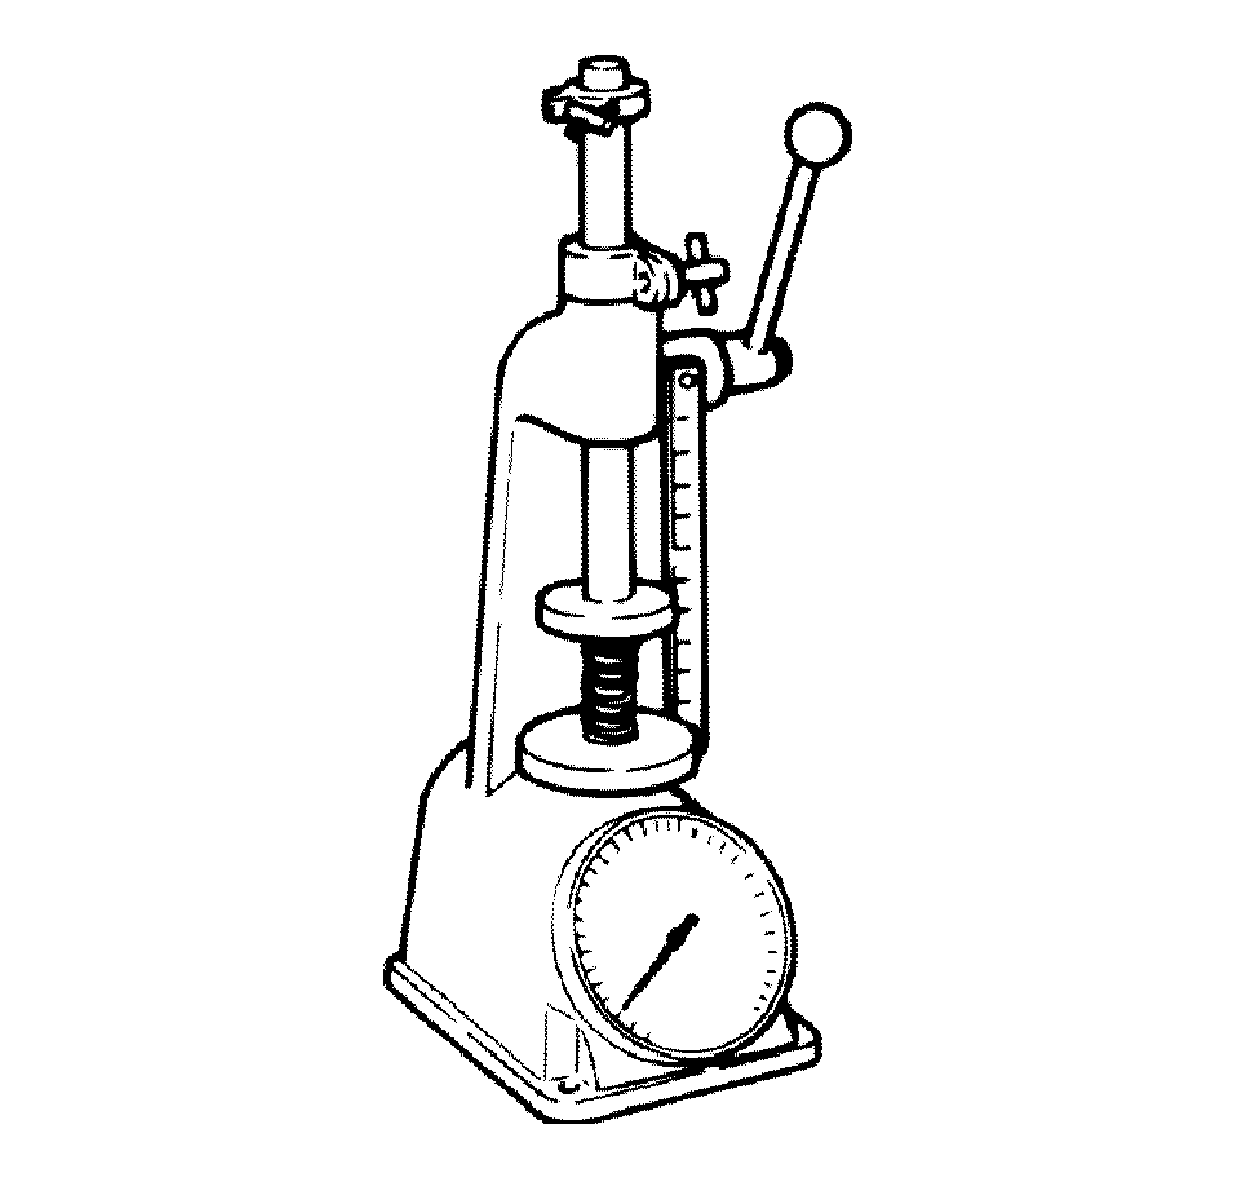
- Measure the valve spring tension using
J 9666
. Replace the valve spring if
the valve spring tension is less than 275 N (61.8 lb) at 41 mm (1.6142 in)

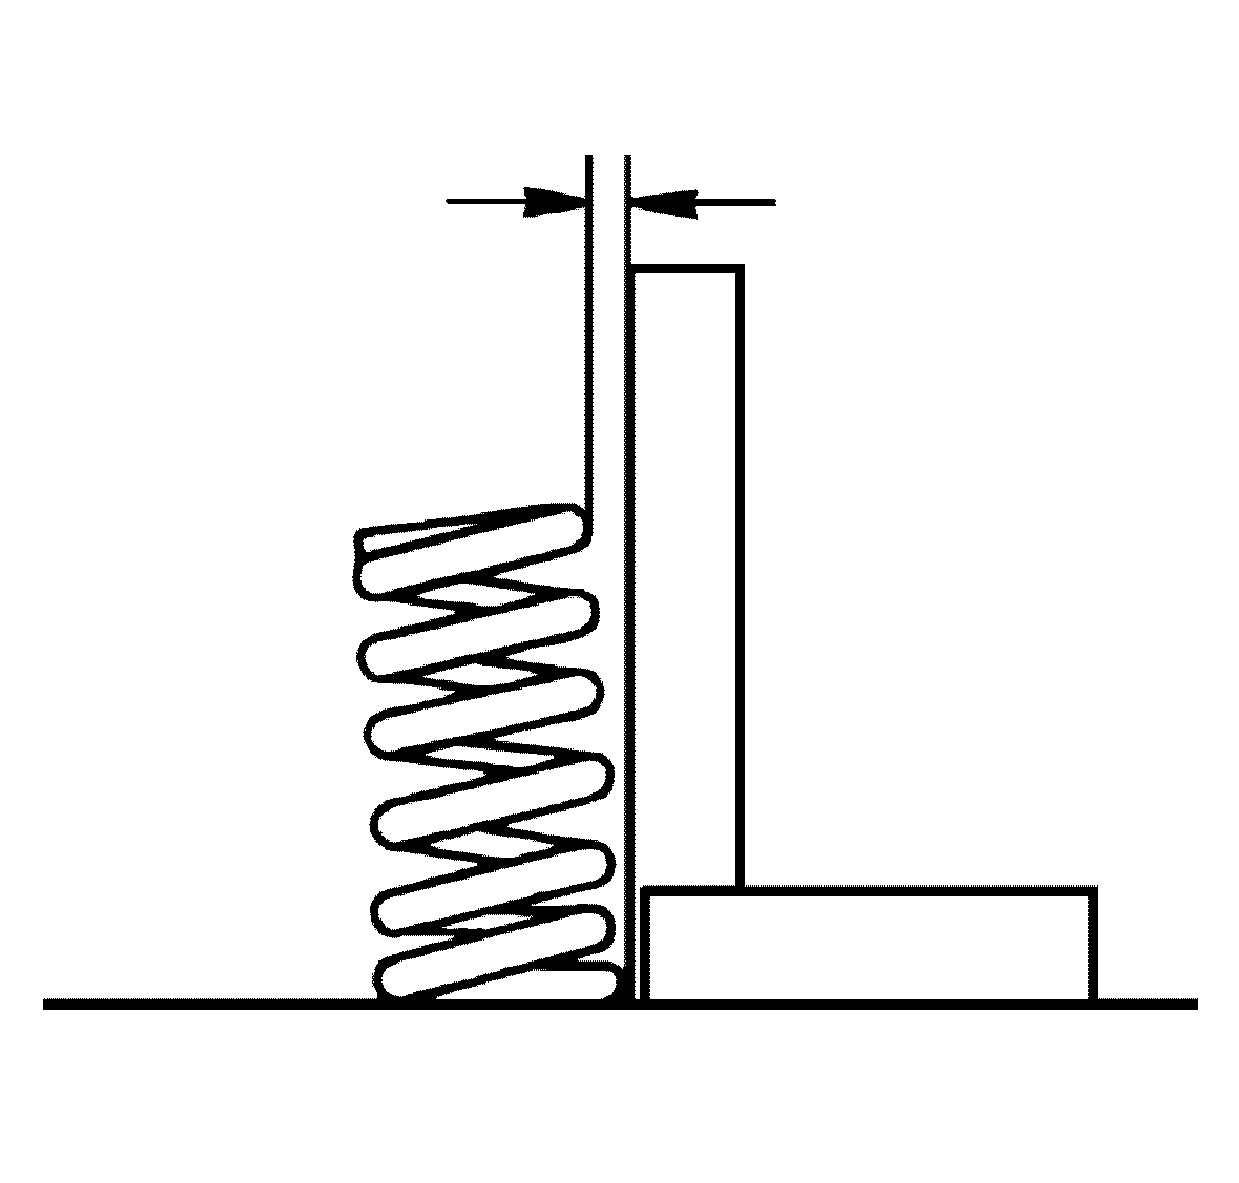
- Measure the valve spring for squareness. Replace the valve spring if squareness is beyond 2.0 mm (0.0787 in).

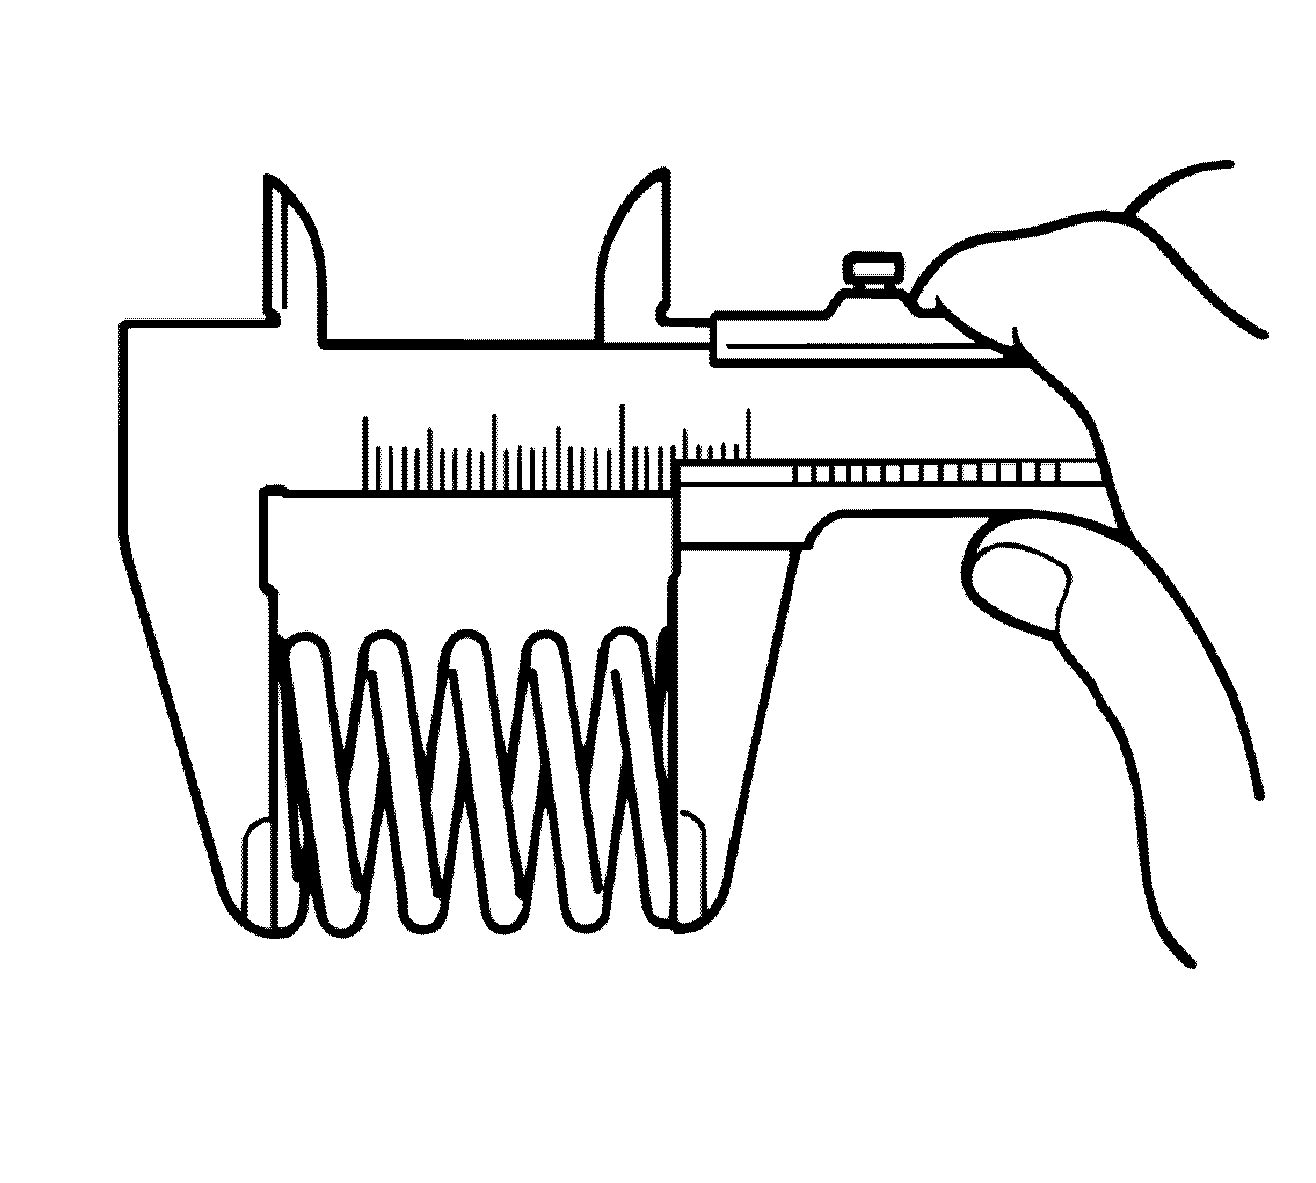
- Measure the valve spring free length. The production free length is 56.6 mm (2.2283 in).
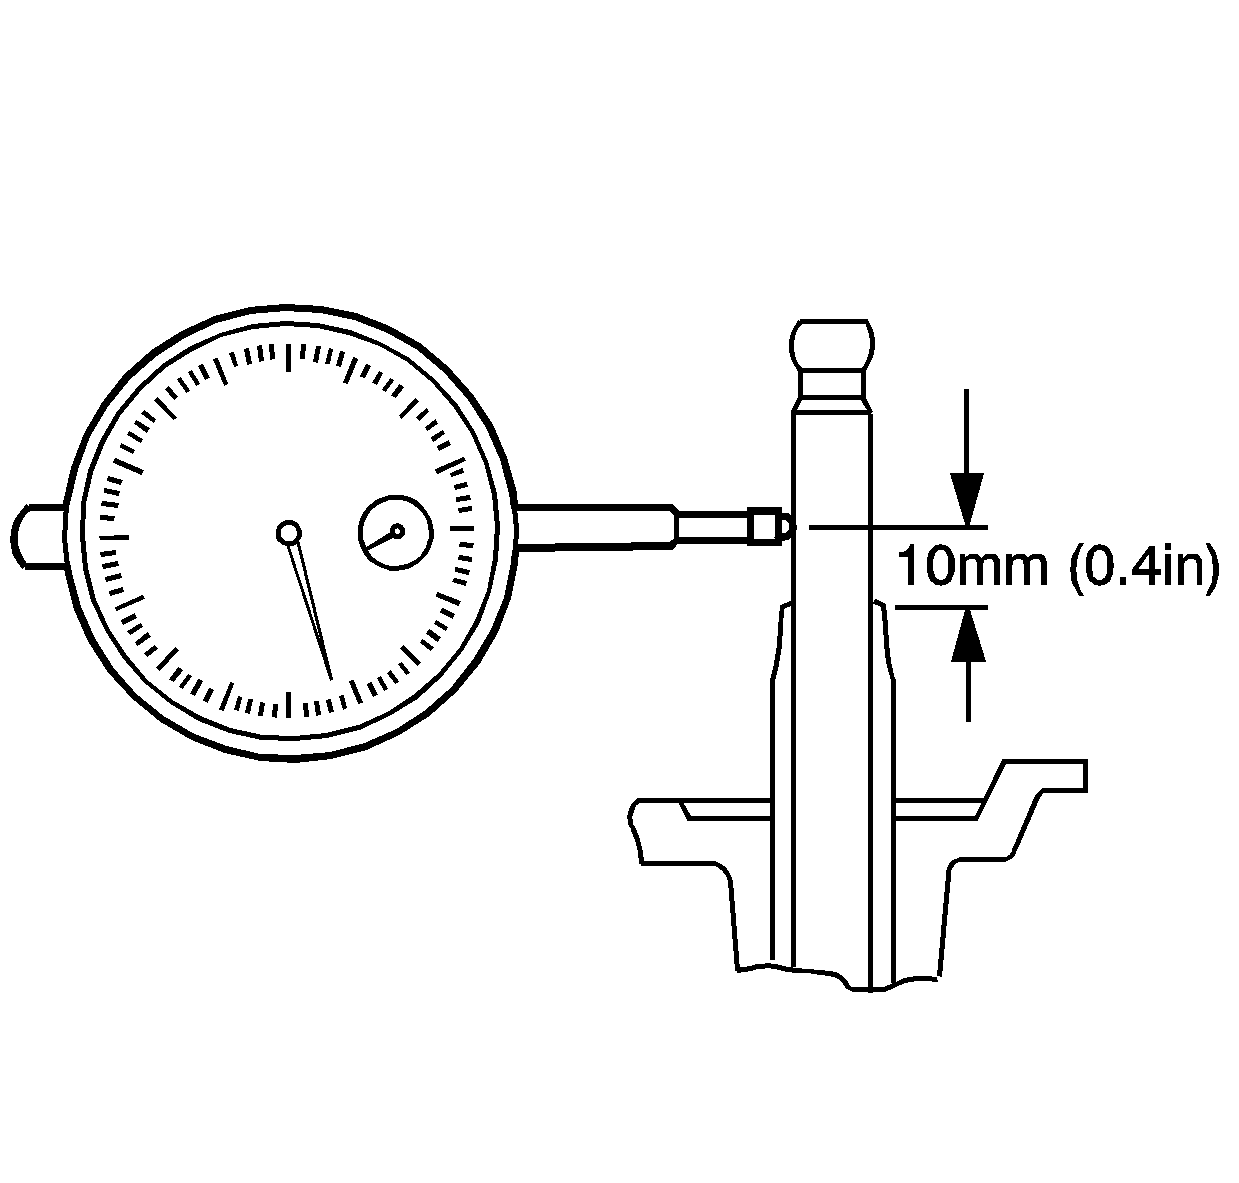
- Measure the valve stem to guide clearance.
| 11.1. | Set a dial indicator to the valve stem measuring point. |
| 11.2. | Move the valve stem from side to side while reading the total movement on the dial indicator. If the measured valve exceeds 0.20 mm (0.0079 in), replace the cylinder head. |

- If the valve stem to guide clearance is over 0.25 mm (0.098 in) for the exhaust valve guides or
0.20 mm (0.0079 in) for the intake valve guides, the cylinder head must be replaced.
- Inspect the valves for the following:

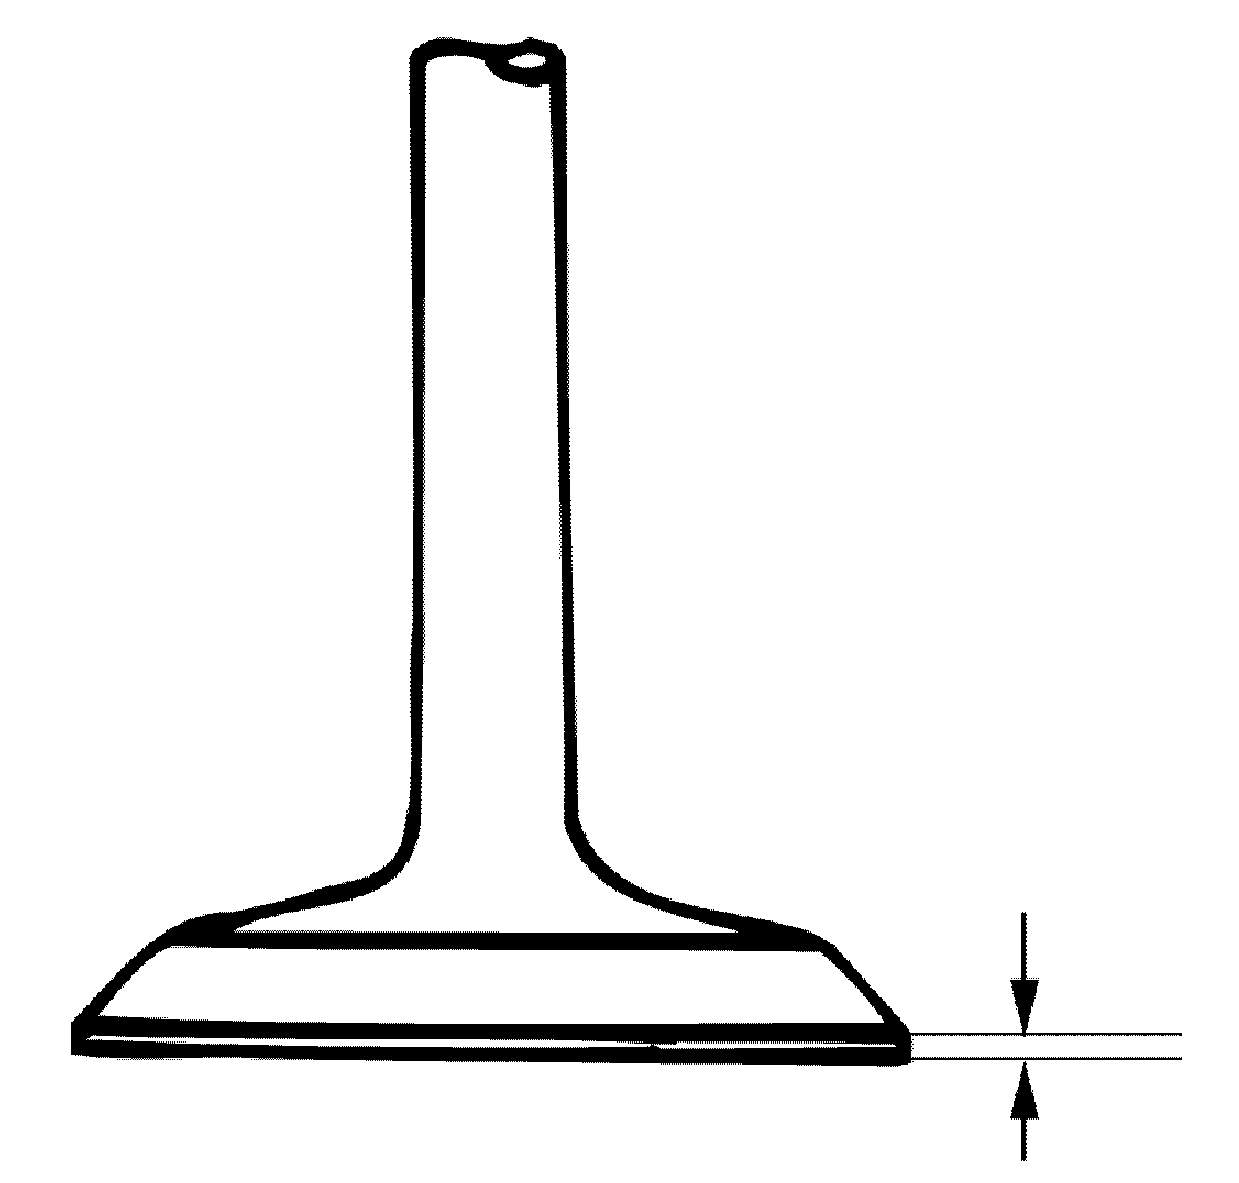
- Measure the valve margin. The intake valve production margin is 1.2 mm (0.0472 in) and the service limit is 0.88 mm (0.0346 in).
The exhaust valve production margin is 1.0 mm (0.0394 in) and the service limit is 0.73 mm (0.0287 in). Replace the valve if the valve margin is below the service limit.

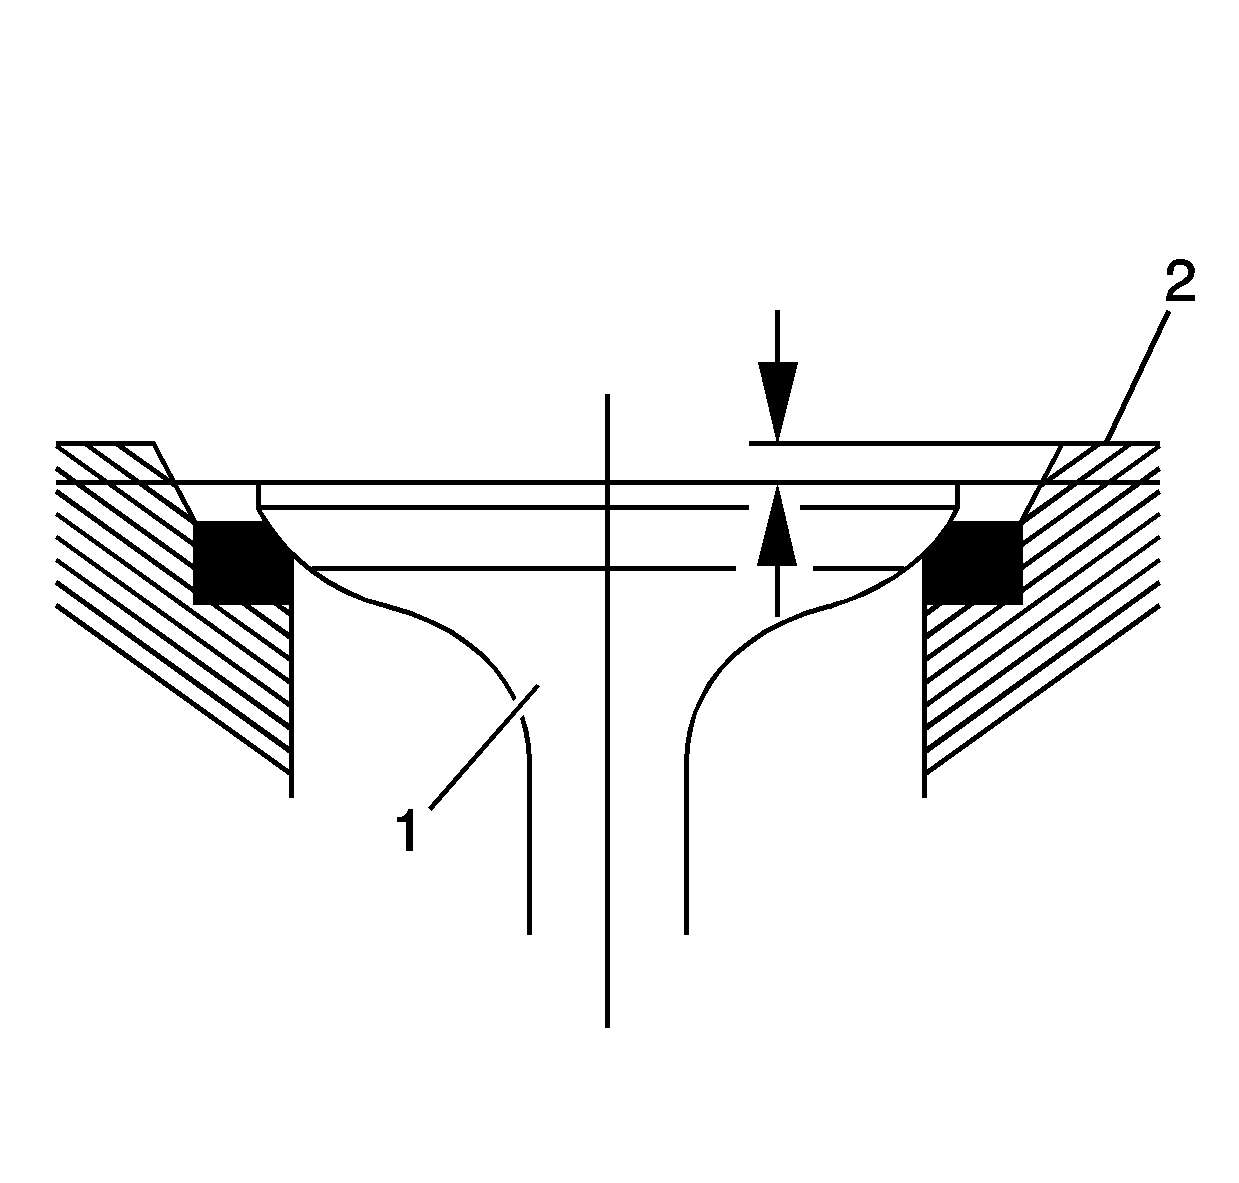
- Measure the valve depression.
| 15.1. | Insert a new valve into the cylinder head (1). |
| 15.2. | Use a depth gage or a straight edge to measure the valve depression from the cylinder head gasket surface (2). The intake valve depression is 0.6 mm (0.0236 in) and the service limit is 2.5 mm (0.0984 in). The exhaust
valve depression is 0.9 mm (0.0354 in) and the service limit is 2.0 mm (0.0787 in). Recondition the valve seat if the valve depression is above specifications. |

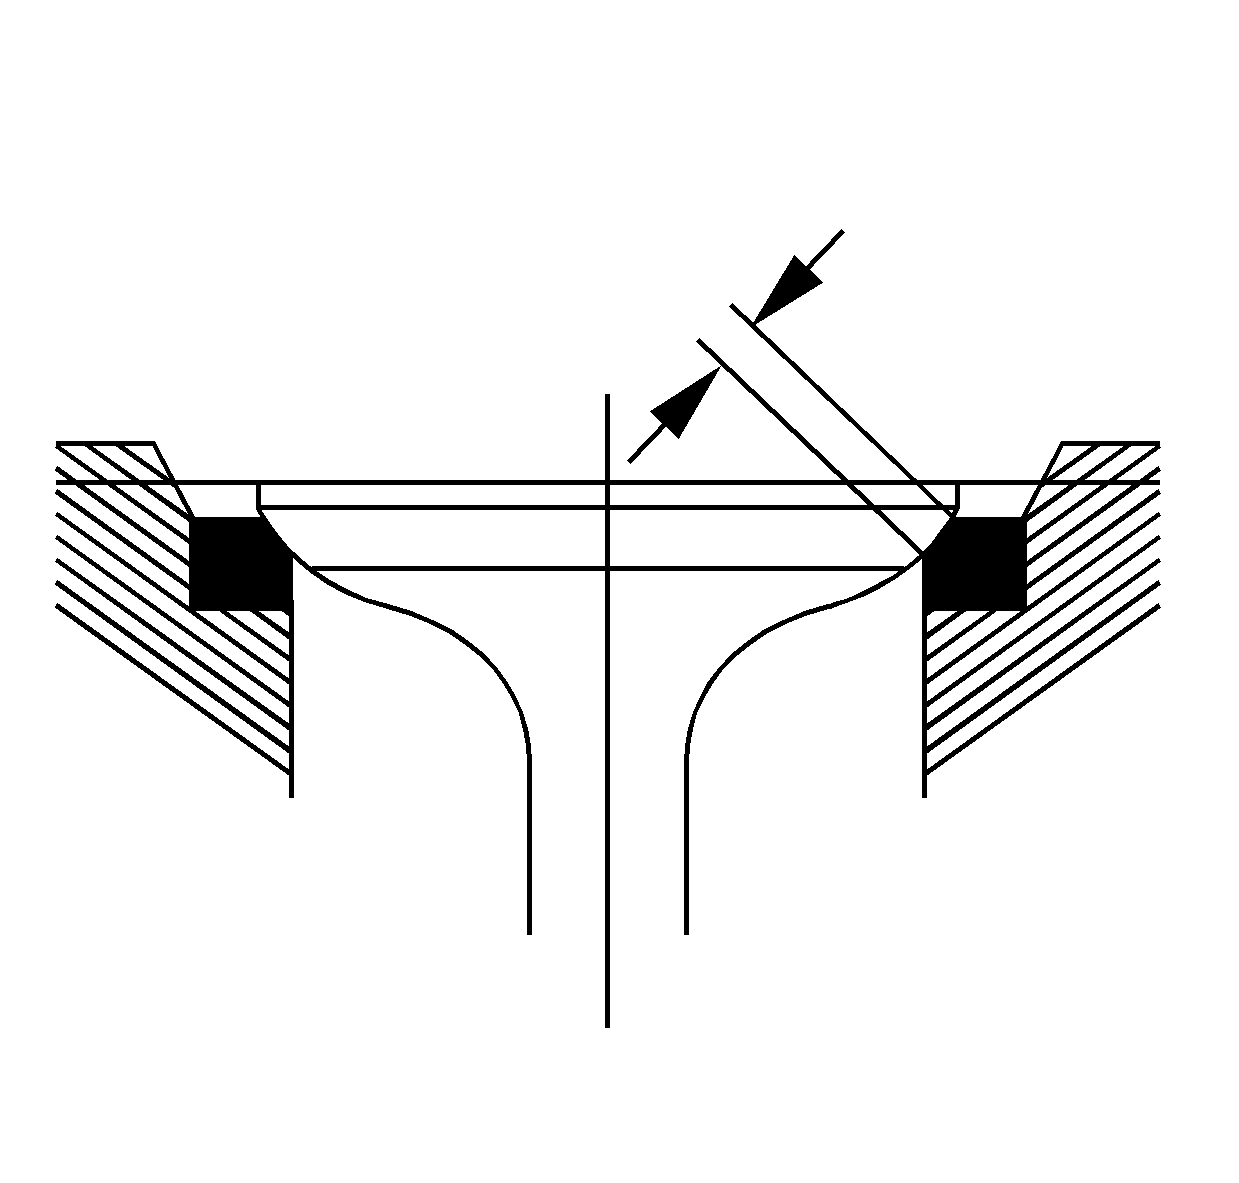
- Measure the valve contact width.
| • | Inspect the valve contact area for roughness or unevenness. |
| • | The intake valve contact width is 2.1 mm (0.0827 in) and the service limit is 2.5 mm (0.0984 in). |
| • | The exhaust valve contact width is 2.1 mm (0.0827 in) and the service limit is 2.5 mm (0.0984 in). |
| • | Recondition the valve seats to bring the contact width into specifications. |
