Removal Procedure
Caution: Before servicing any electrical component, the ignition and start switch must be in the OFF or LOCK position and all electrical loads
must be OFF, unless instructed otherwise in these procedures. If a tool or equipment could easily come in contact with a live exposed electrical terminal, also disconnect the negative battery cable. Failure to follow these precautions may cause personal injury
and/or damage to the vehicle or its components.
- Disconnect the negative battery
cable.
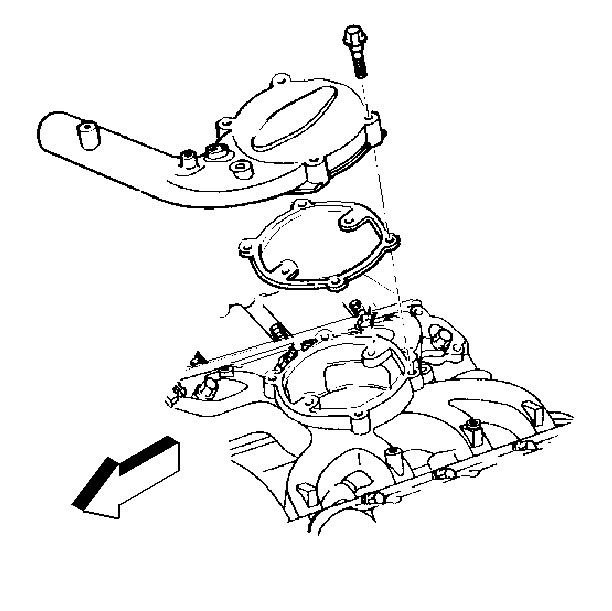
- Remove the upper intake manifold from
the lower intake manifold (L65 only). Refer to
Intake Manifold Replacement
.
- Remove the air cleaner assembly. Refer to Air Cleaner Element Replacement
in Engine Controls.
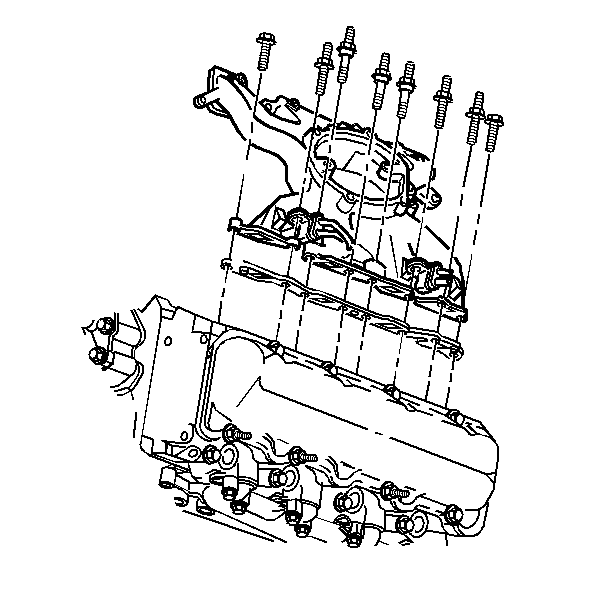
- Remove the lower intake manifold from
the cylinder heads. Refer to the appropriate procedure:
- Remove the following components from the
cylinder head. Refer to
Valve Rocker Arm, Shaft, and Push Rod Replacement
:
| • | The valve rocker arm shaft |

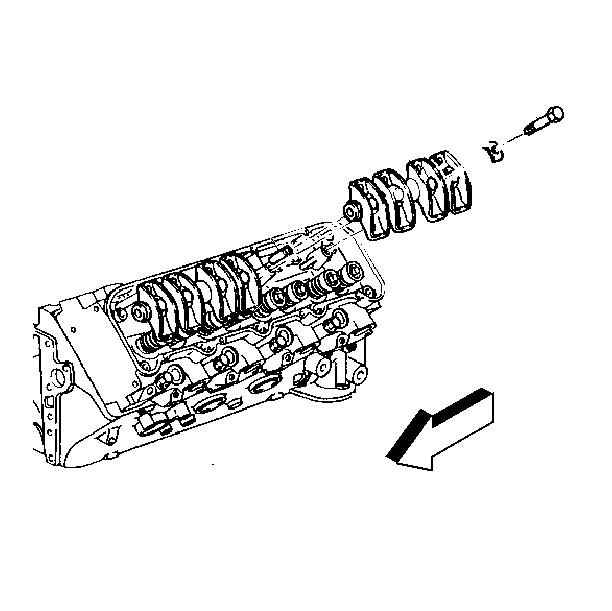
- Remove the cylinder head from the engine
block. Refer to
Cylinder Head Replacement
.
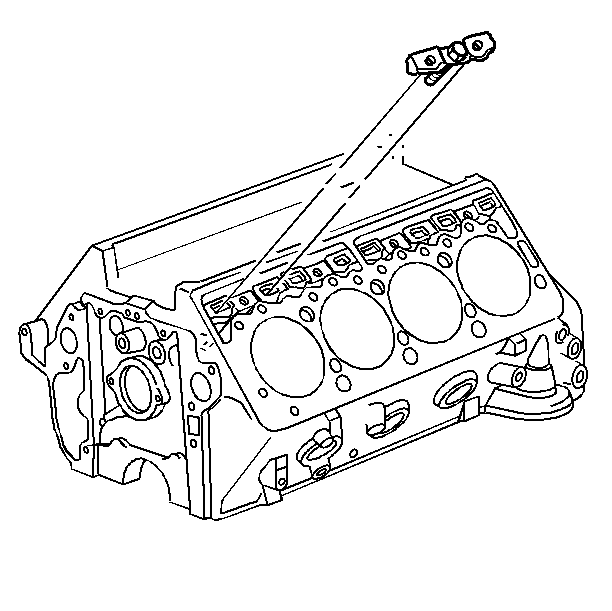
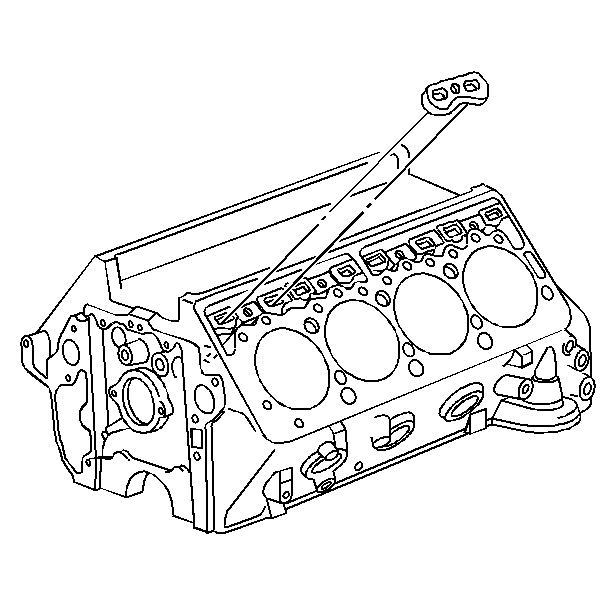
- Remove the retaining bolts from the valve
lifter retaining clamps.
- Remove the valve lifter retaining clamps.
- Remove the valve lifter guide plates from
the engine block.

- Remove the valve lifters from the engine
block.
- Place all of the following components in a organizer rack:
| • | The valve lifter guides |
Installation Procedure
Important: Replace the lifters when you install a new camshaft. Some engines will
have both standard and 0.25 mm (0.010 in) oversize valve lifters.
The oversize lifter will have the number 10 etched on the side. The block
will be stamped OS on the cast pad adjacent to the lifter bore and on the
top rail of the cylinder case above the lifter bore.
- Install the valve lifters to the engine block.
| • | Prime the new valve lifters before installation by working the
lifter plunger while the plunger is submerged in clean kerosene or diesel
fuel. |
| • | Coat the lifter roller and the bearings with lubricant GM P/N 1052367,
or equivalent. |
| • | Install the lifters in the original locations. |
Important: Ensure that the straight edge of the guide plates and the clamps face
away from the cylinders.
- Install the valve lifter guide plates to the engine block.
Notice: Use the correct fastener in the correct location. Replacement fasteners
must be the correct part number for that application. Fasteners requiring
replacement or fasteners requiring the use of thread locking compound or sealant
are identified in the service procedure. Do not use paints, lubricants, or
corrosion inhibitors on fasteners or fastener joint surfaces unless specified.
These coatings affect fastener torque and joint clamping force and may damage
the fastener. Use the correct tightening sequence and specifications when
installing fasteners in order to avoid damage to parts and systems.
- Install the clamps.
Tighten
Tighten the clamp bolts to 27 N·m (20 lb ft).
- After installing the clamps, turn the crankshaft by hand 720 degrees
(2 full turns), in order to ensure the free movement of the lifters in the
guide plates.
If the engine will not turn over by hand, one or more of the lifters
may be binding in the guide plates.
- Install the cylinder head assembly to
the engine block. Refer to
Cylinder Head Replacement
.
- Install the following components to the cylinder head. Refer to
Valve Rocker Arm, Shaft, and Push Rod Replacement
:
| • | The valve rocker arm shaft |
- Install the lower intake manifold to the
engine block. Refer to the appropriate procedure:
- Install the upper intake manifold to the
engine block (L65 only). Refer to
Intake Manifold Replacement
.
- Install the air cleaner assembly. Refer to Air Cleaner Element Replacement
in Engine Controls.
- Connect the negative battery cable.
