Tools Required
Cleaning Procedure
Caution: Wear safety glasses in order to avoid eye damage.
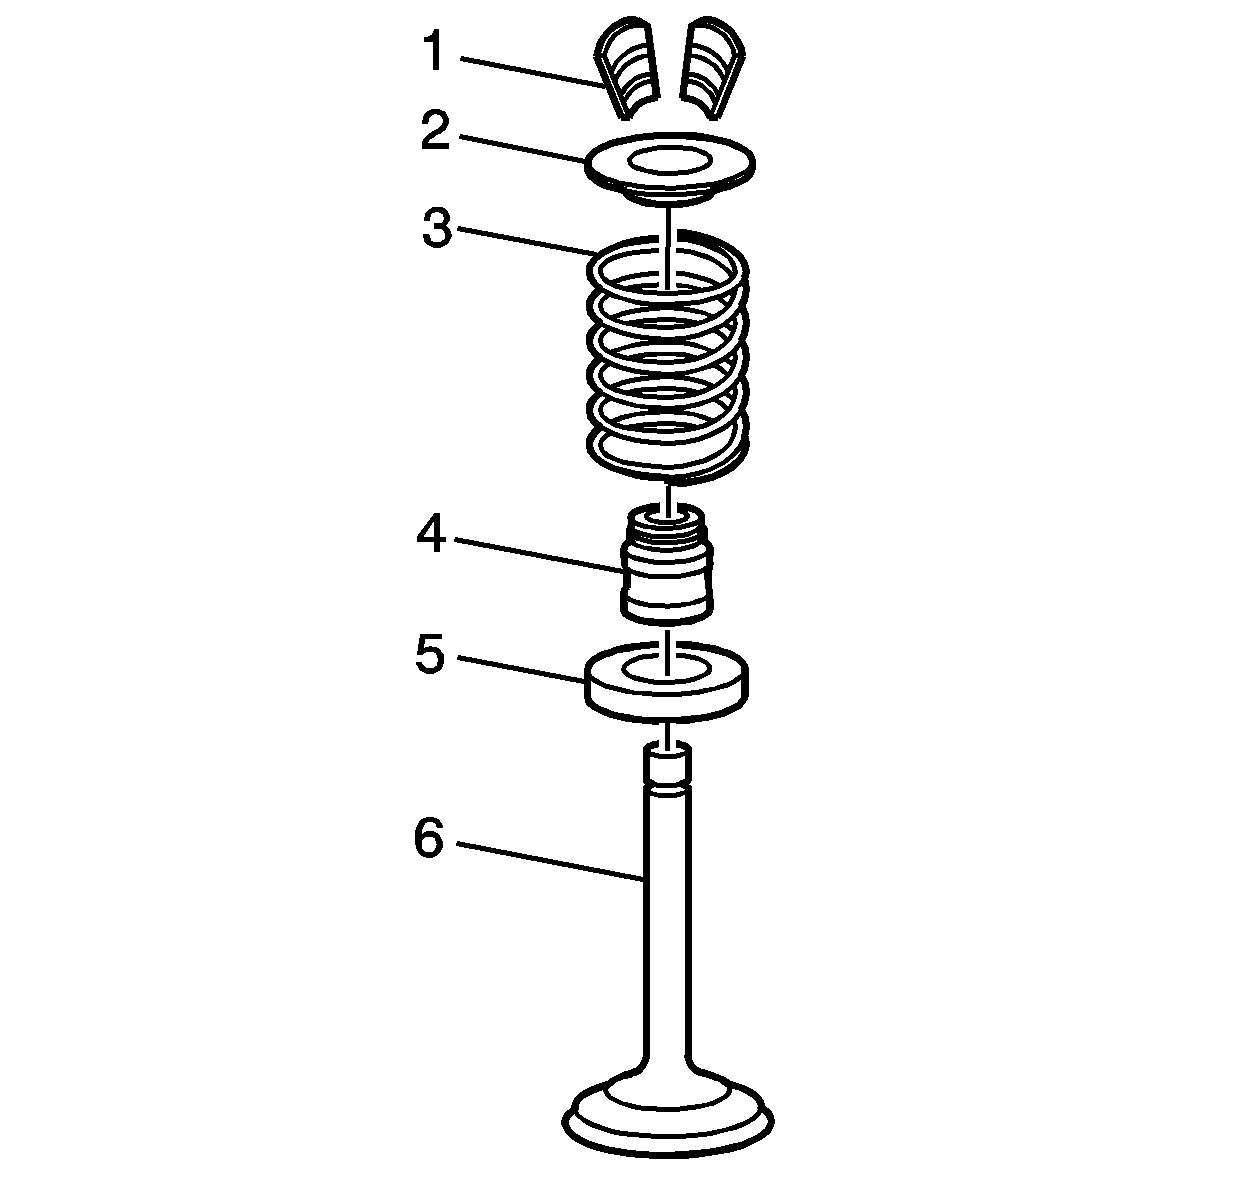
Important: Mark, sort, or organize components for return to their original locations.
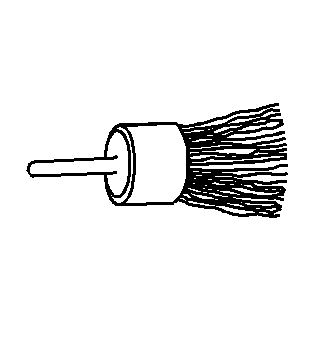
- Clean the valve stems and heads on a buffing wheel.
- Clean the following components in solvent:
Caution: Wear safety glasses in order to avoid eye damage.
- Dry the components with compressed air.
Important: Be careful not to damage the chamber or the valve seat.
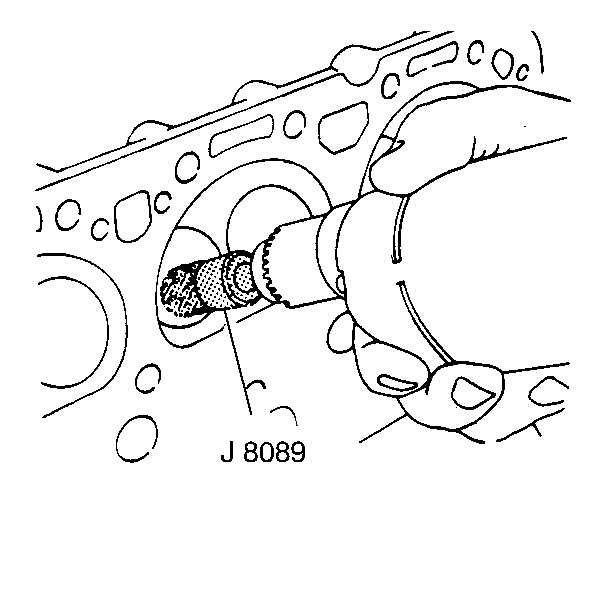
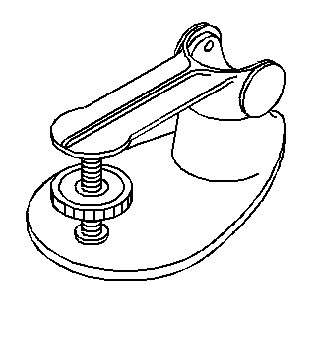
- Use the J 8089
in
order to clean the carbon from the combustion chambers.
Visual Inspection Procedure
Inspect the cylinder head for the following conditions:
| • | Damaged gasket surfaces |
| • | Damage to threaded bolt holes |
| • | Burnt or eroded areas in the combustion chamber |
| • | Cracks in the exhaust ports and combustion chambers |
| • | External cracks in the water chamber |
| • | Restrictions in the intake or exhaust passages |
| • | Restrictions in the cooling system passages |
Flatness Measurement Procedure
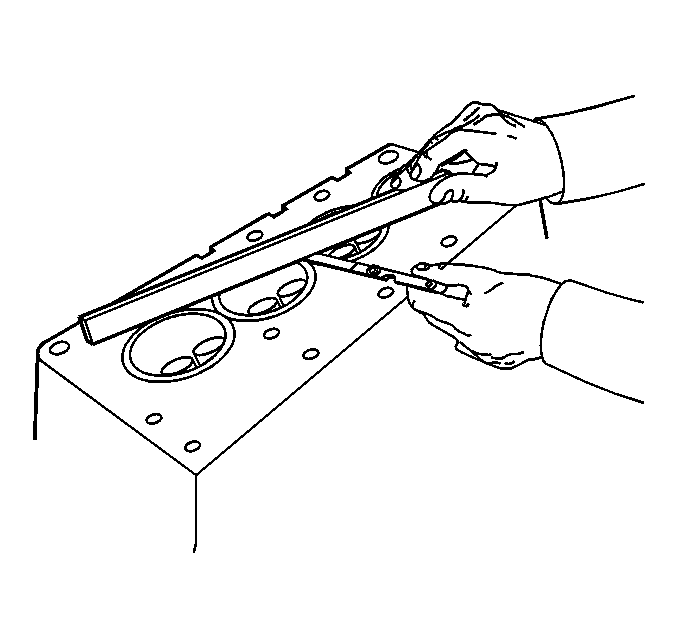
- Measure the cylinder head
for warpage with a straight edge and feeler gage.
| • | A cylinder head block deck with warpage in excess of 0.050 mm
(0.002 in) within a 150.0 mm (6.0 in) area must be repaired
or replaced. |
| • | A cylinder head exhaust manifold deck with an overall warpage
in excess of 0.102 mm (0.004 in) must be repaired or replaced. |
| • | A cylinder head intake manifold deck with warpage in excess of
0.080 mm (0.003 in) must be repaired or replaced. |
- A cylinder head block deck can be resurfaced up to 0.305 mm
(0.012 in) maximum removal.
Important: Excessive cylinder head resurfacing will affect compression ratio and
emission control.
- A cylinder head that requires excessive resurfacing must be replaced.
Valve Inspection Procedure
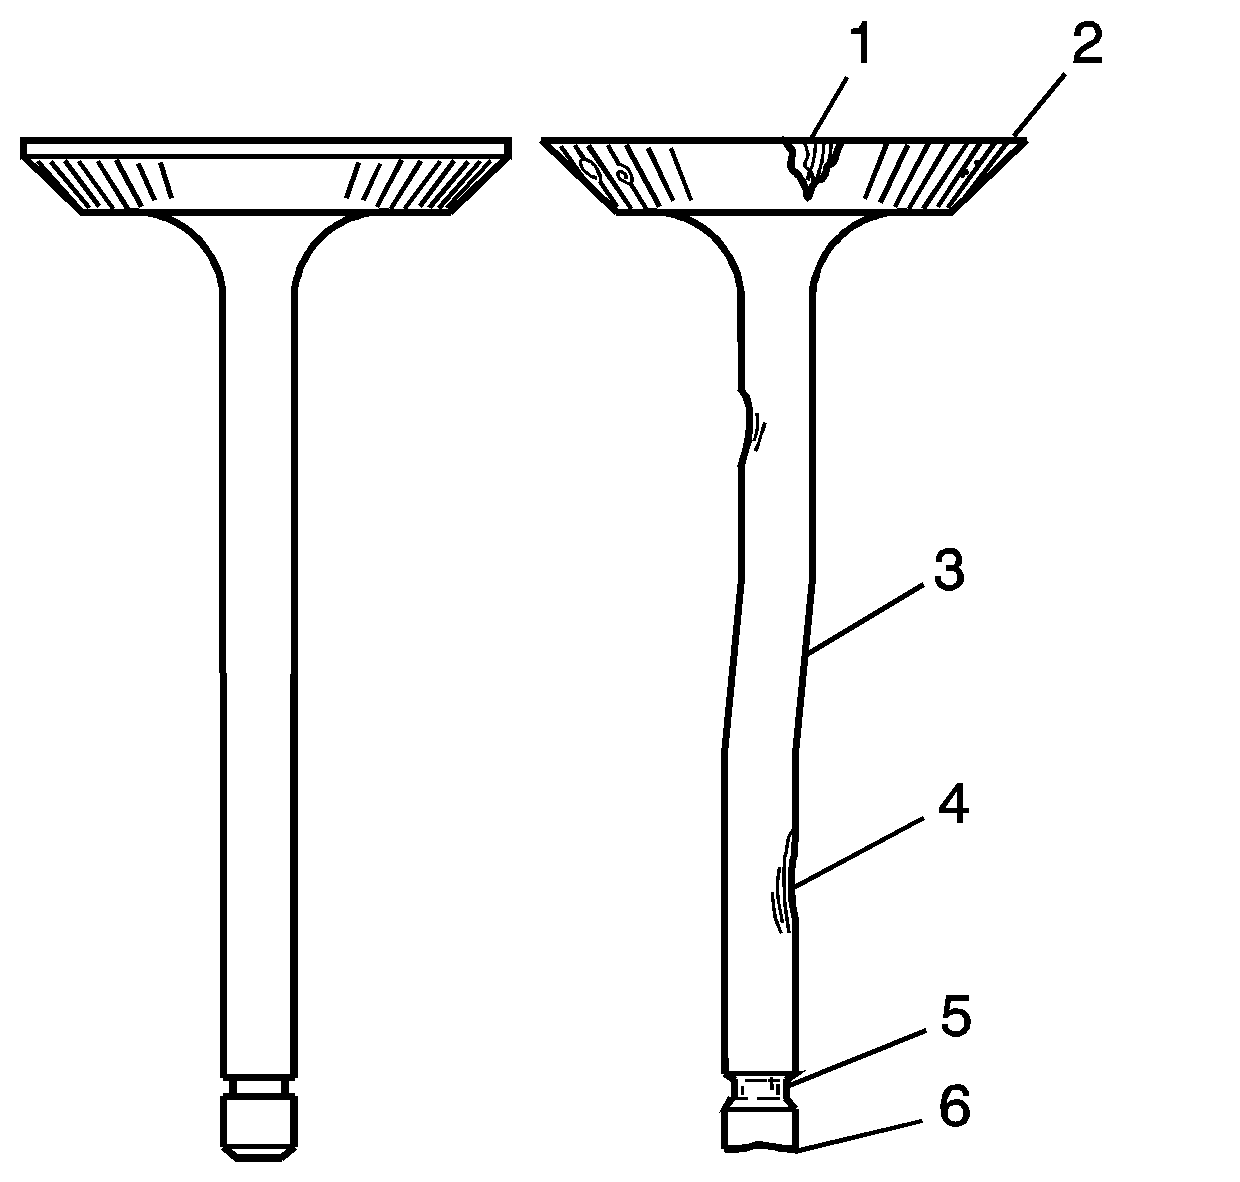
- Inspect the valves for the following conditions:
| • | Burnt or damaged areas (1) |
| • | Undersized valve margin (2) |
| • | Scoring or other damage to the stem (4) |
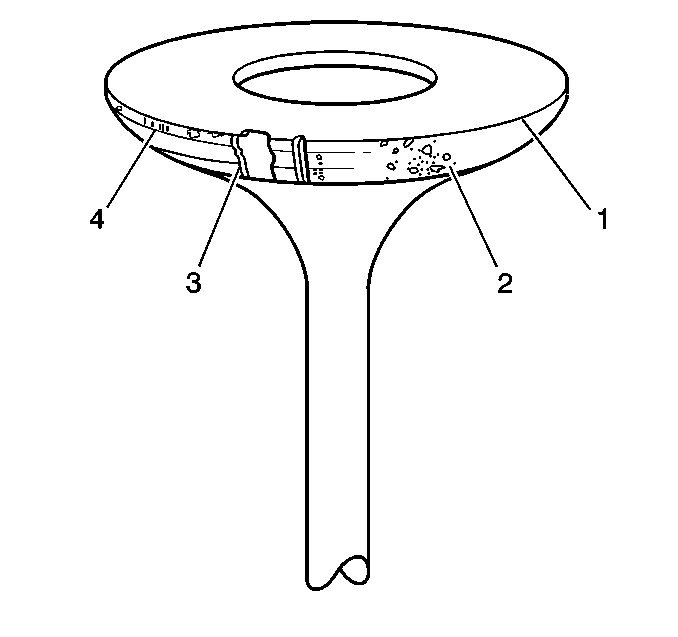
- Inspect the valve contact
surface for the following conditions:
| • | Burnt or eroded areas (3) |
| • | Acceptable edge, margin (4) |
Important: Minor imperfections of the valve may be corrected during reconditioning.
- Valves with excessive damage must be replaced.
Valve Spring Inspection and Measurement
- Inspect the valve springs for broken coils or coil ends.
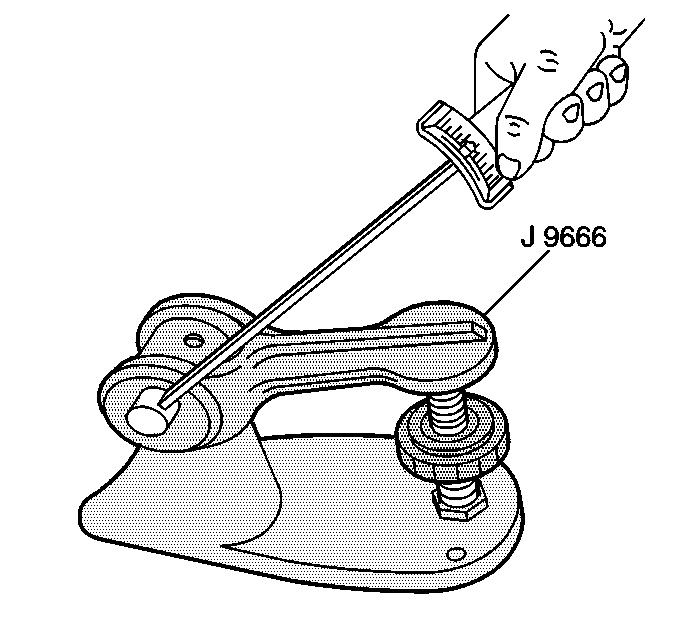
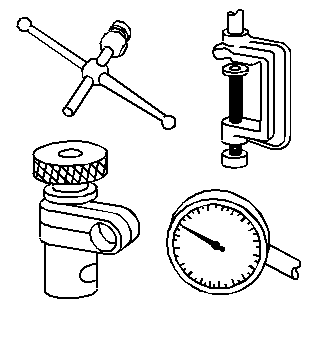
- Use the J 9666
in order to measure the valve spring
force. Refer to
Engine Mechanical Specifications
.
Important: Add a maximum of one shim up to 0.726 mm (0.030 in) thick
to increase tension.
- If the valve spring tension is low, use a shim to increase tension.
- Recheck the valve spring tension, a valve spring that does not
meet specification must be replaced.
Valve Guide Measurement Procedure
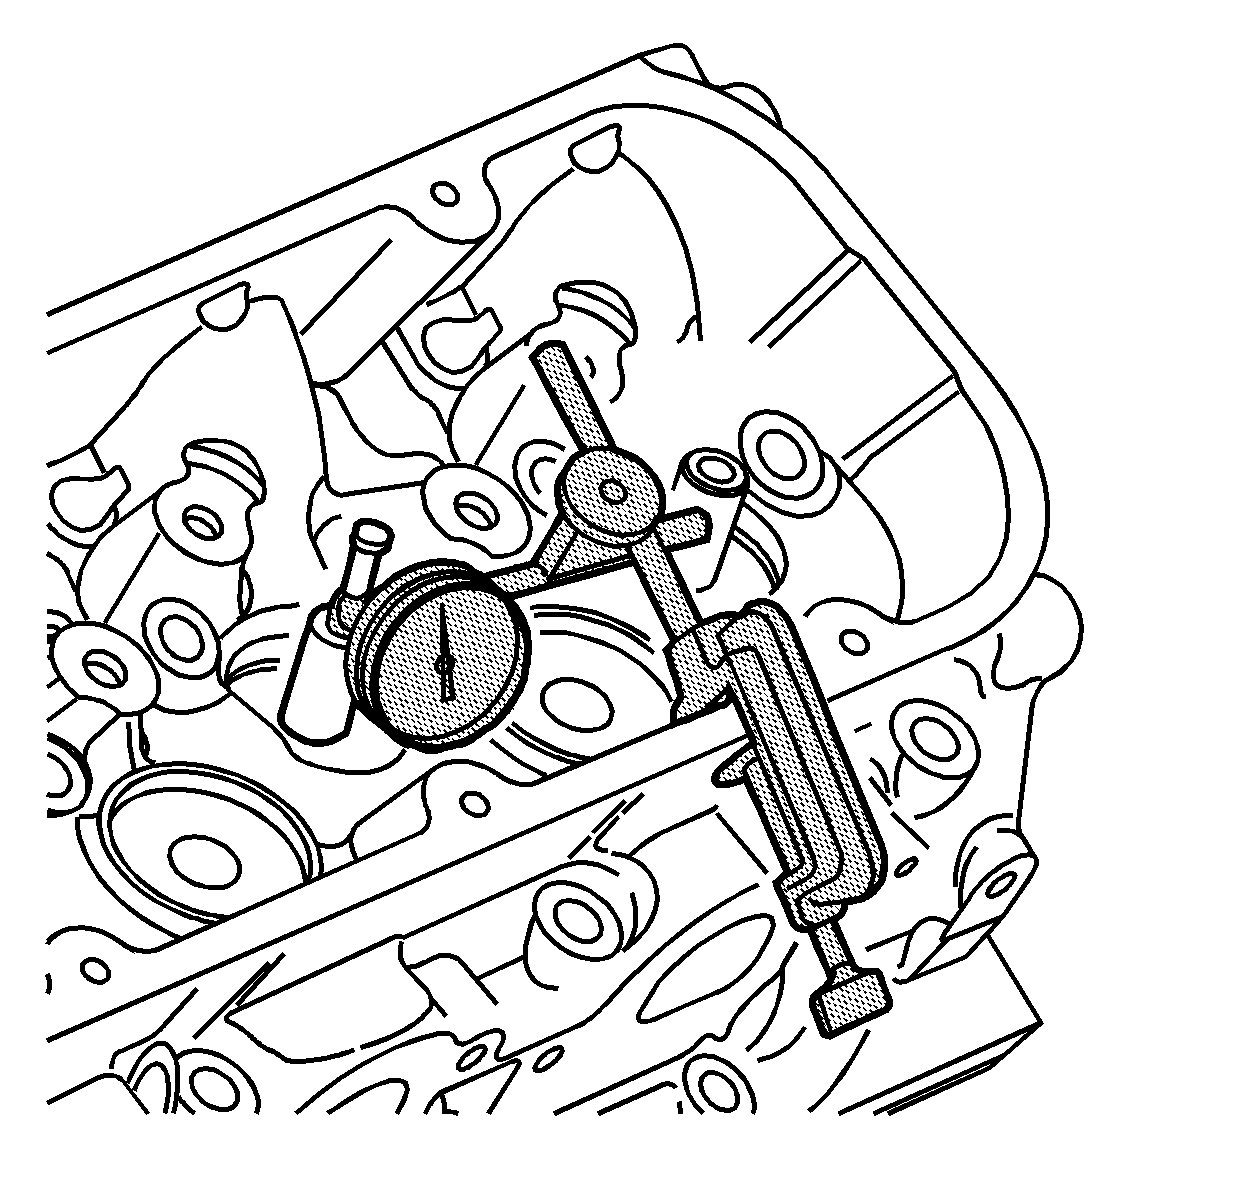
Important: Excessive valve stem-to-guide clearance may cause an excessive oil consumption
and may also cause a valve to break. Insufficient clearance will result in
noisy and sticky functioning of the valve and will disturb the engine assembly
smoothness.
- Measure the valve stem-to-guide clearance.
| 1.1. | Clamp the J 8001
on the exhaust port side of the cylinder head. |
| | Important: The indicator stem must contract the side of the valve stem just above
the valve guide.
|
| 1.2. | Locate the indicator so that the movement of the valve stem from side
to side, crosswise to the cylinder head, will cause a direct movement of the
indicator stem. |
| 1.3. | Drop the valve head about 1.6 mm (0.064 in) off
the valve seat. |
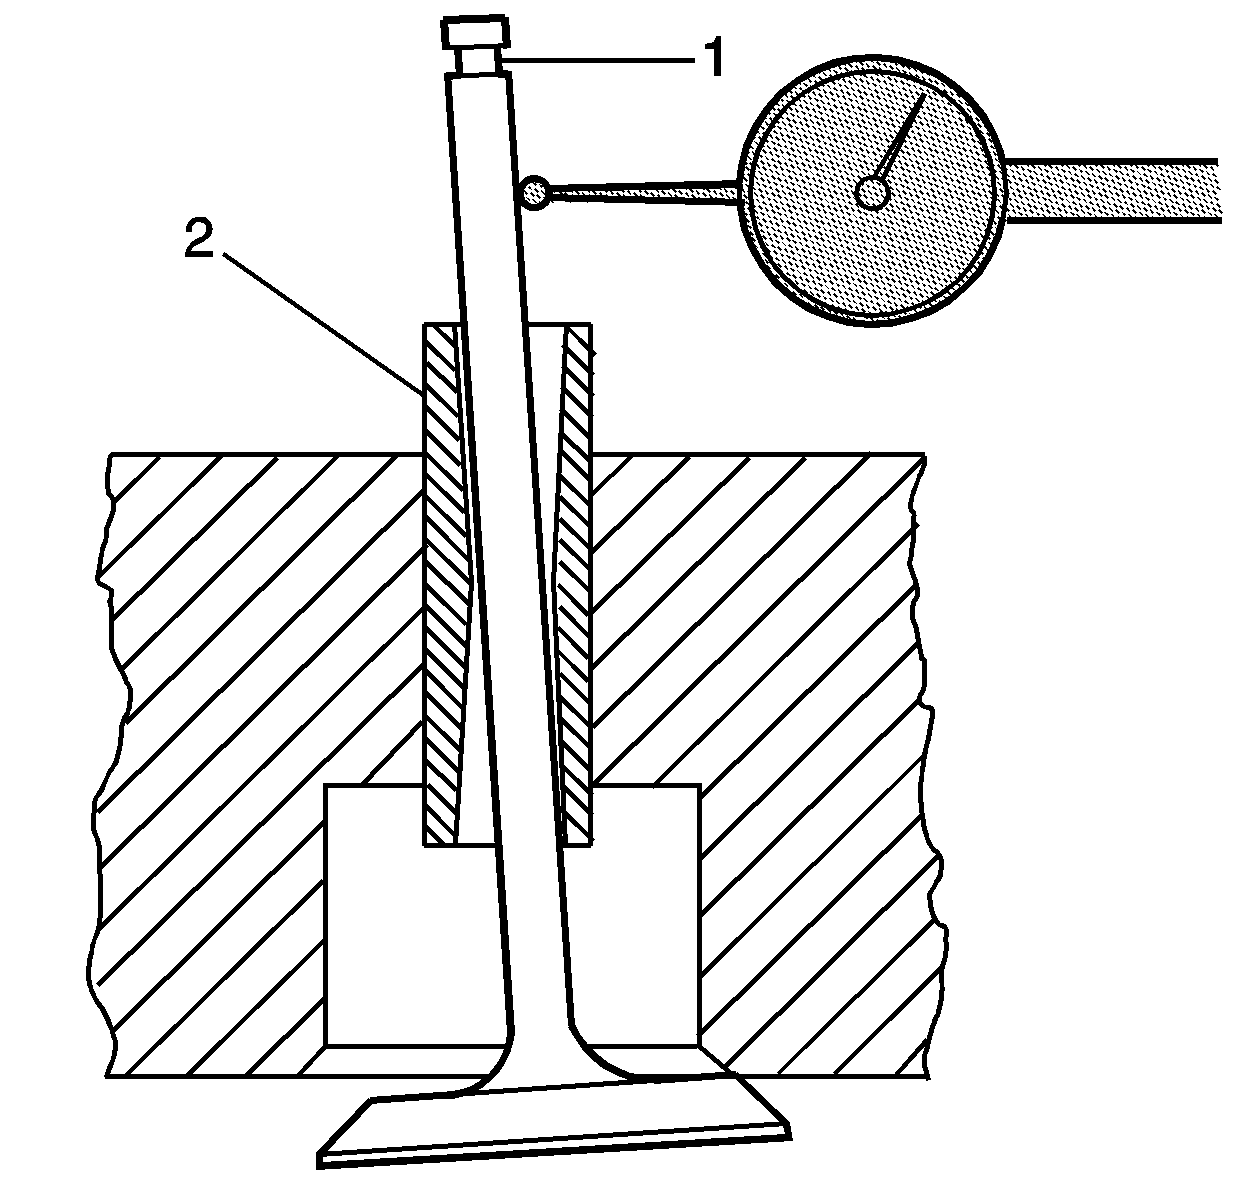
- Valve guide (2)
with excessive clearance must be repaired. Refer to
Valve Guide Reaming, and Valve and Seat Grinding
.
- Replace the cylinder head if the valve guide cannot be repaired
or reamed to accept an oversize valve stem.
