For 1990-2009 cars only
Removal Procedure
Important: For ease of reassembly, shift the transfer case to 2HI prior to removing any components.
- Remove the encoder motor. Refer to Transfer Case Encoder Motor Replacement.
- Place the encoder motor on a clean work bench,
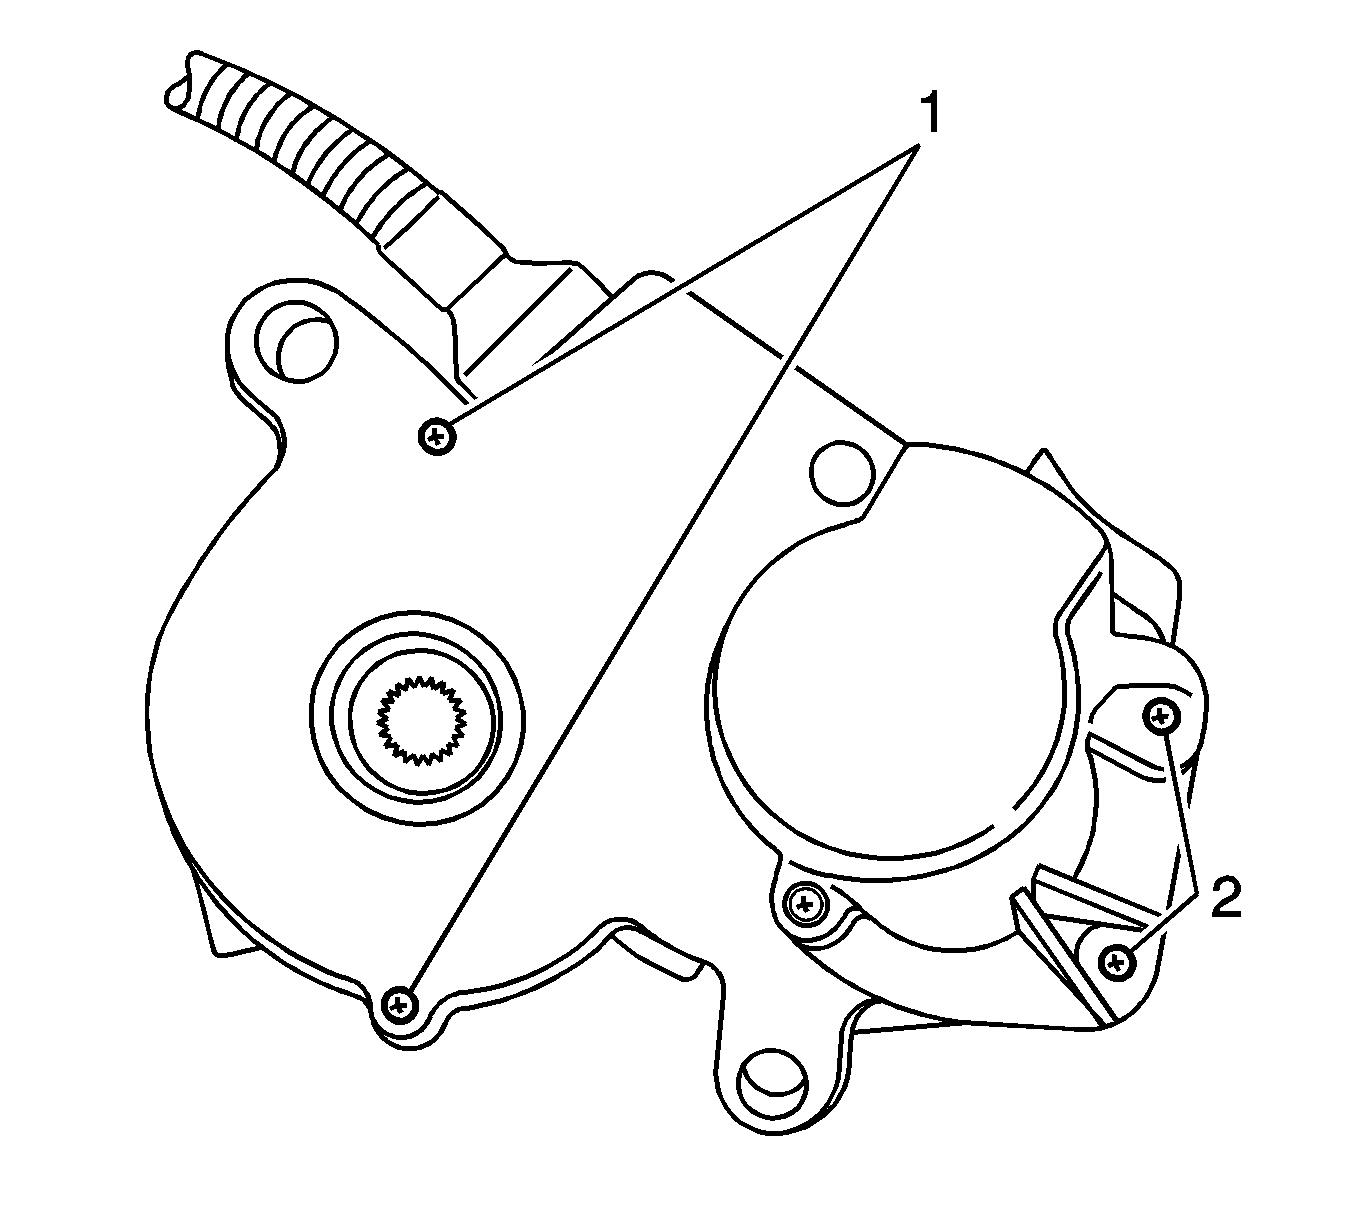
- Remove the 2 screws (2) from the motor cover.
- Remove the 2 screws (1) from the casting.
- Remove the cover.
- Remove and save the shim on the output gear.
- Remove and discard the orange rubber seal from the cover.
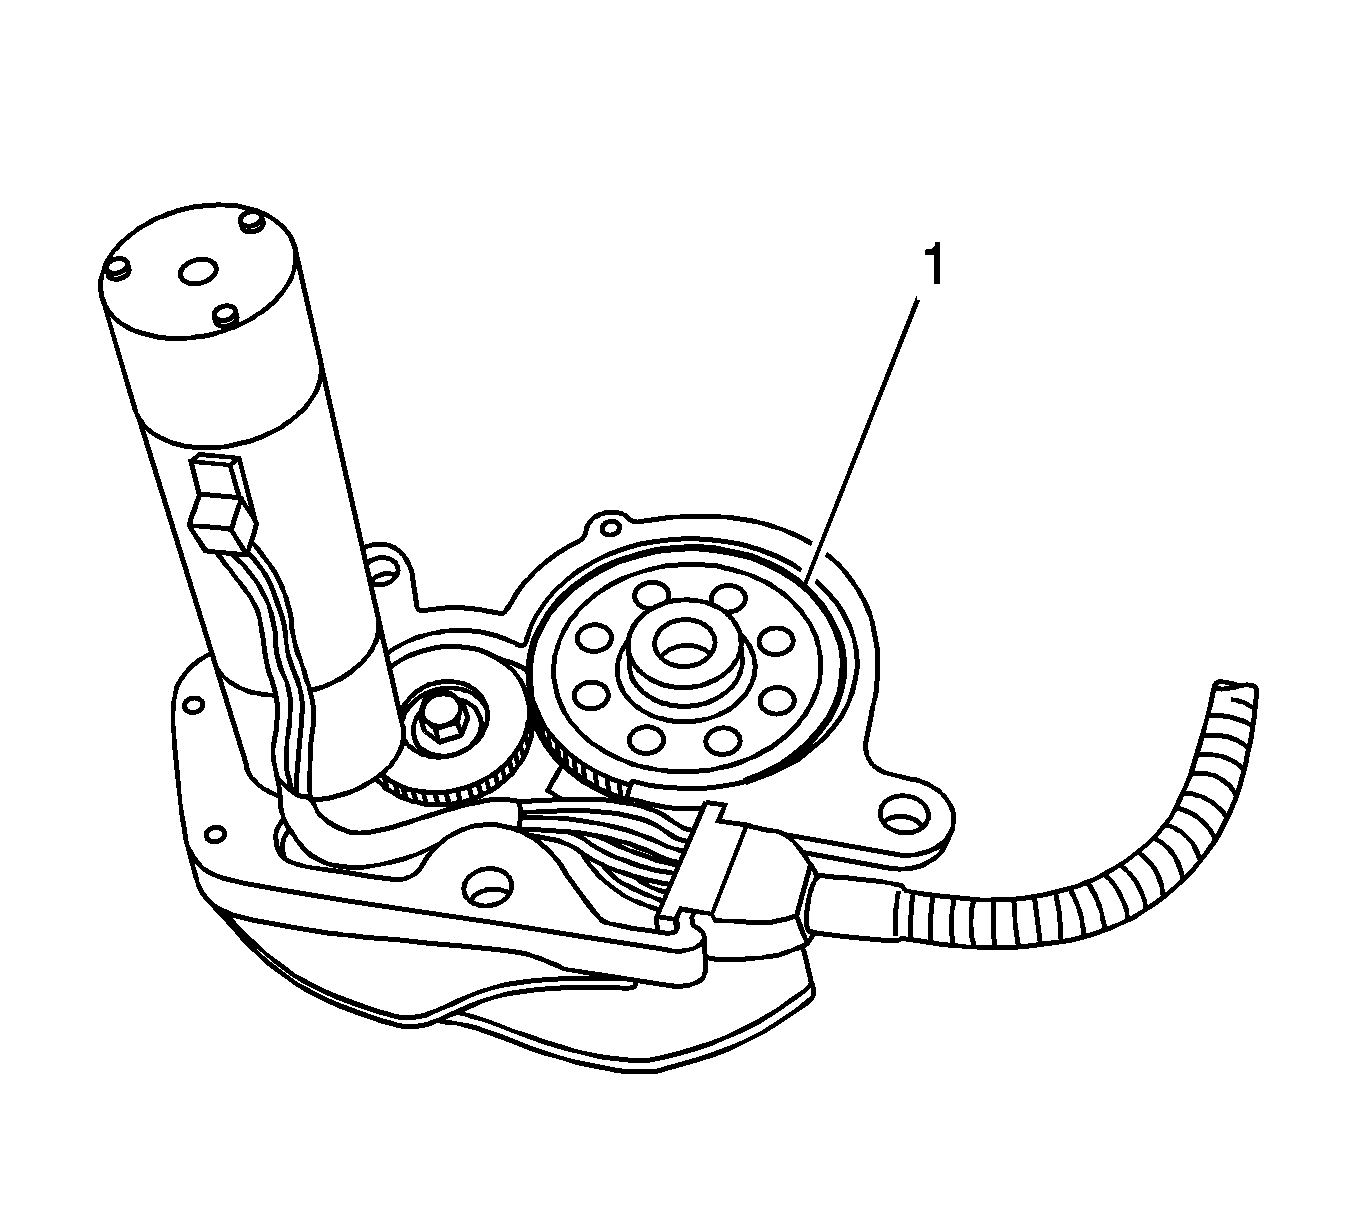
- Remove the output gear (1).
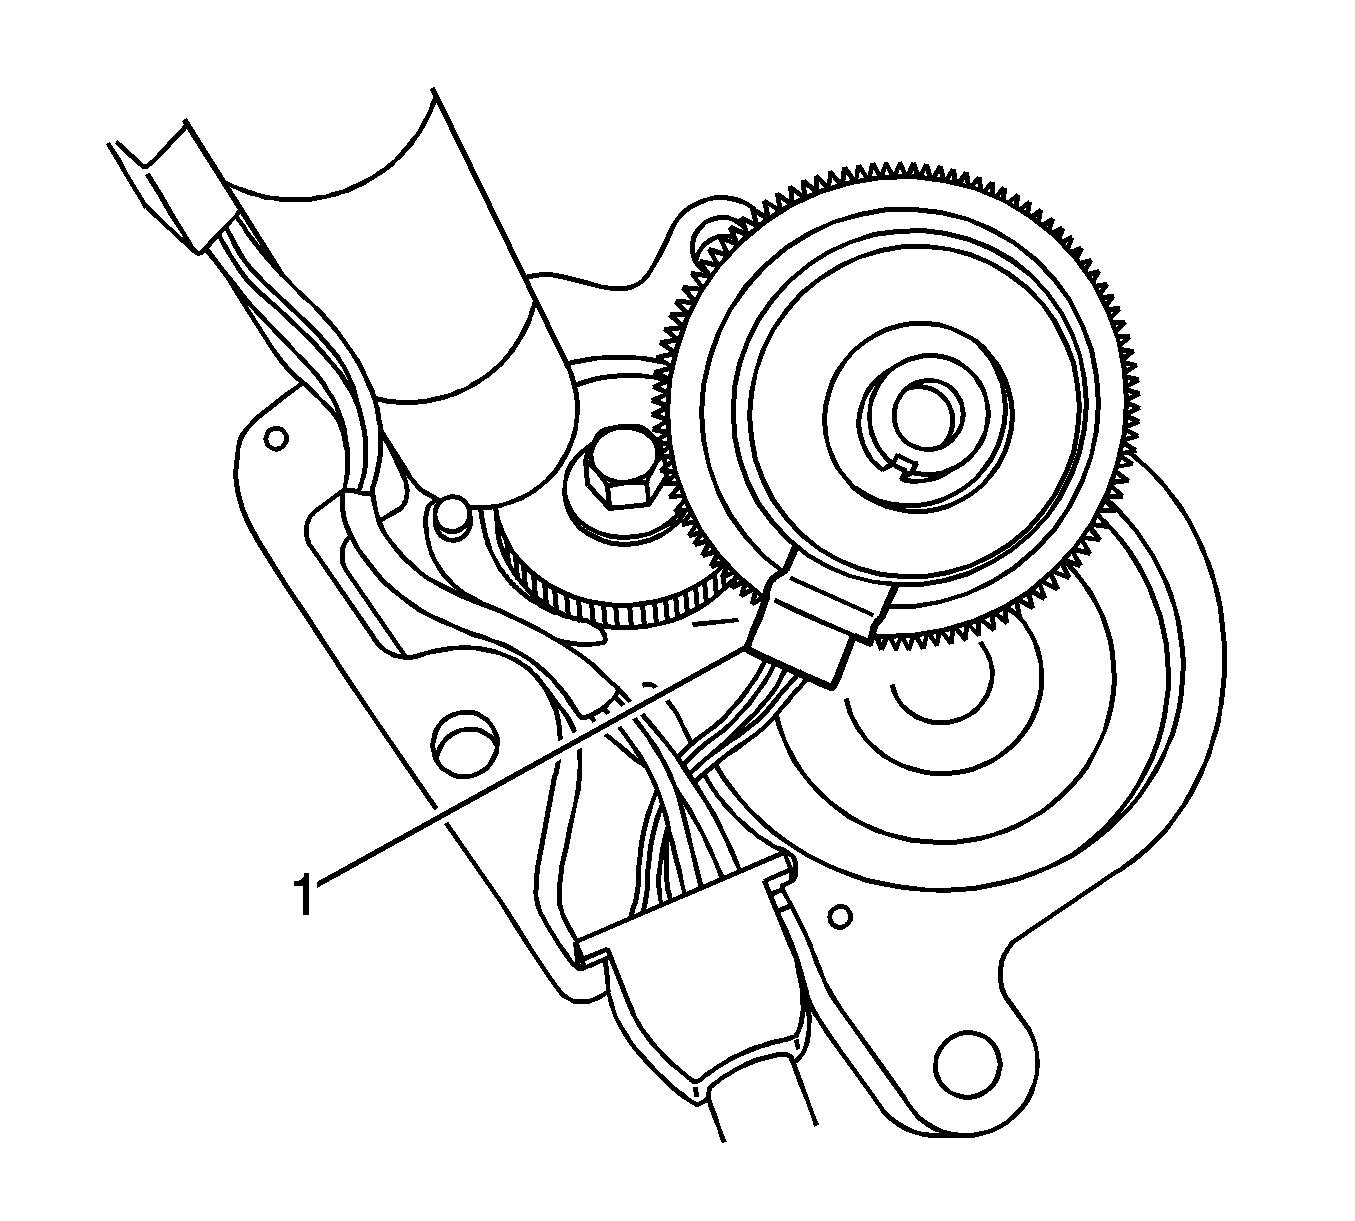
- Disassemble the harness connector (1) from the sensor.
- Remove the sensor from the output shaft using a flat tip screwdriver.
Installation Procedure
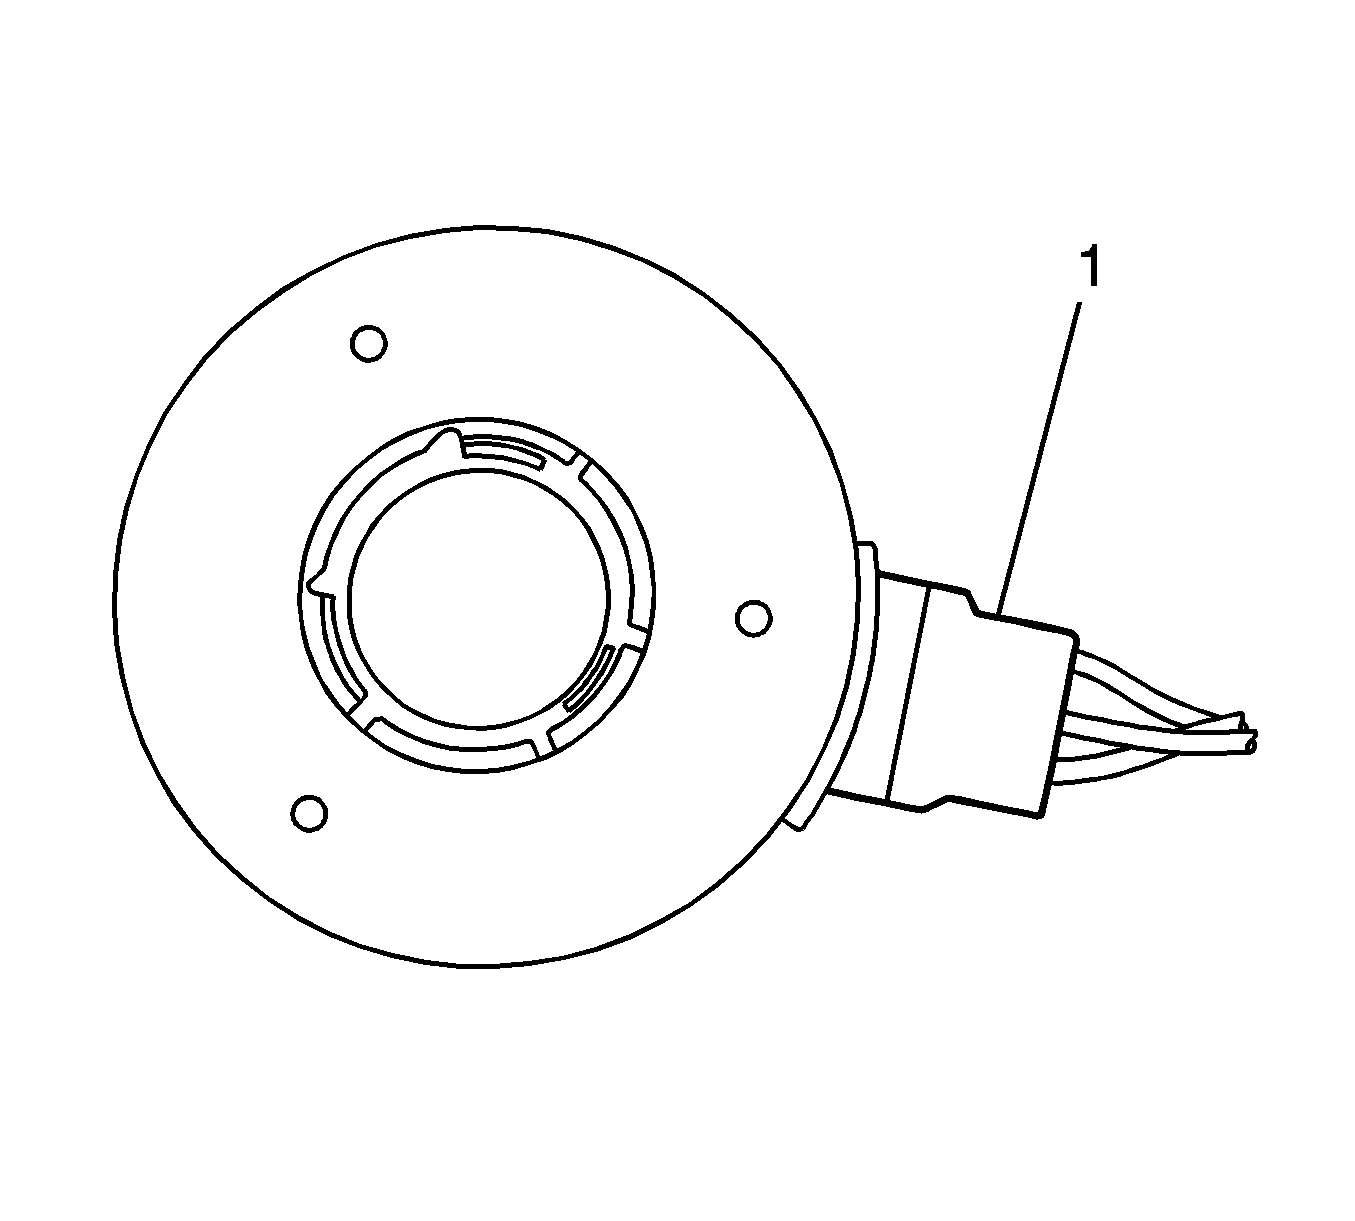
- Assemble the harness to the NEW sensor with the connector legend "TOP" (1) and the sensor part number facing up.
- Assemble the output shaft into the sensor, being sure to align the encoder tab with the groove on the shaft.
- Ensure the encoder is seating properly on the output gear.
- Place the output shaft/encoder on the casting.
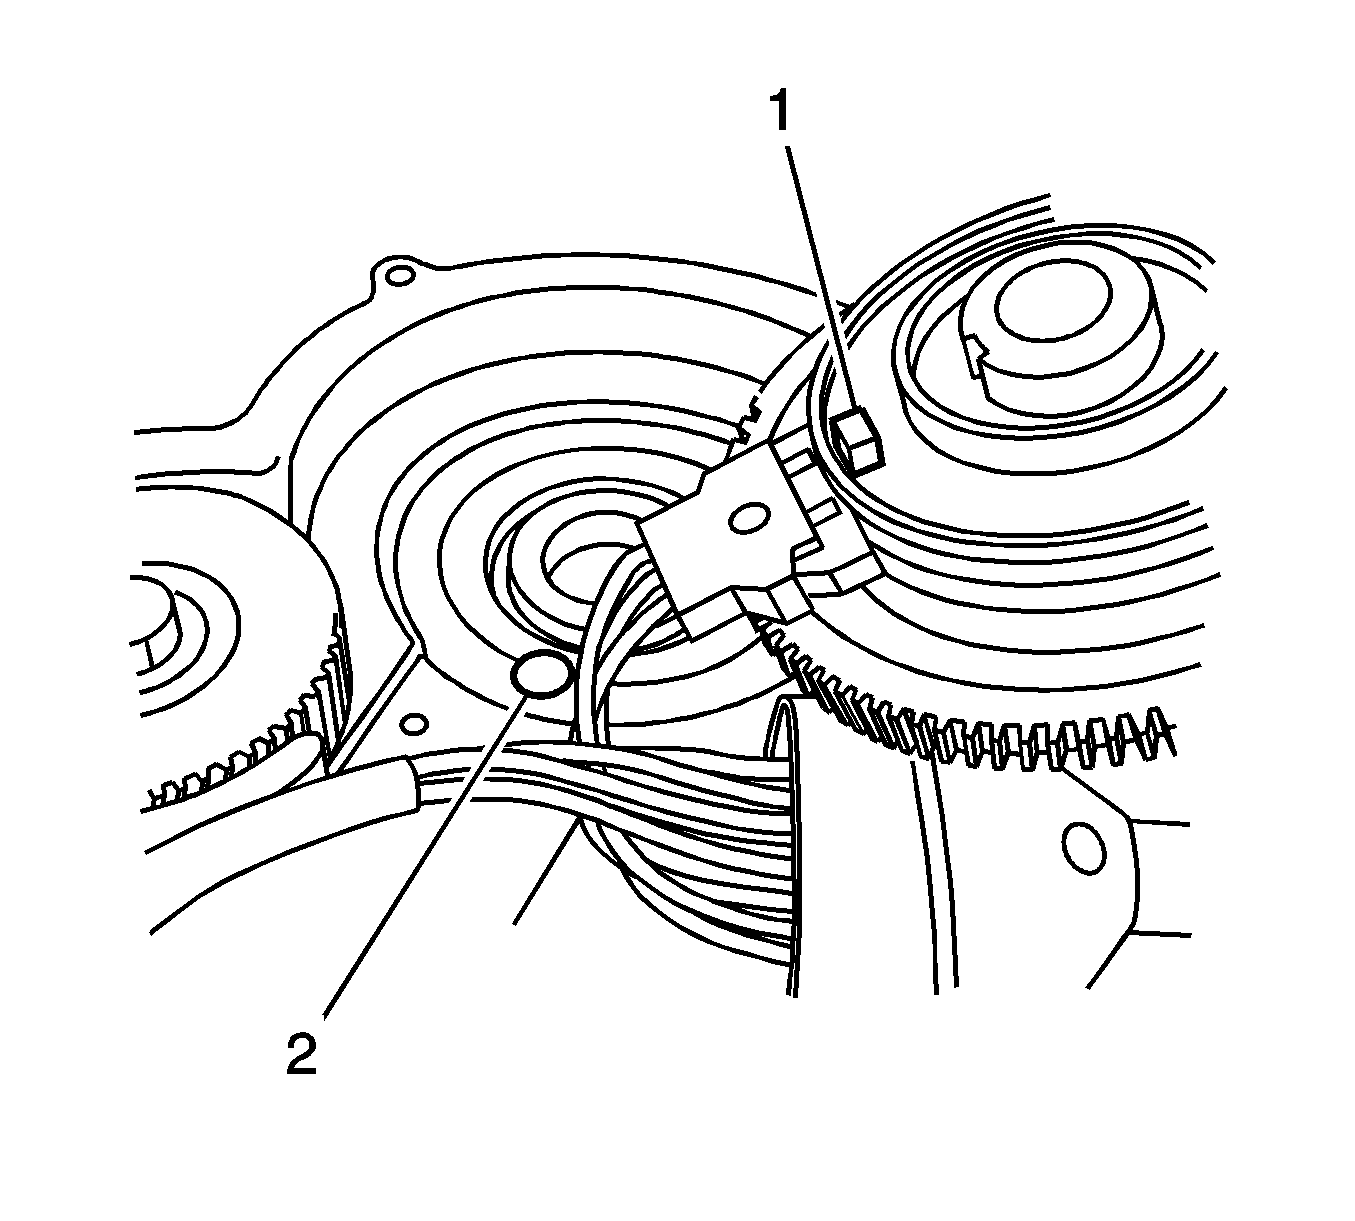
- Place the grommet harness on the casting slot, the flat area on the grommet will be facing up.
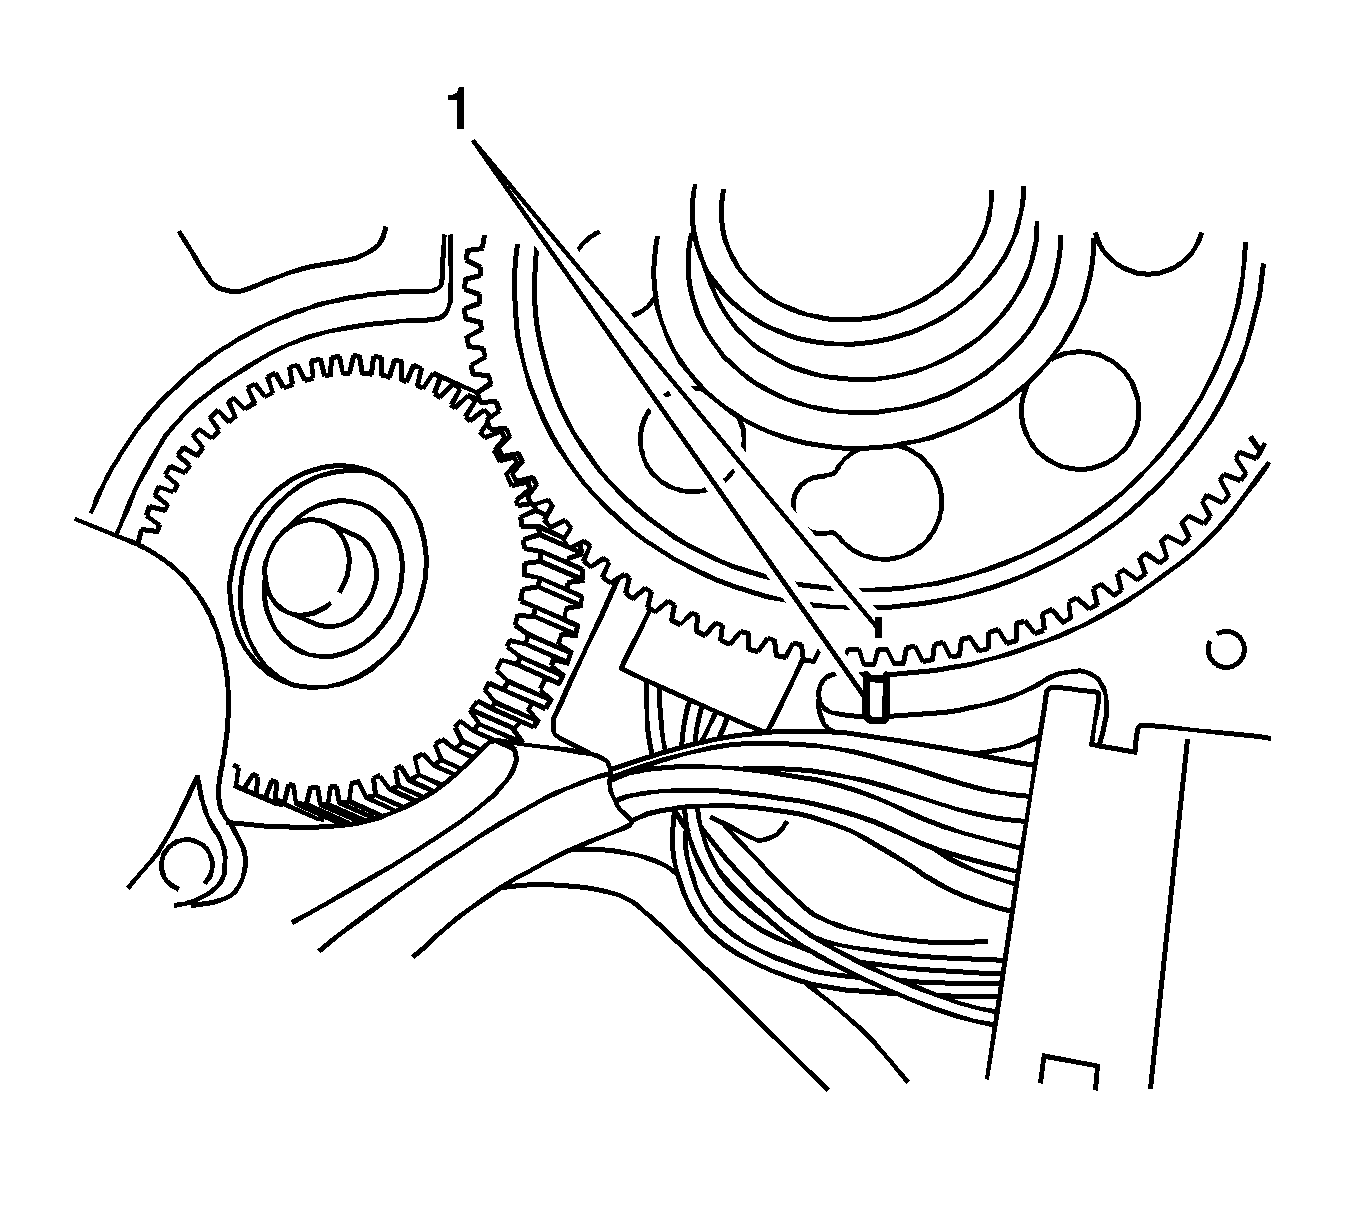
- With the output gear/encoder assembly in hand, carefully align the casting and output gear timing marks (1).
- At the same time, be sure to align the encoder phasing post (1) with the phasing slot (2) in the casting and insert the shaft into the bushing.
- Verify that the output gear and idler are engaged properly.
- Seat the harness wires on the casting channel.
- Place the shim on the output shaft gear.
- Press a NEW seal into the cover.
- Install the cover.
- Install 2 NEW screws (1) to the casting.
- Install 2 NEW longer screws (2) to the motor cover.
- Install the encoder motor. Refer to Transfer Case Encoder Motor Replacement.
Notice: Refer to Fastener Notice in the Preface section.
Tighten
Tighten the screws to 2 N·m (18 lb in).
Tighten
Tighten the screws to 3 N·m (26 lb in).
