Circuit Description
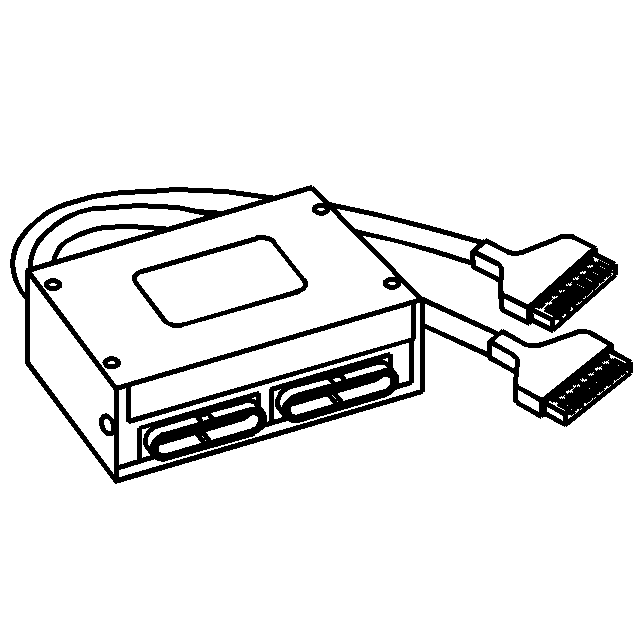
The pressure switch manifold (PSM) is a multiple switch assembly made up of three normally open (N/O) pressure switches and one normally closed (N/C) pressure switch. The E pressure switch monitors E shift valve positioning and relays it to the transmission control module (TCM). When E pressure switch is in the open state, E shift valve should be in the destroked position.
DTC P1711 is a type A DTC.
Conditions for Running the DTC
| • | The components are powered and ignition voltage is greater than 9.0 volts and less than 18 volts. |
| • | Engine speed is greater than 200 RPM and less than 7,500 RPM for 5 seconds. |
| • | E shift valve is commanded to the ON, stroked, position. |
Conditions for Setting the DTC
DTC P1711 sets when E solenoid is commanded OFF and pressure switch E status remains ON for 2-20 seconds, depending on fluid temperature.
Action Taken When the DTC Sets
| • | The TCM illuminates the malfunction indicator lamp (MIL). |
| • | The transmission fails to hydraulic default. |
| • | DTC P1711 will be stored in TCM history. |
| • | The TCM freezes shift adapts. |
| • | The TCM inhibits torque converter clutch (TCC) engagement. |
Conditions for Clearing the DTC
A scan tool can clear the code from TCM history. The TCM automatically clears the DTC from TCM history if the vehicle completes 40 warm-up cycles without failure.
Diagnostic Aids
| • | Inspect the wiring for poor electrical connections at the TCM. Look for the following conditions: |
| - | A bent terminal |
| - | A backed-out terminal |
| - | A damaged terminal |
| - | Poor terminal tension |
| - | A chafed wire |
| - | A broken wire inside the insulation |
| • | When diagnosing for an intermittent short or open, massage the wiring harness while watching the test equipment for a change. |
| • | You may have to drive the vehicle in order to experience a condition. |
| • | This DTC may indicate that E solenoid is mechanically defective. |
| • | When DTC P1711 and P1709 are set in combination, it may indicate a short to ground is present at the pressure switch circuit or the shift valve is stuck in the stroked state. |
Test Description
The numbers below refer to the step numbers on the diagnostic table.
-
This step tests the TCM response function.
-
This step tests the transmission wiring harness integrity.
-
This step tests and evaluates the internal wiring harness and inspects the PSM for a failed condition.
-
This step tests the engine wiring harness integrity.
Step | Action | Yes | No |
|---|---|---|---|
Schematic Reference: Automatic Transmission Controls Schematics | |||
1 | Did you perform the Diagnostic System Check - Automatic Transmission? | Go to Step 2 | |
2 | Check the transmission fluid level. Refer to Transmission Fluid Check . Is the transmission fluid level correct? | Go to Step 3 | Go to Transmission Fluid Check |
3 | Measure the line pressure. Refer to Line Pressure Check . Is the pressure within the specified value? | Go to Step 4 | |
4 |
Important: Before clearing the DTC, use the scan tool in order to record the Freeze Frame and Failure Records for reference. The Clear Info function will erase the data. Is DTC P1711 currently active? | Go to Step 5 | Go to Diagnostic Aids |
Does the scan tool indicate TFP SW. E status is ON when grounded and OFF when open? | Go to Step 6 | Go to Step 15 | |
6 |
Does the scan tool indicate TFP SW. E status is ON when grounded and OFF when open? | Go to Step 7 | Go to Step 14 |
Does the scan tool indicate TFP SW. E status is ON when grounded and OFF when open? | Go to Step 8 | Go to Step 13 | |
Does the scan tool indicate TFP SW. E status is ON when grounded and OFF when open? | Go to Step 9 | Go to Step 12 | |
9 | Remove the control valve body and inspect for a stuck or sticking E shift valve. Refer to Control Valve Body Disassemble . Was the E shift valve stuck or sticking? | Go to Step 11 | Go to Step 10 |
10 | Replace the E shift solenoid and install the control valve body. Refer to Control Valve Body Replacement . Did you complete the replacement of the solenoid and the installation of the control valve body? | Go to Step 16 | -- |
11 | Clean and/or polish the sticking valve in order to restore free movement or replace the control valve body assembly. Refer to Control Valve Body Replacement . Did you restore free movement or replace the control valve body? | Go to Step 16 | -- |
12 | Replace the PSM. Refer to Pressure Switch Manifold Replacement . Did you complete the replacement? | Go to Step 16 | -- |
13 | Replace the AT internal wiring harness. Refer to Wiring Harness Replacement . Did you complete the replacement? | Go to Step 16 | -- |
Inspect the engine wiring harness circuit for an open or short to ground. Refer to Circuit Testing or Wiring Repairs in Wiring Systems. Did you find and correct the condition? | Go to Step 16 | Go to Diagnostic Aids | |
15 |
Important: In most cases, the TCM is not at fault. Investigate thoroughly before replacing the TCM. Replace the TCM. Refer to Transmission Control Module Replacement . Did you complete the replacement? | Go to Step 16 | -- |
16 | Perform the following procedure in order to verify the repair:
Has the test run and passed? | System OK | Go to Step 1 |
