For 1990-2009 cars only
The following is the proper procedure for the repair of Weather Pack® Connectors.
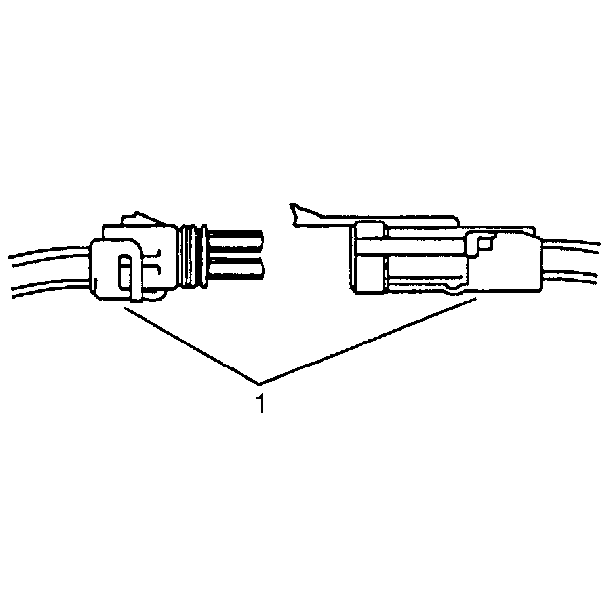
- Separate the connector halves (1).
- Open the secondary lock. A secondary lock aids in terminal retention and is usually molded to the connector (1).
- Grasp the wire and push the terminal to the forward most position. Hold the wire in this position.
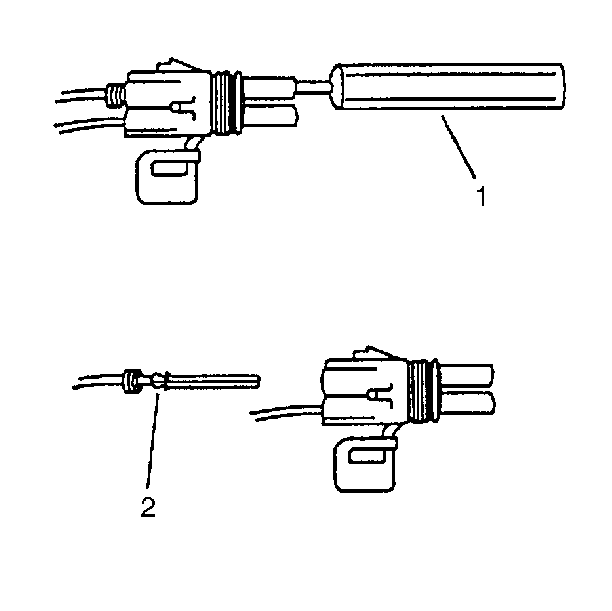
- Insert the Weather Pack® terminal removal tool into the front (mating end) of the connector cavity until it rests on the cavity shoulder (1).
- Gently pull on the wire to remove the terminal through the back of the connector (2).
- Inspect the terminal and connector for damage. Repair as necessary. Refer to Repairing Connector Terminals .
- Reform the lock tang (2) and reset terminal in connector body.
- Close secondary locks and join connector halves.
- Verify that circuit is complete and working satisfactorily.
- Perform system check.
Important: Never use force to remove a terminal from a connector.
