For 1990-2009 cars only
Tools Required
| • | J 41240 Fan Clutch Remover and Installer |
| • | J 38185 Hose Clamp Pliers |
| • | J 46406 Fan Clutch Remover and Installer |
Removal Procedure
- Remove the hood latch support. Refer to Hood Latch Support Replacement in Body Front End.
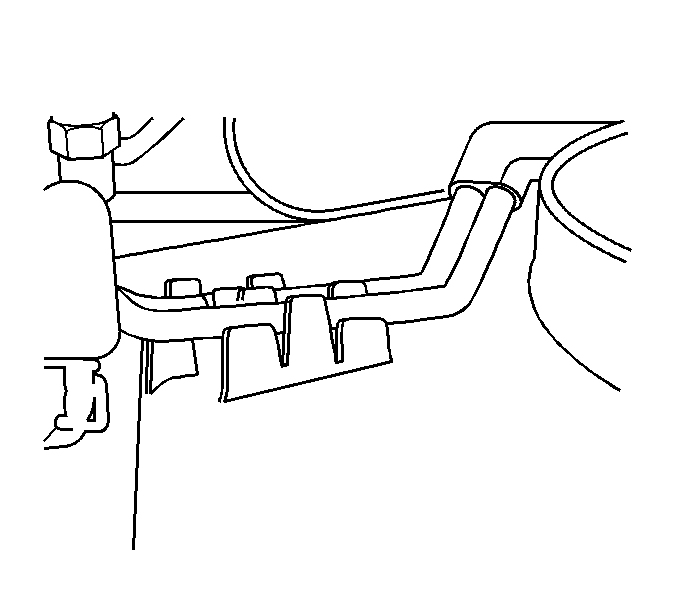
- Disconnect the transmission cooler lines at the engine and release the lines from the fan shroud.
- Remove the 2 upper bolts on the fan shroud.
- Drain the cooling system. Refer to Cooling System Draining and Filling .
- Reposition the upper inlet radiator hose clamp using J 38185 .
- Remove the upper inlet radiator hose from the radiator.
- Remove the electrical connector from the shroud.
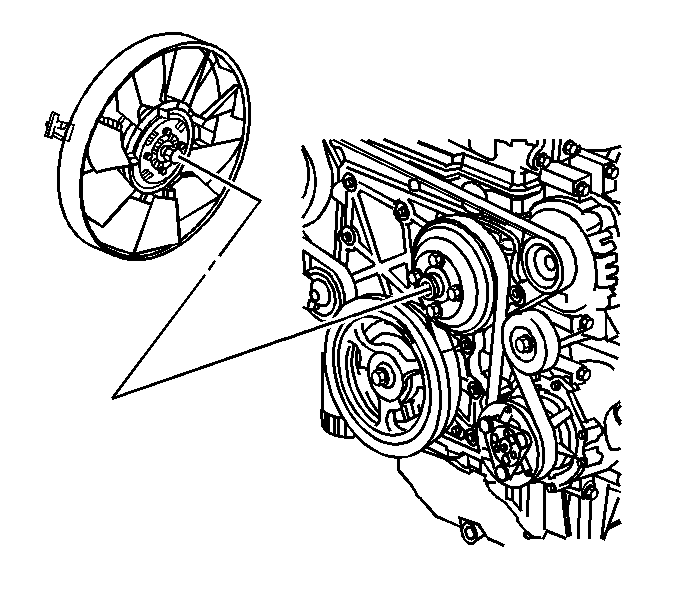
- Position the water pump so the bolts are aligned in the vertical.
- Remove the fan hub nut from the water pump shaft in a counterclockwise rotation. Using the J 46406 , in order to secure the water pump pulley, loosen the cooling fan hub nut from the water pump shaft.
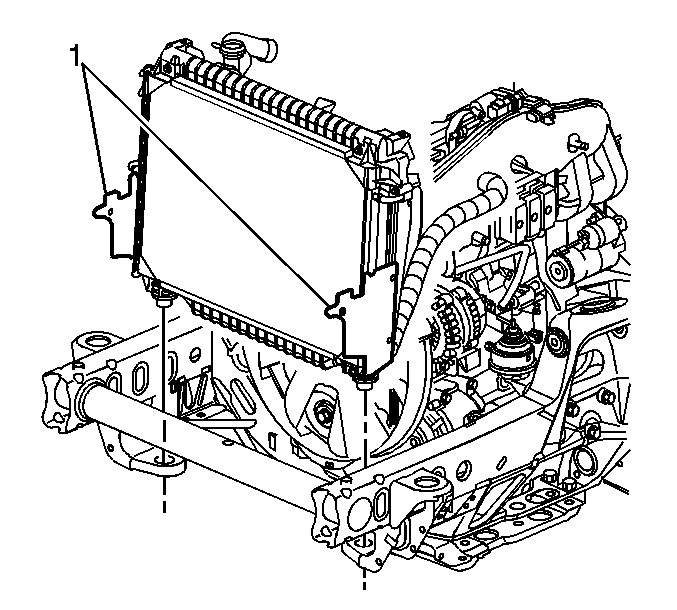
- Unclip the fan shroud from the radiator at the side panels (1).
- Tilt the radiator and the condenser forward.
- Lift the fan and the shroud up and out towards the engine to release the fan from the radiator to clear the radiator inlet.


Installation Procedure
- Install the fan and the shroud onto the lip of the radiator bottom.
- Install the 2 bolts into the upper fan shroud and tighten.
- Connect the electrical connector.
- Clip the fan shroud to the radiator at the side panels (1).
- Using the J 46406 , secure the water pump pulley, install the fan nut to the water pump shaft in a clockwise rotation.
- Install the transmission cooler lines to the engine and clip into the fan shroud.
- Install the hood latch support. Refer to Hood Latch Support Replacement in Body Front End.
- Install the upper inlet radiator hose to the radiator.
- Reposition the upper inlet radiator hose clamp using J 38185 .
- Fill the cooling system. Refer to Cooling System Draining and Filling .
Notice: Use the correct fastener in the correct location. Replacement fasteners must be the correct part number for that application. Fasteners requiring replacement or fasteners requiring the use of thread locking compound or sealant are identified in the service procedure. Do not use paints, lubricants, or corrosion inhibitors on fasteners or fastener joint surfaces unless specified. These coatings affect fastener torque and joint clamping force and may damage the fastener. Use the correct tightening sequence and specifications when installing fasteners in order to avoid damage to parts and systems.
Tighten
Tighten the bolts to 28 N·m (21 lb ft).


Tighten
Tighten the fan hub nut to 56 N·m (41 lb ft).

