SMU - Revised Sunshade Replacement

| Subject: | Revised Sunshade Replacement |
| Models: | 2002-2003 Chevrolet TrailBlazer, TrailBlazer EXT |
| 2002-2003 GMC Envoy, Envoy XL |
| 2002-2003 Oldsmobile Bravada |
This bulletin is being issued to revise the Sunshade Replacement procedure in the Interior Trim sub-section of the Service Manual. Please replace the current information in the Service Manual with the following information.
The following information has been updated within SI. If you are using a paper version of this Service Manual, please make a reference to this bulletin on the affected page.
Removal Procedure
- Remove the windshield garnish molding. Refer to Garnish Molding Replacement - Windshield Pillar.
- Release the front assist handle from the headliner. Refer to Assist Handle Replacement.
- Recline the bucket seat and release the upper portion of the center pillar trim panel. Refer to Garnish Molding Replacement - Center Pillar.
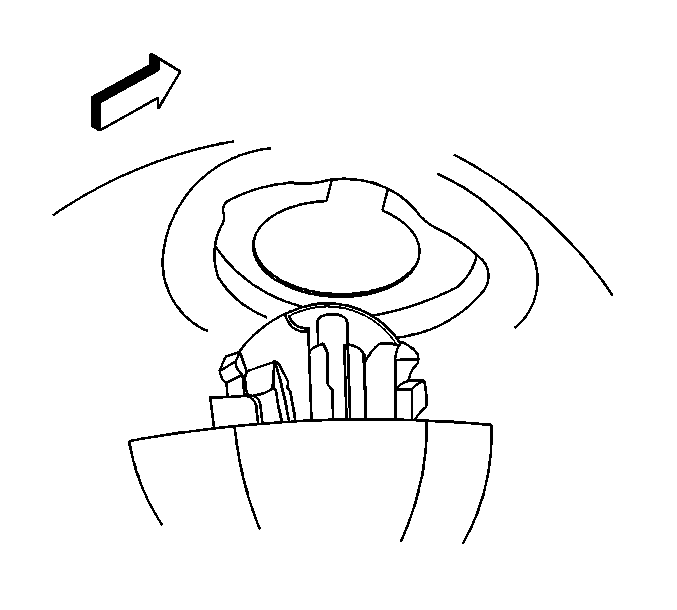
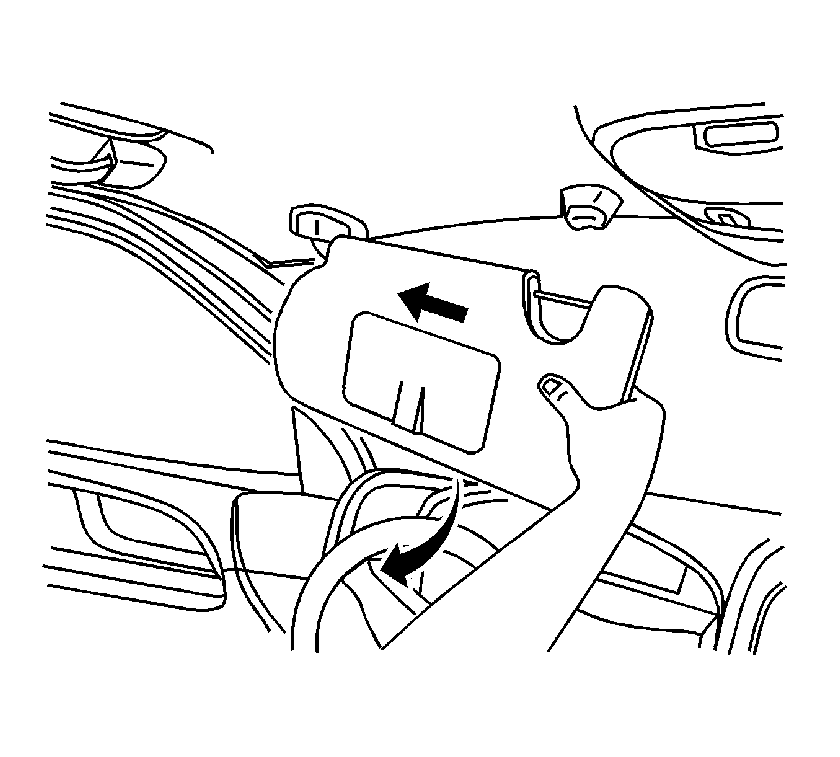
- Open and rotate the sunshade parallel to the side window.
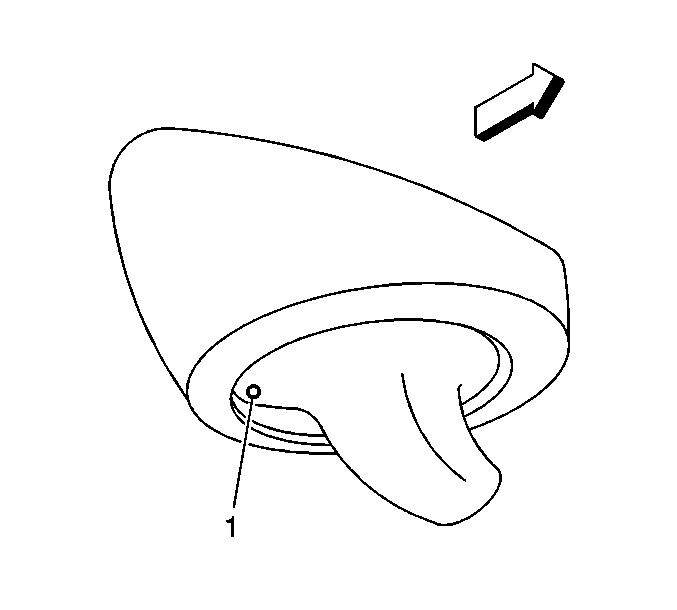
- Insert a small tool into the bezel access hole (1).
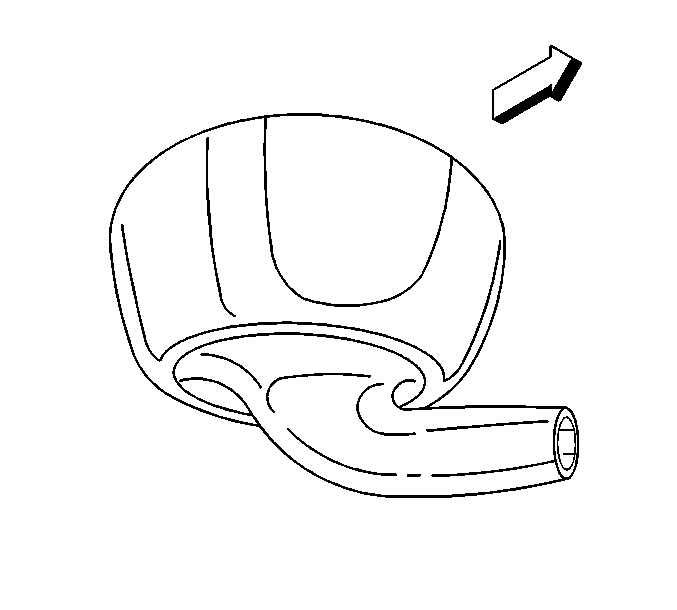
- Push upward on the tool while rotating the sunshade parallel to the windshield. The sunshade pivot arm bezel should appear to be recessed into the bezel.
- Apply outboard pressure to the sunshade while the sunshade is parallel to the windshield.
- Pull the sunshade downward while maintaining outboard pressure to the sunshade. You will notice a separation between the headliner and the sunshade bezel.
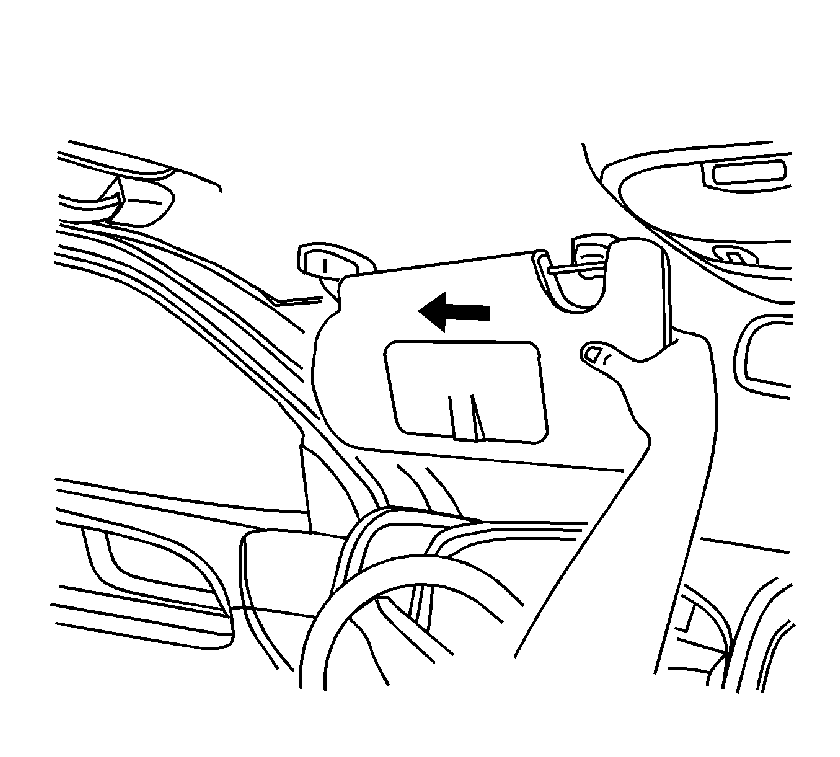
- In order to remove the sunshade from the headliner, carefully grab the headliner at the windshield pillar area and apply downward pressure while gently rocking the sunshade up and down.
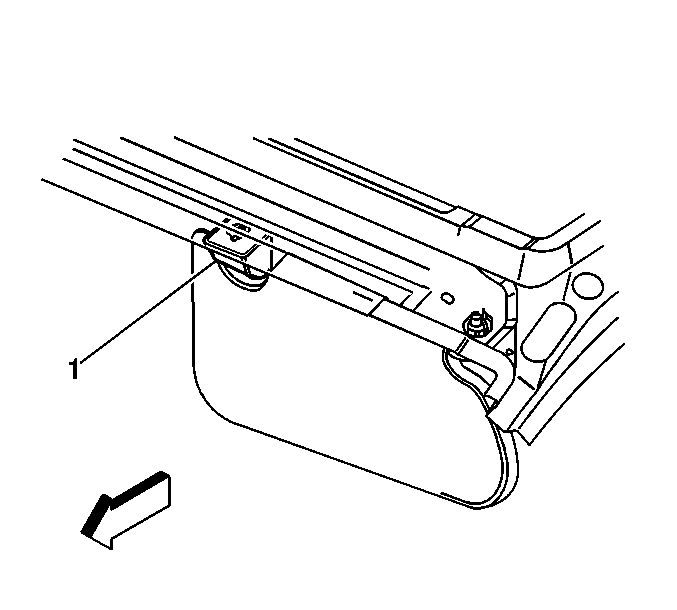
- Remove the inboard retainer screw.
- Remove the inboard retainer (1) from the headliner.
- If the vehicle is equipped with lighted sunshades, perform the following steps.
- Remove the sunshade from the vehicle.
Important: Midway through the rotation cycle, the tool will move further into the access hole.
Important: Ensure the pivot arm is recessed into the bezel before removing the sunshade from the headliner.
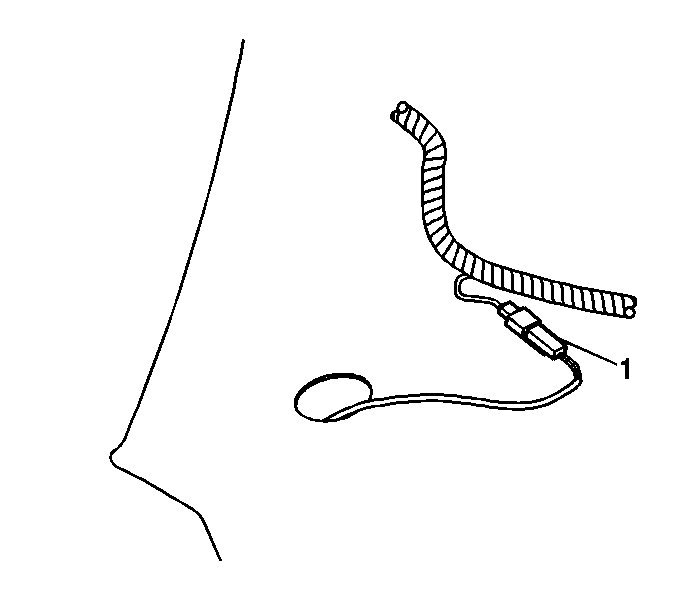
| 12.1. | Reach above the headliner to access the electrical connector (1). |
| 12.2. | Remove the electrical connectors from the headliner substrate. |
| 12.3. | Disconnect the sunshade electrical connector from the headliner harness. |
Installation Procedure
- If the vehicle is equipped with lighted sunshades, perform steps 2 through 8.
- Lower the headliner in order to gain access to the wire harness.
- Position the sunshade to the headliner.
- Connect the sunshade electrical connector to the headliner harness.
- Using a glue gun, hot melt the electrical connectors (1) to the headliner substrate, ensuring the connectors are securely attached to the substrate.
- Route the wire harness until fully seated into the sunshade wire harness channel located on the pivot arm.
- Position the wire harness retaining clip between the headliner and the roof panel.
- Position the index tabs on the wire harness retaining clip to the pivot arm and install the clip until fully seated.
- Position the inboard retainer (1) to the roof panel.
- Install the inboard retaining screw.
- With the sunshade parallel to the windshield, index the pivot arm tab to the roof panel slot.
- Apply and maintain upward pressure to the pivot arm while rotating the sunshade parallel to the side window. The sunshade arm should appear flush with the bezel.
- Rotate and clip the sunshade to the inboard retainer.
- Ensure the pivot arm retaining tabs are fully seated to the roof panel.
- Install the front assist handle to the roof panel. Refer to Assist Handle Replacement.
- Install the windshield garnish molding. Refer to Garnish Molding Replacement - Windshield Pillar.
- Install the center pillar trim panel. Refer to Garnish Molding Replacement - Center Pillar.
- Return the bucket seat to an upright position.
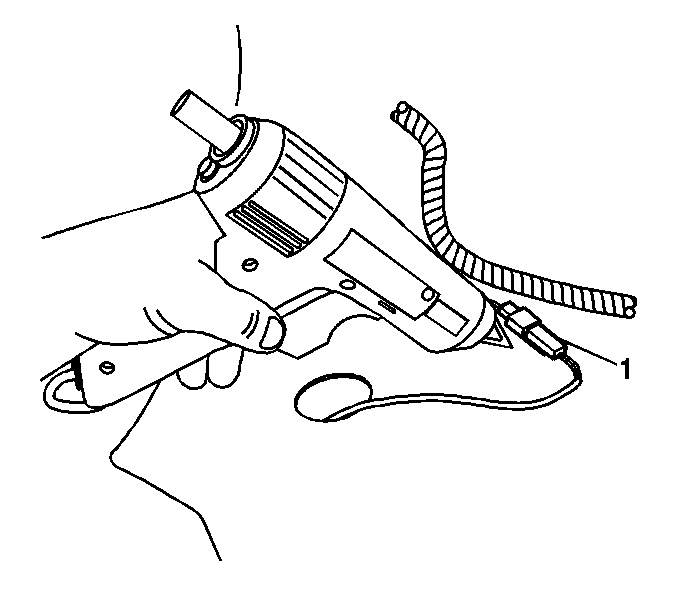
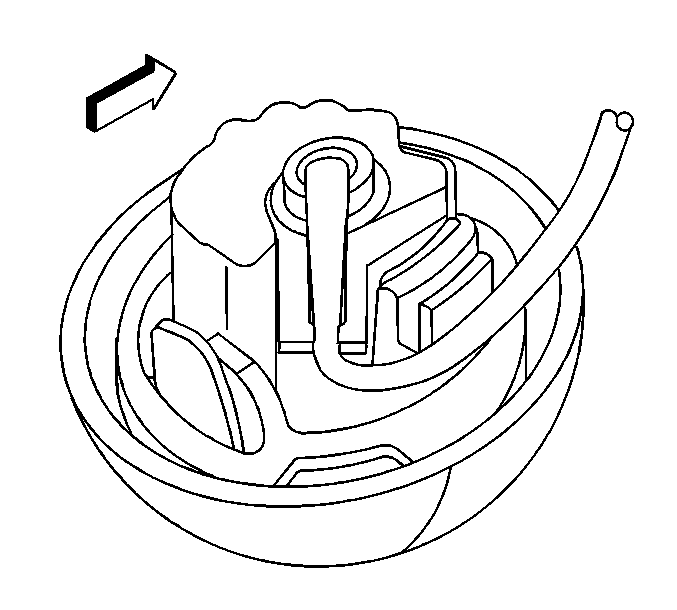
Important: If the wire harness retaining clip is removed from the sunshade for any reason, a new retaining clip must be installed.
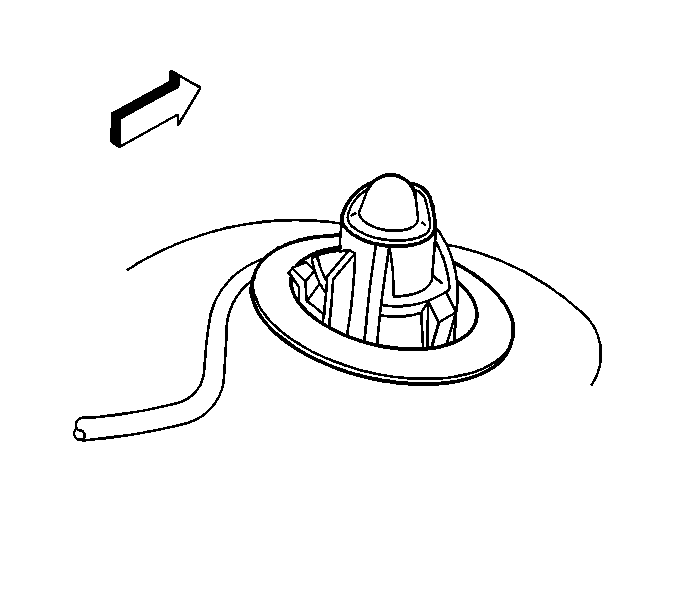
With the wire harness retaining clip installed, the sunshade should remain attached to the headliner.

Notice: Refer to Fastener Notice in Cautions and Notices.
Tighten
Tighten the screw to 1.2 N·m (10 lb in).
