The Destination menu gives several ways to plan a route by entering destination points.
Touch the Dest screen button at the bottom of the map screen to display the Destination menu.
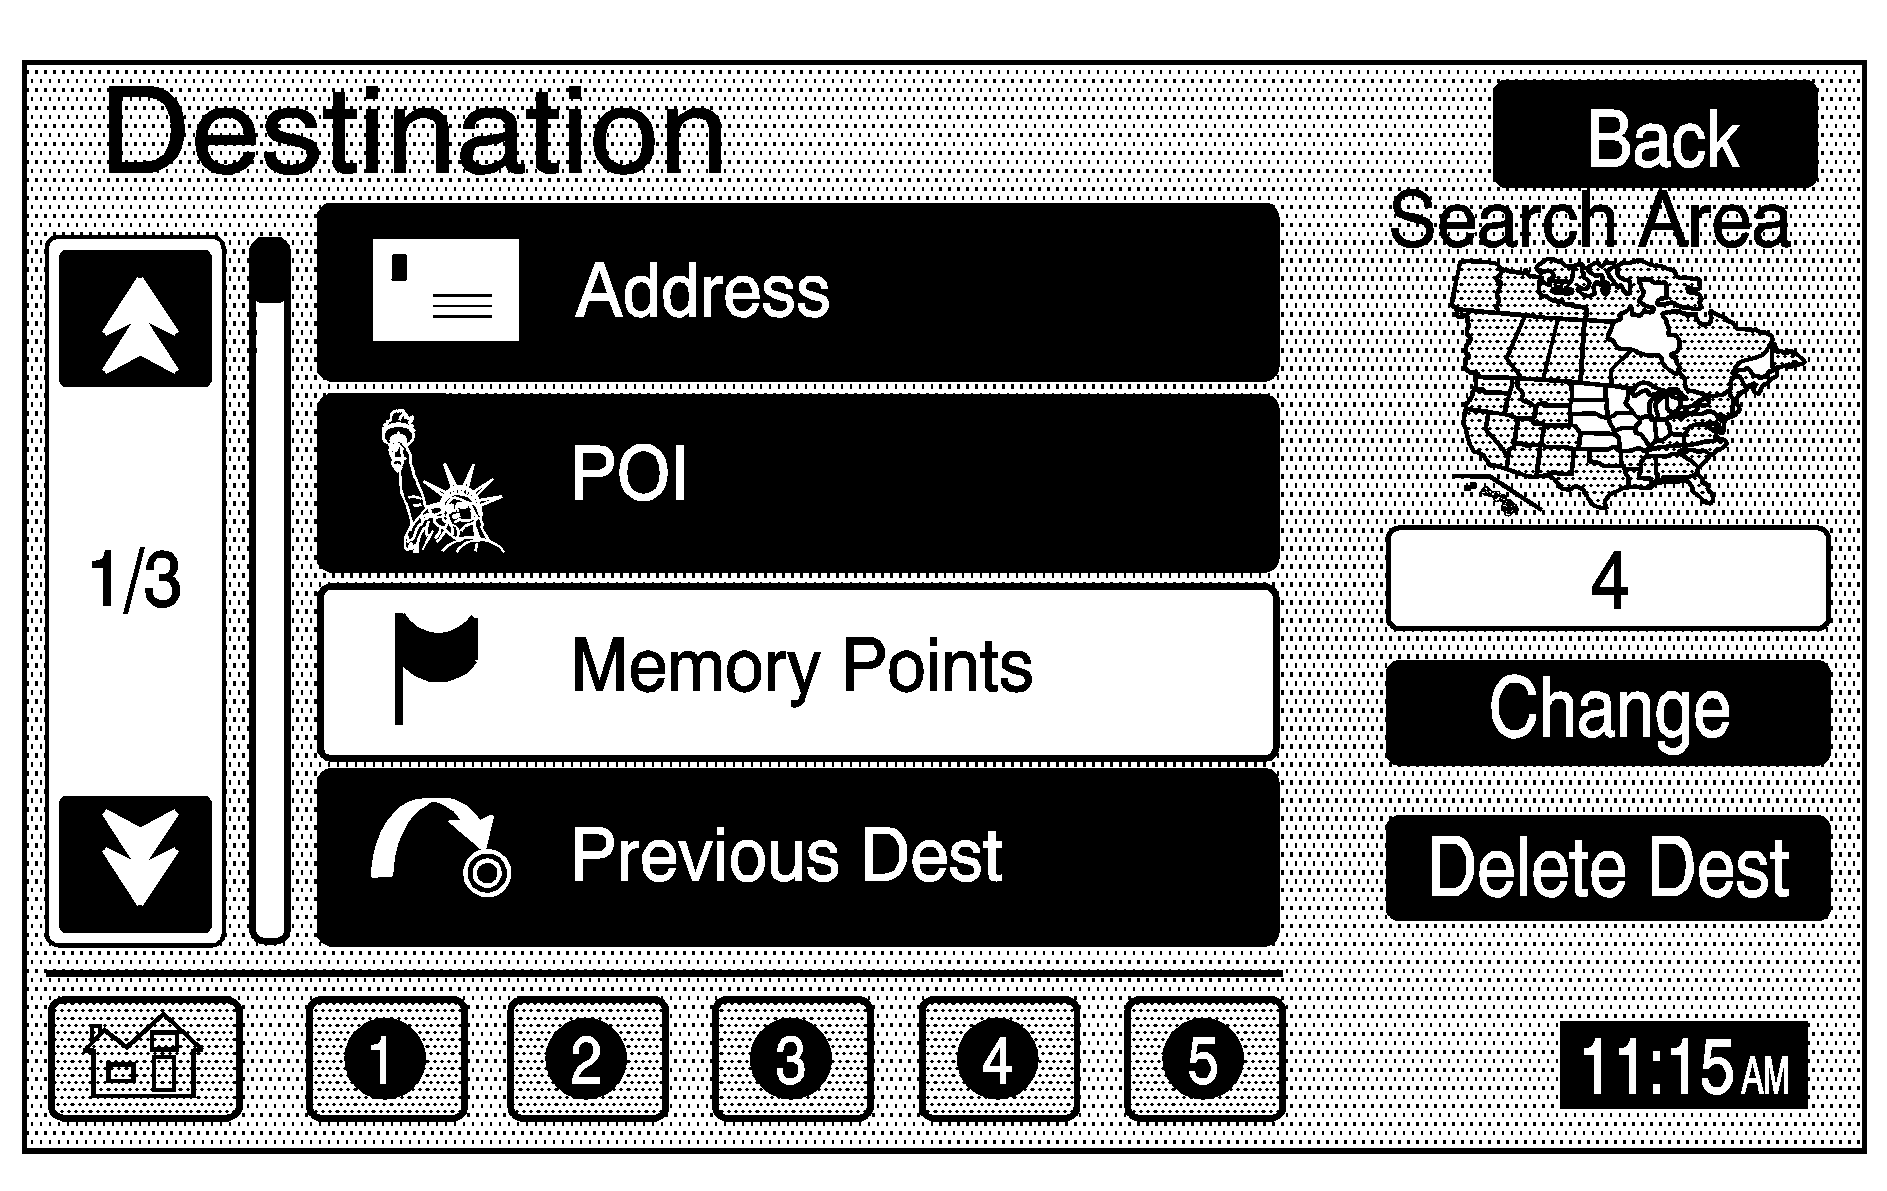
Search Area: The Destination menu allows you to select the area to be searched for your destination. A map of the 48 contiguous United States, including Hawaii, and Canada will be shown. The map is divided into nine regions. Before selecting a destination, review the search area map on the right side of the menu to make sure your destination is located in the highlighted region.
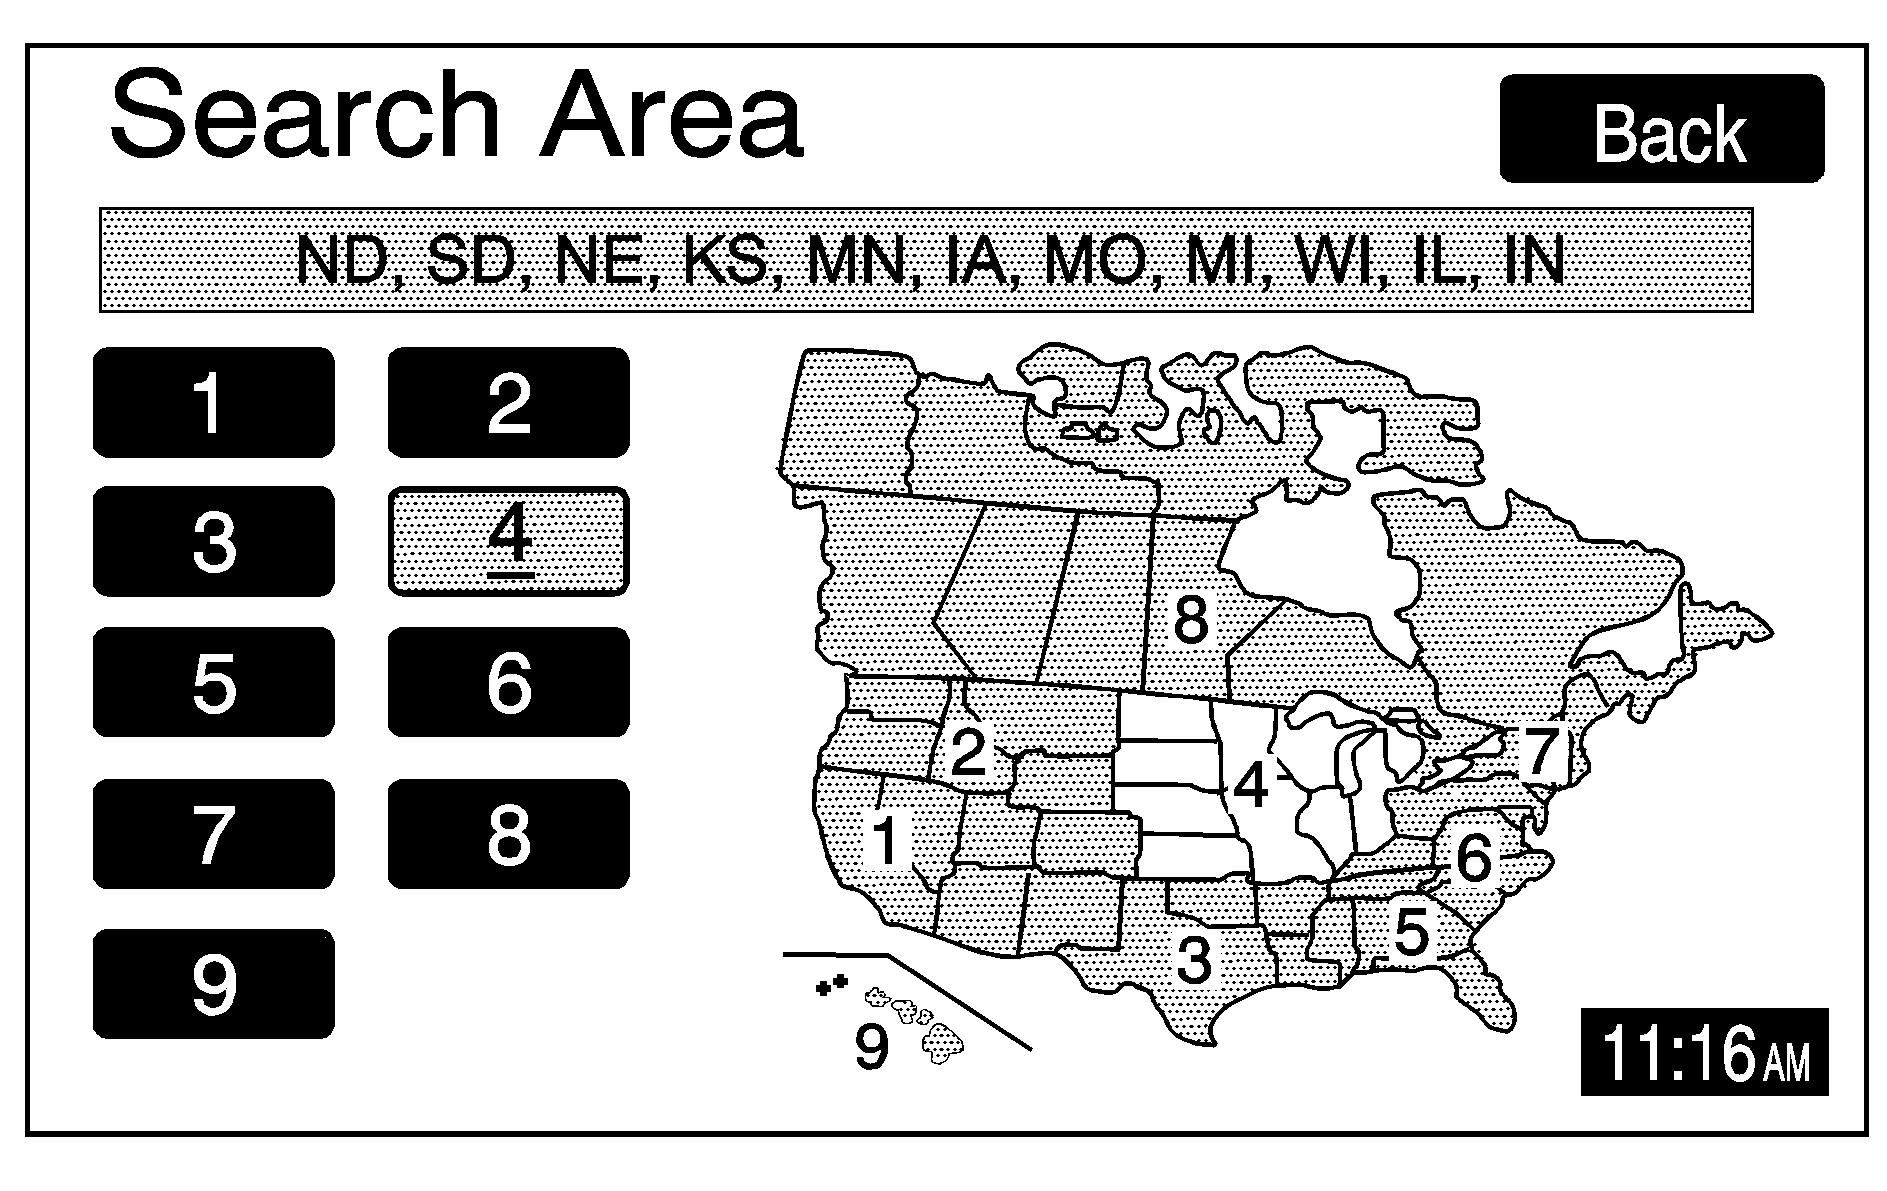
Change: Touch this screen button to see a more detailed search area map with a list of states or to change the search area. The Search Area screen will appear. Touch the numbered screen button to the left of the map that corresponds with the numbered region you wish to choose.
Delete Dest (Destination): Touch the Delete Dest screen button on the Destination menu to delete the current destination.
/ (Up and Down Arrows): Touch the up or down arrow screen buttons, on the Destination menu, to scroll through the pages of the menu.
Once your destination entry is complete, a screen with the destination preview menu will display. See "Destination Preview Menu" later in this section for more information.
To enter a destination, choose from one of the following destination entry methods:
Preset Destinations
The preset destination entry method allows you to select destinations that were registered as presets 1 through 5.

These presets, along with the home symbol preset, are located at the bottom of each page of the Destination menu. Besides the home preset destination, these are the only presets available for selection while the vehicle is moving.
Address
The Address destination entry method allows you to input an address by providing the system with a house number, street name, and city name.
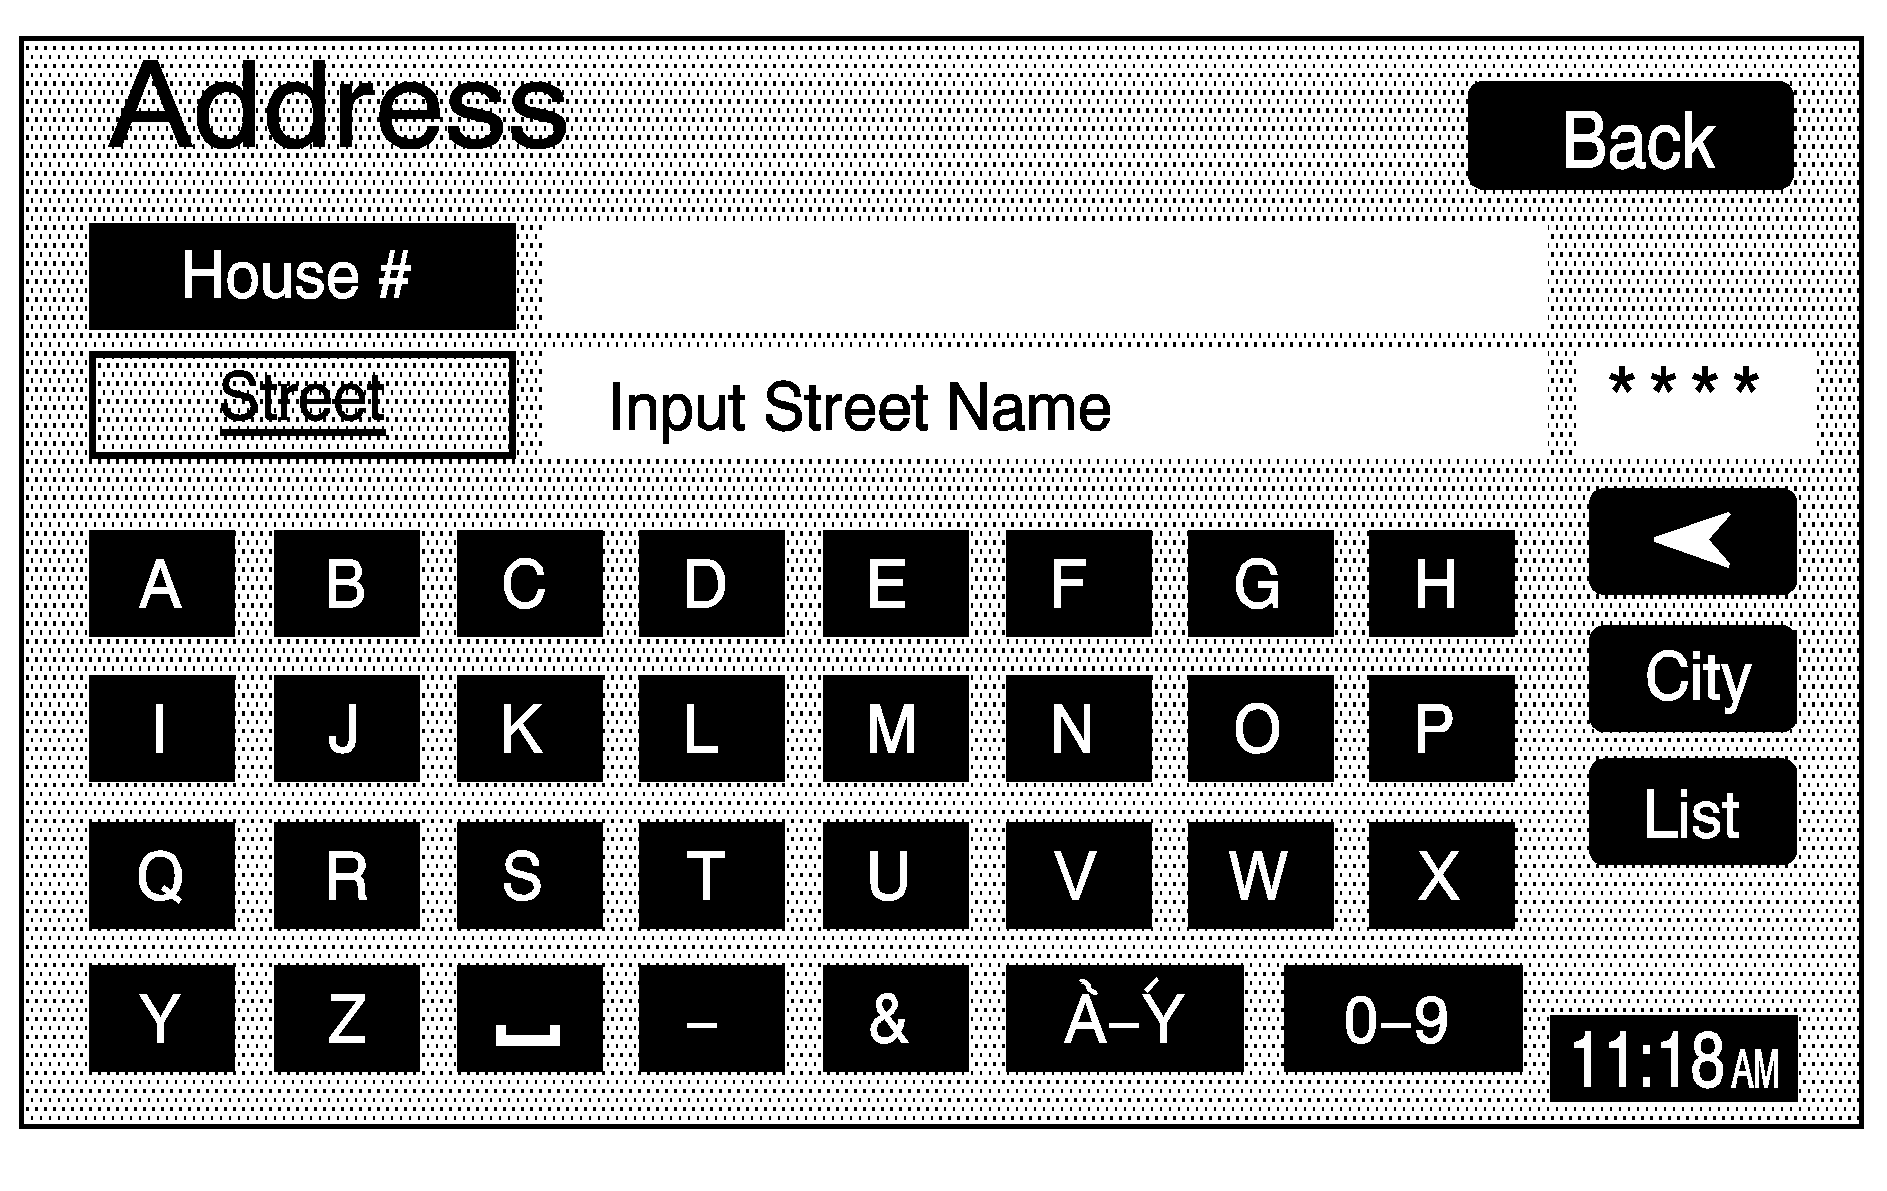
If you know the city where the address is located, touch the City screen button. The City screen allows you to select from the last five cities entered, the nearest five cities to the current location, or you may enter in the name of the city. Touch the Input City Name screen button and enter in the city using the alpha keypad. See "Alpha-Numeric Keypad" under Using the Navigation System for more information.
Use the same city name that you would use when mailing a letter. The system will search for an entry exactly as you have entered it. If you did not include a space between words where necessary, the system may not be able to find the desired location. As information is entered, the system will automatically search for available names, and the List screen button will become available. Touch the List screen button to view name choices and select the desired city name, or touch the Back screen button to continue to spell the city name, further reducing the number of available items. The box at the end of the Street entry field will contain the number of city names available in the current generated list. If you do not know the city, proceed to entering the street name.
Enter the street name using the alpha keypad. See "Alpha-Numeric Keypad" under Using the Navigation System for more information. Do not include name extensions such as N. or Drive. For example, the street name N. Civic Center Drive should be entered as CivicCenter. The system will search for an entry exactly as you have entered it. If you did not include a space between words where necessary, the system may not be able to find the desired location. As information is entered, the system will automatically search for available names, and the List screen button will become available. Touch the List screen button to view name choices and select the desired street name, or touch the Back screen button to continue to spell the street name, further reducing the number of available items. The box at the end of the Street entry field will contain the number of street names available in the current generated list.
Once the street name has been selected, enter the house number using the numeric keypad. The system will list the house number range that is available for the street. When you have finished entering the house number, touch the OK screen button. If the address number exists on more than one street that shares the same name, a list of matching street names will display. Touch the screen button by the desired street name.
If you have not already entered in the city name for the address, a list of cities that contain the address will display. Touch the screen button by the desired city to select it.
Point of Interest (POI)
The Point of Interest (POI) destination entry method allows you to choose a destination from the POI list. Select the POI screen button from the Destination menu to access the POI entry menu. The POIs in the database are cross referenced between Name, Category, and City.
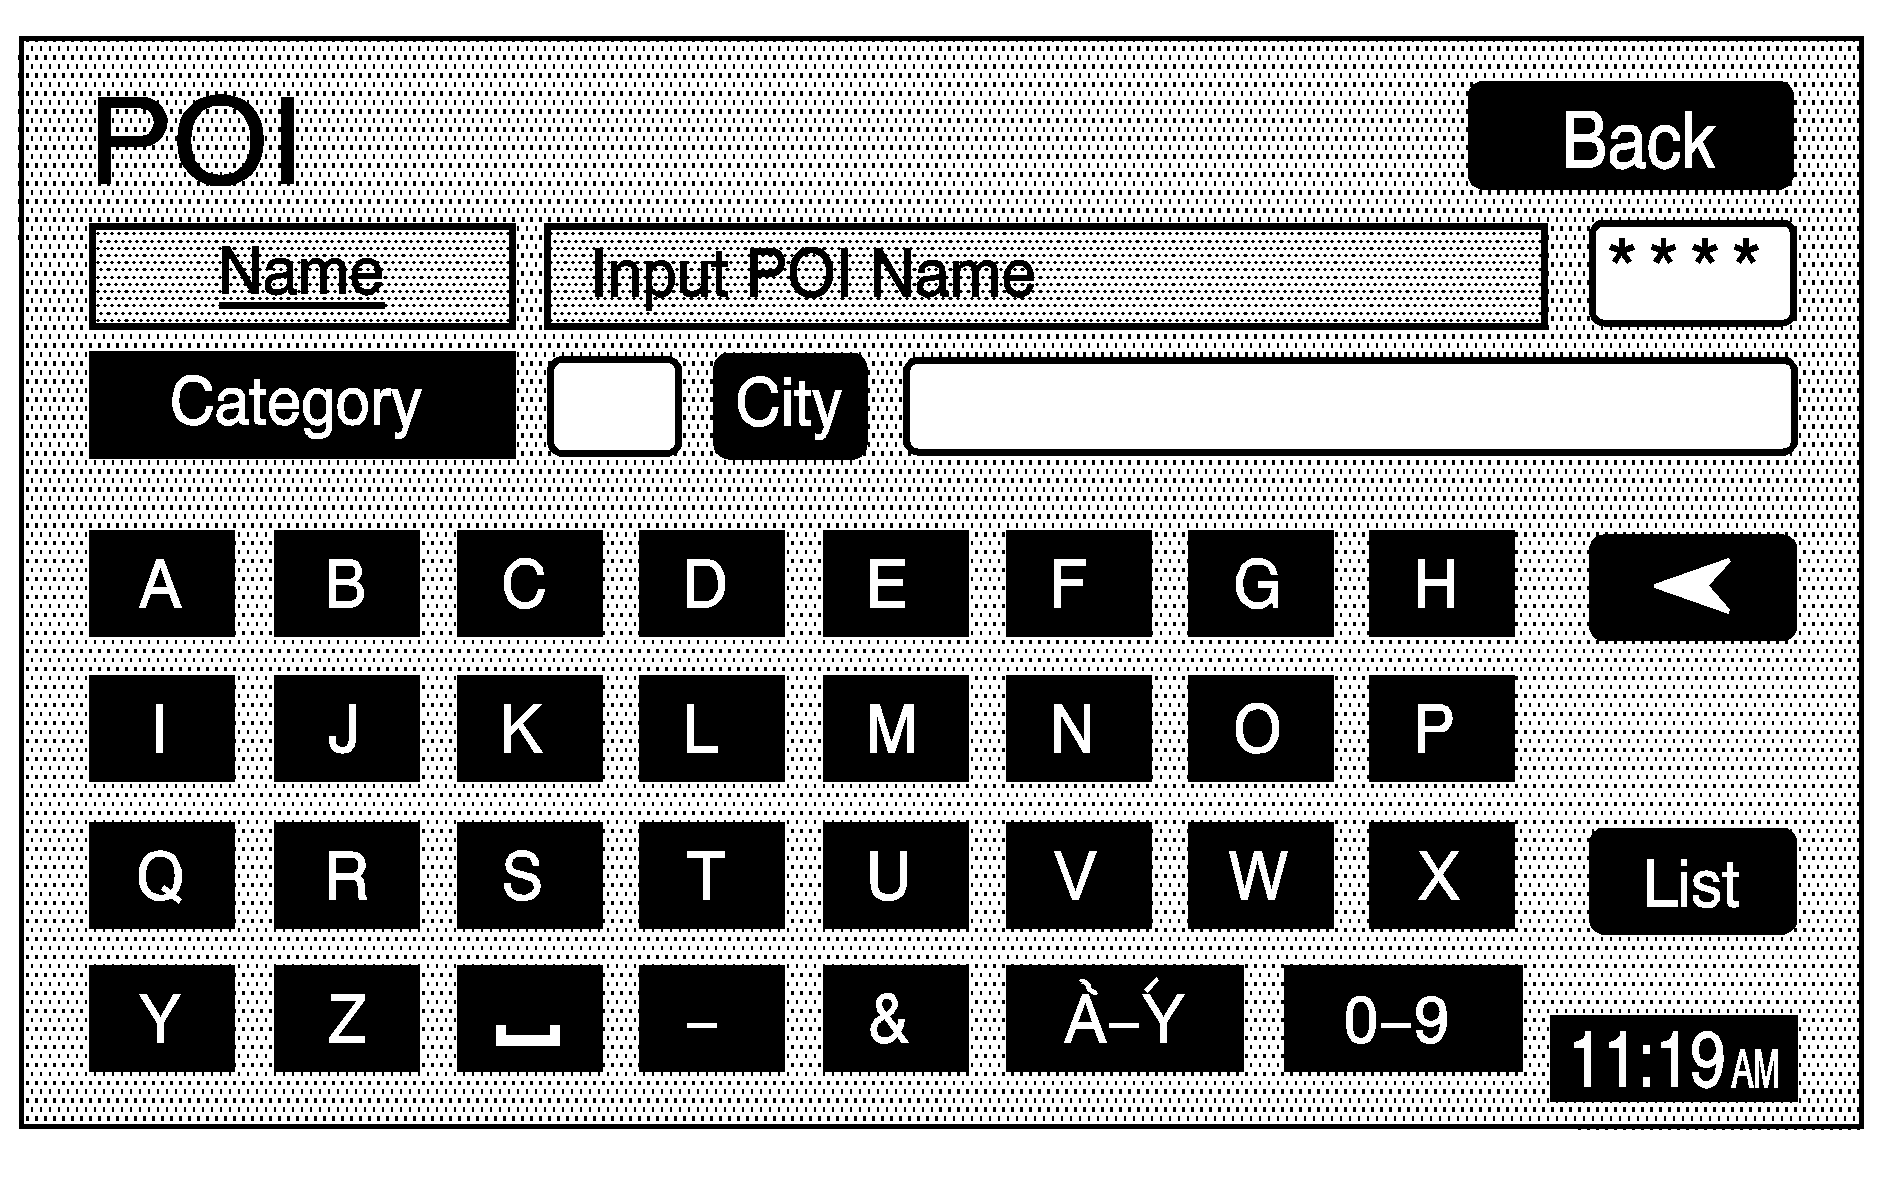
Search for a POI by using a combination of the following three methods:
| • | Type in a POI by name using the alpha-numeric keypad. As you type in a name, the system will search for an available match. Select the desired POI. |
| While inputting a POI or city name, the List screen button will become available. The box at the end of the Name entry field will contain the number of items in the current generated list. Touch the List screen button to view the list of available names, or continue to spell the name to further reduce the list. |
| • | Select a POI by selecting the Category option. Select a category from the list. If the list of available POIs for the category selected is still too long, you may need to input the name or city for the POI. |
| • | Touch the City screen button and type in the city you wish to select a POI from. |
If an arrow appears to the right or left of the item name, the complete name is too long for the display. Touch the right or left arrow screen buttons to scroll to the end or beginning of the name.
The POI for Restaurant is broken down into several categories. Select the Restaurant screen button from the POI choices. A list of cuisine types will then appear.
Memory Points
The Memory Points destination entry method allows you to select a destination by choosing from a list of marked points on the map that were previously marked.
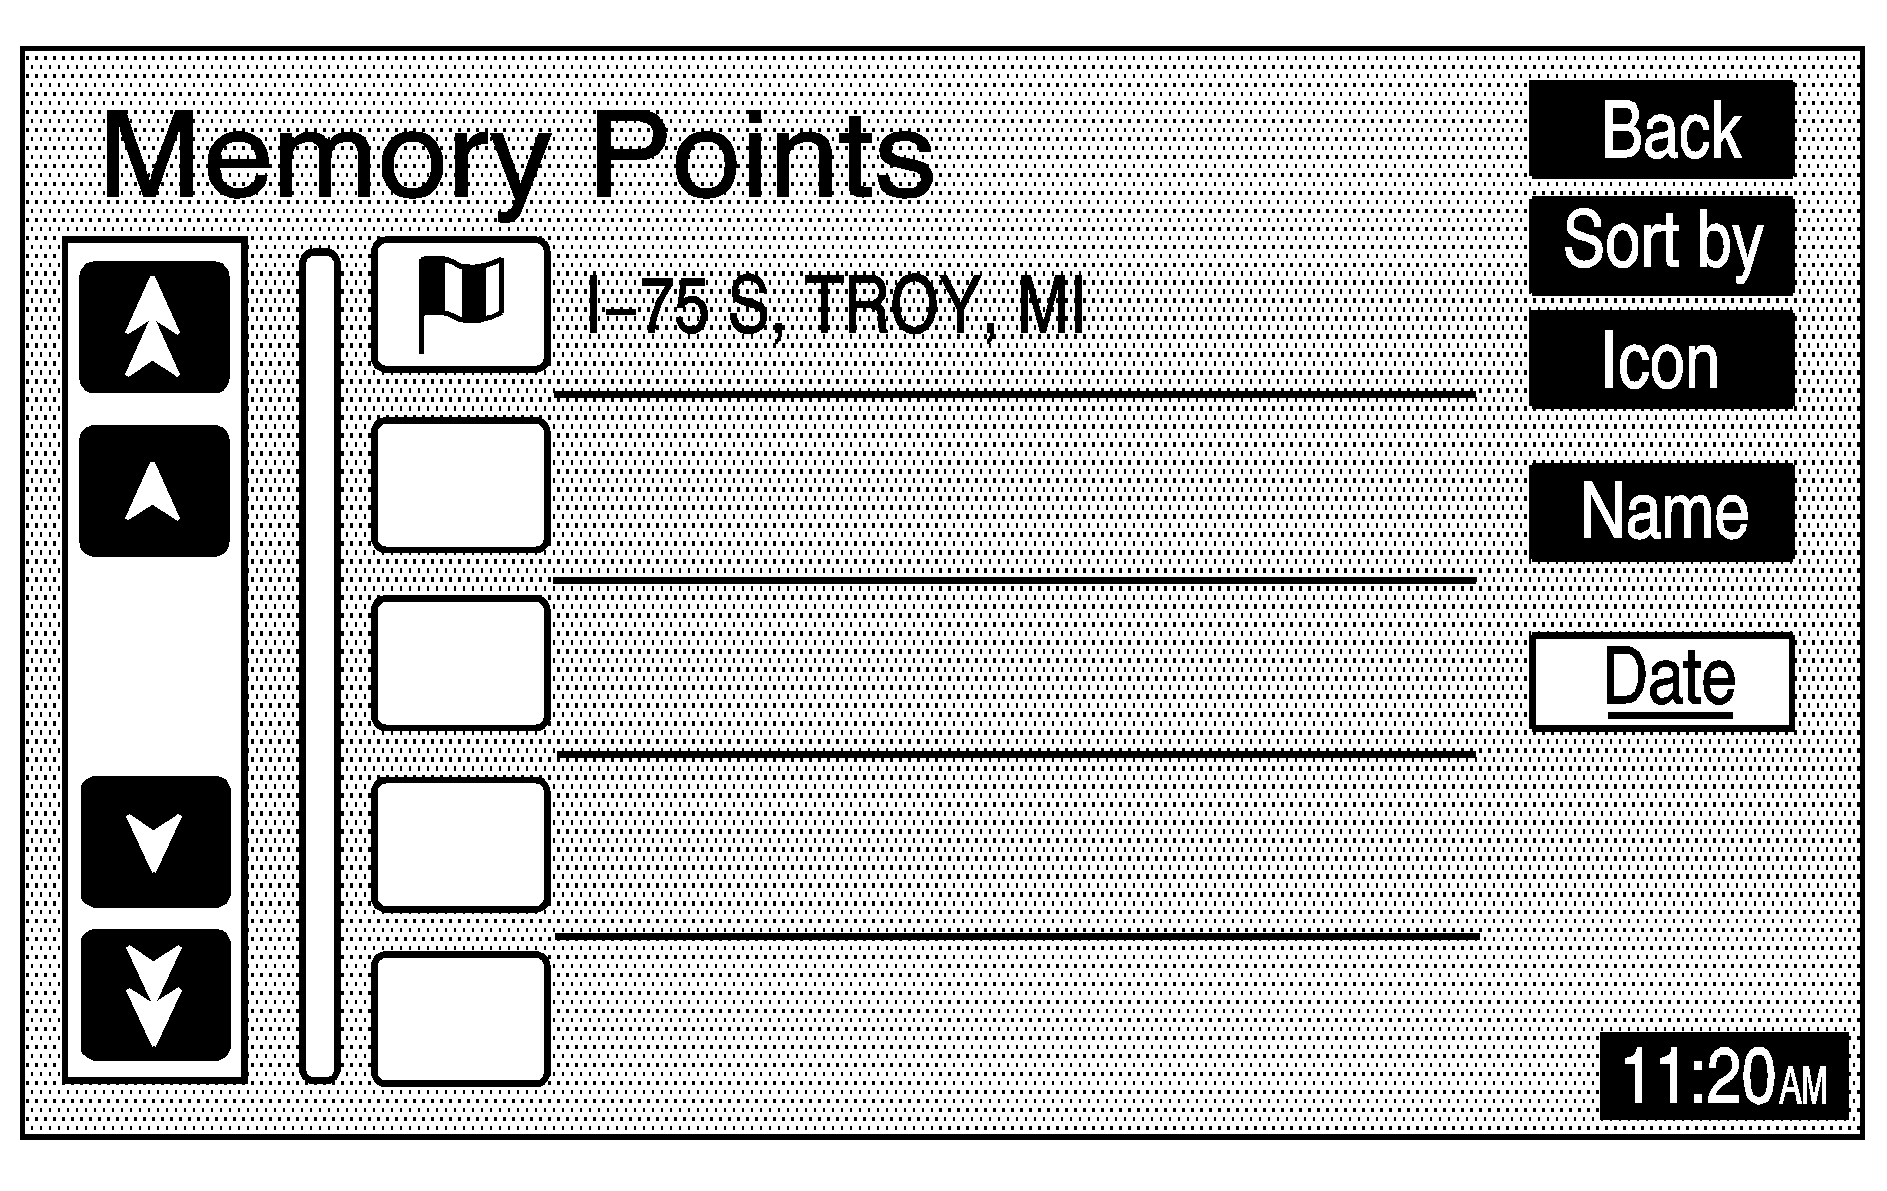
Memory points include up to 30 saved points, five preset destinations, and a home destination. Select the Memory Points screen button from the Destination screen to select any one of the marked points as the active destination. Marked points can also be sorted by icon, date saved, or alphabetically.
If a memory point has been registered, you can select an icon to correspond with that memory point. To register that memory point with a sound, touch the With Sound screen button, then select a sound.
See "Memory Points" under Navigation Menu for more information on registering, editing, and deleting memory points.
Previous Destination
The Previous Destination entry method allows you to select a destination by selecting from a list of previously entered destinations.
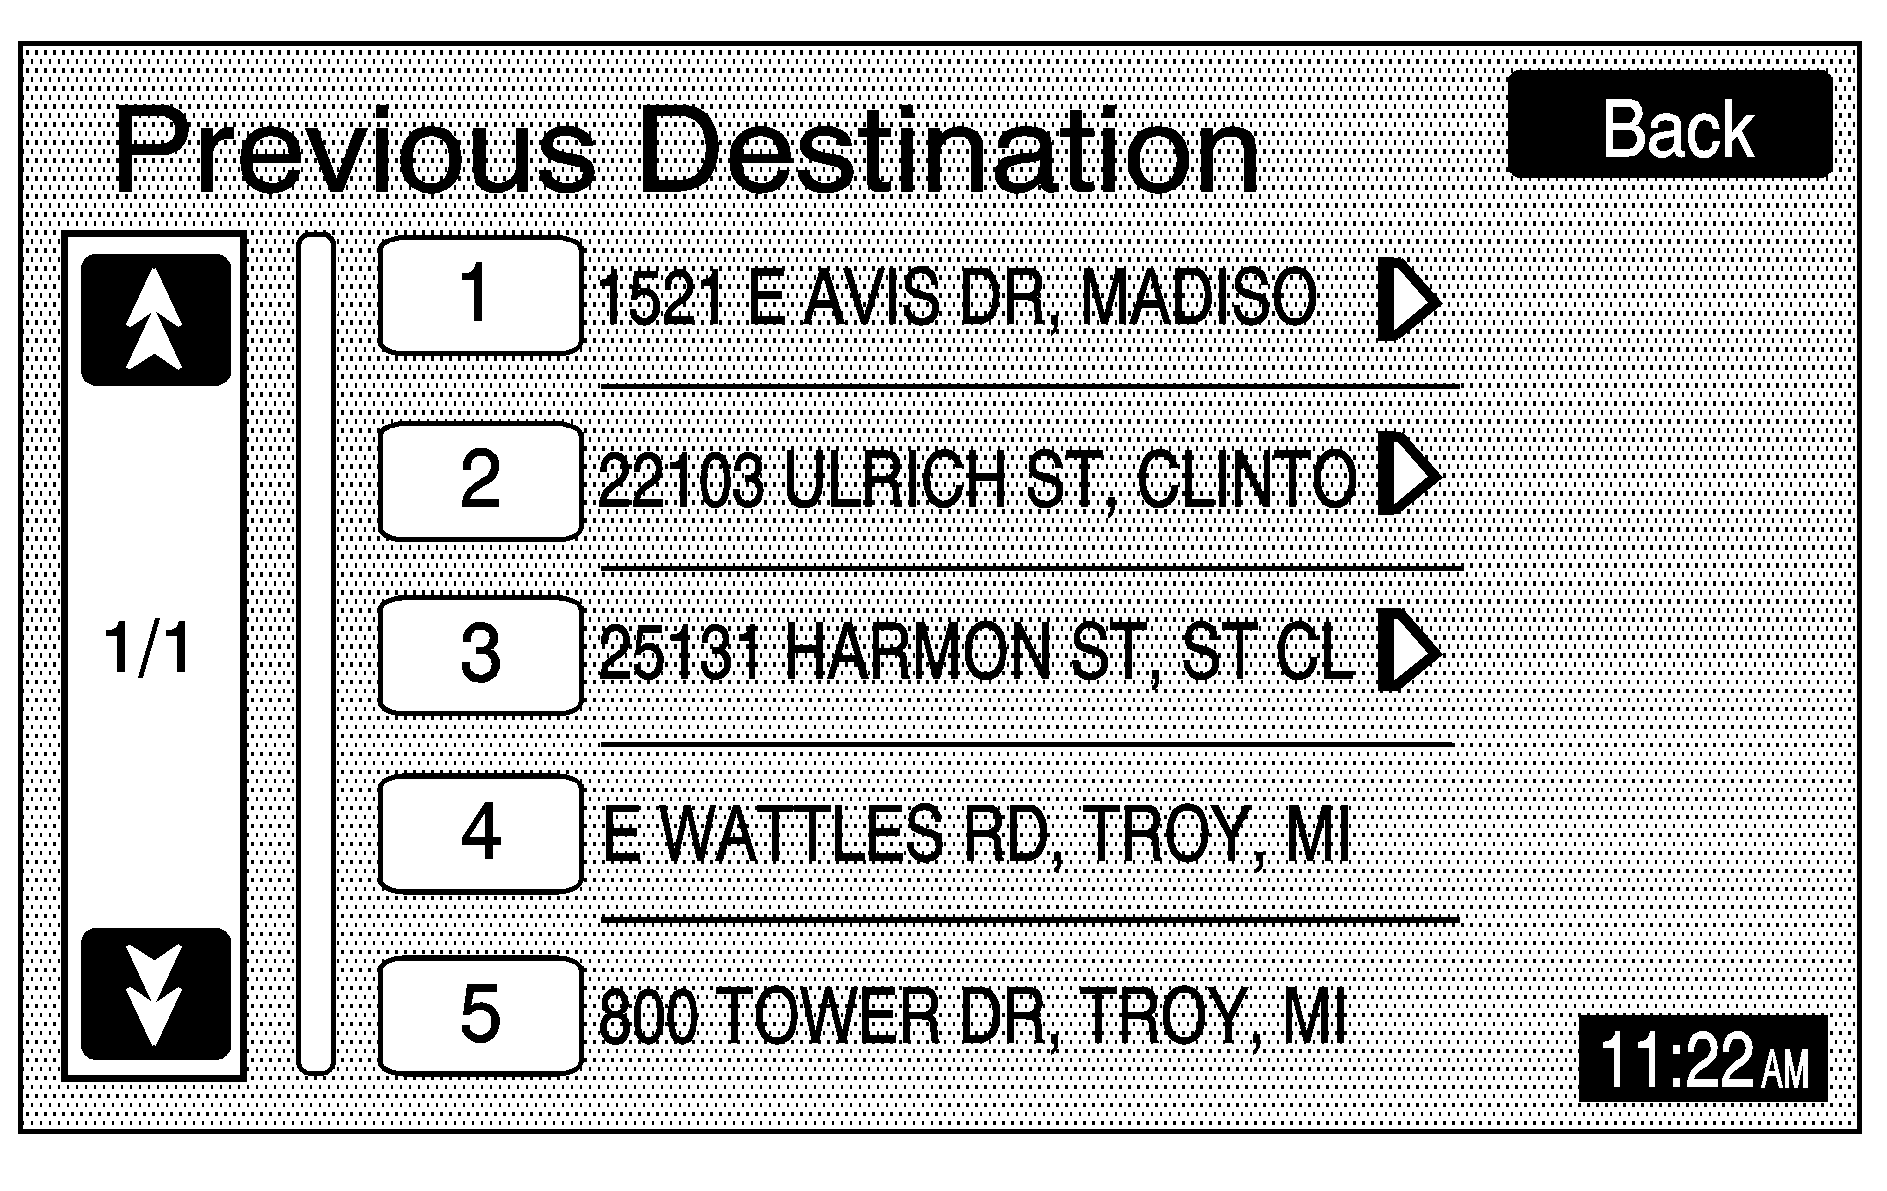
Touch the number next to the destination to select it as a destination or a waypoint.
Emergency
The Emergency destination entry method allows you to select a destination by selecting from a list of emergency facilities. The list will vary by area.
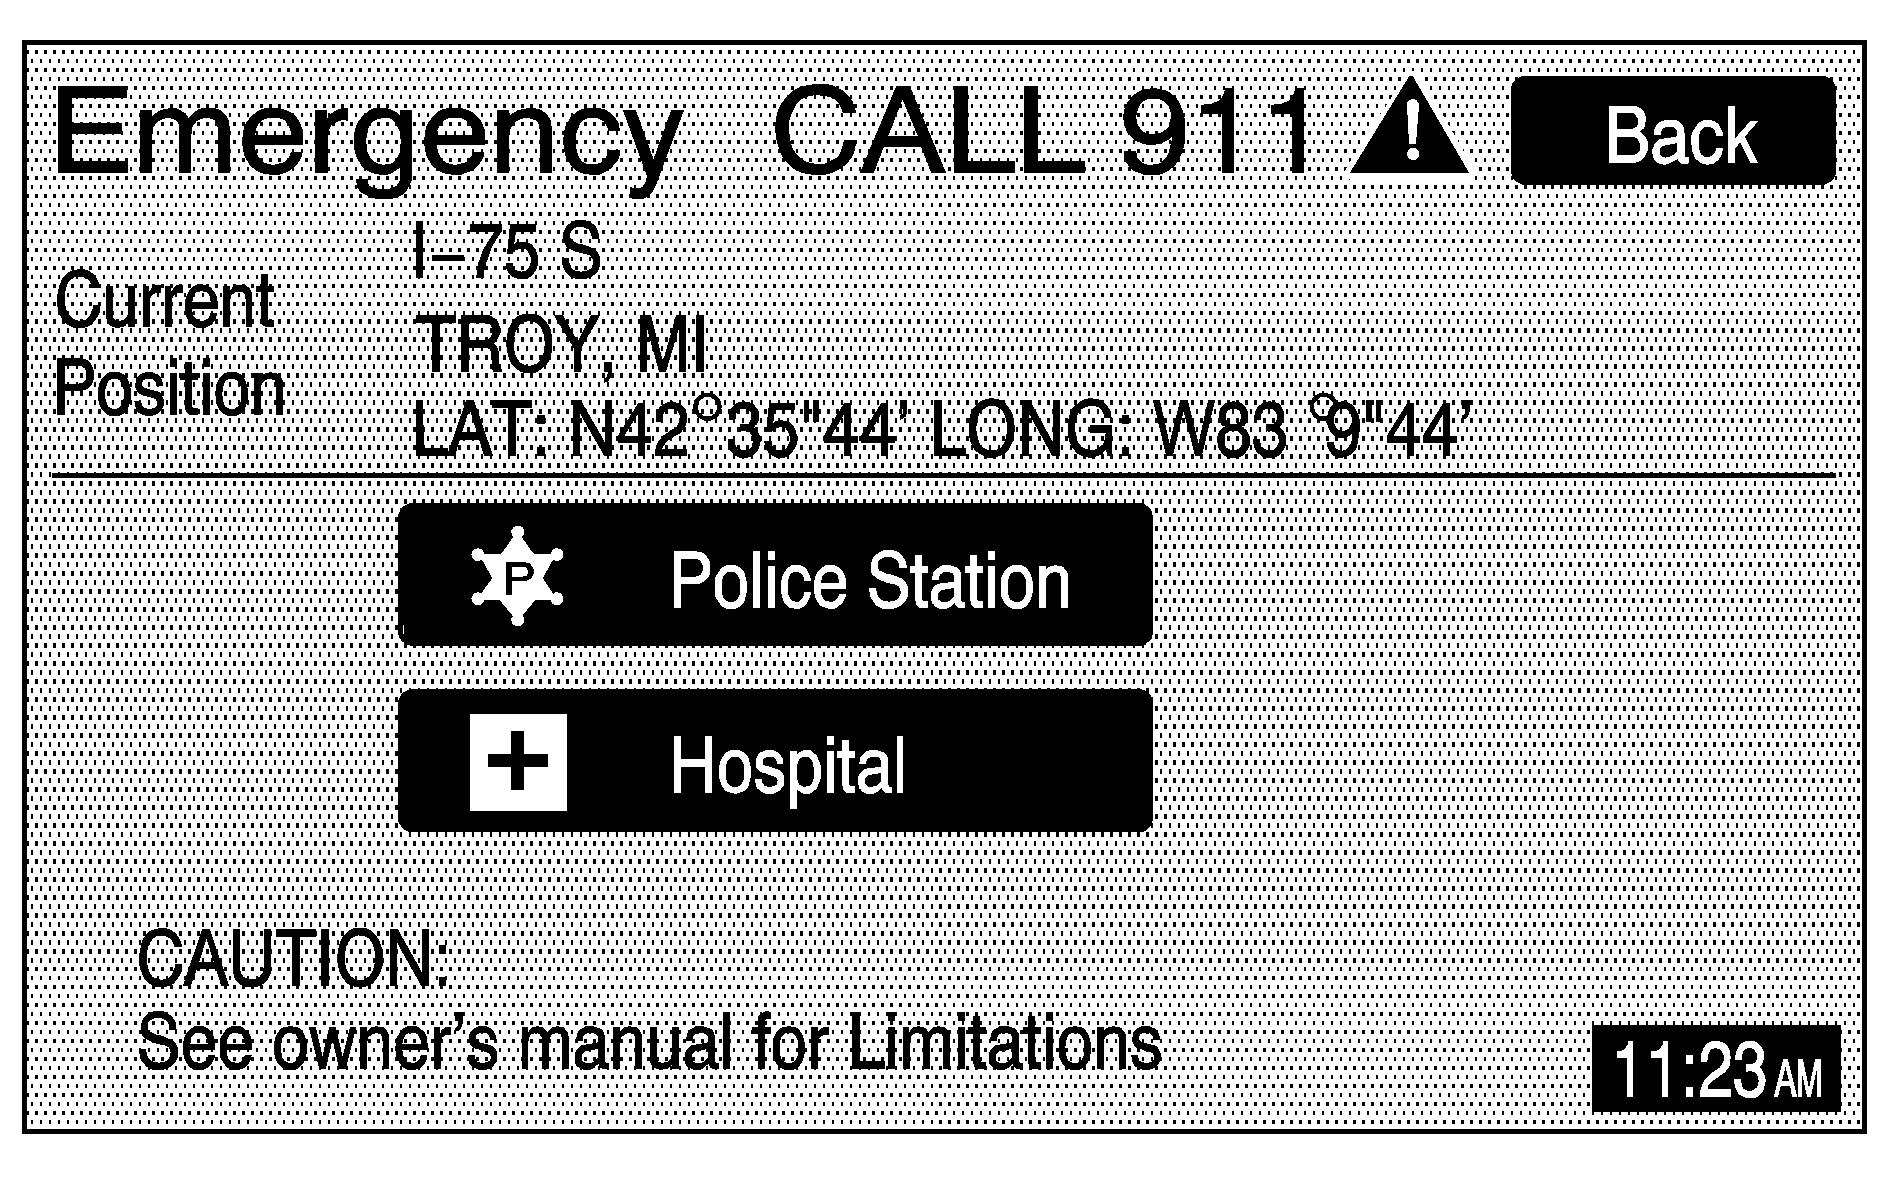
Selecting Police Station or Hospital will display a list. Select a destination from the list, select Enter Destination, Route, then Start to start route guidance. The list can be changed to appear in alphabetical order or in order by distance from your vehicle's location.
This screen also provides the address and map coordinates of your vehicle's current position.
Map
The Map destination entry method displays the last location on the map, and the road preference.
Scroll across and touch the map at the location you would like to set as your destination. Once you have located the desired destination, touch the Enter Destination screen button and then the OK screen button. The route will then be calculated. Begin driving to start route guidance or touch the Route screen button and then the Start screen button.
You can zoom out to view the entire regional map. See "Touch-Sensitive Screen Buttons" under Using the Navigation System for more information. However, if you zoom out as much as possible and scroll around the map, some parts of the map will appear to be missing because they are not readable in larger scales.
Previous Start Point
The Previous start point destination entry method allows you to select the last start point as a destination.
Phone Number
The Phone Number destination entry method allows you to search for a point of interest (POI) destination by entering the POI phone number.
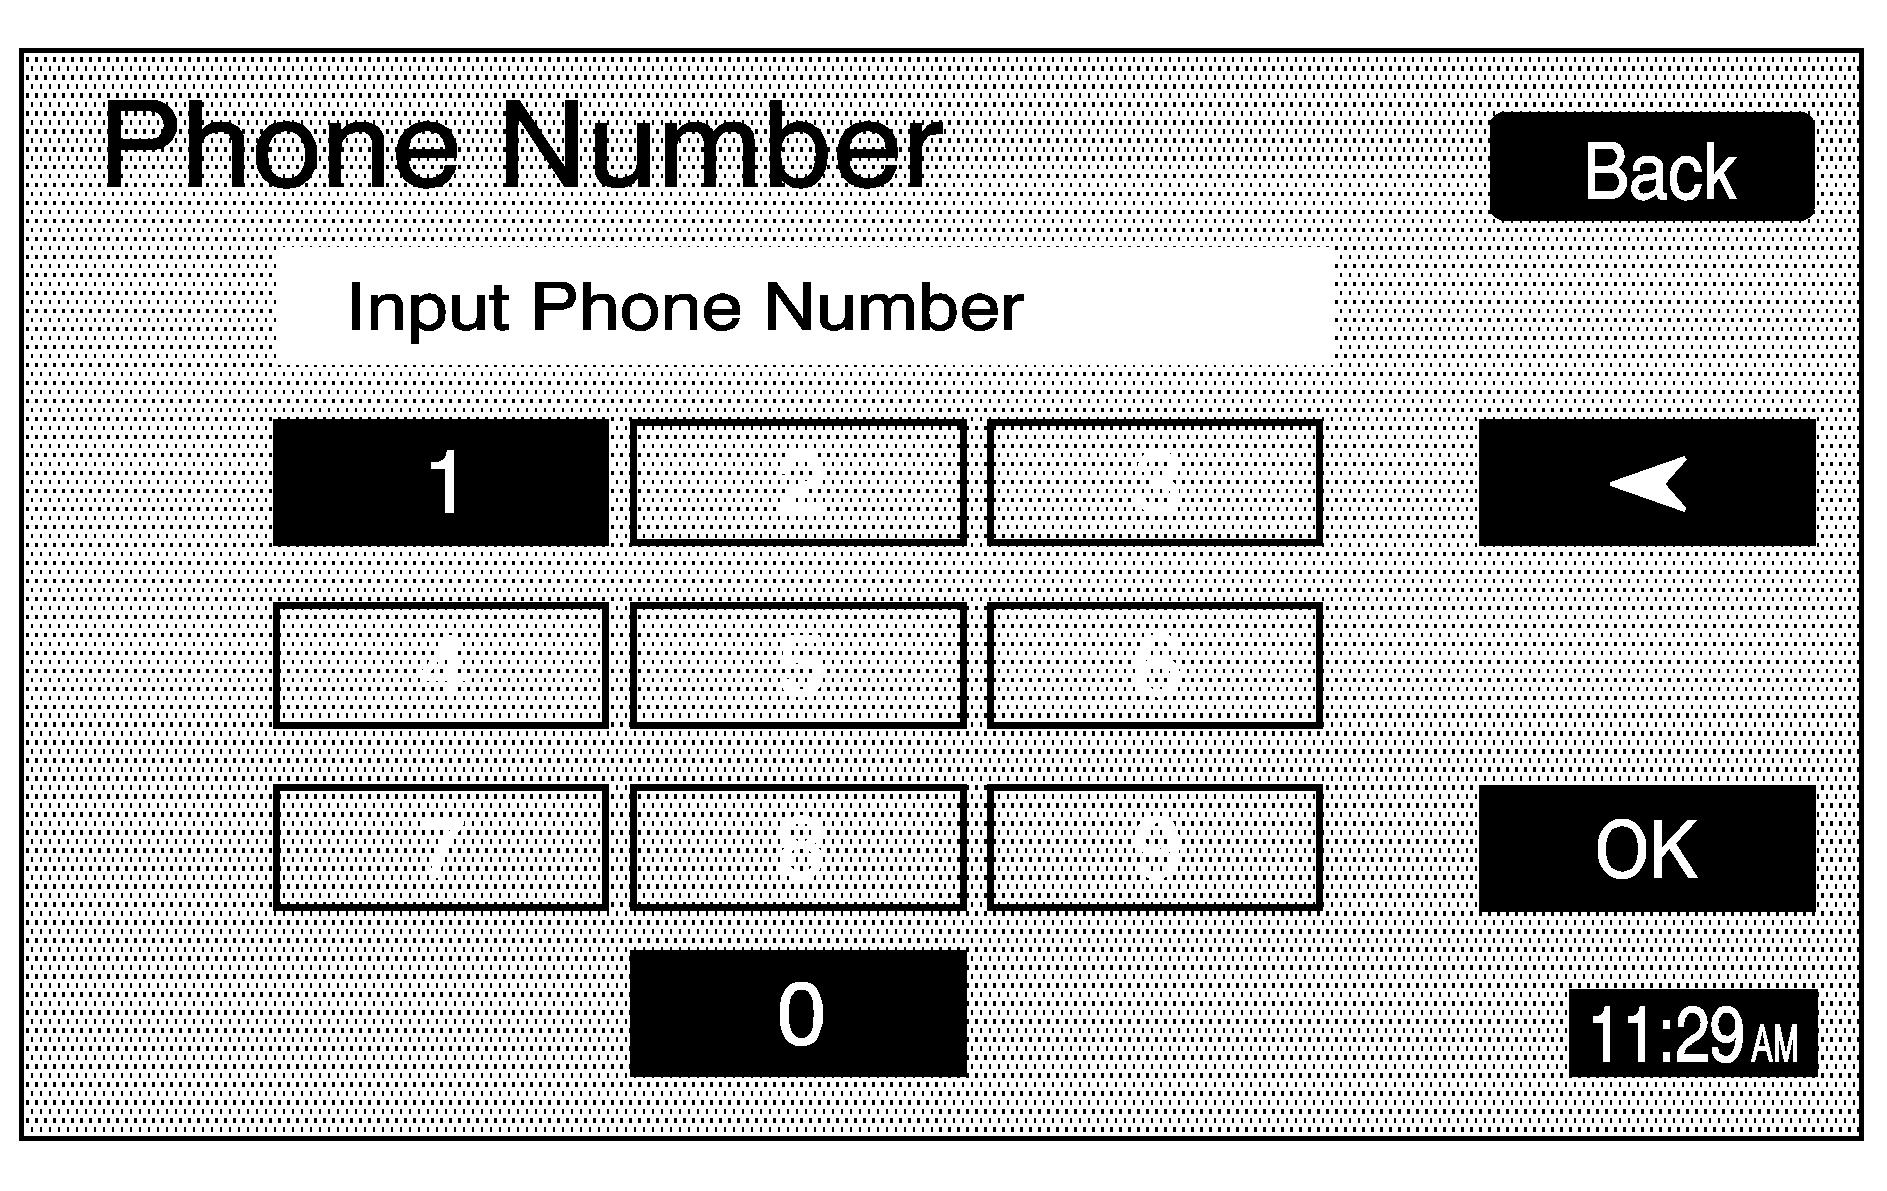
Enter the POI phone number on the numeric keypad and touch the OK screen button. The destination location will display. Most phone numbers for POIs included in the DVD database can be entered to locate a destination. Cellular phone numbers and internal company phone numbers cannot be entered to locate a destination.
Intersection
The Intersection destination entry method allows you to select a destination by inputting the intersecting roads.
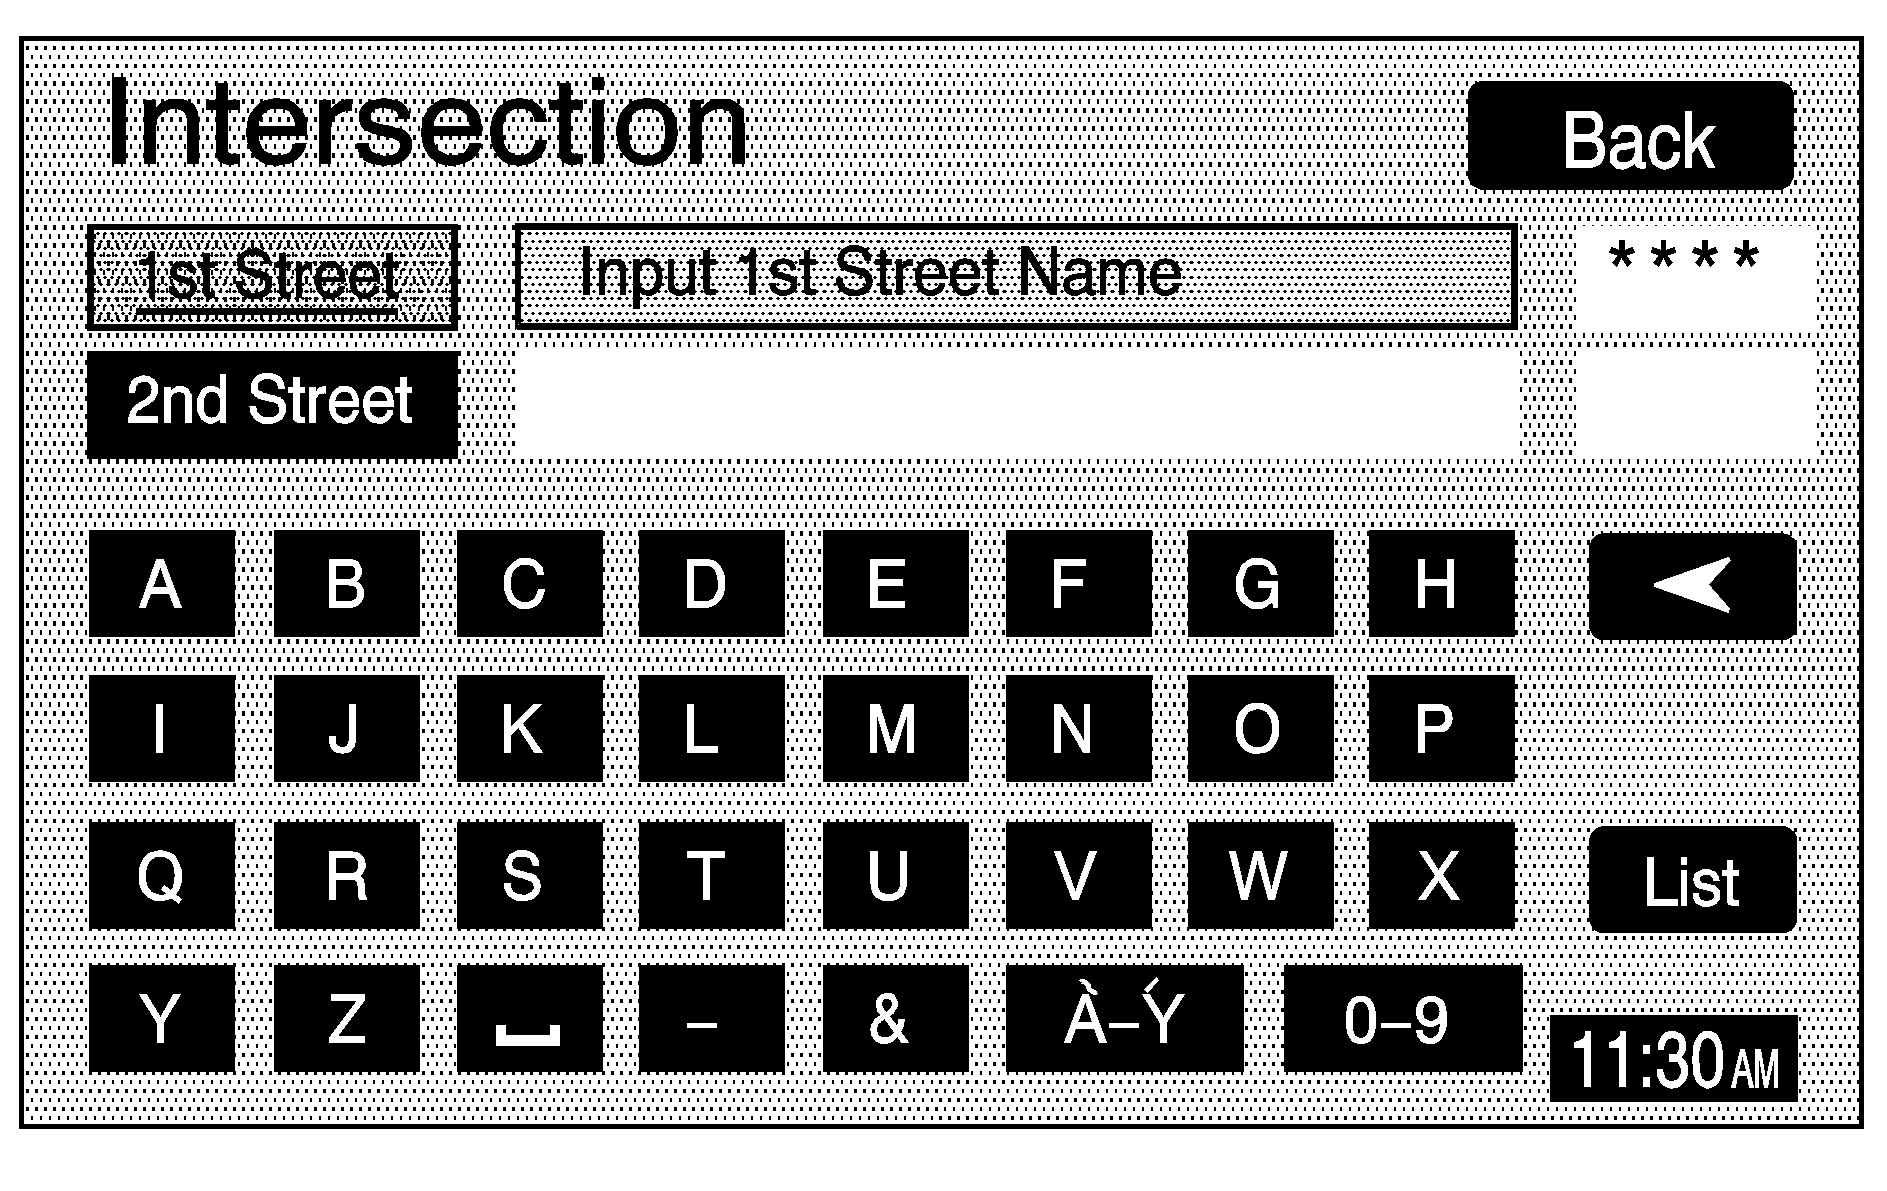
To enter a destination using this method, enter the name of the street, but do not include name extensions such as N. or Drive. For example, the street name N. Civic Center Drive should be entered as CivicCenter. The system will search for an entry exactly as you have entered it. If you did not include a space between words where necessary, the system may not be able to find the desired location. This will bring up a list of streets with that name. Select the desired street name from the list.
Now begin entering the second street name, and select the desired street name from the list. After both street names in the intersection have been selected, a list of cities containing the selected intersection will appear. If there are several cities that contain that specific intersection, you must specify a city. Select the desired city from the list. The route will then be calculated. Begin driving to start route guidance or touch the Route screen button and then the Start screen button.
Freeway Entrance/Exit
The Freeway Entrance/Exit destination entry method allows you to select a destination by entering a freeway entrance or exit point.
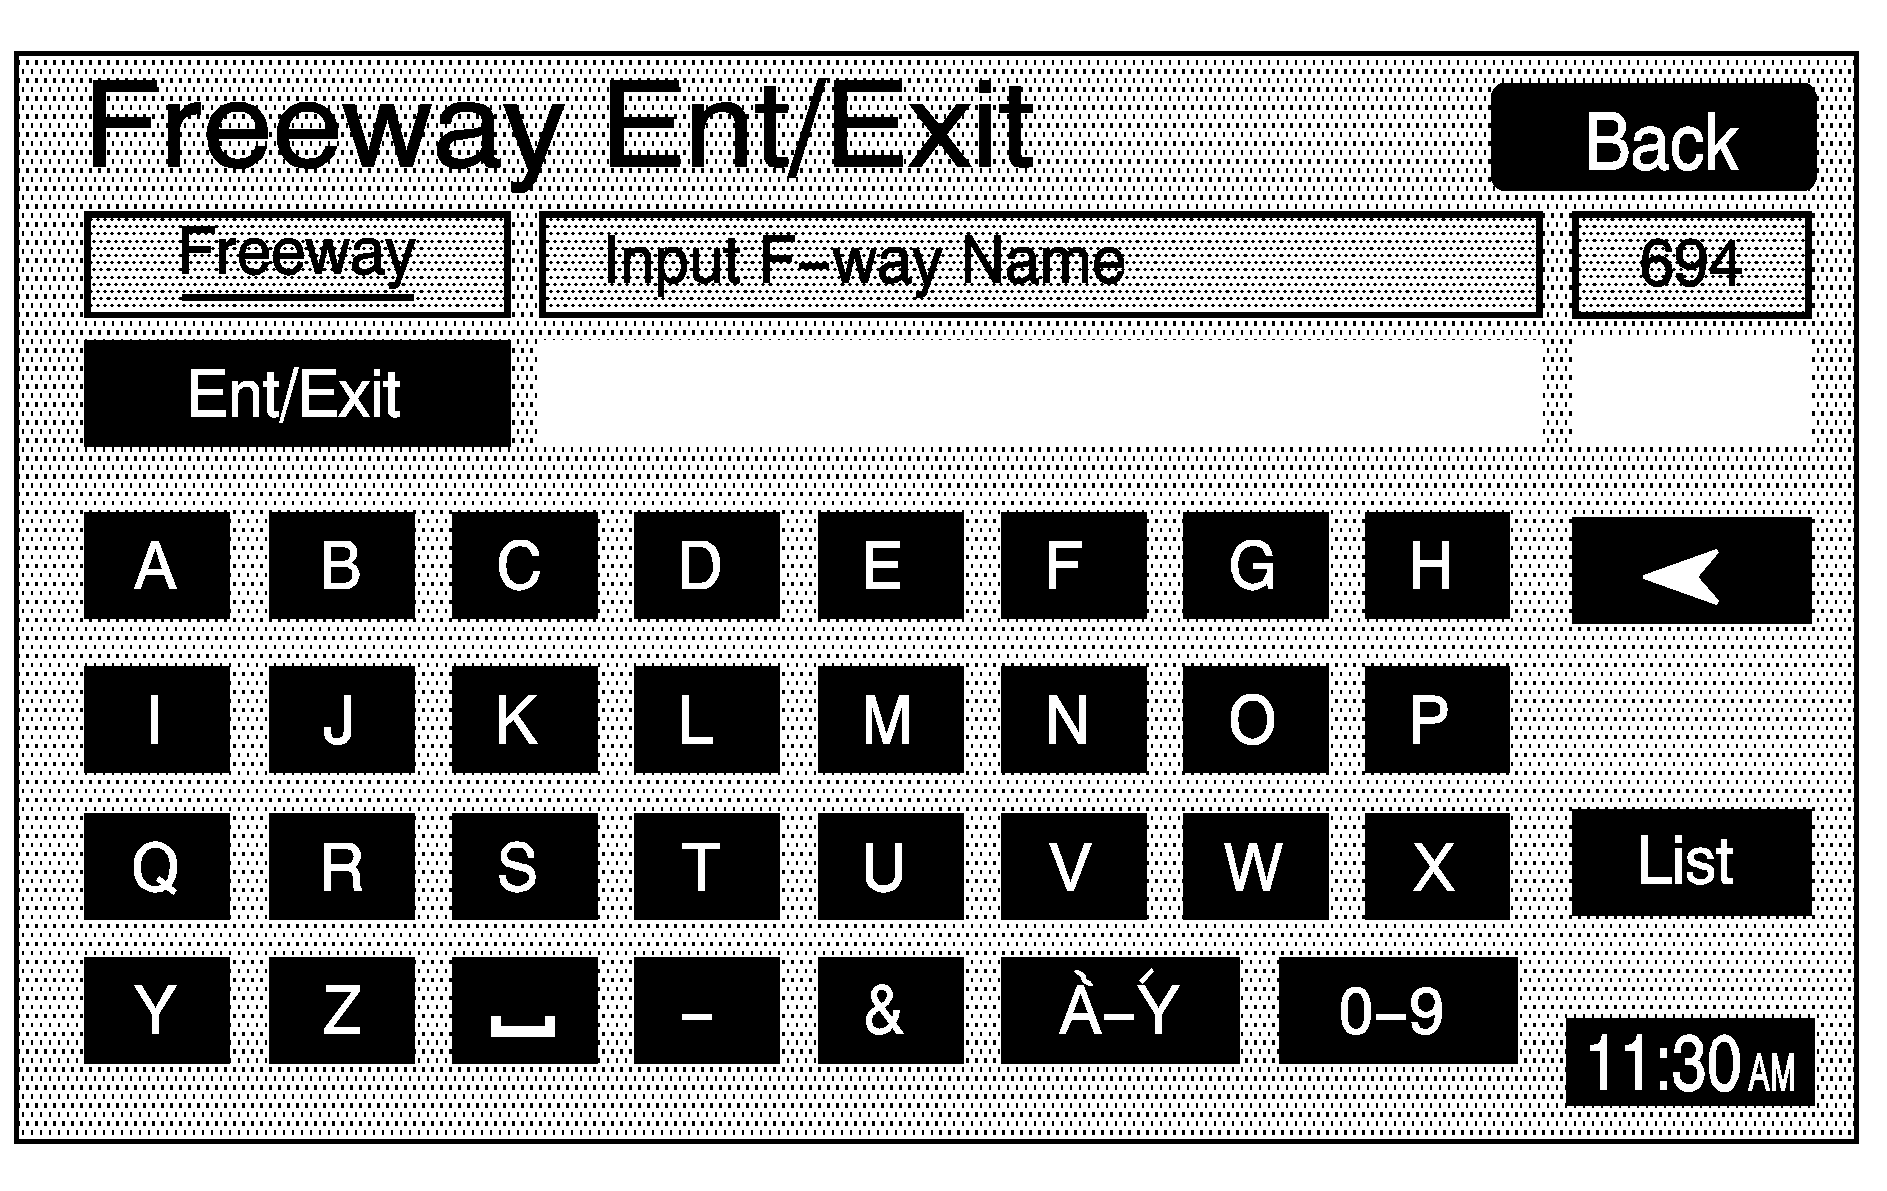
Enter Freeway names using the alpha keypad. See "Alpha-Numeric Keypad" under Using the Navigation System for more information. After entering the freeway name, enter the name of the entrance or exit that you want to set as the destination.
Destination Preview Menu
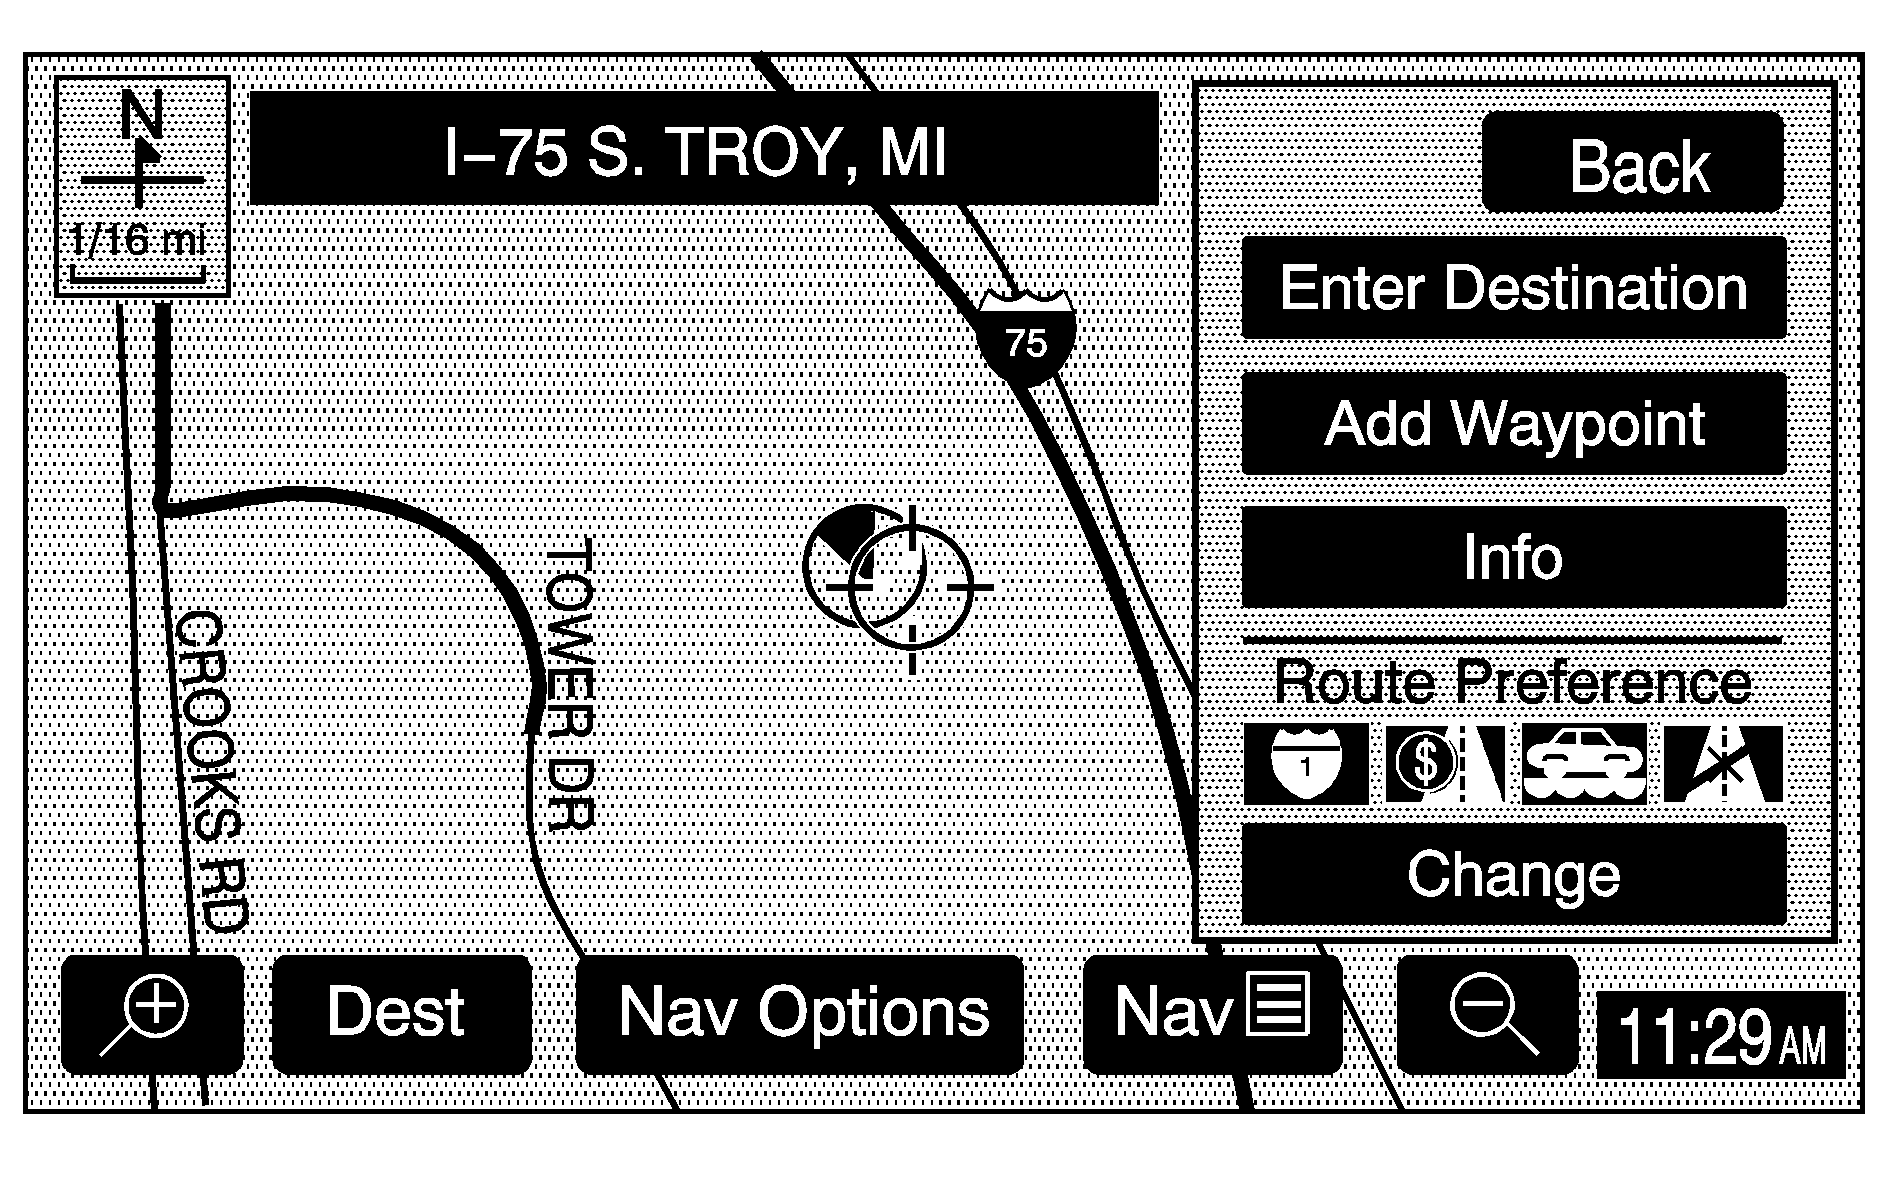
Each time a destination is entered, a screen with the destination preview menu will appear. This screen will display a zoomed in view of the destination, as well as the following options:
Enter Destination: Touch this screen button to set the current destination as the only destination in the system. The route will be calculated and the Route Preview screen will display.Add Waypoint: Touch this screen button to add the current destination to your current trip. The Add Waypoint screen will display. Touch the Add screen button that corresponds with where you would like to add the current destination. Up to five waypoints can be added.
Info (Information): When a POI icon is selected on the screen, touch this screen button to display the name, address, and telephone number, if available, for the selected POI. See "Navigation Options" later in this section for more information on POIs and their icons.
Route Preference: This option will display the Route Preference screen. To adjust route preferences, touch Change. See "Edit Route" under Navigation Menu for more information.
Once the desired adjustments from the destination preview menu are complete, the route overview menu can be displayed. See "Route Overview Menu" following in this section for more information.
Once you have entered your destination by touching the Enter Destination screen button, you can do one of the following:
| • | Press the NAV hard key to begin route guidance. |
| • | Start driving to begin route guidance. |
| • | Touch the Route screen button on the map screen displaying the new destination to make further changes. See "Route Overview" following in this section for more information. |
Route Overview Menu
Each time a destination has been selected and entered, the route overview menu can be displayed by touching the Route screen button on the map screen.
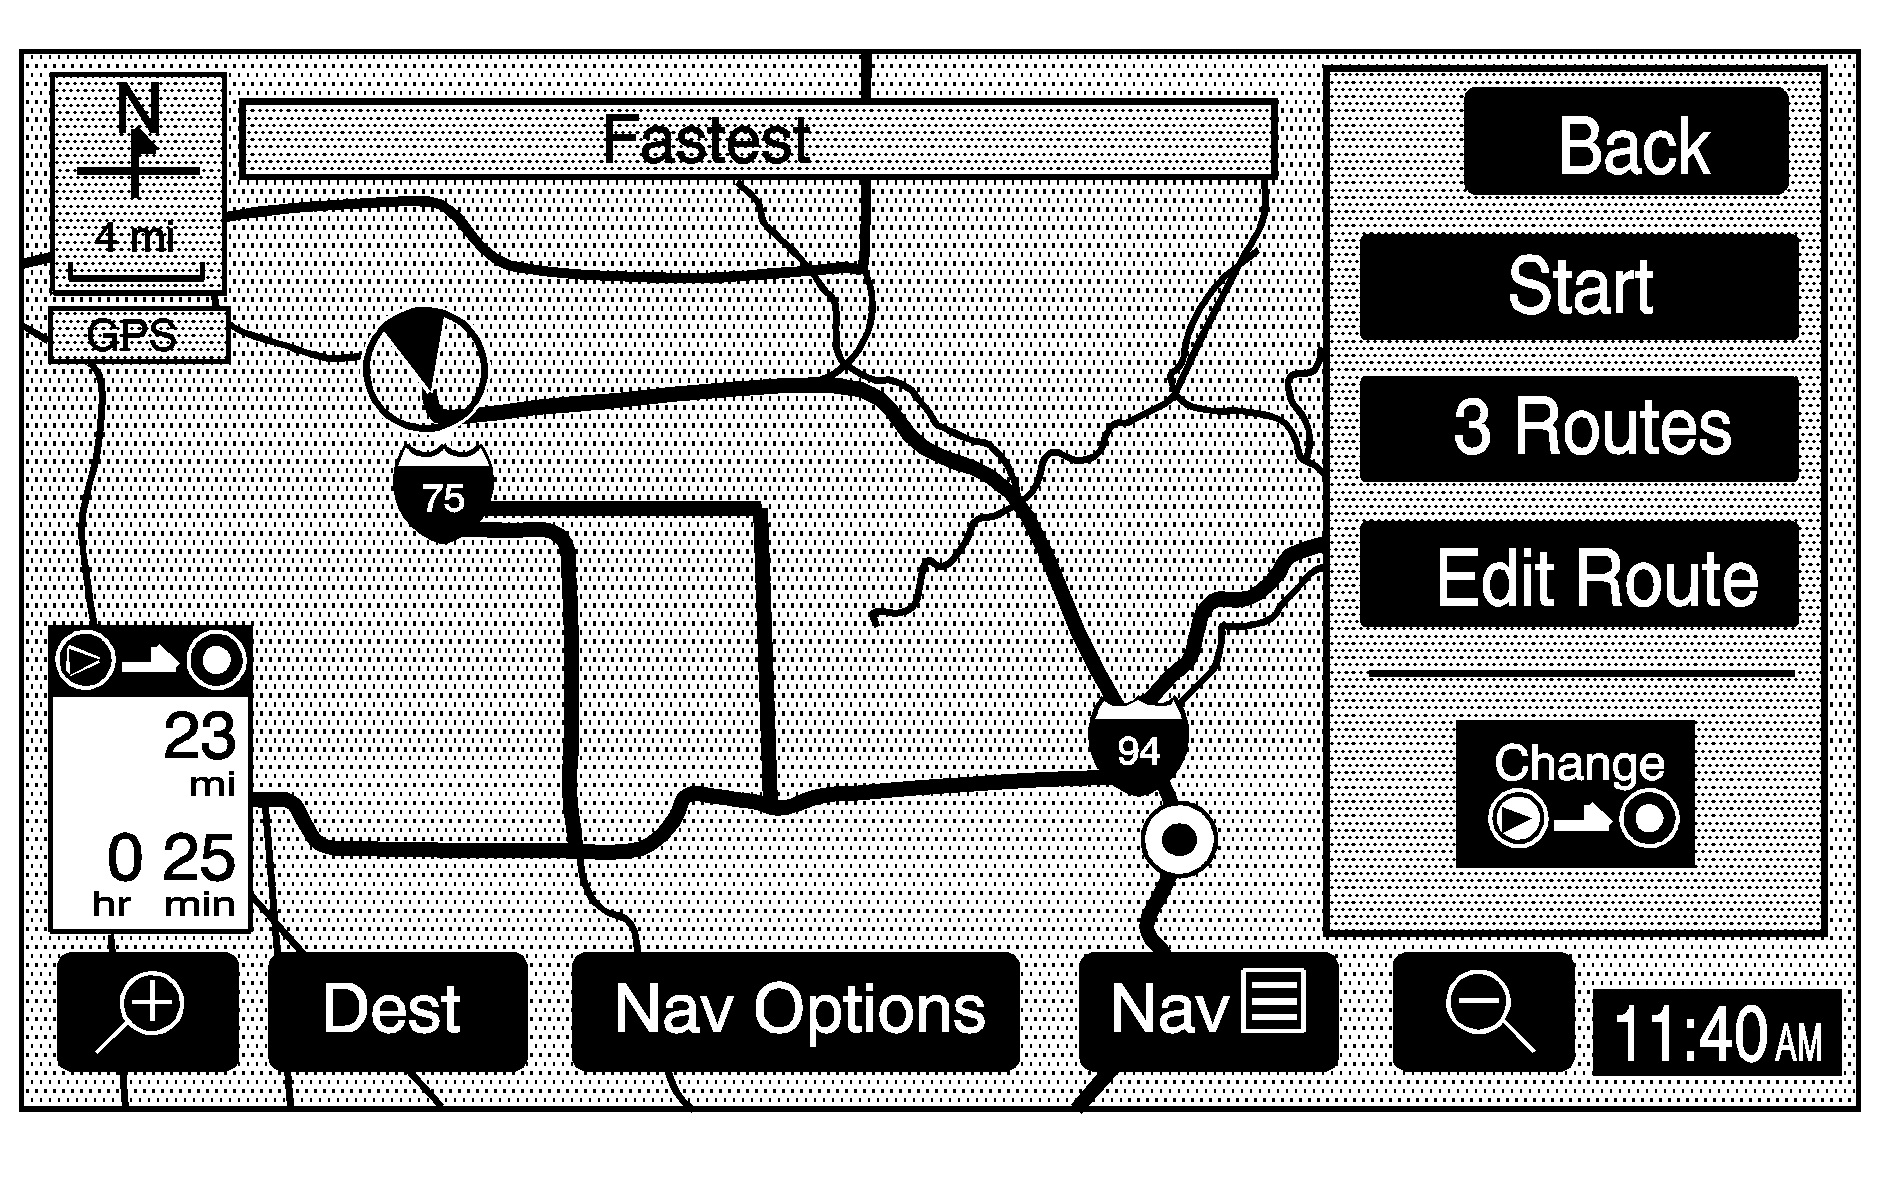
The following three options will display:
Start: Touch this screen button to select the current highlighted route and begin route guidance.3 Routes: Touch this screen button to display the map with three highlighted routes shown in three different colors indicating the Fastest, Shortest, and Alternative routes.
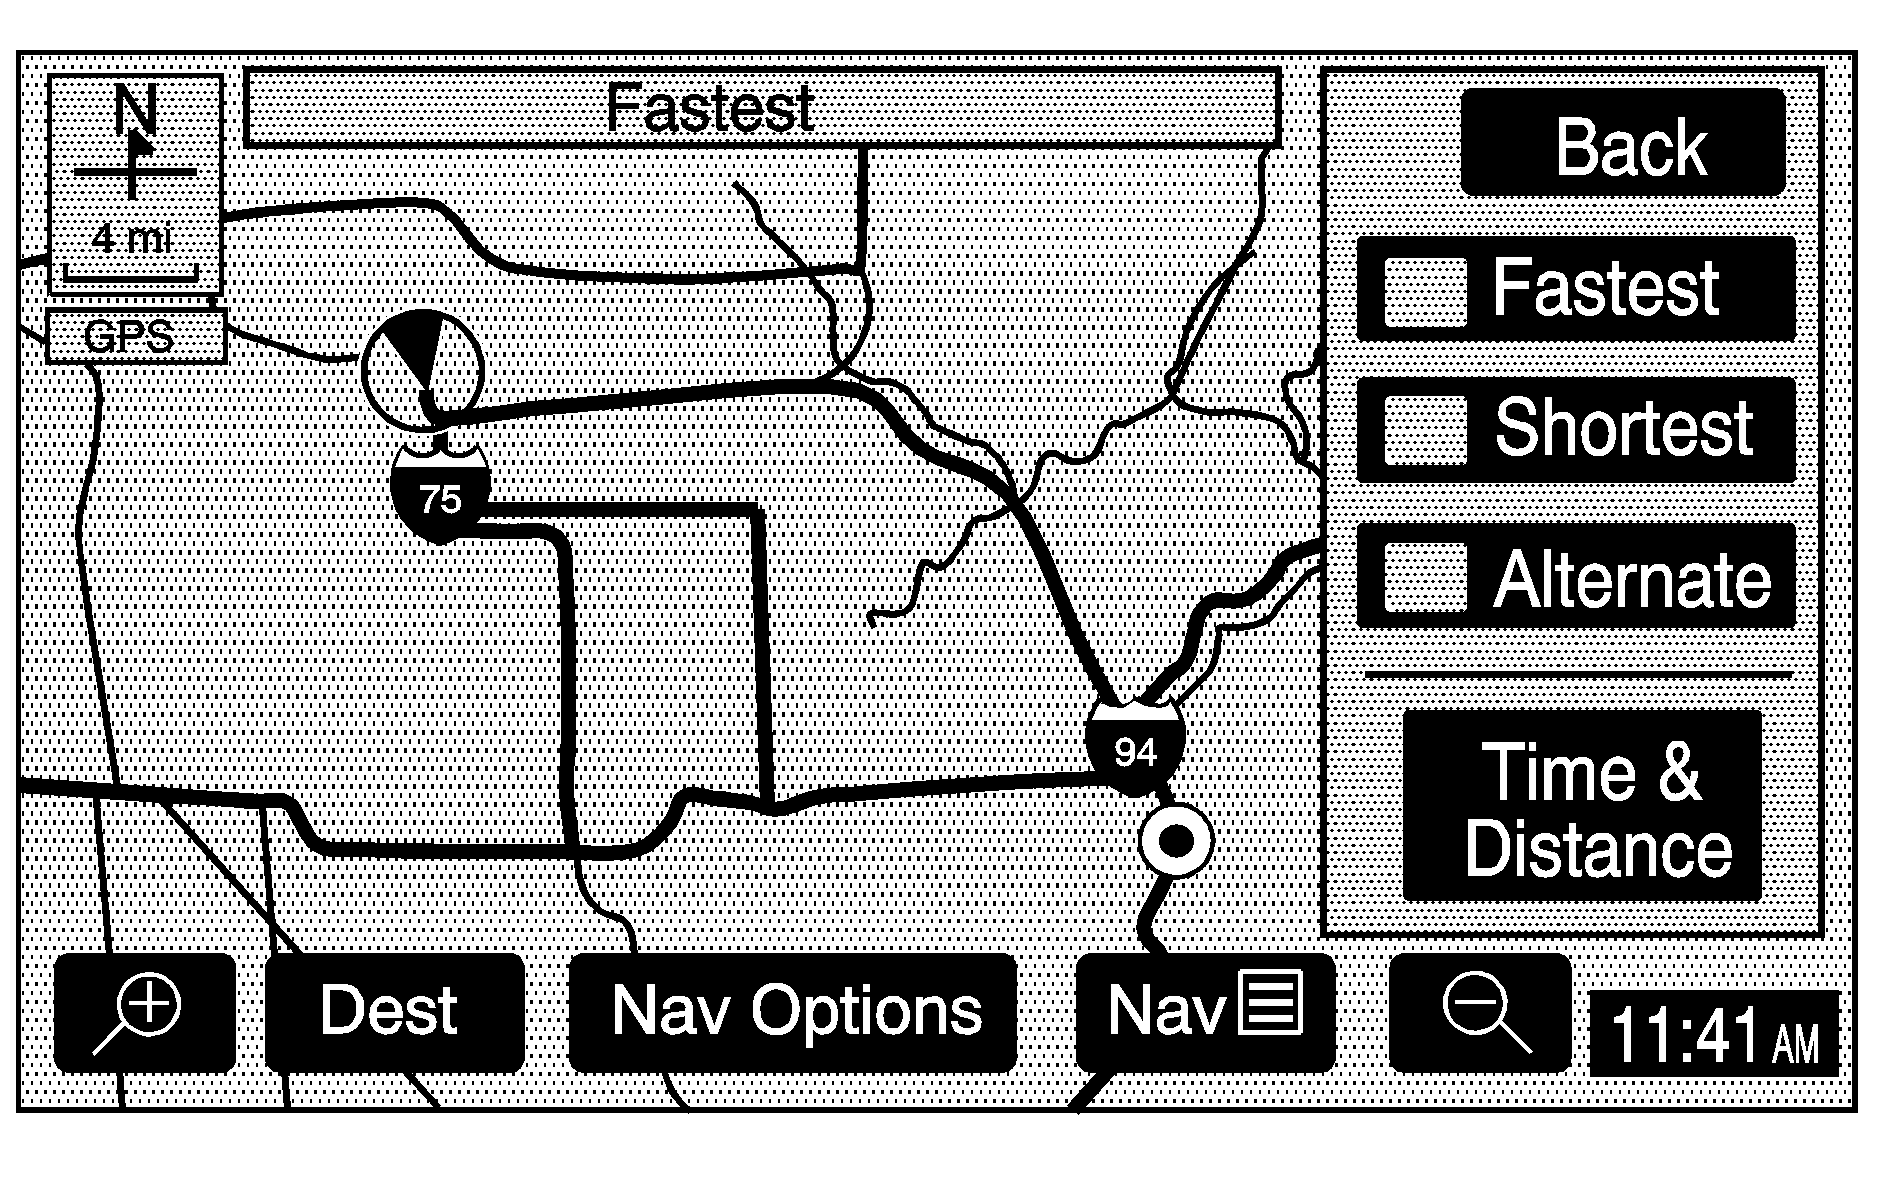
After selecting one of the three routes, the road distance and estimated travel time will display. The Fastest route means you will be routed along main roads and highways, but does not necessarily mean it is the shortest route. Touch the Time & Distance screen button to view the road distance and estimated travel time for each of the three routes.
Edit Route: Touch this screen button to change the route preferences. See "Edit Route" under Navigation Menu for more information.Press Back at any time to return to the previous screen.
Navigation Options
Nav Options Menu shown with a Set Destination
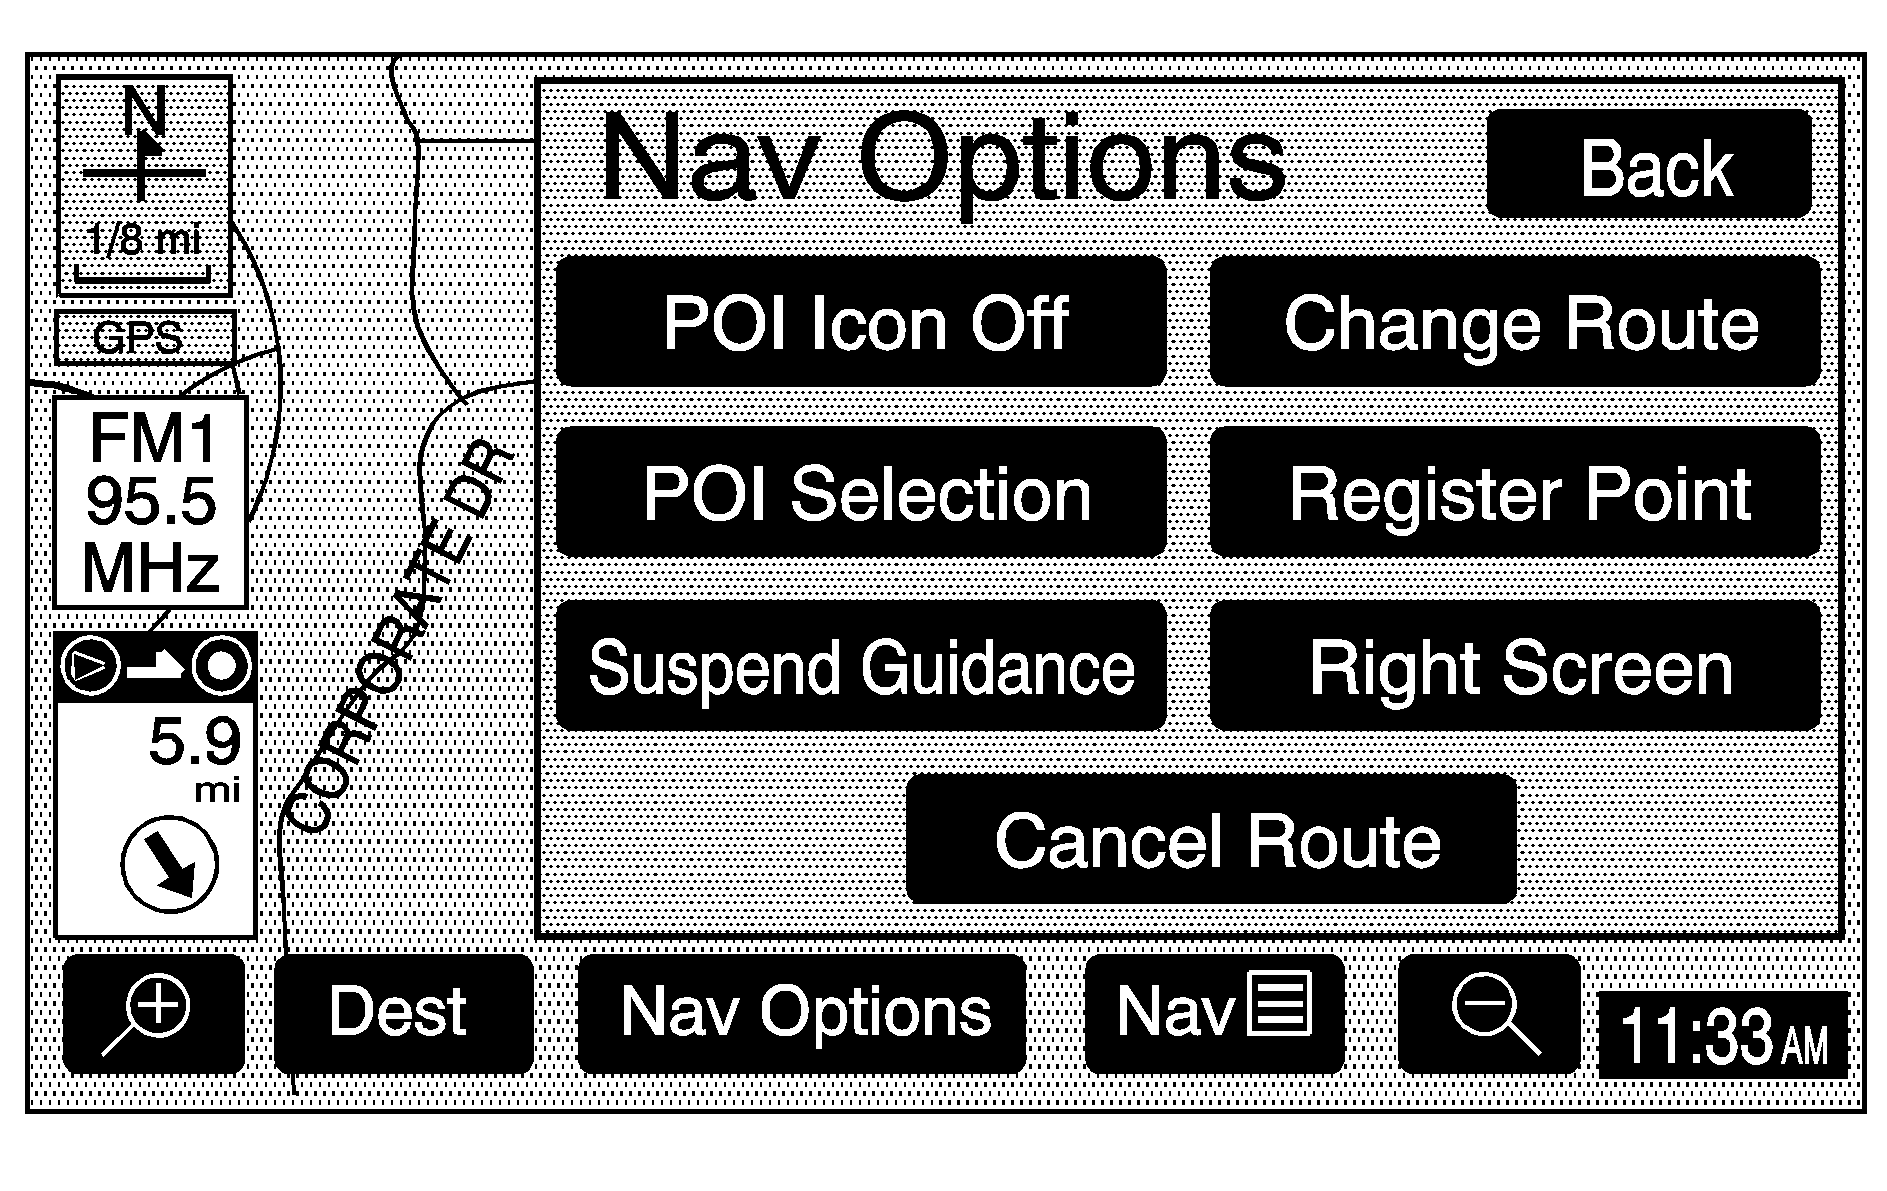
Once a destination is selected and you begin your route, touch the Nav Options screen button to view a menu with additional route options. Select from the following route options:
POI Icon On/Off: This option allows you to turn Point of Interest (POI) icons on or off of the map.POI Selection: This option allows you to select which types of POIs will be displayed on the map.
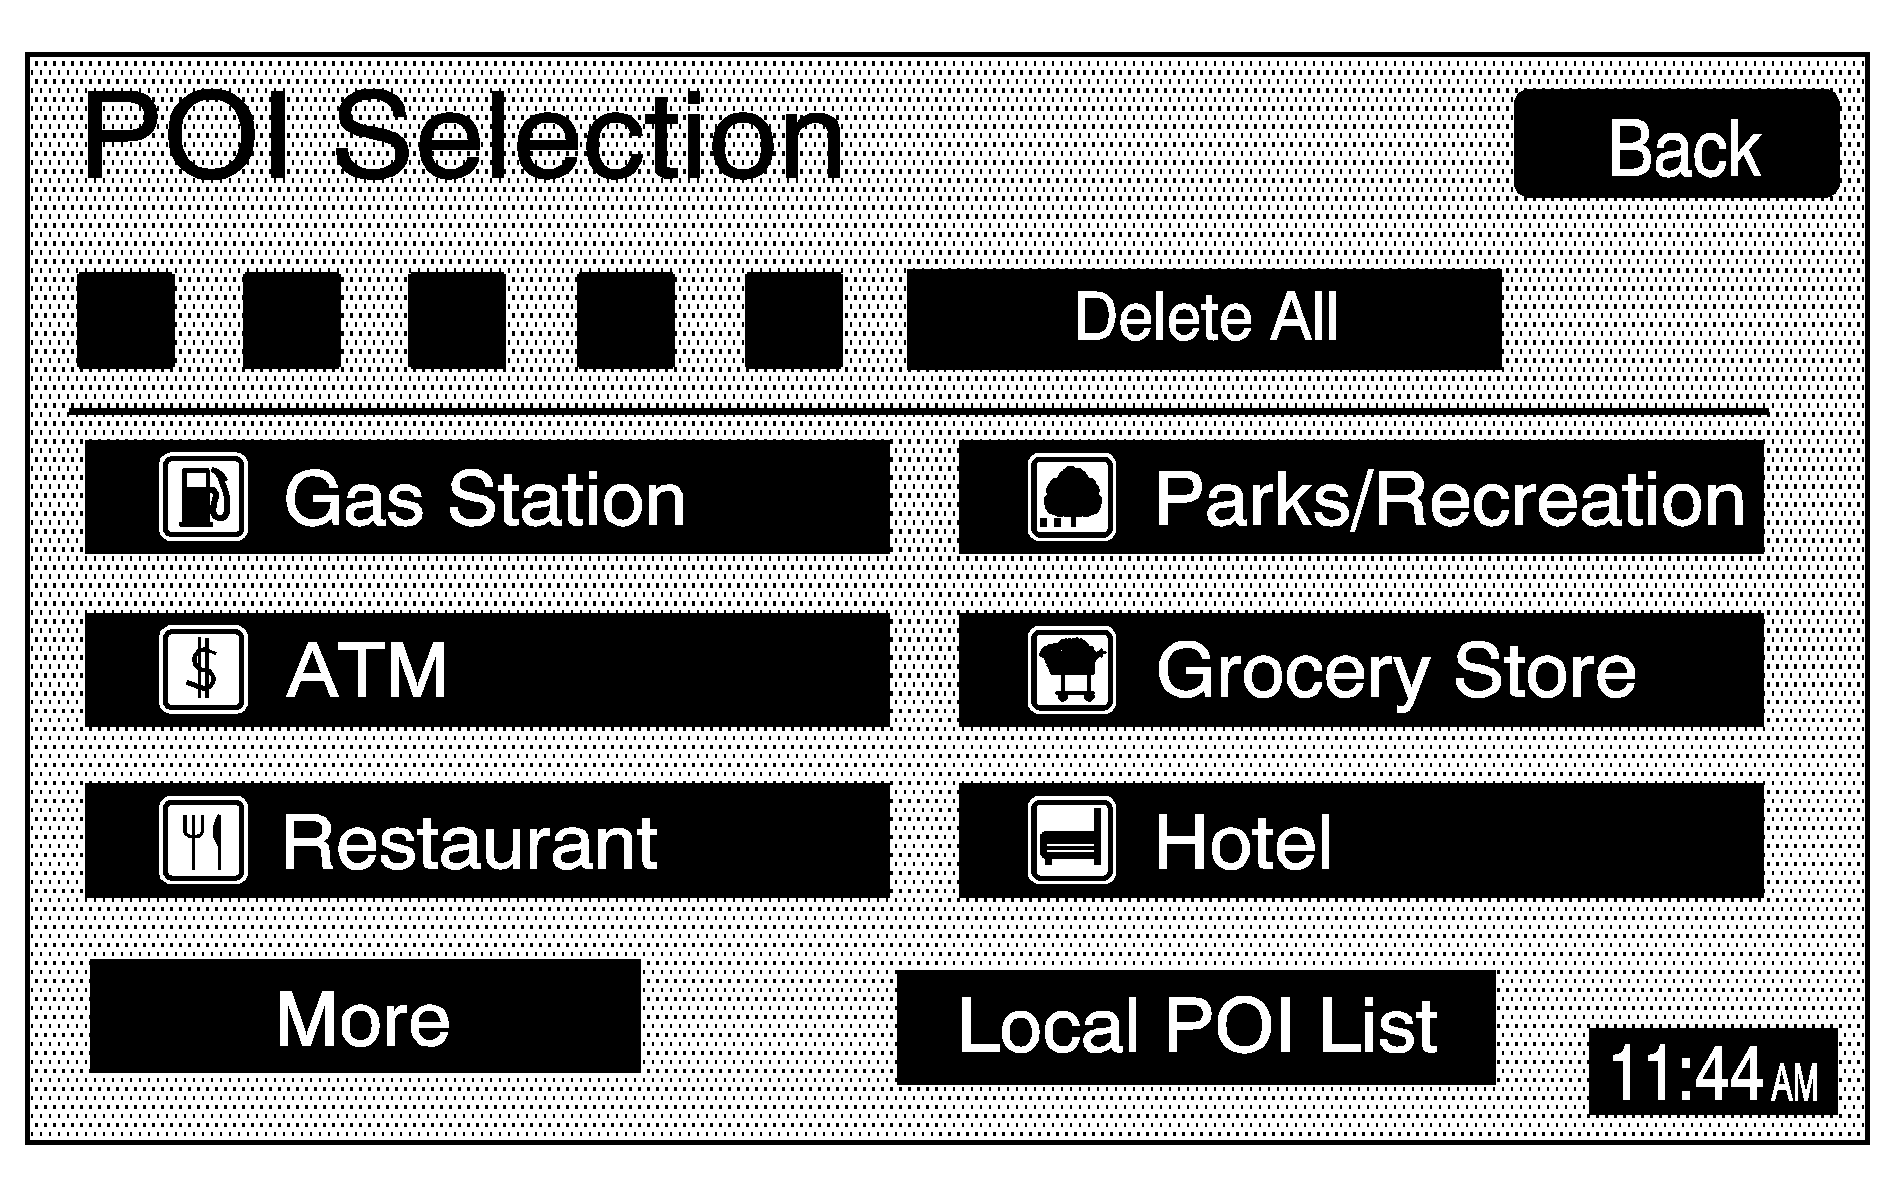
After selecting POI selection, the POI Selection screen will appear and display the different POI categories. You can select up to five different POI categories by touching the categories on the screen. Touch the More screen button to view more categories. The icons for the selected categories will appear at the top of the screen and will display on the map.
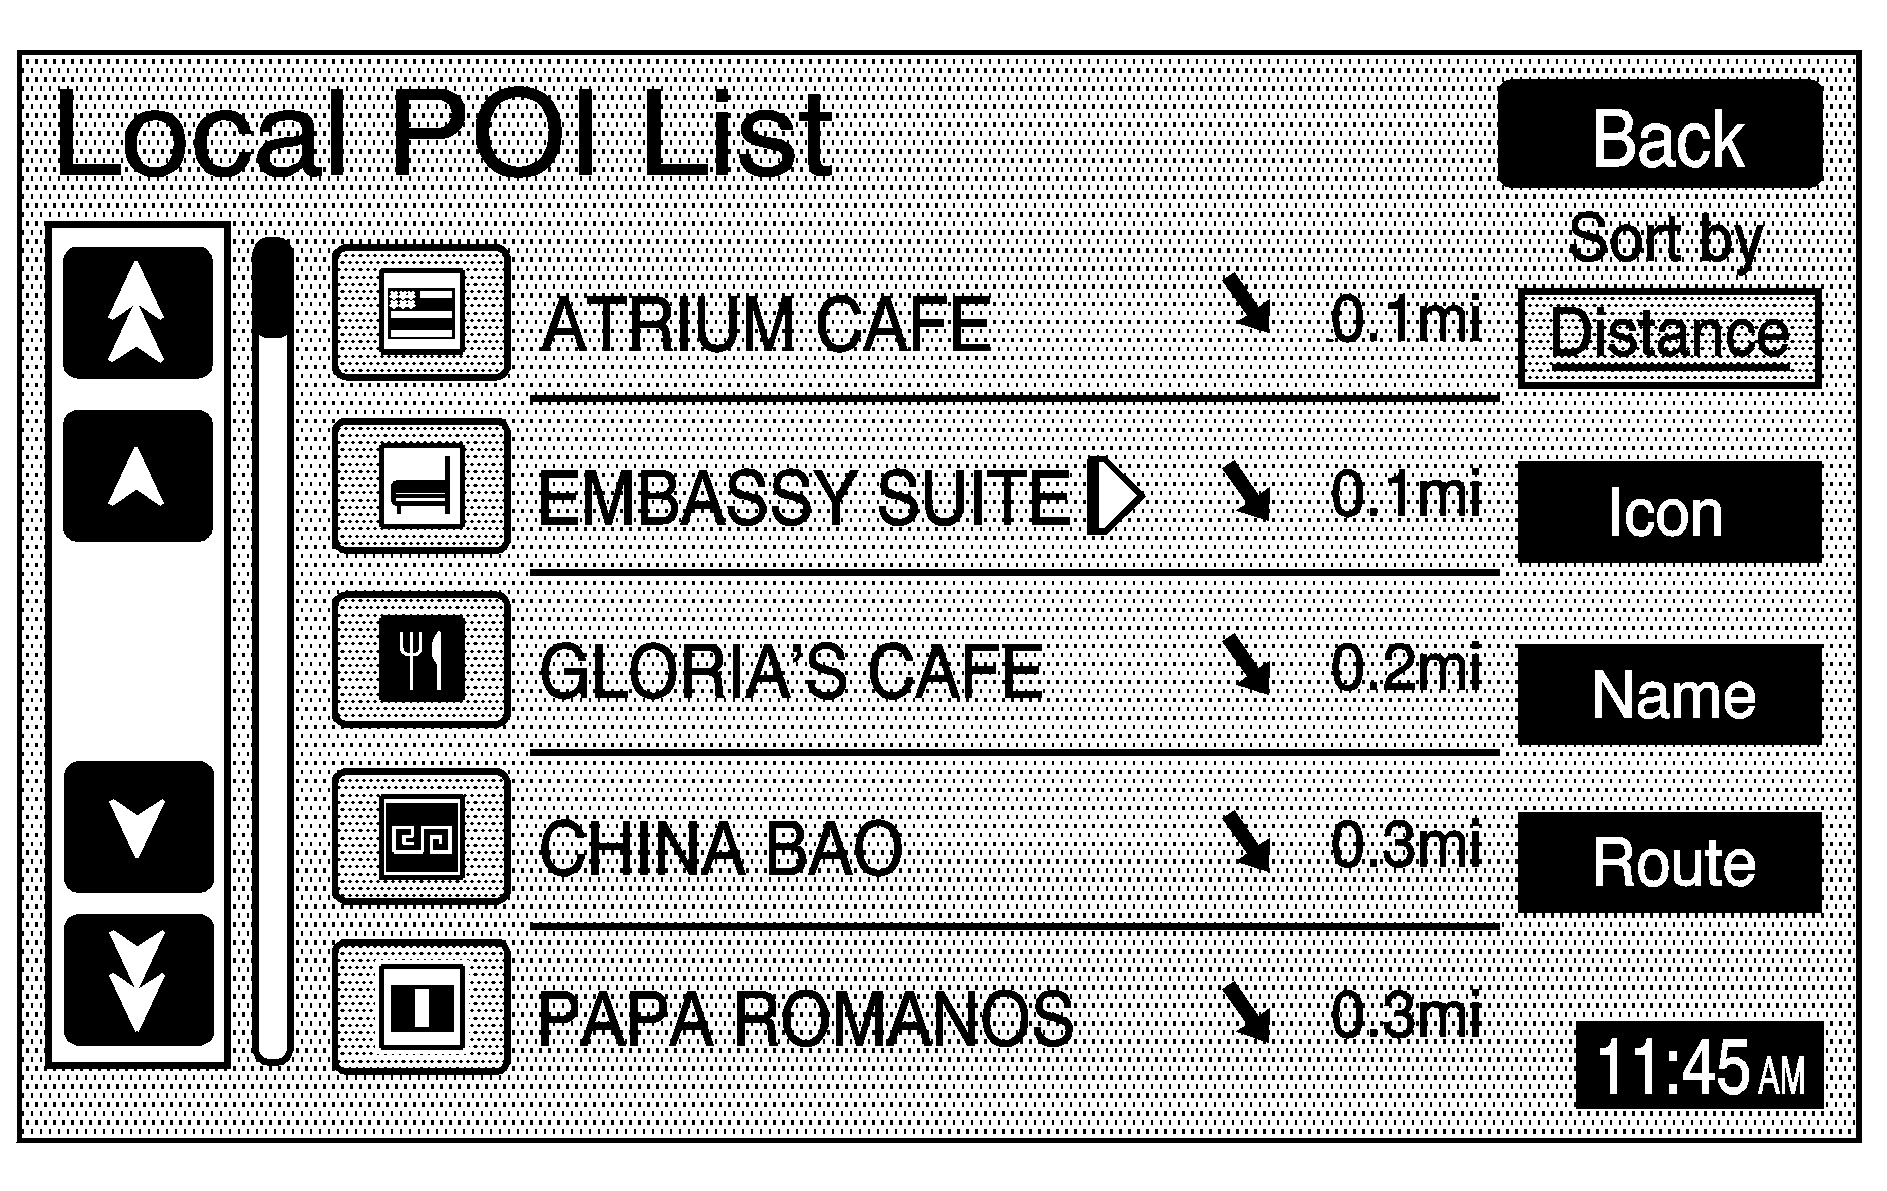
To view a list of local POIs, touch the Local POI List screen button. The Local POI List screen will list the closest POIs from the categories you have selected. You can sort these POIs by distance, icon/category, or name. Touch the Route screen button to display POIs along your current route. Once you select the desired POI, a map of the area with a symbol marking the destination will display.
Suspend/Resume Guidance: This option allows you to suspend or resume active route guidance for all current and programmed destinations. See "Suspend Guidance" under Navigation Menu for more information.Cancel Route: This option allows you to cancel the current or first destination. The second programmed destination will then be used if one is available.
Change Route: This option allows you to change the route search condition while the vehicle is moving. The following options may be available:
| • | Detour for 1 mile?: Touch the Yes screen button to recalculate your route and detour one mile around the vehicle's current position. |
| • | Detour for 3 miles?: Touch the Yes screen button to recalculate your route and detour three miles around the vehicle's current position. |
| • | Change to fastest?: Touch the Yes screen button to recalculate to the fastest route. |
| • | Change to shortest?: Touch the Yes screen button to recalculate to the shortest route. |
| • | Reroute from adjacent road?: Touch the Yes screen button to recalculate from another road on your route, near the vehicle's current position. |
Right Screen: If a split-screen is currently displayed, this option allows you to adjust options for the right screen.
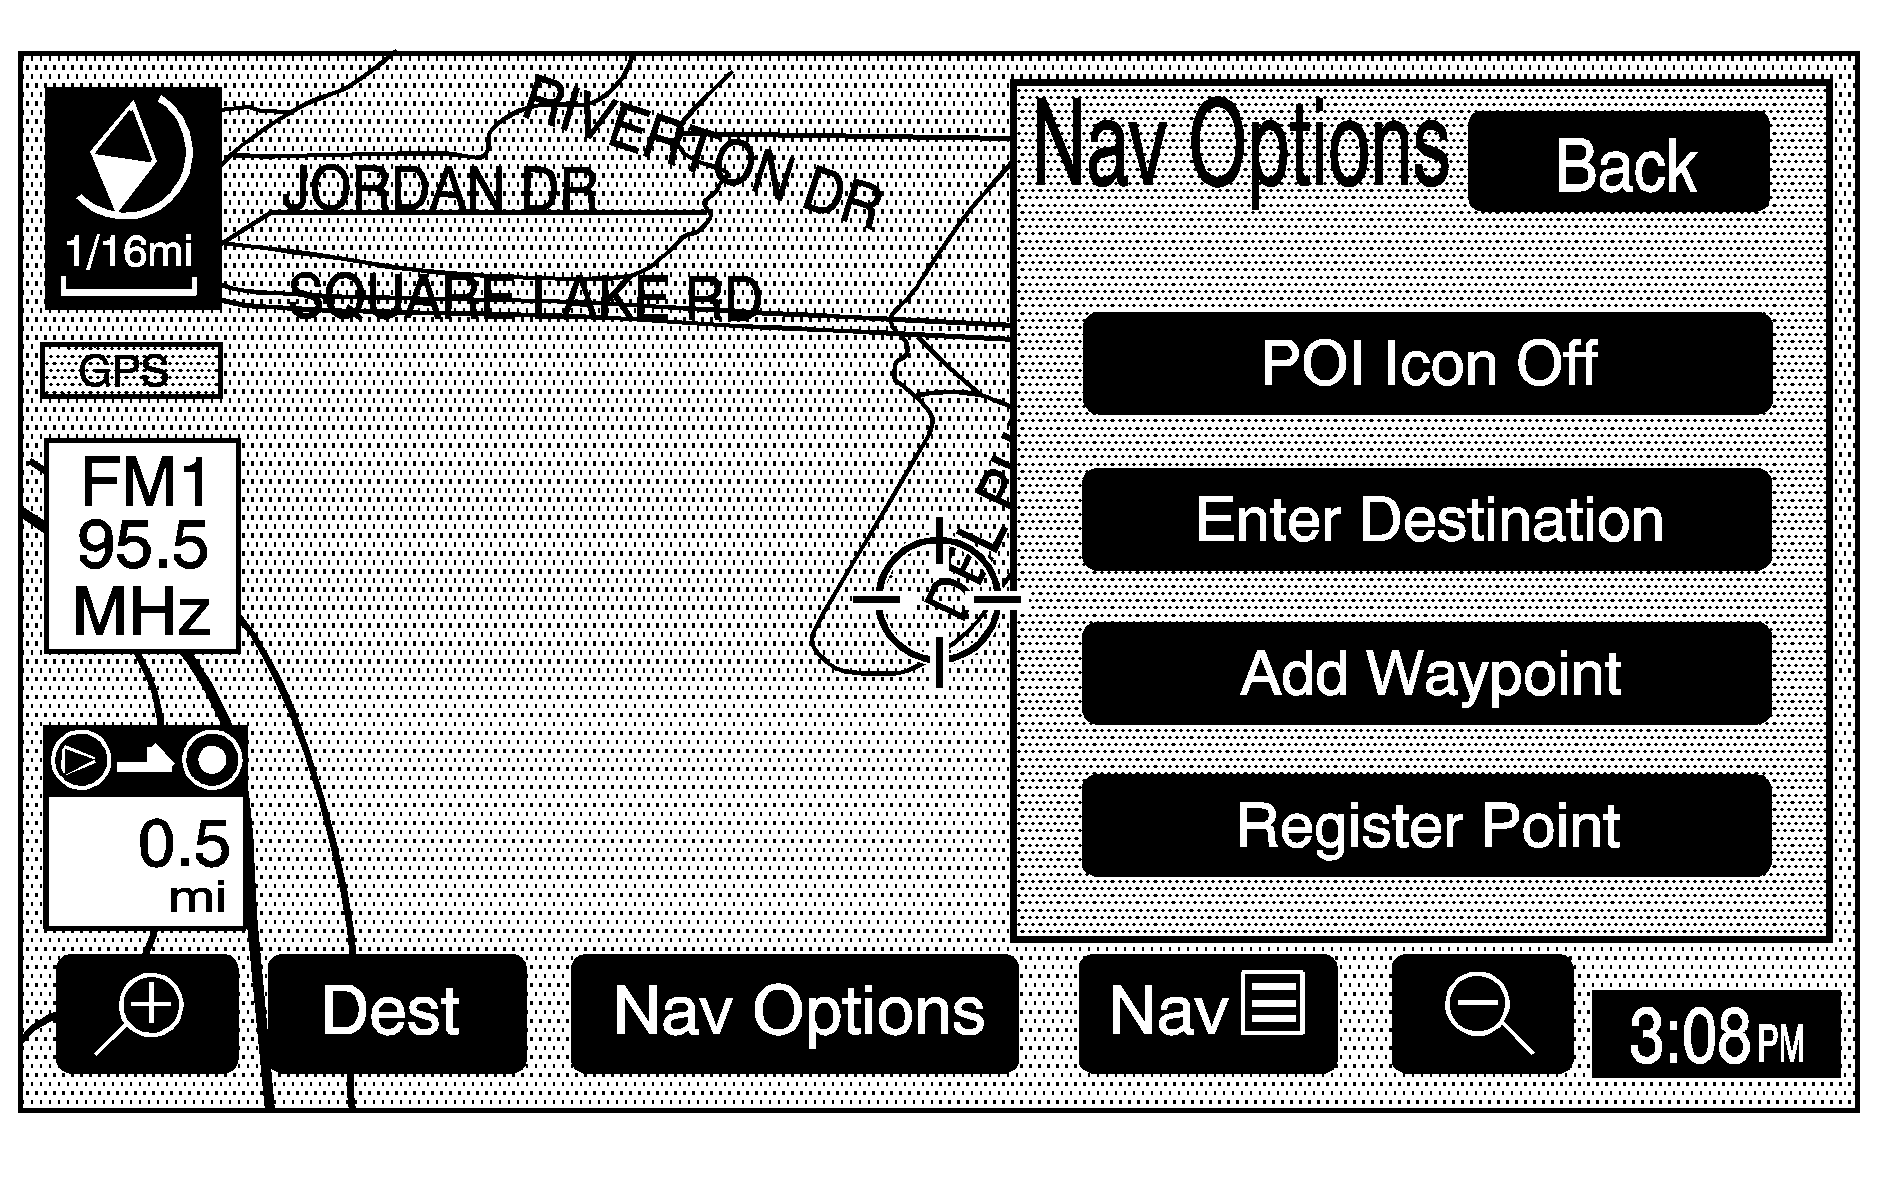
If the position on the map is away from the current vehicle position, touch the Nav Options screen button, to select from the following four options:
POI Icon On/Off: This option allows you to turn Point of Interest (POI) icons on or off of the map.Enter Destination: This option allows you to set a location you have chosen on the map as your destination. See "Map" earlier in this section for more information on this destination entry method.
Add Waypoint: This option allows you to add the map destination to your current destinations.
Register Point: This option allows you register a marked point or memory point. See "Memory Points" under Navigation Menu for more information.
