For 1990-2009 cars only
Tools Required
| • | J 9519-E Ball Joint Remover and Installer Set |
| • | J 34874 Booster Seal Remover/Installer |
| • | J 41435 Ball Joint Installer |
| • | J 45105-1 Ball Joint Flaring Adapter |
| • | J 45105-2 Receiver |
Removal Procedure
- Raise and support the vehicle. Refer to Lifting and Jacking the Vehicle .
- Remove the tire and wheel. Refer to Tire and Wheel Removal and Installation .
- Remove the steering knuckle with wheel hub and bearing attached. Refer to Steering Knuckle Replacement .
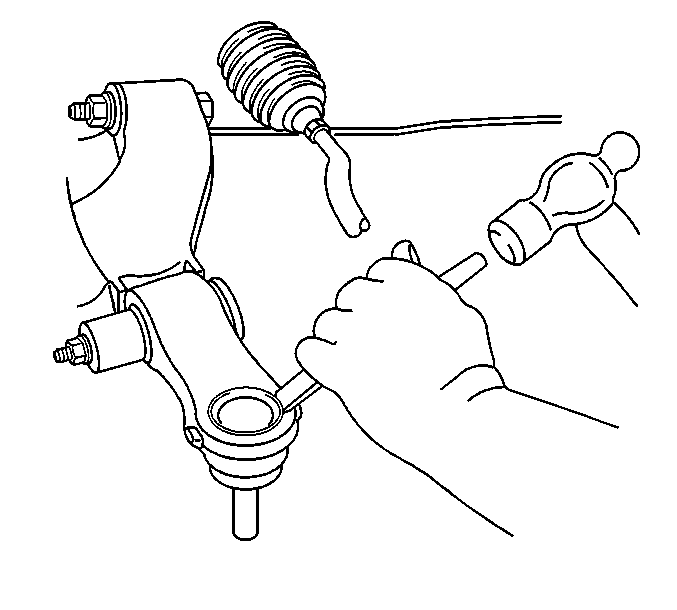
- Remove the lower ball joint flange with a chisel.
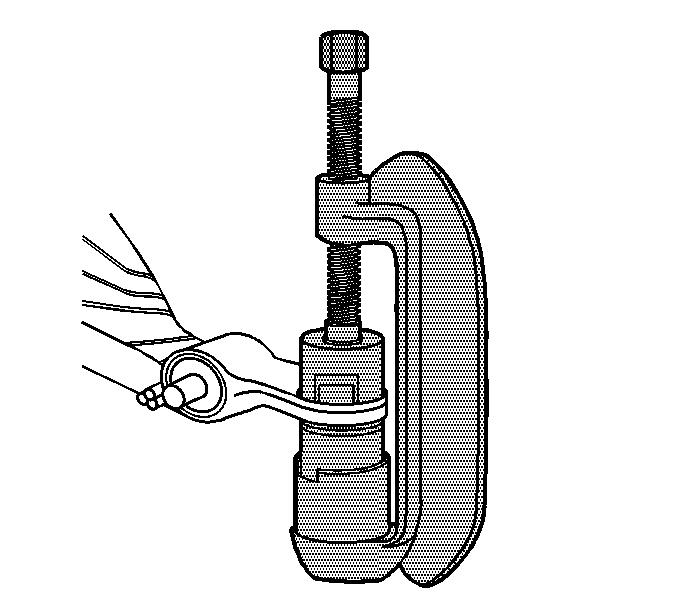
- Install J 9519-E and J 34874 to the lower ball joint.
- Remove the lower ball joint from the lower control arm using J 9519-E and J 34874 .
Installation Procedure
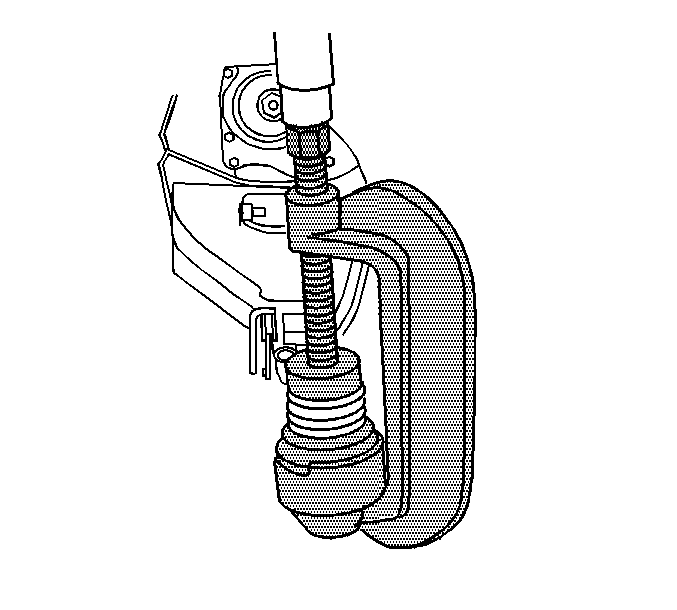
- Install the lower ball joint and J 9519-E , J 41435 , and J 45105-2 to the lower control arm.
- Install the lower ball joint to the lower control arm using J 9519-E , J 41435 , and J 45105-2 .
- Remove J 9519-E , J 41435 , and J 45105-2 from the lower control arm.
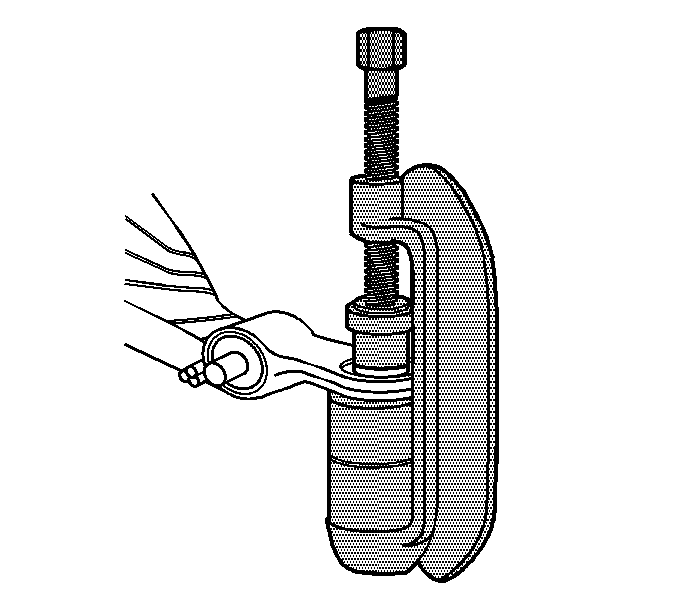
- Install J 9519-E and J 45105-1 to the lower ball joint.
- Flare the lower ball joint flange using J 9519-E and J 45105-1 .
- Remove J 9519-E and J 45105-1 from the lower ball joint.
- Install the steering knuckle with wheel hub and bearing attached. Refer to Steering Knuckle Replacement .
- Install the tire and wheel. Refer to Tire and Wheel Removal and Installation .
- Lower the vehicle.
- Check the front wheel alignment. Refer to Wheel Alignment Specifications .