For 1990-2009 cars only
- Raise and support the vehicle. Refer to Lifting and Jacking the Vehicle .
- Remove the rear tire and wheels. Refer to Tire and Wheel Removal and Installation .
- Lower the vehicle with the rear axle supported by the jackstands.
- Raise or lower the vehicle until the D-height measurement is 25 mm (1 in) above the published D-height specification, 135 mm (5.33 in) for the Trailblazer SS or 160 mm (6.33 in) for all other vehicles.
- Turn the ignition key to the ON position. This will partially deflate the air spring.
- After two minutes, turn the ignition key to the OFF position and remove the air suspension fuse. Refer to Electrical Center Identification Views .
- Raise or lower the vehicle so that the left side D-height is at a published specification, (110 mm (4.33 in) for the Trailblazer SS or 135 mm (5.33 in) for all other vehicles).
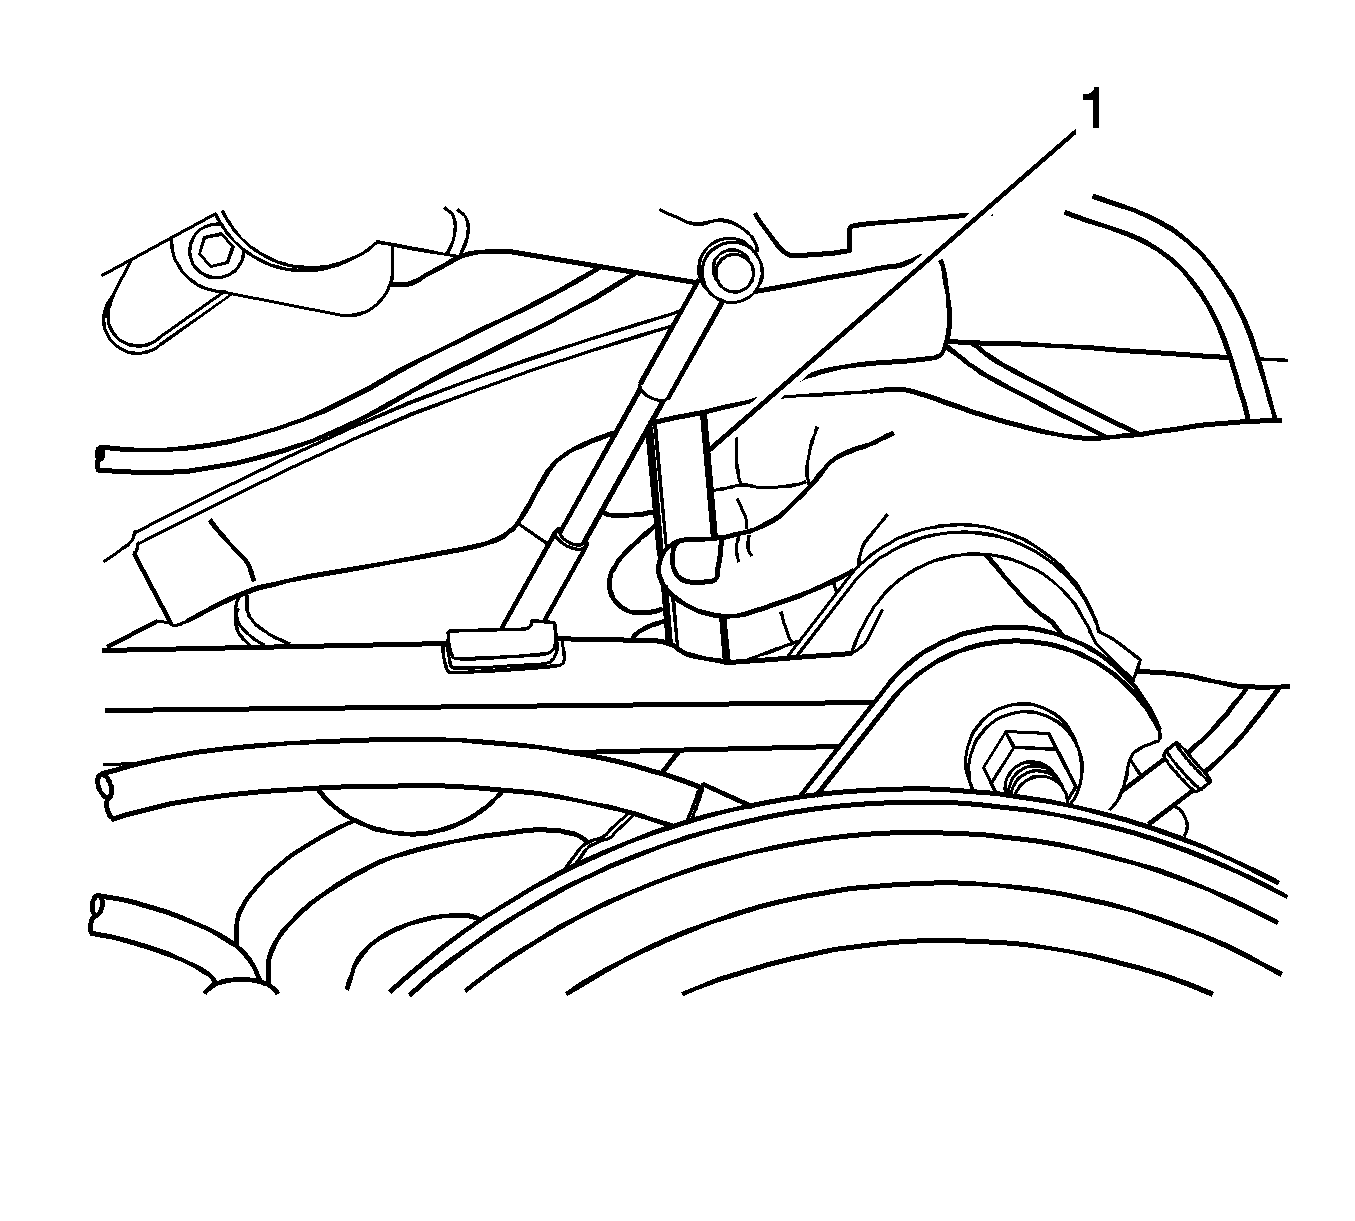
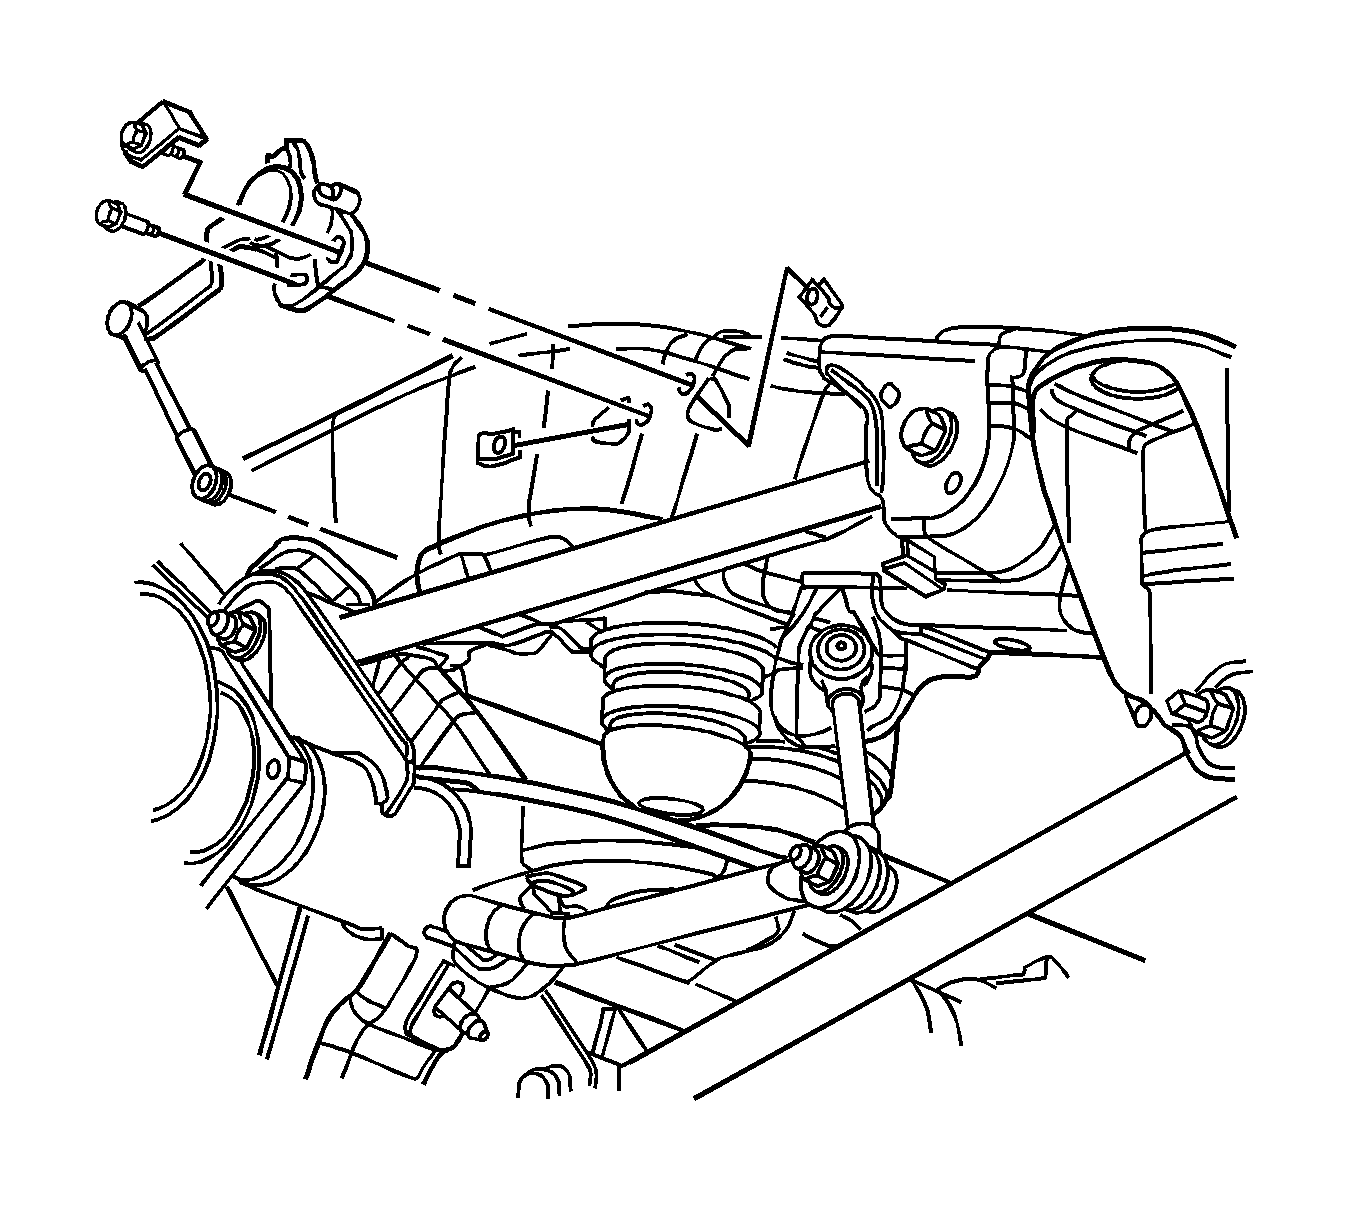
- Loosen the air spring level sensor to the frame mounting bolts.
- Loosely install the sensor mounting bolts with the anti-rotation bolt in the right hand mounting hole.
- Install the air spring sensor level locating pin.
- While holding the body of the sensor, tighten the anti-rotation bolt first.
- Tighten the air spring level sensor frame mounting bolts to 8 N·m (71 lb in).
- Verify the pin can be removed and installed with ease to ensure the correct sensor installation. If the pin cannot be inserted with ease, loosen the sensor fasteners, adjust the sensor, and retighten the sensor fasteners until the pin can be removed and installed with ease.
- Remove the air spring level sensor locating pin.
- Perform the sensor calibration for the right side, beginning with step 7.
- Raise the vehicle off the jackstands and remove the jackstands from under the vehicle.
- Install the rear tires and wheels. Refer to Tire and Wheel Removal and Installation .
- Lower the vehicle.
- Install the air suspension fuse.
- Turn the ignition key to the ON position to inflate the rear air springs.
- After two minutes, turn the ignition key to the OFF position.
- Recycle the ignition, if needed.
- Verify and record the D-height. Refer to Trim Height Specifications .
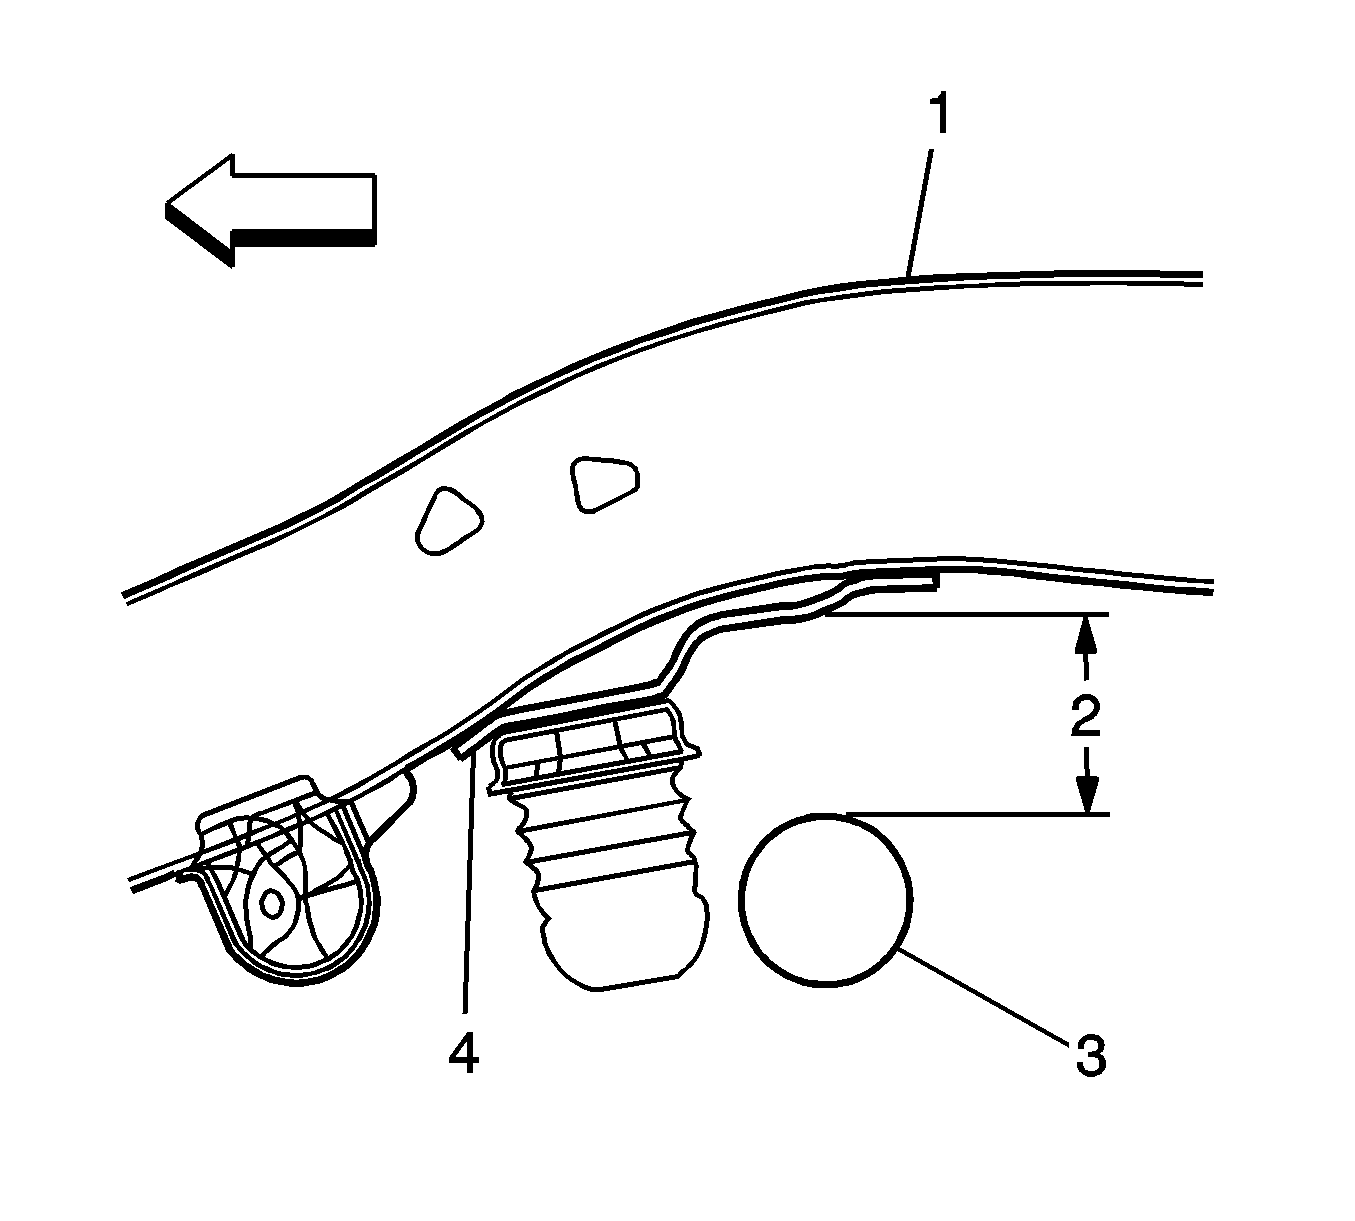
Important: A D-height gage block (1) can be used to determine the D-height position. Create a D-height gage block using metal stock to 20 mm X 30 mm X the published D-height specification,(110 mm (4.33 in) for the Trailblazer SS or 135 mm (5.33 in) for all other vehicles). Use the block (1) as a measuring device only.
Important: If not equipped, use a new anti-rotation bolt (P/N 11569736).
Notice: Refer to Fastener Notice in the Preface section.
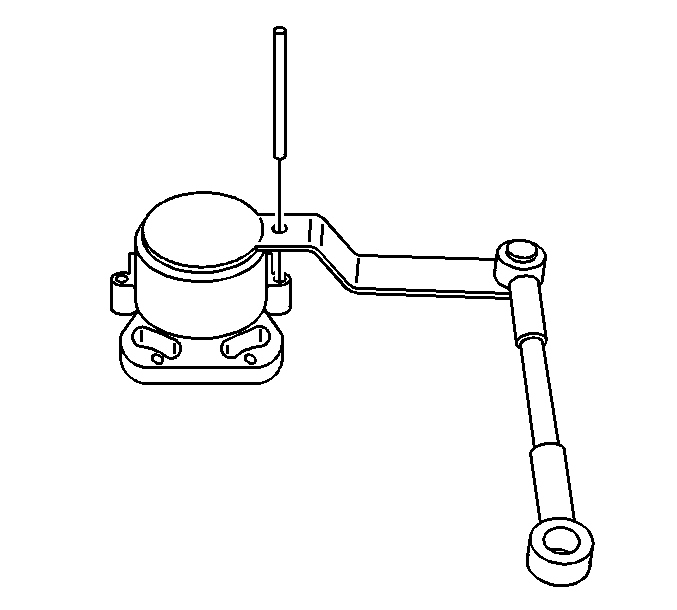
Important: Do not remove the air spring level sensor locating pin until the air spring level sensor has been properly mounted and aligned.
A 4 mm drill bit or equivalent can be substituted.
Tighten
