Tools Required
Important: This test is performed to verify the operation of the oil pressure relief valve mounted in the oil pan. Refer to
Lubrication Description
.
- With the vehicle on a level surface, run the vehicle for a few minutes, allow adequate drain down time, 2-3 minutes, and measure the oil level.
- If required, add the recommended grade engine oil and fill the crankcase until the oil level measures full on the oil level indicator.
- Run the engine briefly, 10-15 seconds, and verify low or no oil pressure on the vehicle gage or light.
- Listen for a noisy valve train or a knocking noise.
- Inspect for the following conditions:
| • | Oil diluted by water or glycol antifreeze |
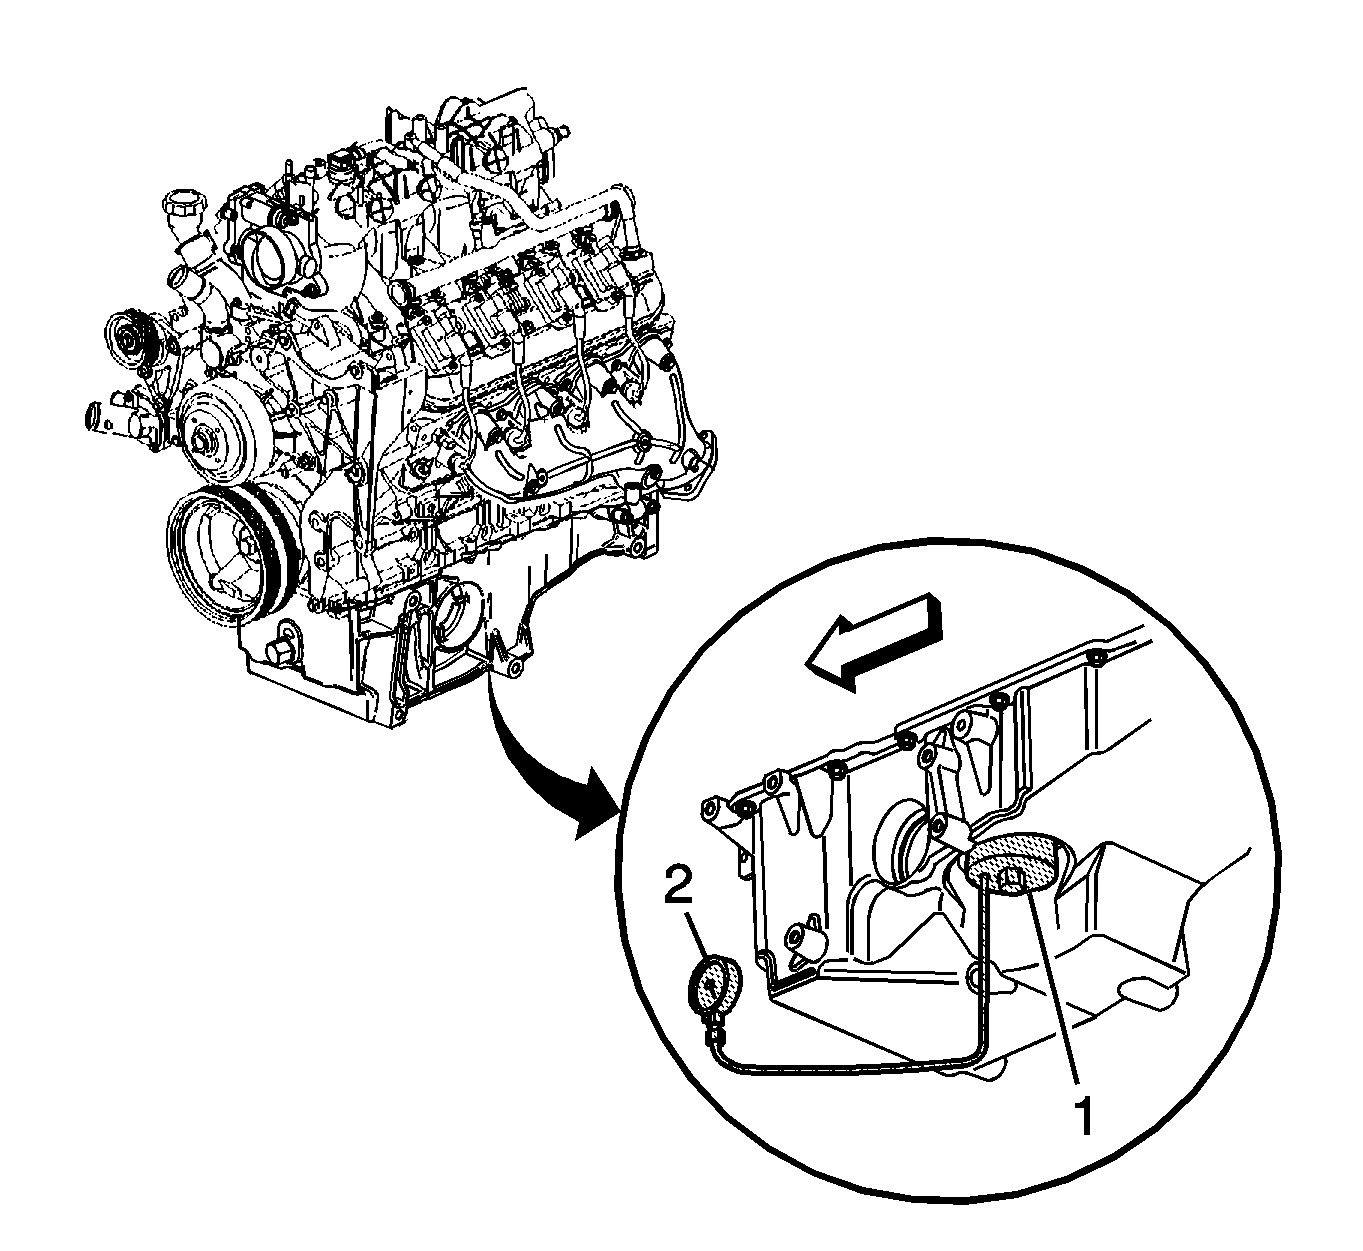
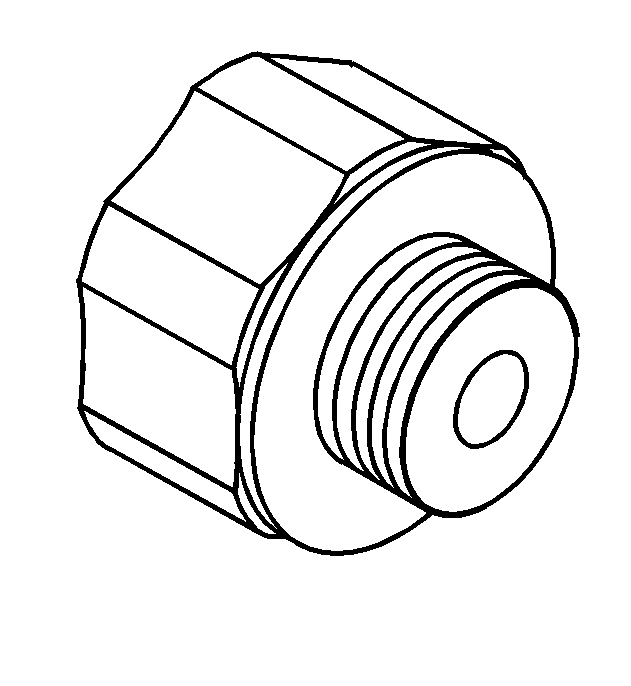
- Remove the oil filter and install the
J 42907
(1).
- Install
J 21867
(2), or equivalent to the
J 42907
(1).
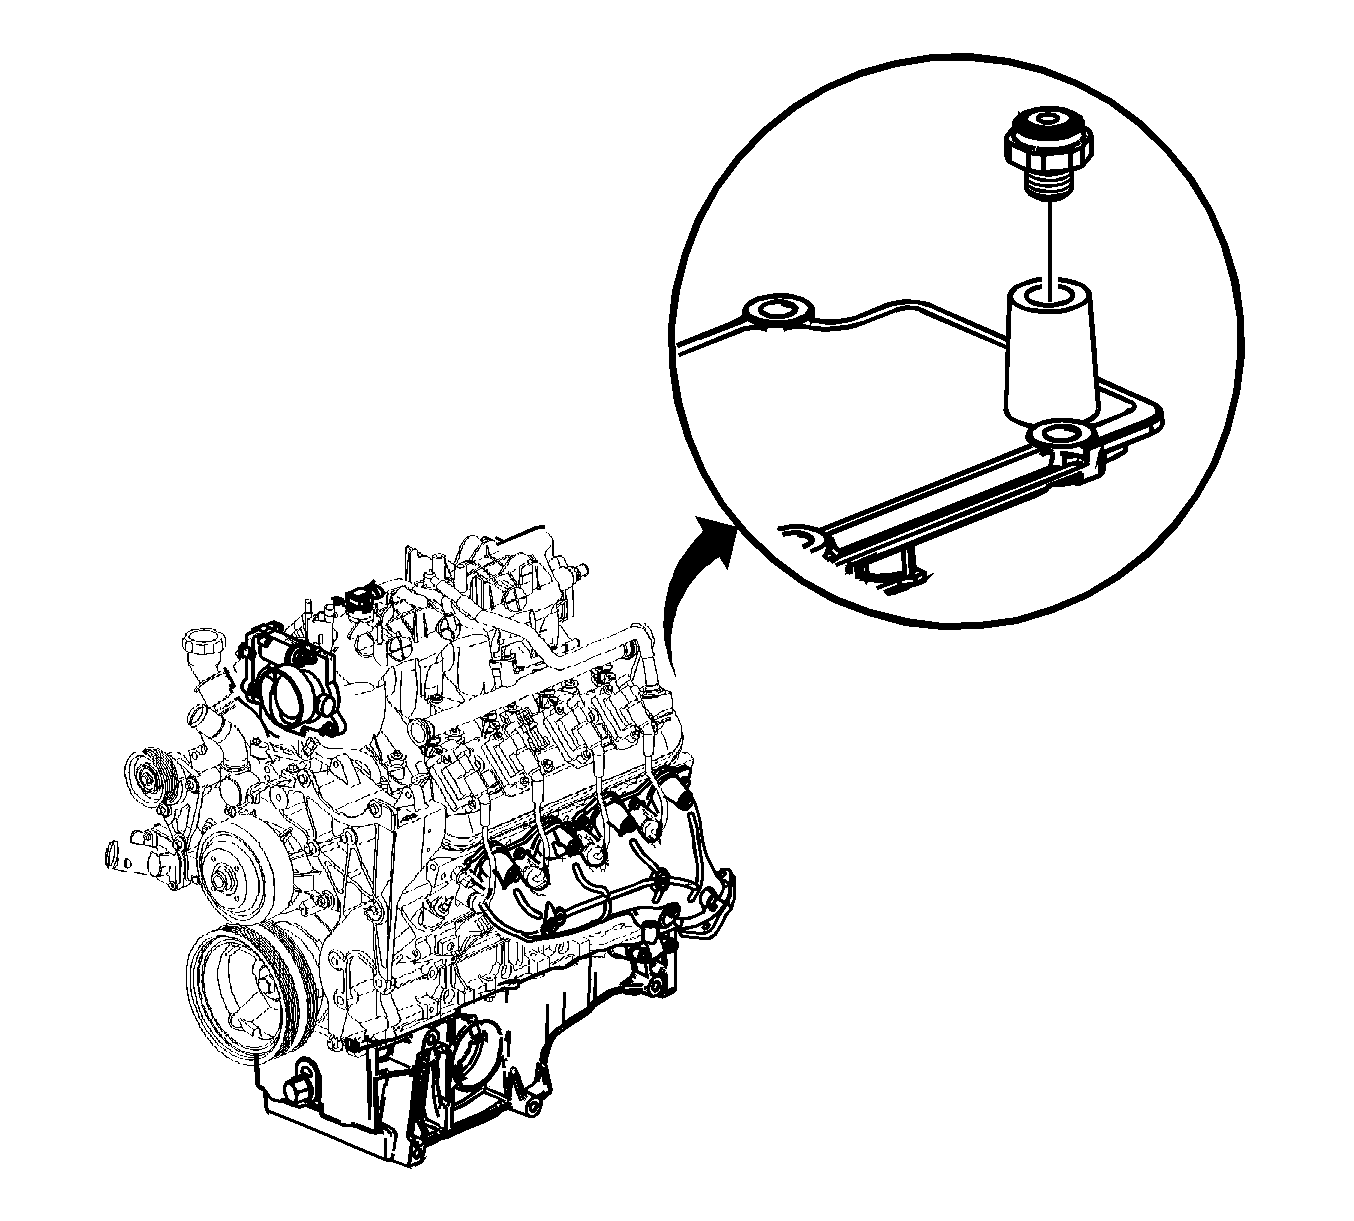
- Remove the oil pressure sensor and install the
J-21867-16
.
- Install
J 21867
, or equivalent
to the
J-21867-16
.
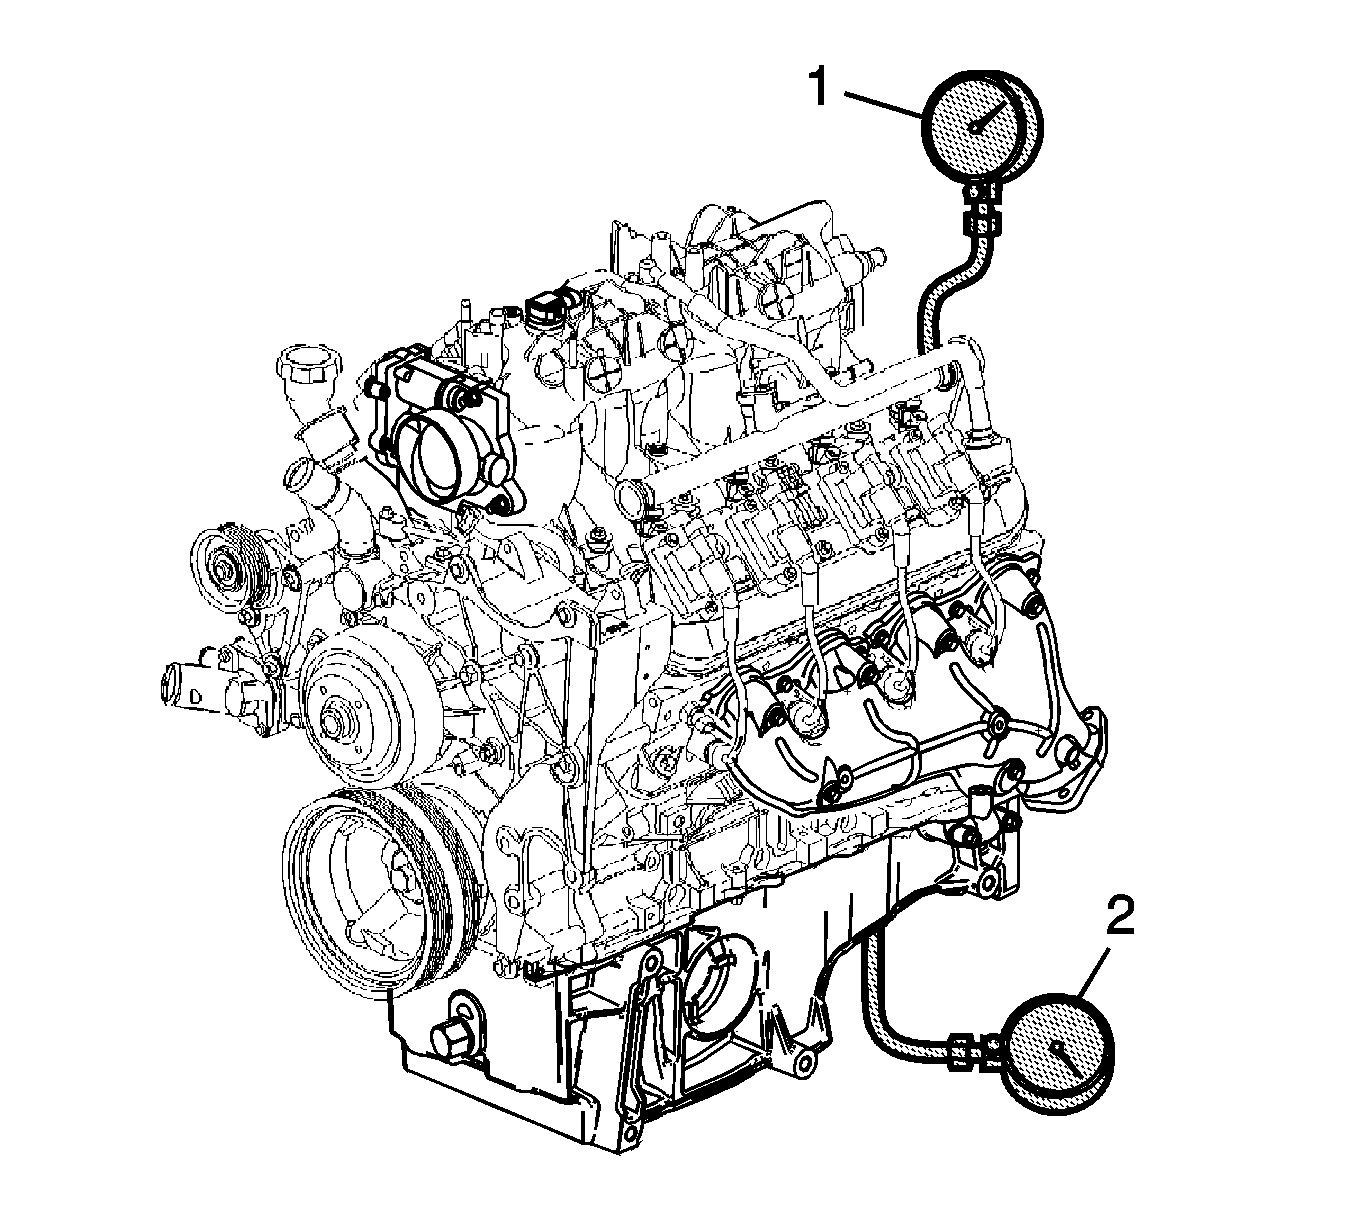
- Run the engine and measure the engine oil pressure while observing both gages.
Operate the throttle, as required, to increase and decrease the engine oil pressure.
| • | With the engine running and the lower pressure gage (2) measuring below 379 kPa (55 psi), both gages should display the same pressure reading. If the readings are not the same and the lower gage (2) has a higher reading,
the oil pressure relief valve is stuck in the open position. |
| • | With the engine running and the lower pressure gage (2) measuring above 379 kPa (55 psi), the upper gage (1) should display no greater than 379-517 kPa (55-75 psi). If the reading on the upper
gage (1) is greater than 517 kPa (75 psi), the oil pressure relief valve is stuck in the closed position. |
- Repair, as required.
