For 1990-2009 cars only
Removal Procedure
- Lower the midgate to the cargo position.
- Raise the hinged filler panel on the back of the midgate.
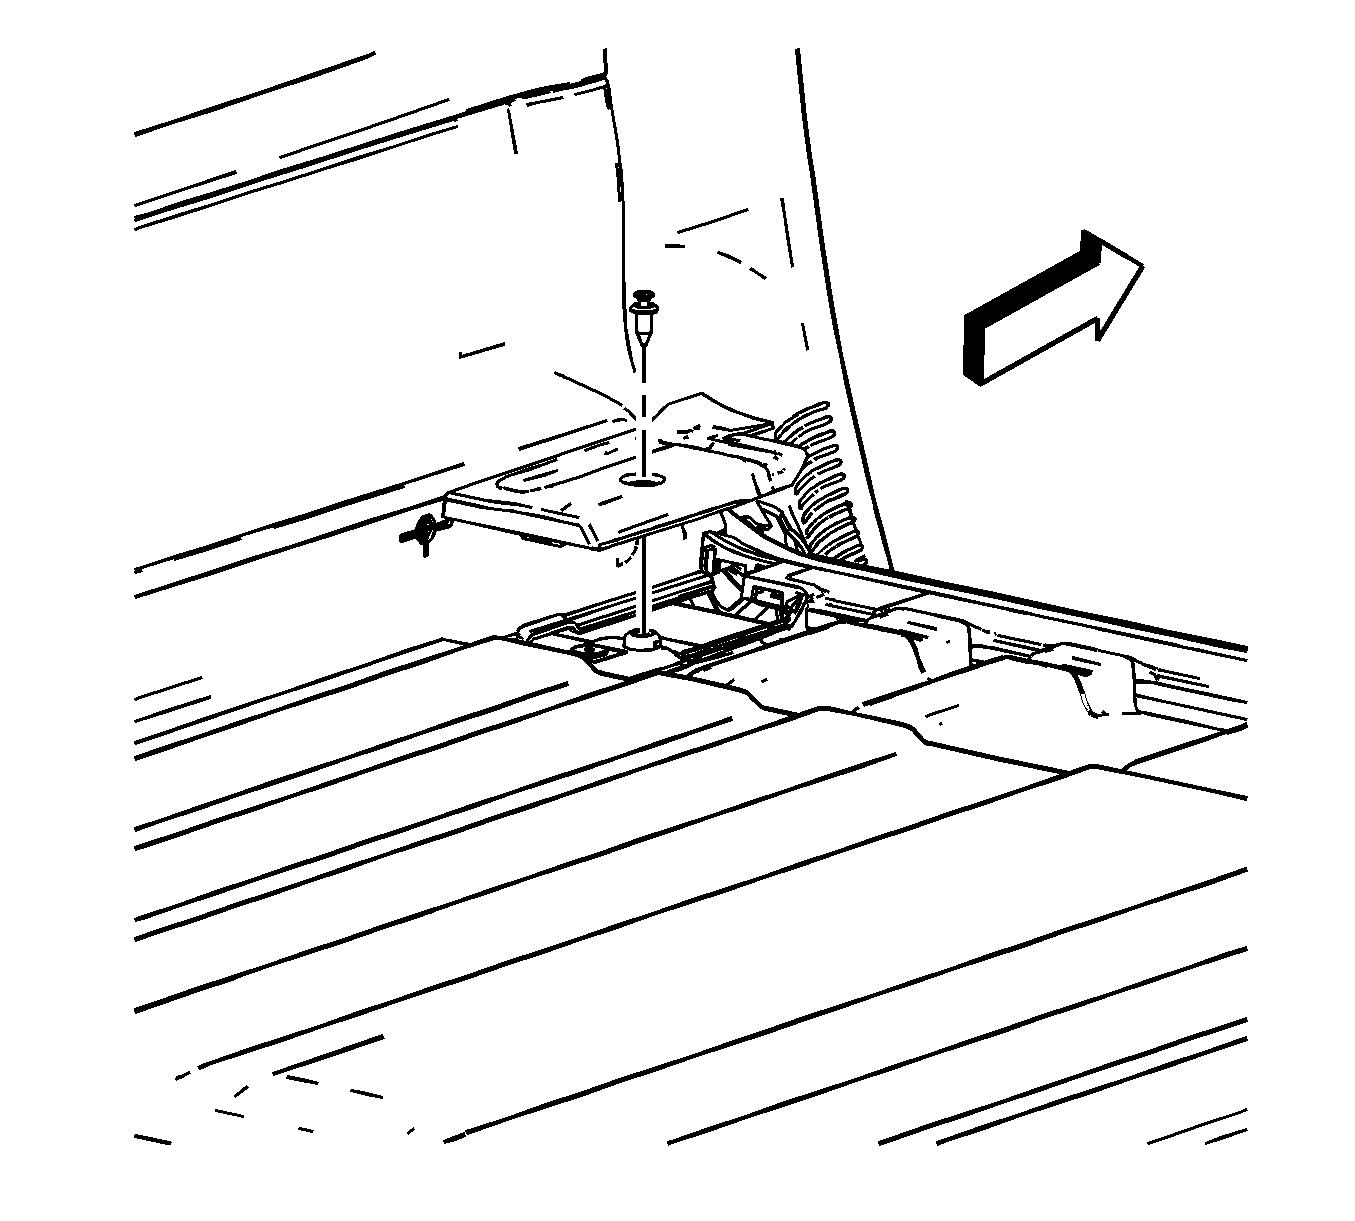
- Remove the pushpins securing the rear floor front trim panel end covers by unscrewing the retainer pin.
- Remove the rear floor front trim panel end covers.
- Remove 2 push pin fasteners by lifting up on each end of the rear floor front trim panel.
- Grasp the front edge of the rear floor front trim panel and pull straight up to release the retaining clips along the front edge.
- Remove the rear floor front trim panel by pulling straight up to release the retaining clips along the rear edge.
- Remove the rear floor front trim panel from the vehicle

Installation Procedure
- Ensure that the retaining clips are securely installed on the back side of the rear floor front trim panel.
- Lift up on the front edge of the cargo mat and slide the rear floor trim panel into position.
- Position the rear floor front trim panel so that the fasteners align with their respective holes.
- Install the rear floor front trim panel by pressing the retaining clips and fasteners into the sheet metal openings.
- Install the rear floor front trim panel end covers by pressing them in place.
- Install the pushpin in each rear floor front trim panel end cover by pushing the pin into the hole and screwing in the retainer pin.
