For 1990-2009 cars only
Tools Required
| • | J 33838 Pinion Setting Gage |
| • | J 29763 Static Timing Gage |
- Lubricate the pinion bearings with axle lubricant. Refer to Fluid and Lubricant Recommendations .
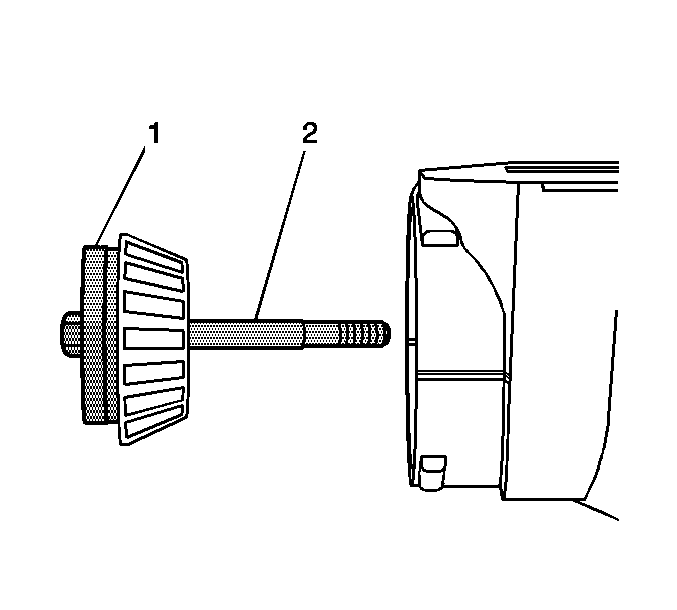
- Install the J 33838-2 (1) and the bolt (2) to the outer pinion bearing.
- Install the J 33838-2 (1) and the bolt (2) with the outer pinion bearing into the differential carrier assembly case half.
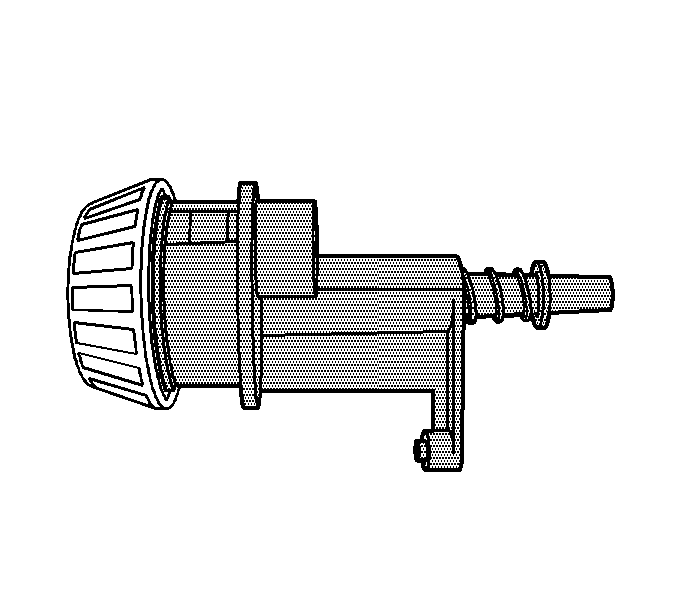
- Install the inner pinion bearing onto the J 33838 as shown.
- Install the J 33838 (2) with the inner pinion bearing into the differential carrier assembly and the bolt (1).
- While holding the J 33838 stationary, install an inch-pound torque wrench on the bolt of the J 33838 and tighten the bolt.
- Rotate the assembly several times in both directions in order to seat the pinion bearings.
- Check the rotating torque of the assembly. If the torque is less than 1.7 N·m (15 lb in) for new bearings or 1.0 N·m (10 lb in) for used bearings, continue to tighten the bolt until a rotating torque of 1.7-3.4 N·m (15-30 lb in) for new bearings or 1.0-2.3 N·m (10-20 lb in) for used bearings is obtained.
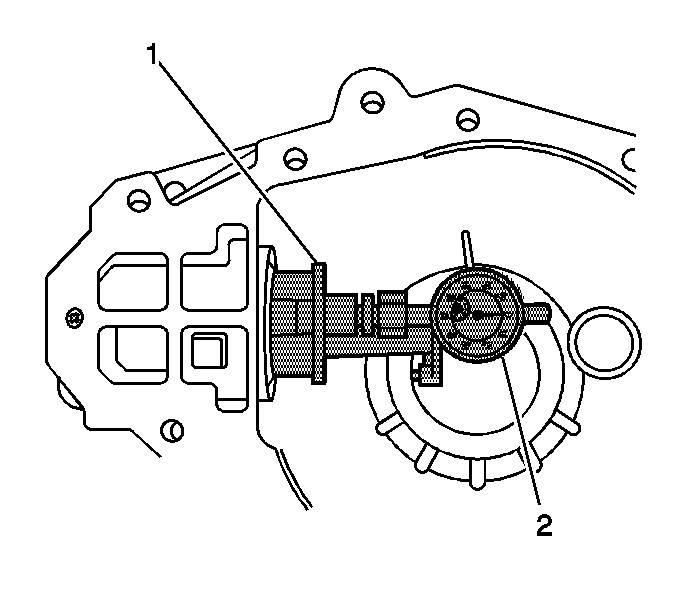
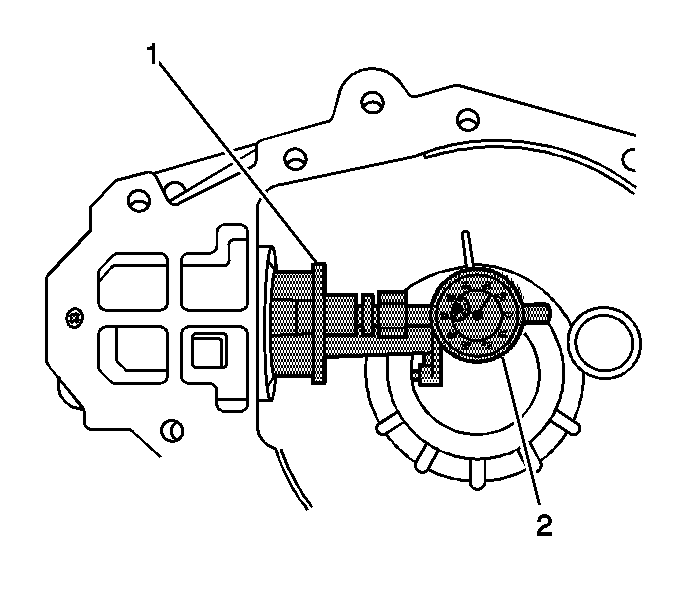
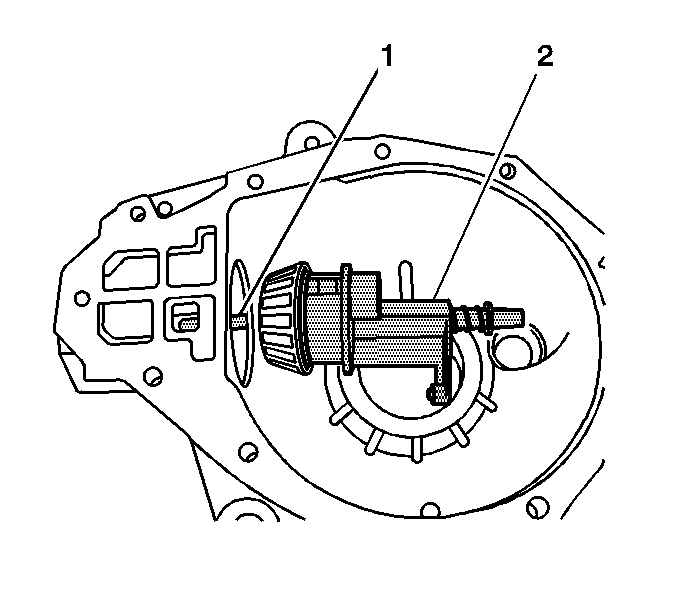
- Place the contact pad of the J 33838 into the differential side bearing bore.
- Install the J 29763 to the J 33838 by doing the following:
- Rotate the J 33838 back and forth until the needle of the J 29763 indicates the lowest point in the differential side bearing bore.
- At the lowest point of deflection, move the housing of the J 29763 until the needle indicates ZERO.
- Move the J 33838 back and forth again to verify the ZERO setting. Adjust the housing of the J 29763 as necessary to set the needle to ZERO.
- After the ZERO setting is obtained and verified, grasp the J 33838 by the flats and move the contact pad of the J 33838 out of the differential side bearing bore.
- The value indicated on the J 29763 is the thickness of the shim needed in order to set the depth of the pinion.
- Select the shim that indicates the proper thickness. Measure the shim with a micrometer in order to verify that the thickness is correct.
- Remove the pinion depth setting tools.
- Remove the pinion bearings from the pinion depth setting tools.
- Assemble the differential carrier assembly. Refer to Differential Carrier Assembly Assemble .
Important: Make sure all of the tools, the pinion bearings, and the pinion bearing cups are clean before proceeding.
Tighten
Tighten the bolt until a rotating torque of 1.7-3.4 N·m (15-30 lb in) for new bearings or 1.0-2.3 N·m (10-20 lb in) for used bearings is obtained.
| 10.1. | Install the collar and the lock nut onto the J 33838 . |
Do not tighten the lock nut at this time.
| 10.2. | Install the J 29763 into the collar. |
| 10.4. | With the stem of the J 29763 touching the contact surface of the J 33838 , push down on the J 29763 until the needle of the J 29763 has turned 3/4 of a turn clockwise. |
| 10.5. | Tighten the lock nut of the J 29763 finger tight. |
