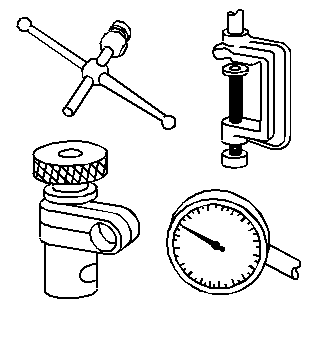
Special Tools
- Clean the sealing material from all gasket mating surfaces.
- Clean the engine block with a cleaning solution.
- Flush the engine block with clean water.
- Clean the oil passages.
- Coat the cylinder bores and the machined surfaces with engine oil.
- Inspect the threaded holes. Clean the holes with a tap, if needed.
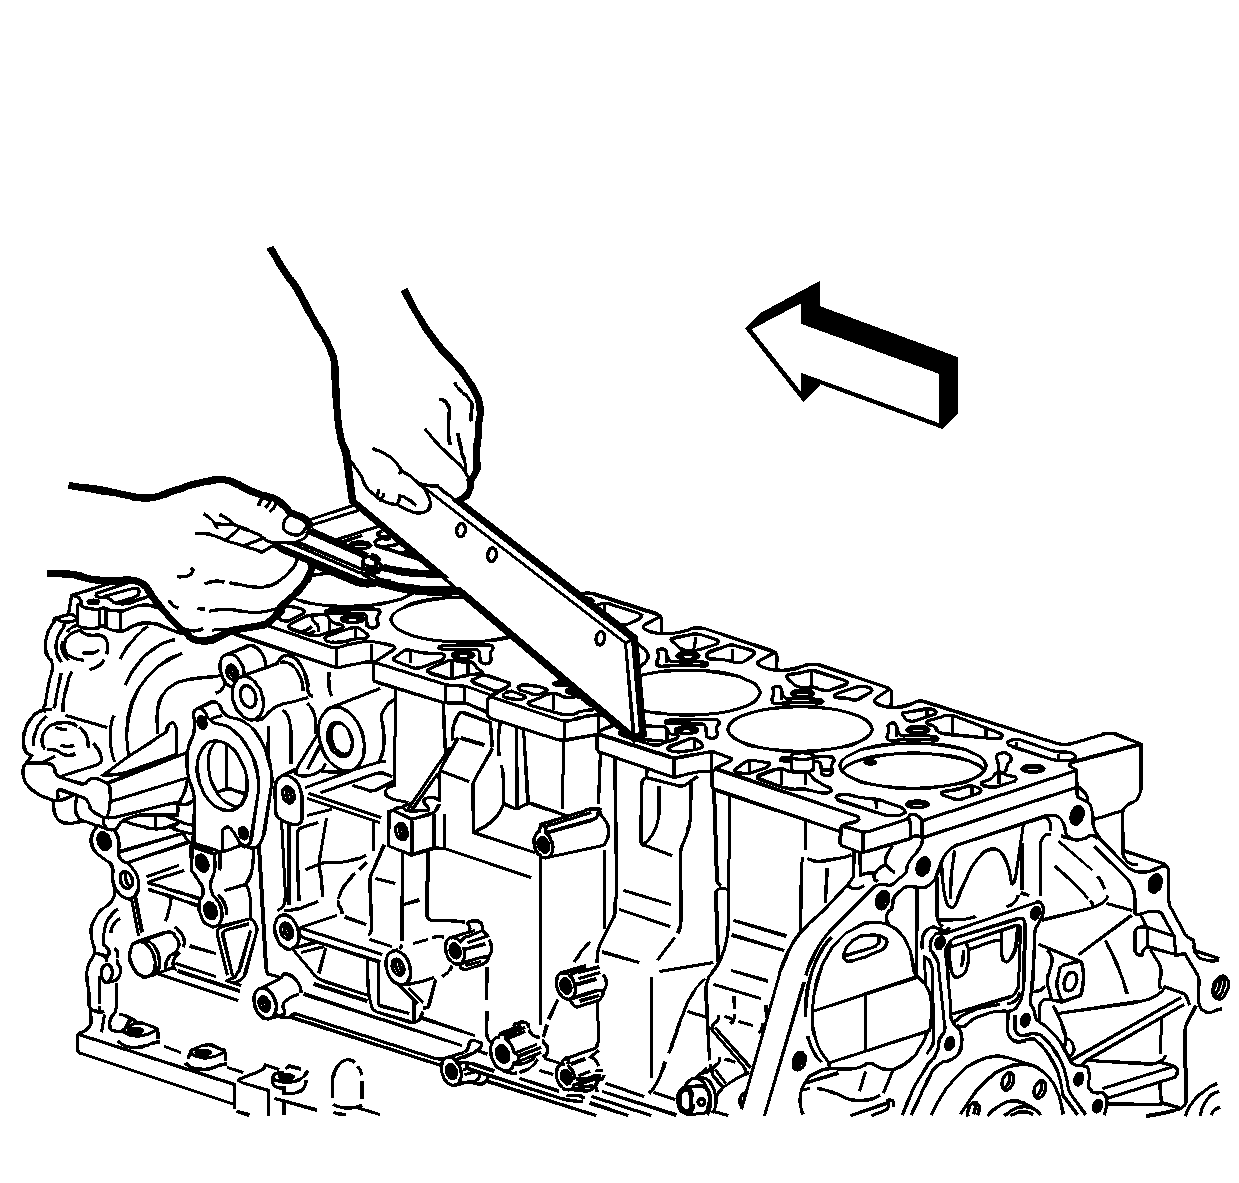
- Use a straight edge and a feeler gage to check the deck surface for flatness. Carefully remove any minor irregularities. Replace the block if there is more than 0.08 mm (0.003 in) gap.
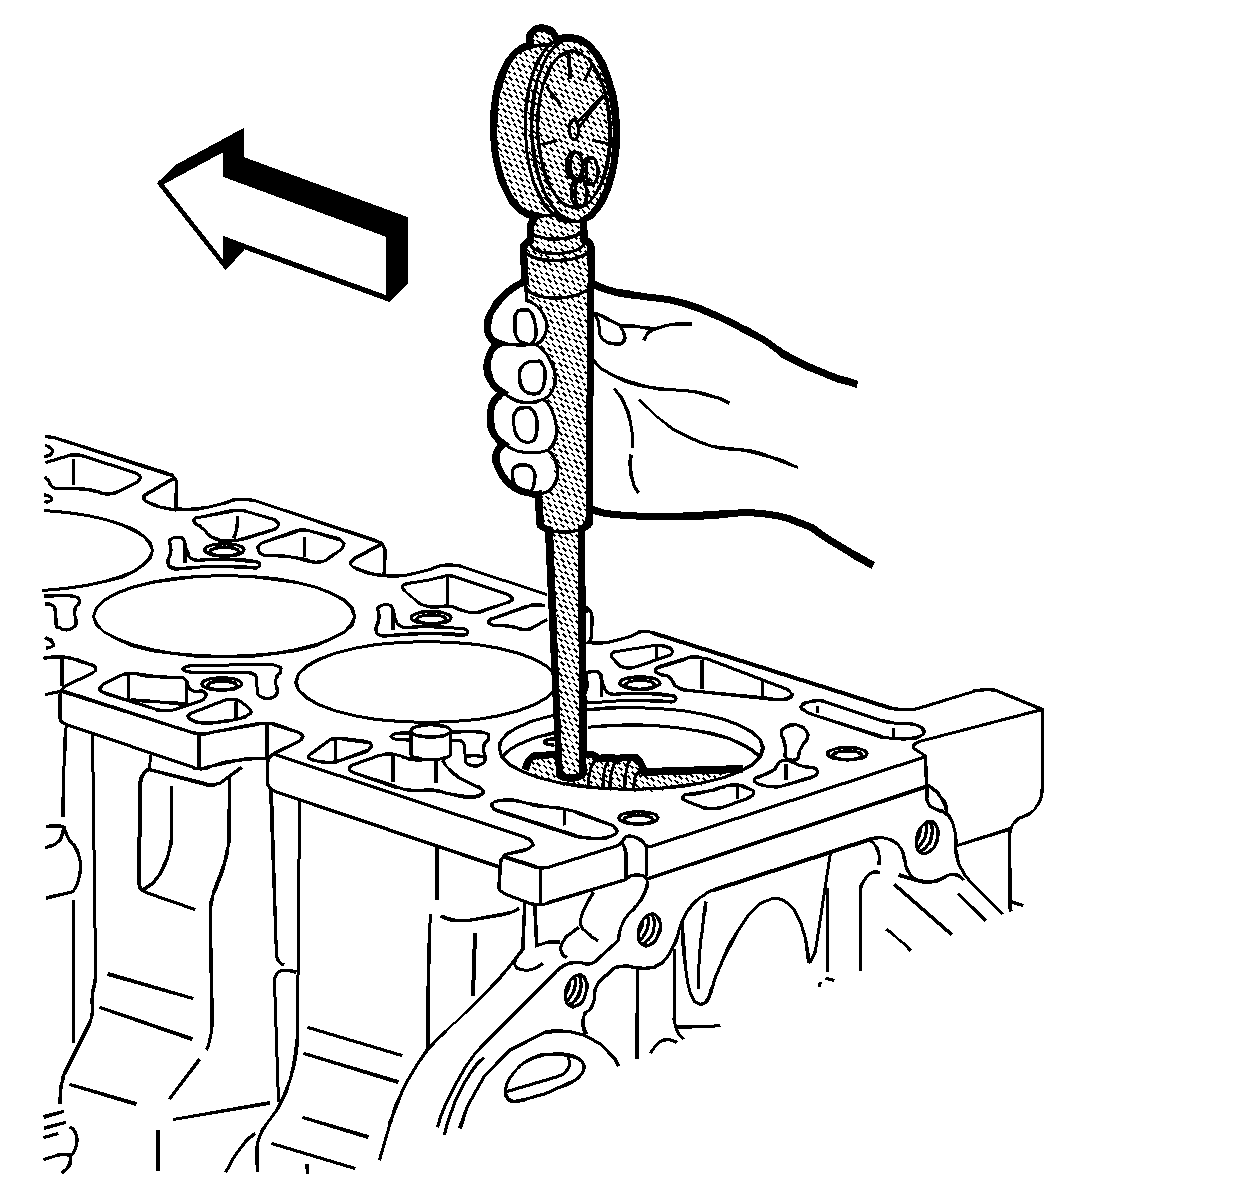
- Inspect the cylinder bores. Use
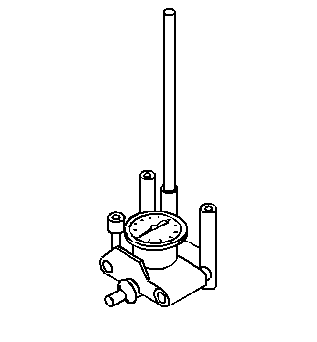
J 8087
to measure the cylinder
bore. Inspect the bores for the following conditions:
- Replace the cylinder sleeve if the bore is out of specification.
- Inspect the oil pan rail for nicks. Use a flat file to remove an nicks.
- Inspect the front cover attaching area for nicks. Use a flat file to remove any nicks.
- Inspect the mating surfaces of the transmission case.
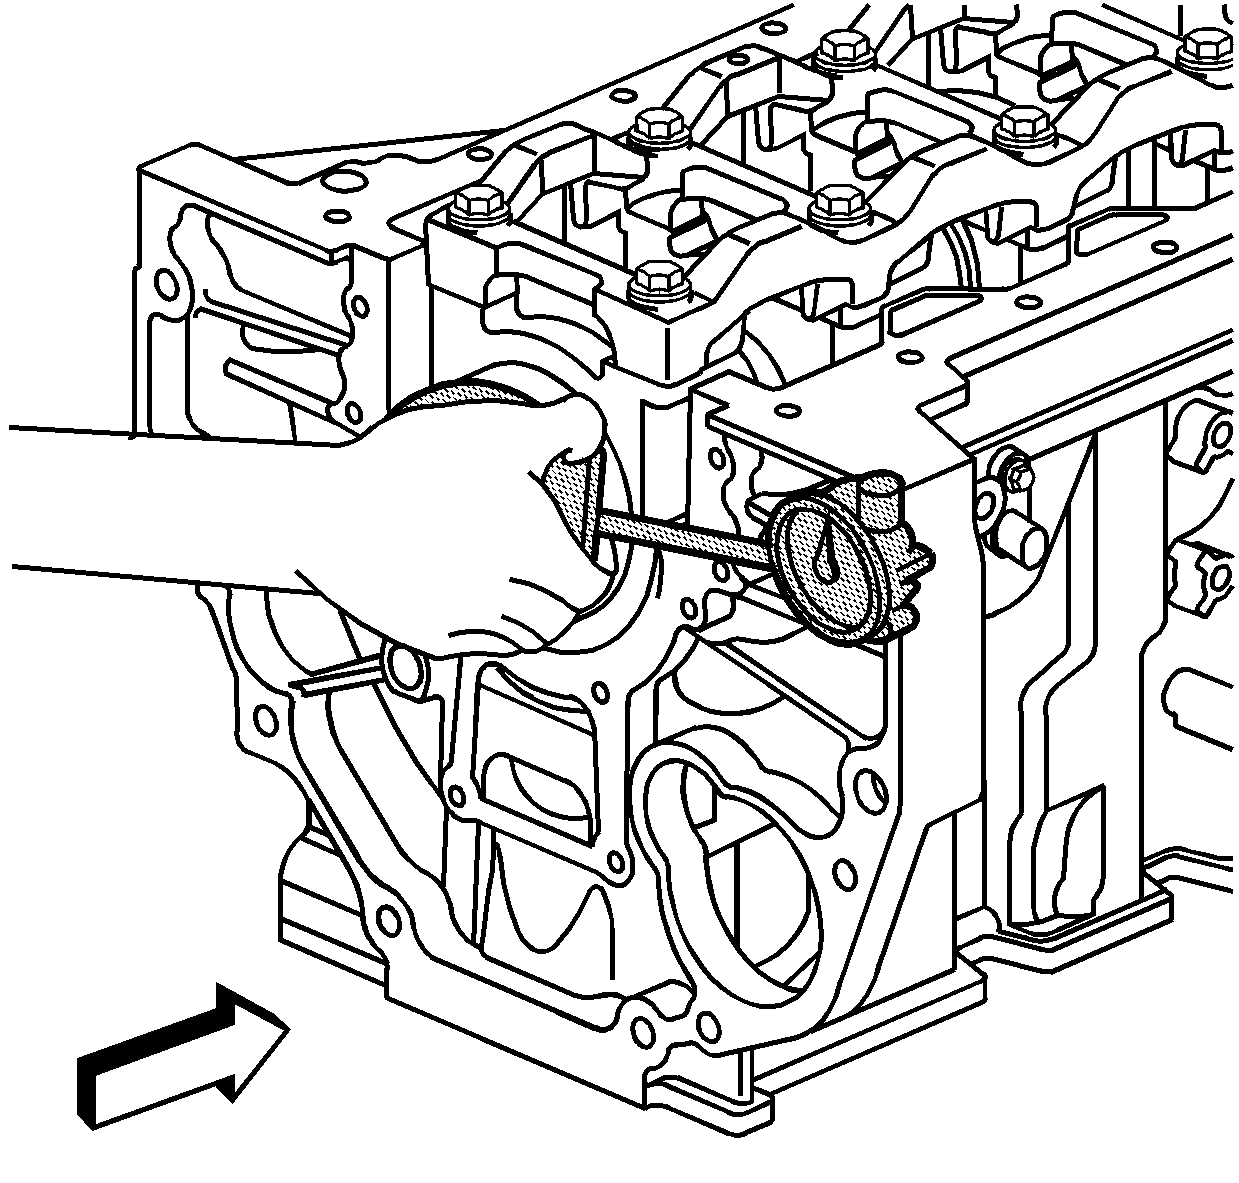
- Use the following procedure to measure the engine block flange runout at the mounting bolt hole bosses:
| 13.1. | Temporarily install the crankshaft. Measure the crankshaft flange runout. |
| 13.2. | Hold a gauge plate flat against the crankshaft flange. |
| 13.3. | Place
J 8001
(dial indicator stem) on the transmission mounting bolt hole boss. Set the indicator to zero. |
| 13.4. | Record the readings obtained from all of the bolt hole bosses. The measurements should not vary more than 0.25 mm (0.010 in). |
| 13.5. | Recheck the crankshaft flange runout if the readings vary more than 0.25 mm (0.010 in). If the crankshaft flange runout is within the specification, replace the engine block. |
- Remove the crankshaft.
Notice: Use the correct fastener in the correct location. Replacement fasteners
must be the correct part number for that application. Fasteners requiring
replacement or fasteners requiring the use of thread locking compound or sealant
are identified in the service procedure. Do not use paints, lubricants, or
corrosion inhibitors on fasteners or fastener joint surfaces unless specified.
These coatings affect fastener torque and joint clamping force and may damage
the fastener. Use the correct tightening sequence and specifications when
installing fasteners in order to avoid damage to parts and systems.
- Re-install the crankshaft bearing caps, stiffener, and bolts.
Tighten
- Tighten the crankshaft bearing cap bolts to 25 N·m (18 lb ft).
- Use
J 45059
to tighten the crankshaft bearing cap bolts an additional 180 degrees.
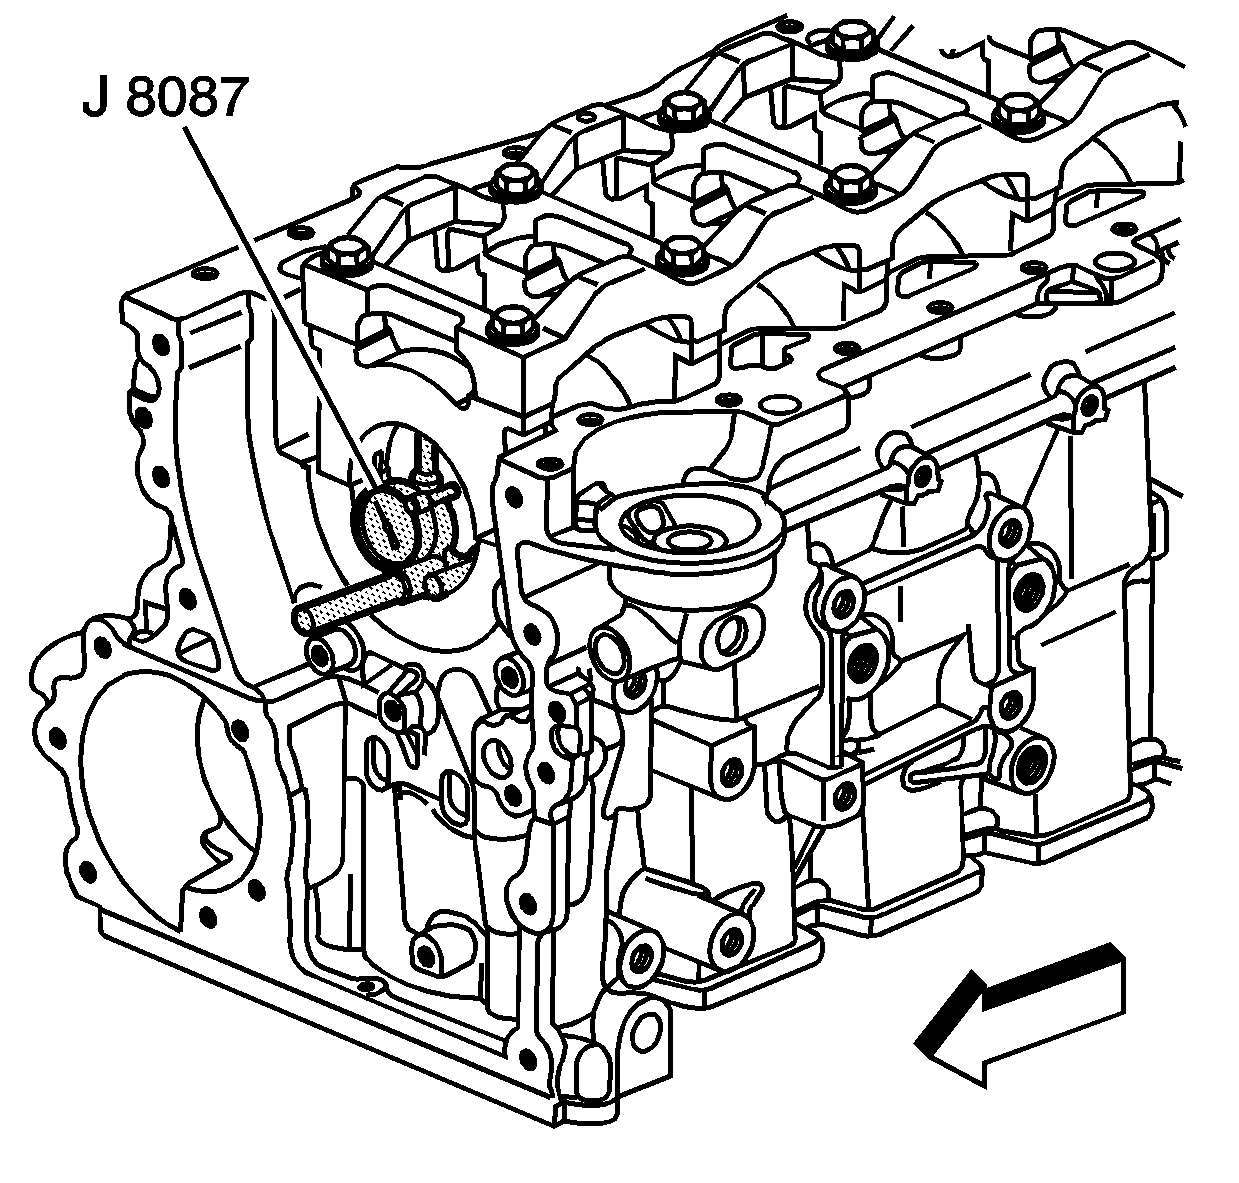
Important: Perform the following inspections, and reconditioning (if necessary), with the crankshaft main bearing caps installed and tightened to specification.
- Inspect the crankshaft main bearing bores. Use
J 8087
to measure the bearing bore concentricity and alignment.
- Remove the crankshaft main bearing cap stiffener and main bearing caps with bearings.
