For 1990-2009 cars only
Removal Procedure
- Relieve the fuel system pressure. Refer to the Fuel Pressure Relief .
- Raise and support the vehicle. Refer to Lifting and Jacking the Vehicle in General Information.
- Disconnect the quick-connect fittings from the fuel filter. Refer to Plastic Collar Quick Connect Fitting Service .
- Cap the fuel pipes in order to prevent fuel loss and possible fuel system contamination.
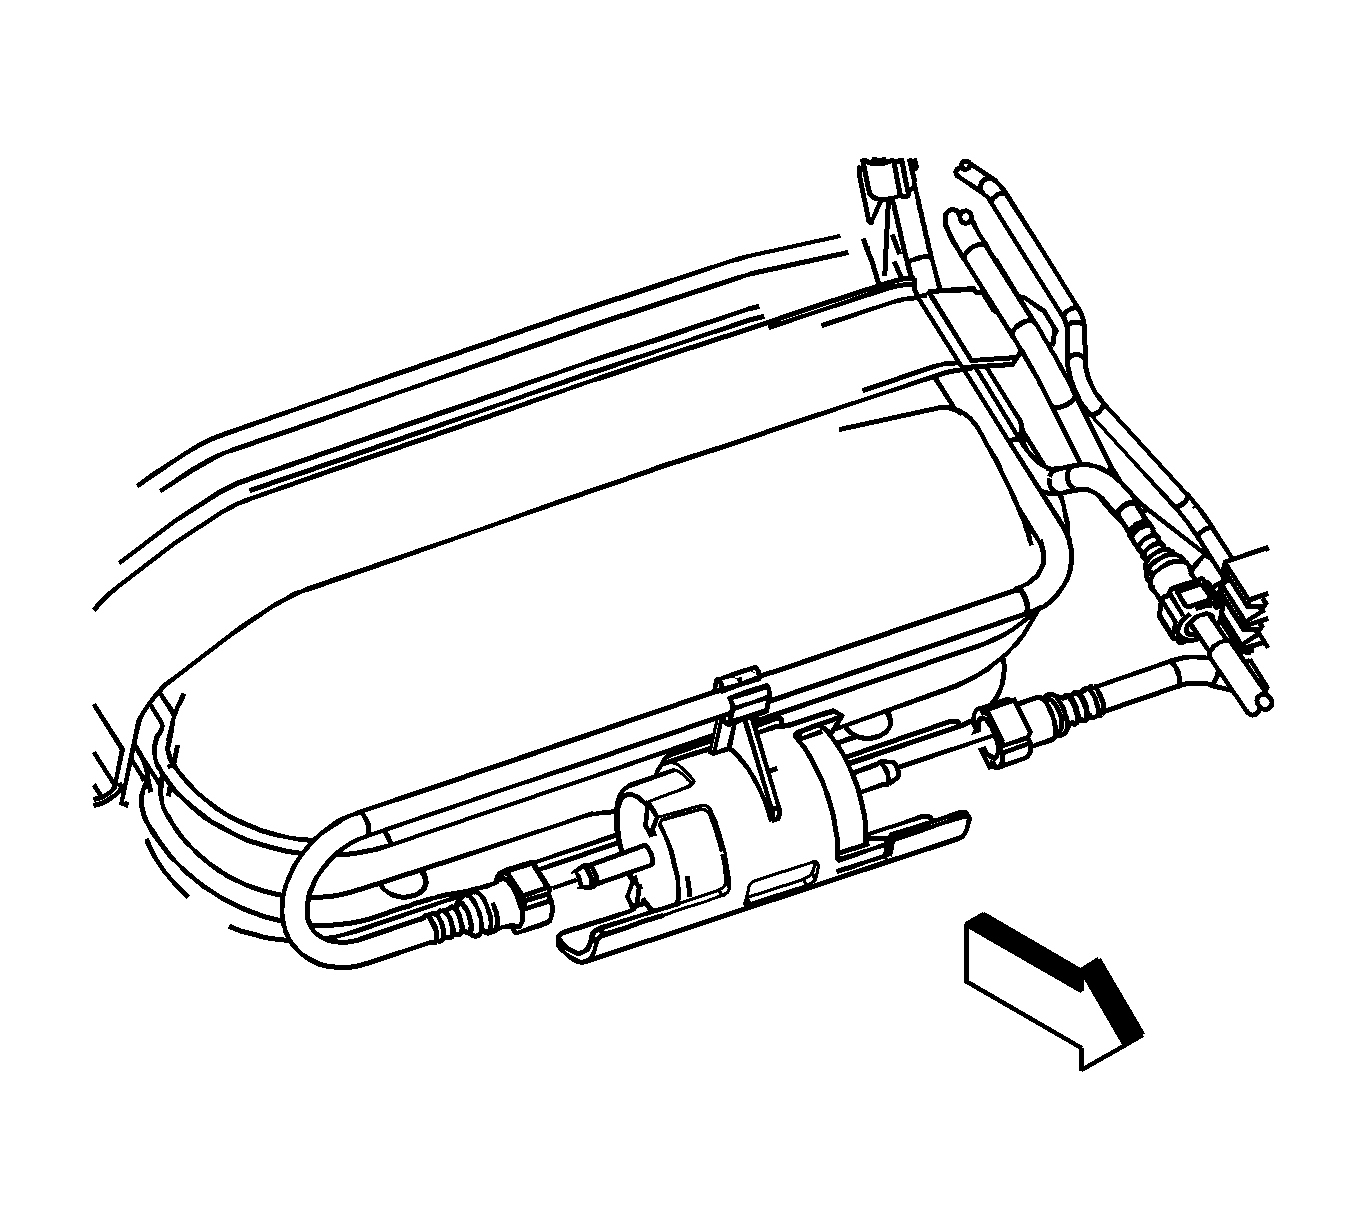
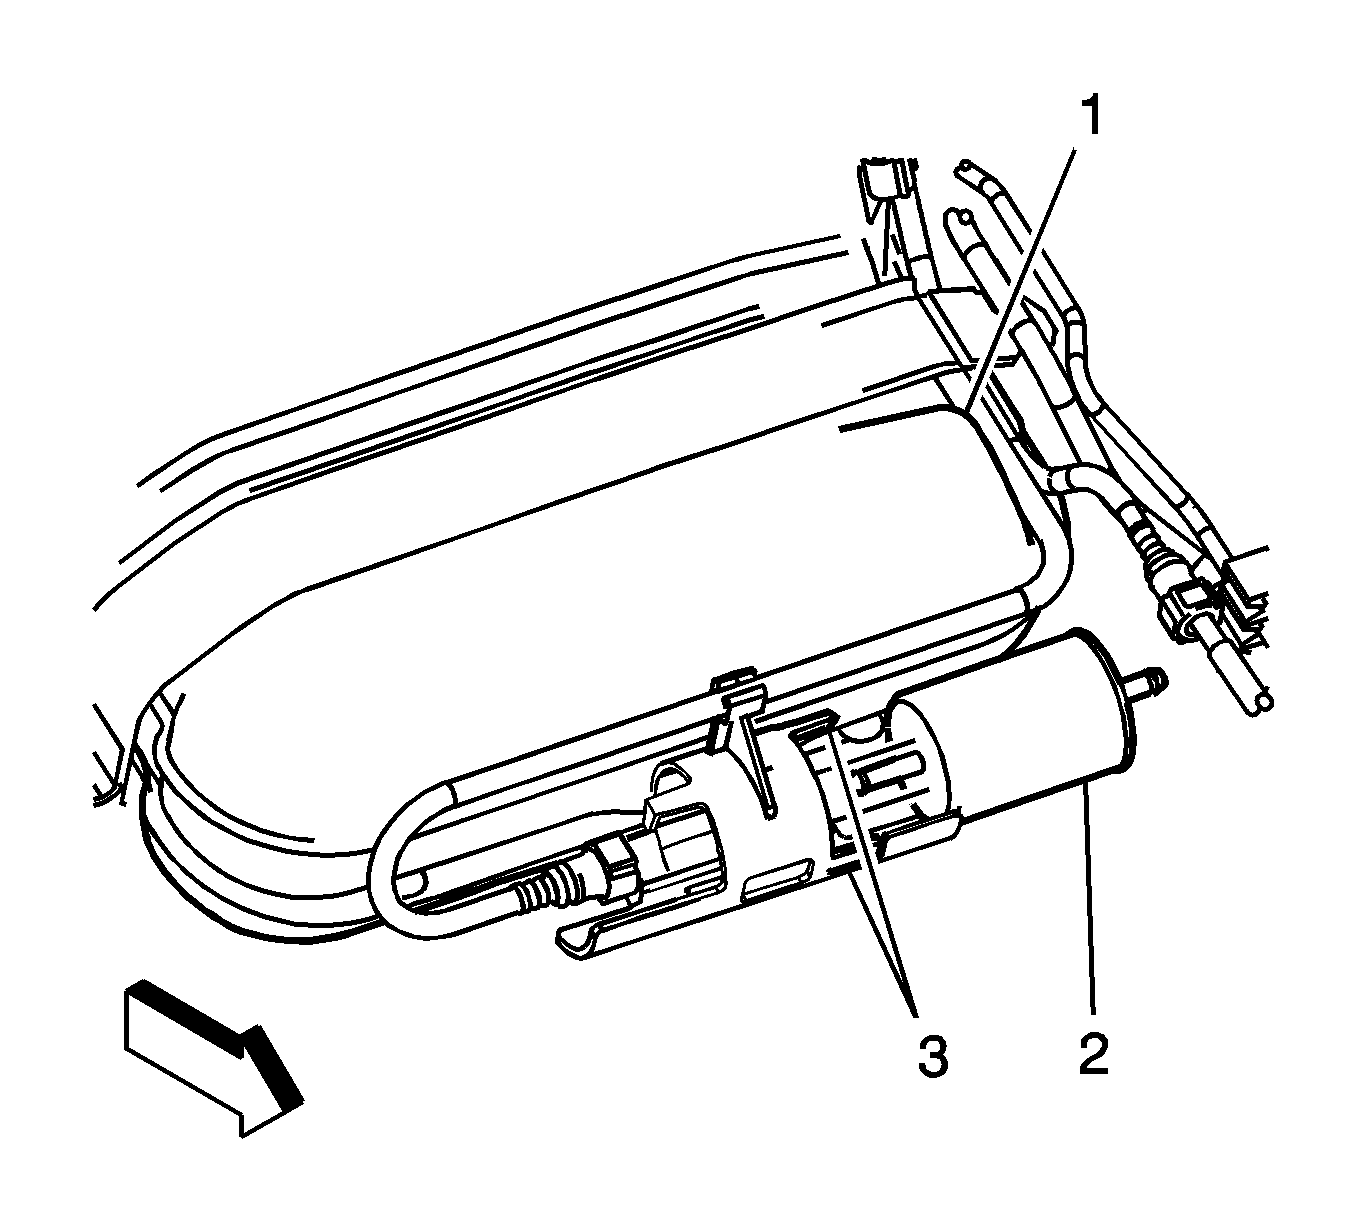
- Pry open the locking tabs (3), only enough to slide the fuel filter (2) from the fuel filter bracket.
- Drain any remaining fuel into an approved container.
- Discard the fuel filter (2) into an approved container.
Caution: Refer to Gasoline/Gasoline Vapors Caution in the Preface section.
Important: Inspect the fuel tank internally and clean the fuel tank if you find a restricted fuel filter. Refer to Fuel System Cleaning .
Notice: Clean all of the following areas before performing any disconnections
in order to avoid possible contamination in the system:
• The fuel pipe connections • The hose connections • The areas surrounding the connections
Important: The quick connect retaining clips will remain with the fuel filter.
Installation Procedure
- Slide the fuel filter (2) into the fuel filter bracket, until the locking tabs (3) are fully engaged.
- Remove the caps from the fuel pipes.
- Connect the quick connect fittings to the fuel filter. Refer to Plastic Collar Quick Connect Fitting Service .
- Lower the vehicle.
- Inspect for leaks.
| 5.1. | Turn ON the ignition, with the engine OFF for 2 seconds. |
| 5.2. | Turn OFF the ignition for 10 seconds. |
| 5.3. | Turn ON the ignition, with the engine OFF. |
| 5.4. | Inspect for fuel leaks. |
