For 1990-2009 cars only
Removal Procedure
- Raise and suitably support the vehicle. Refer to Lifting and Jacking the Vehicle in General Information.
- Remove the wheel and tire assembly. Refer to Tire and Wheel Removal and Installation in Tires and Wheels.
- Remove the engine shield if equipped. Refer to Engine Protection Shield Replacement in Frame and Underbody
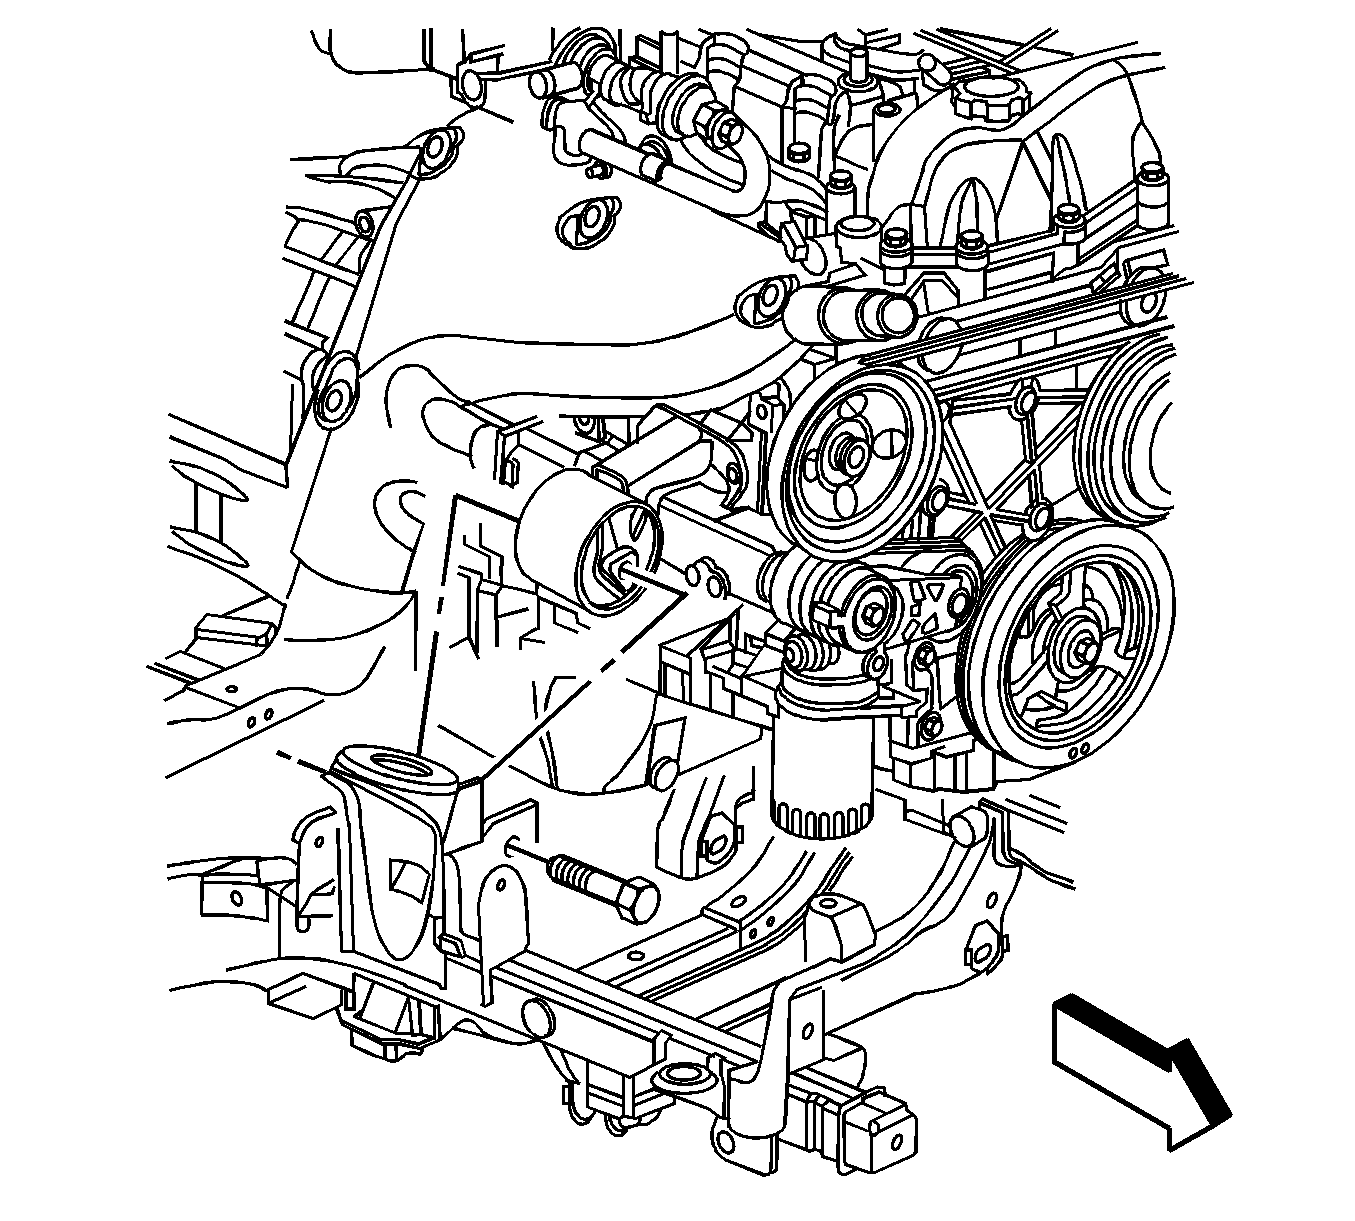
- Support the engine using a jack stand and a block of wood.
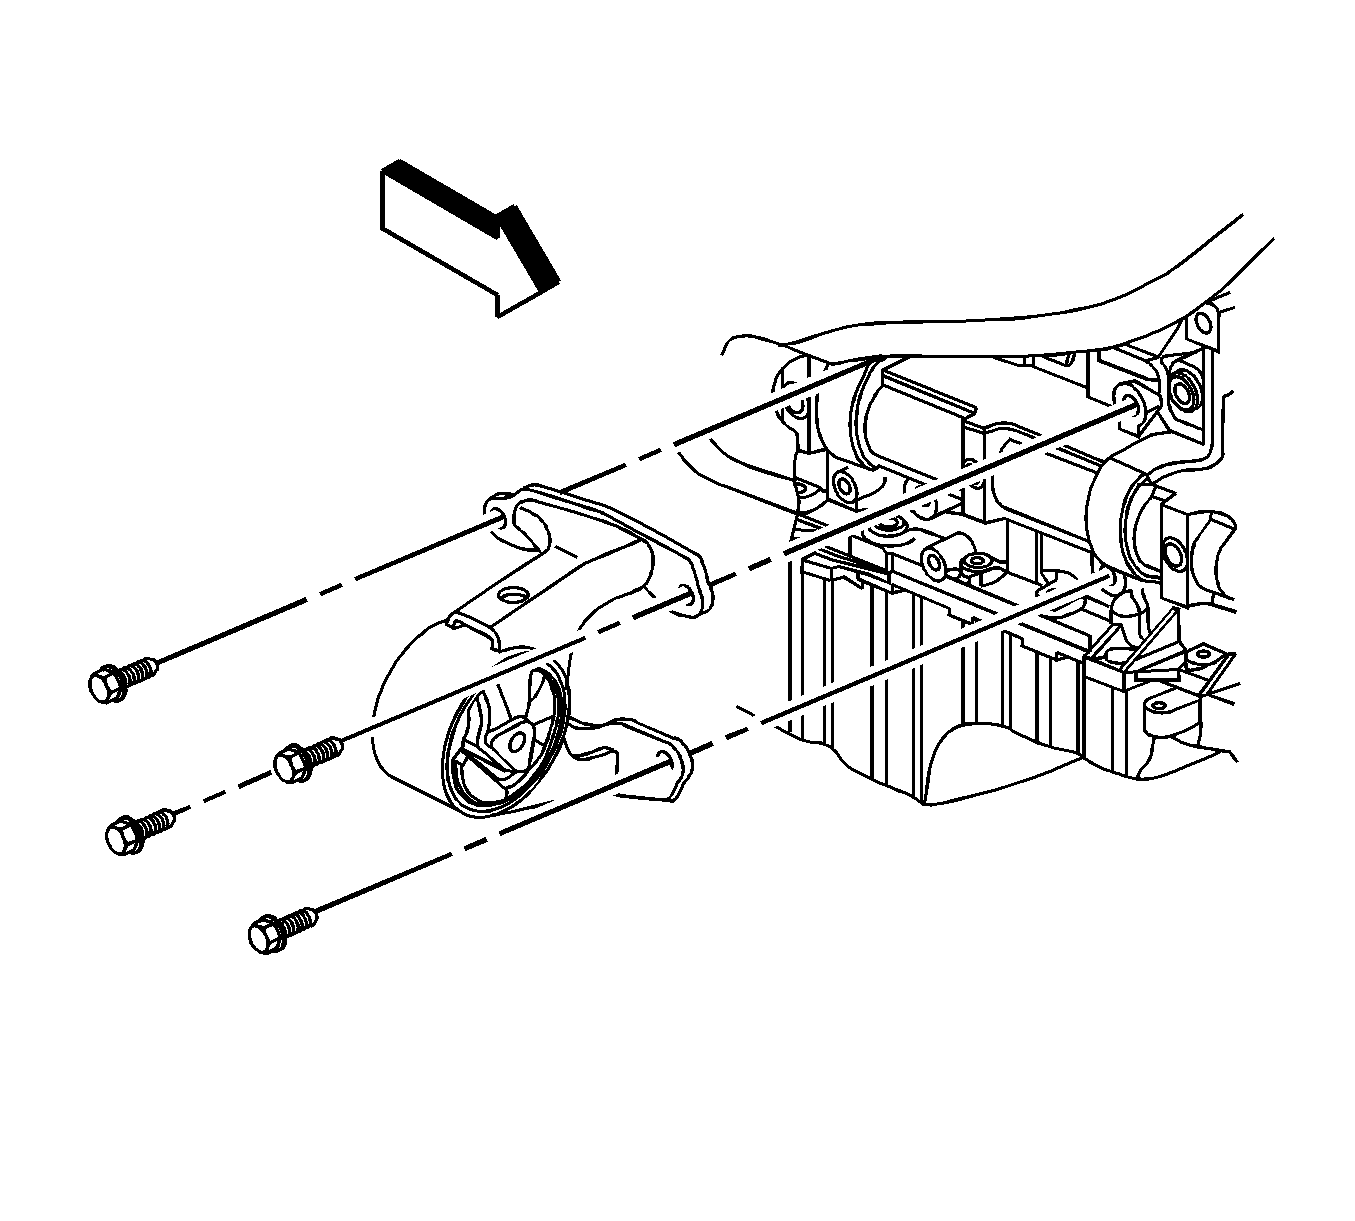
- Remove the engine mount-to-frame bracket through bolt for the mount being replaced.
- Loosen the left side through bolt.
- Raise the engine using the jack stand. The engine will tilt to one side.
- Remove the engine mount bolts.
- Remove the engine mount. You will need to articulate the mount in order to remove the mount.
Installation Procedure
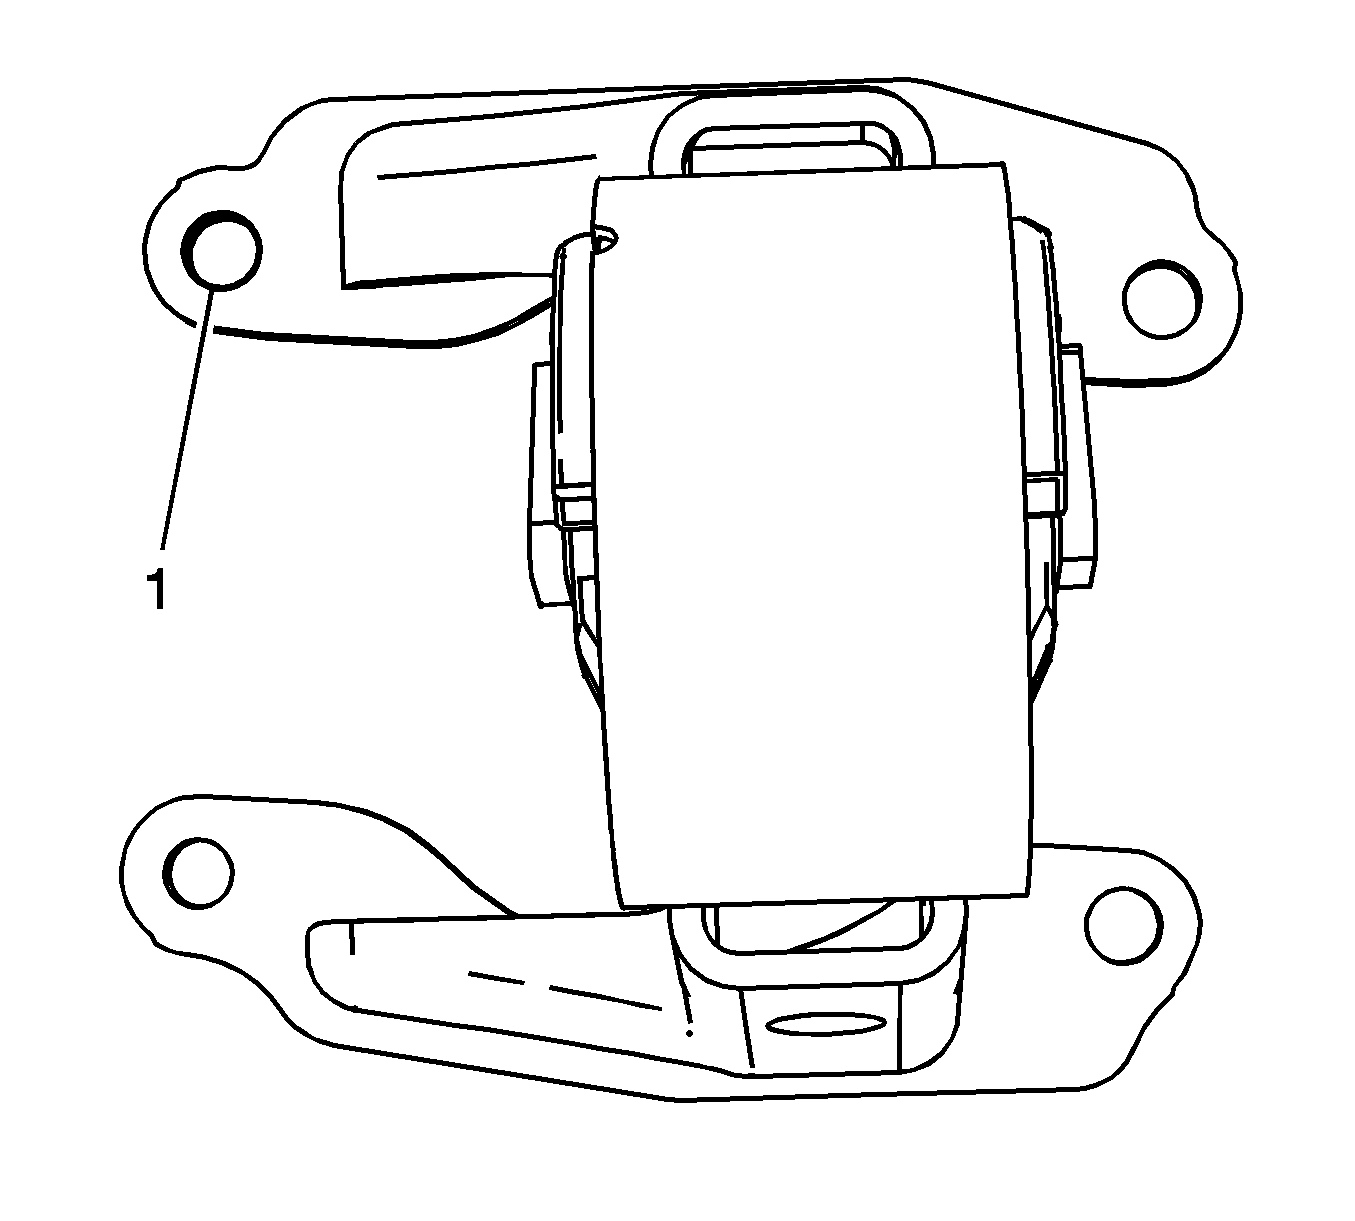
- Install the engine mount. You will need to articulate the mount in order to install the mount.
- Install the engine mount bolts.
- To aid in the installation of the bolts, start a bolt in position (1) first.
- Lower the engine.
- Install the engine mount-to-frame bracket through bolt.
- Remove the jack stand.
- Install the engine shield if equipped. Refer to Engine Protection Shield Replacement in Frame and Underbody
- Install the wheel and tire assembly. Refer to Tire and Wheel Removal and Installation in Tires and Wheels.
- Lower the vehicle.
Notice: Refer to Fastener Notice in the Preface section.
Tighten
Tighten the engine mount bolts to 50 N·m
(37 lb ft).
Tighten
Tighten both of the engine mount-to-frame bracket
bolts to 85 N·m (63 lb ft).
