Note: Condition: All construction units are cleaned and checked. The cylinder head is installed on the assembly fixture and stands on the head.
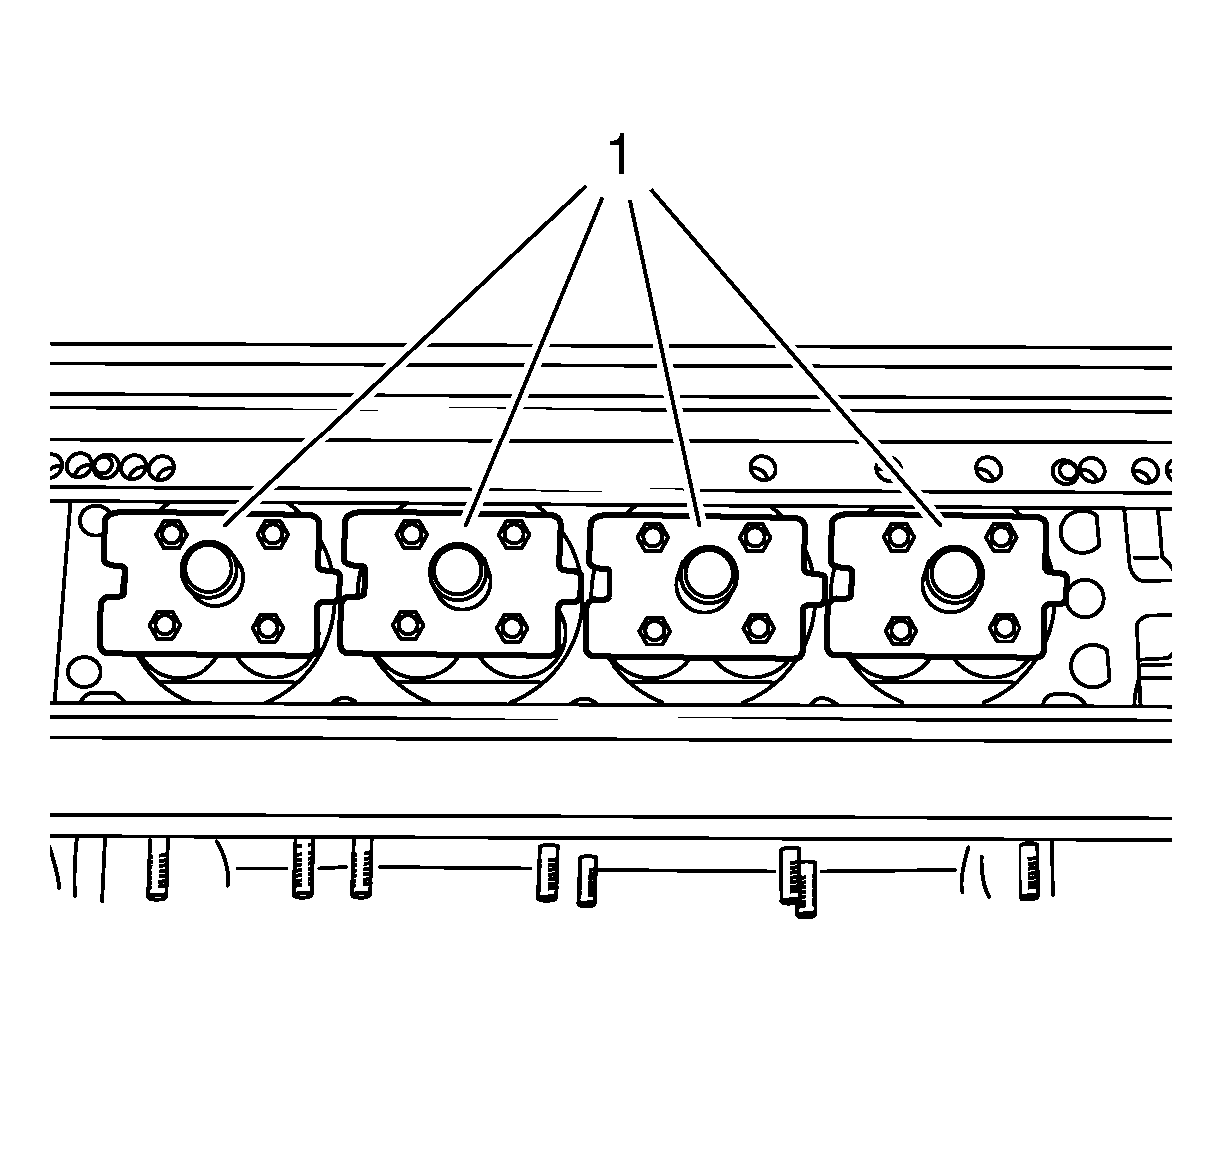
Note: Depending upon the combustion chamber organization, it must be used different holders to protect the valves.
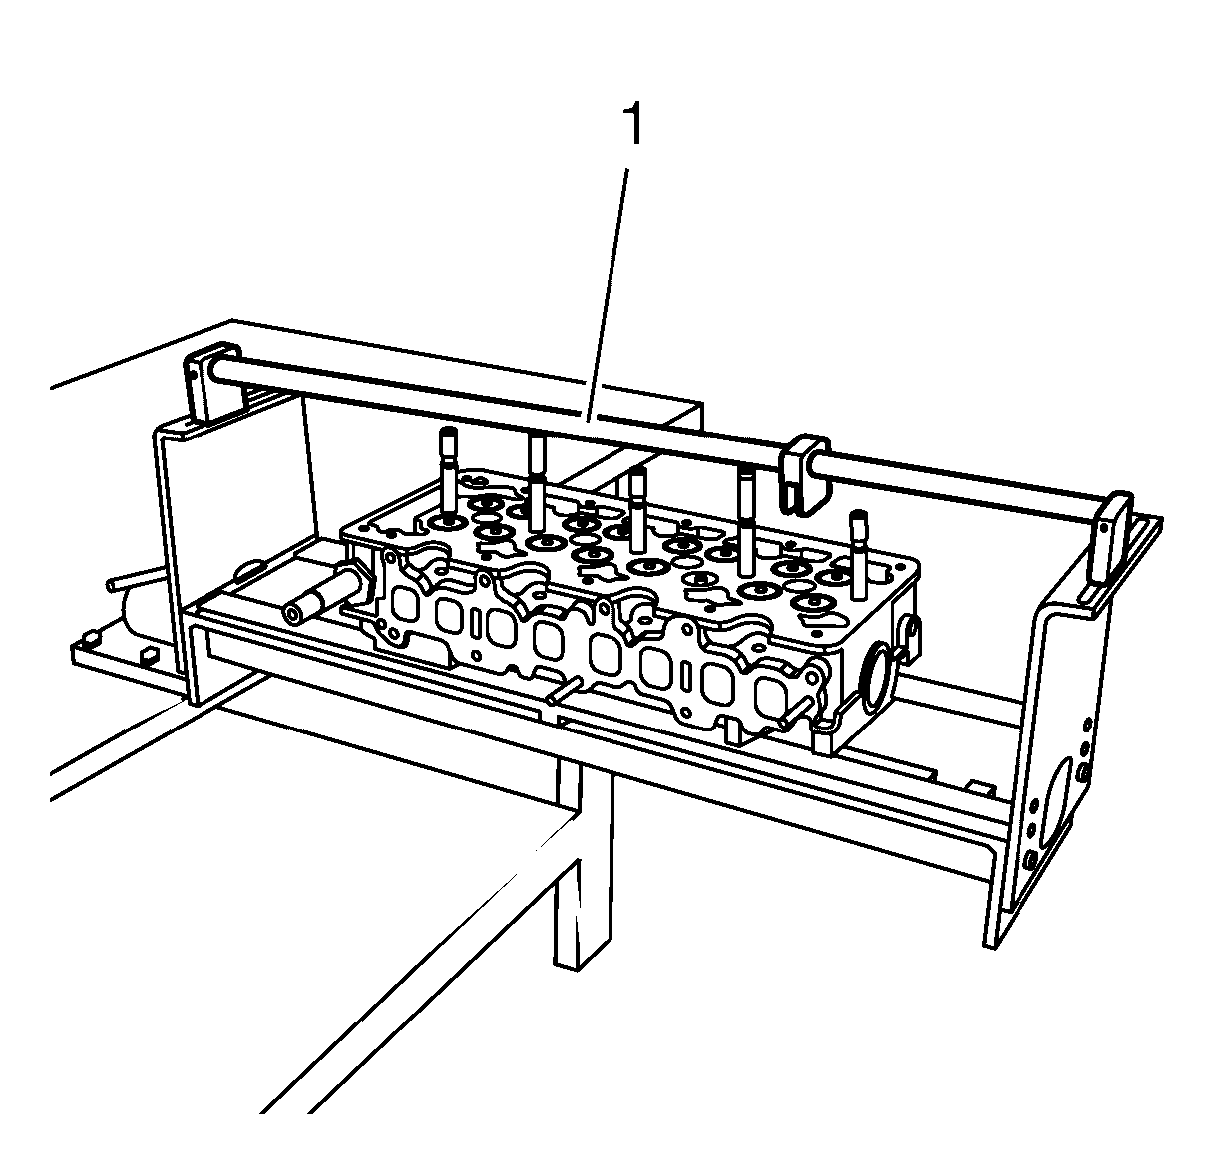
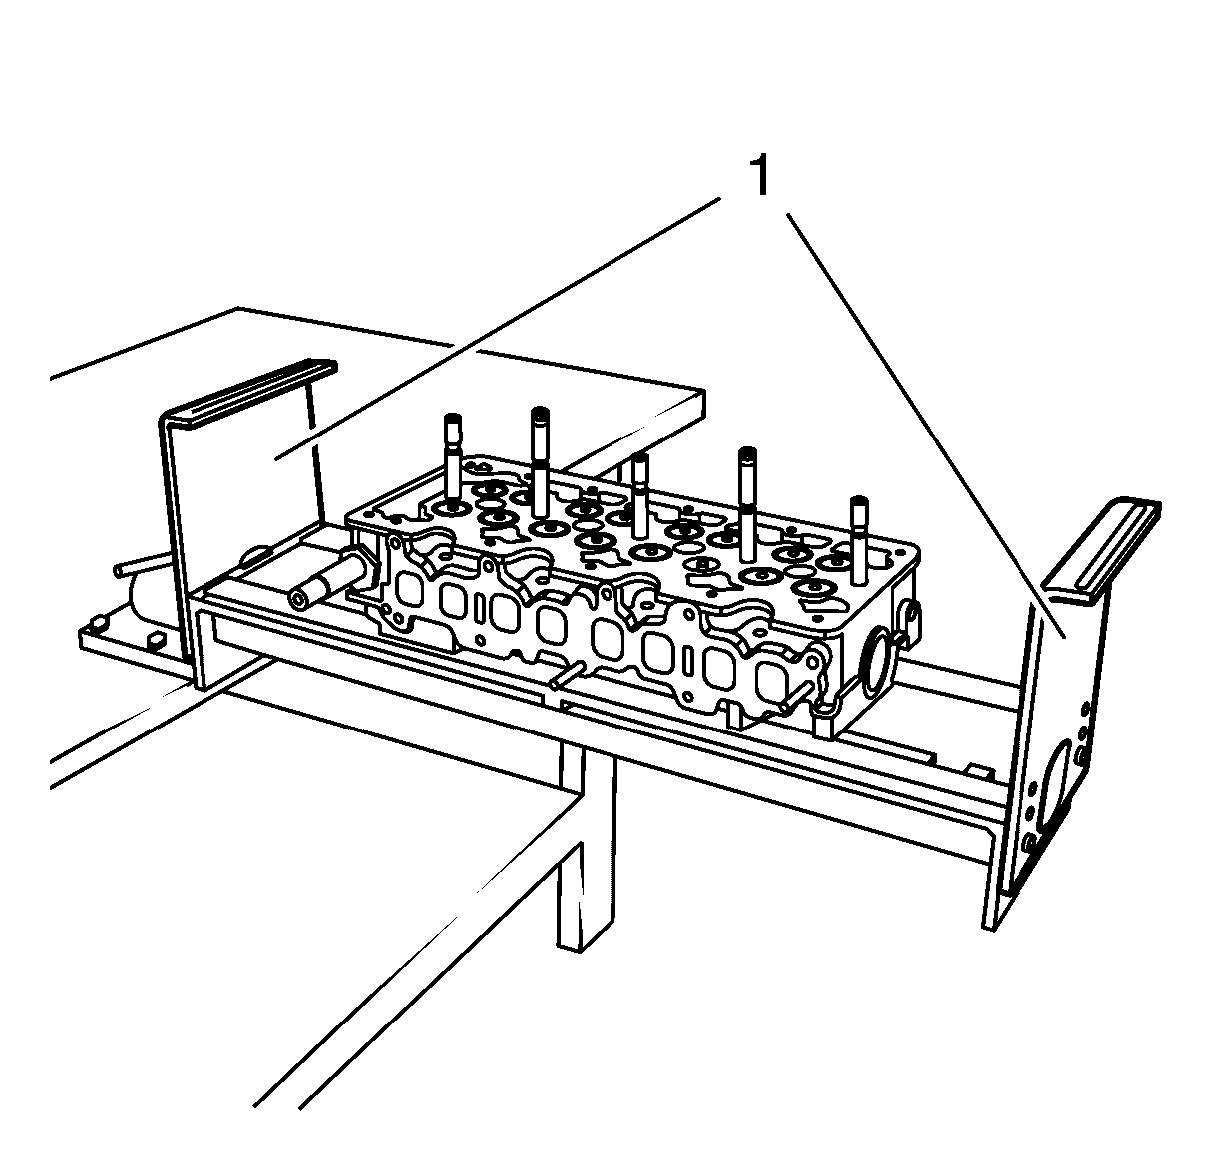
- Counter holder type A (1).
- Counter holder type B (1).
- Coat all valve guides and valves with oil and install them in the cylinder head in sequence. Install the counter holder. For different combustion chambers you have to use the correct counter holder to safe the valves.
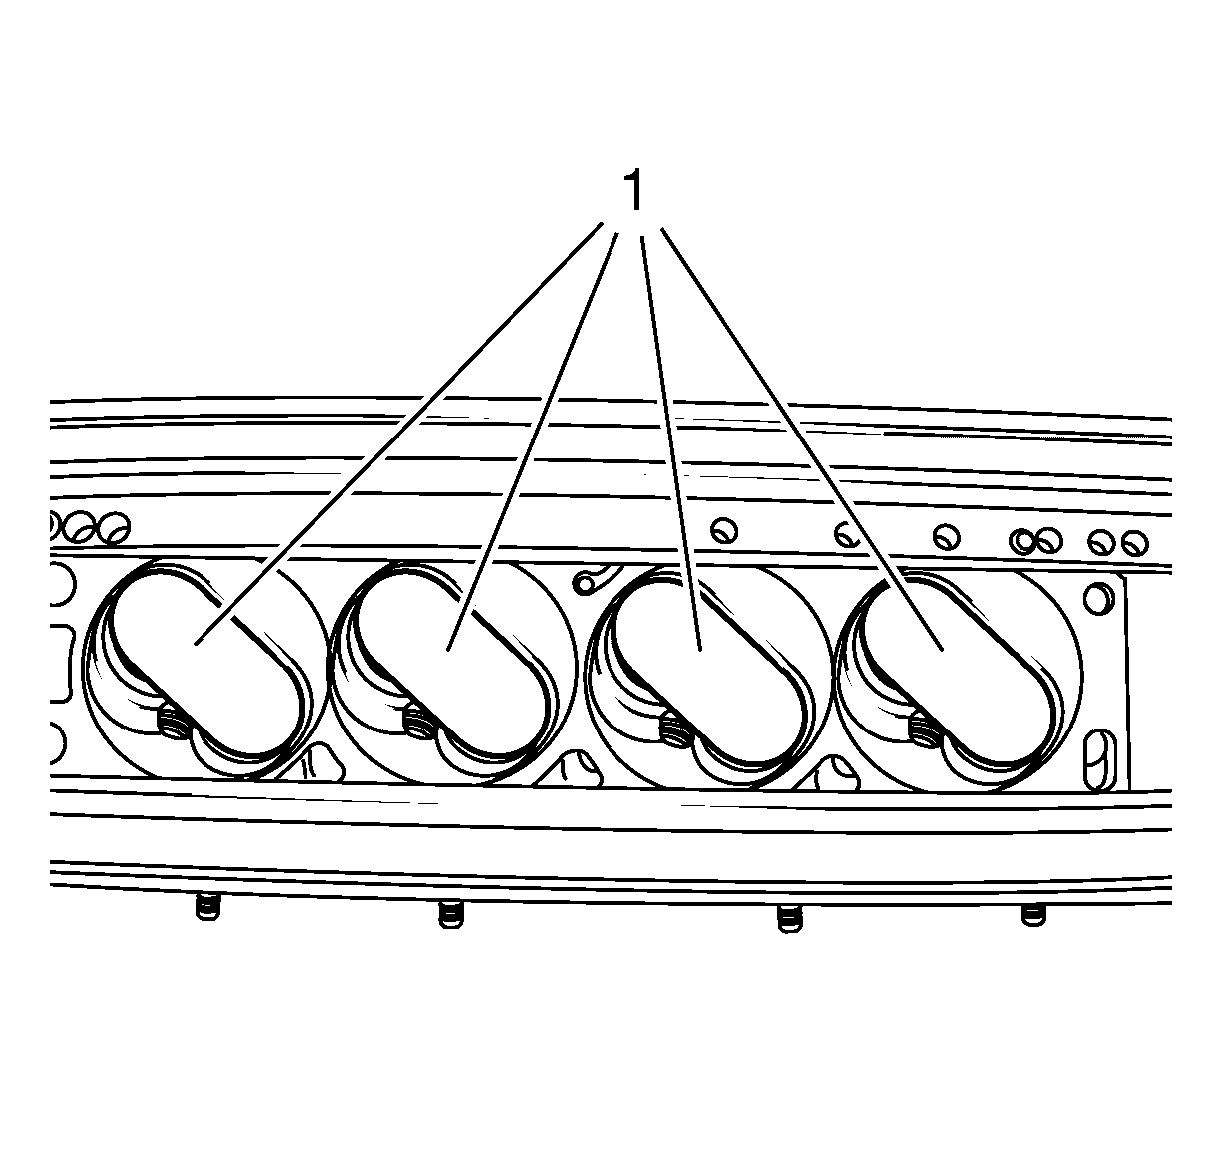
- Install the counter holder
EN-6167-1 holder
(1). Fasten the
EN-6215-3 locking pins
(3) with safety lock pins. Screw the fixing screws (2). Turn the cylinder head baseplate again.

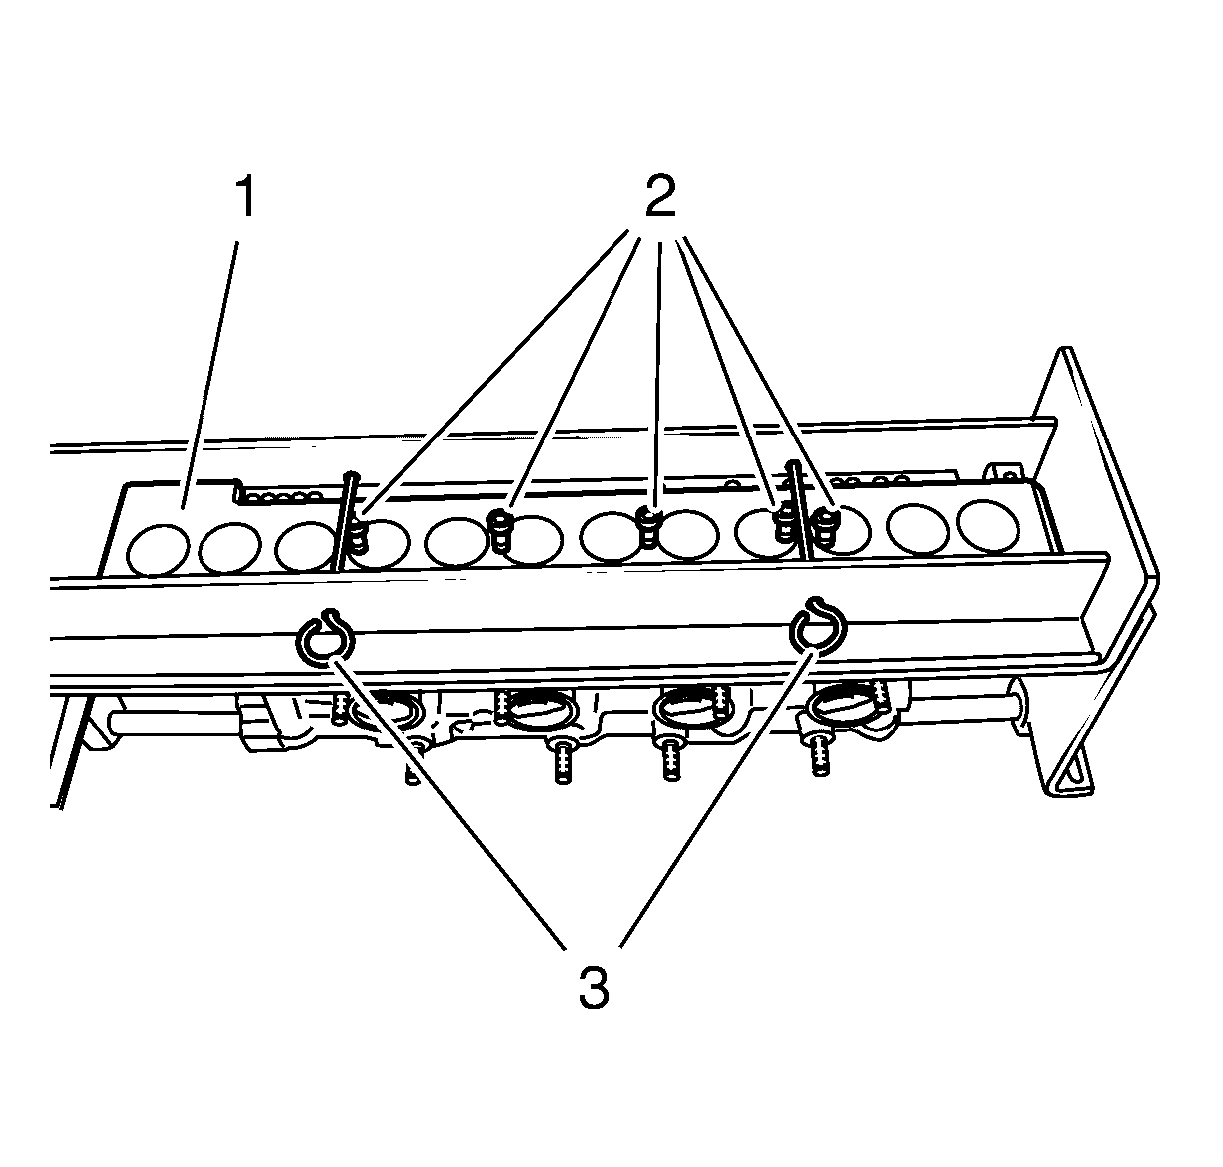
- Install the valve stem sealings (1) with the appropriate introduction tools (2) carefully.
| • | For 5 mm (0,2 in) use the
EN-958 Installer
. |
| • | For 6 mm (0,24 in) use the
EN-835-A Installer
. |
| • | For 7 mm (0,28 in) use the
EN-663 Installer
. |
| • | For 8 mm (0,32 in) use the
EN-352 Installer
. |
| | Attach the valve springs and valve retainers into the cylinder head in sequence. |
| | Note: It is necessarily that the components of the assembly head are built together in correct sequence.
|
| • | The respective sizes are hit on the head of the thrust pieces. |

Note: The combinations of admission and thrust piece are to be kept compellingly, since otherwise the valve wedges can not be installed or the thrust pieces will damaged!
The combinations of admission and thrust piece are
to be inferred from the overview.
- Push the fixing case (1) downward and install the valve wedges in the assembly head. Now push the fixing case upward, through this procedure the valve wedges are fixed.
Attach assembly head to lever
EN-6086 lever
.
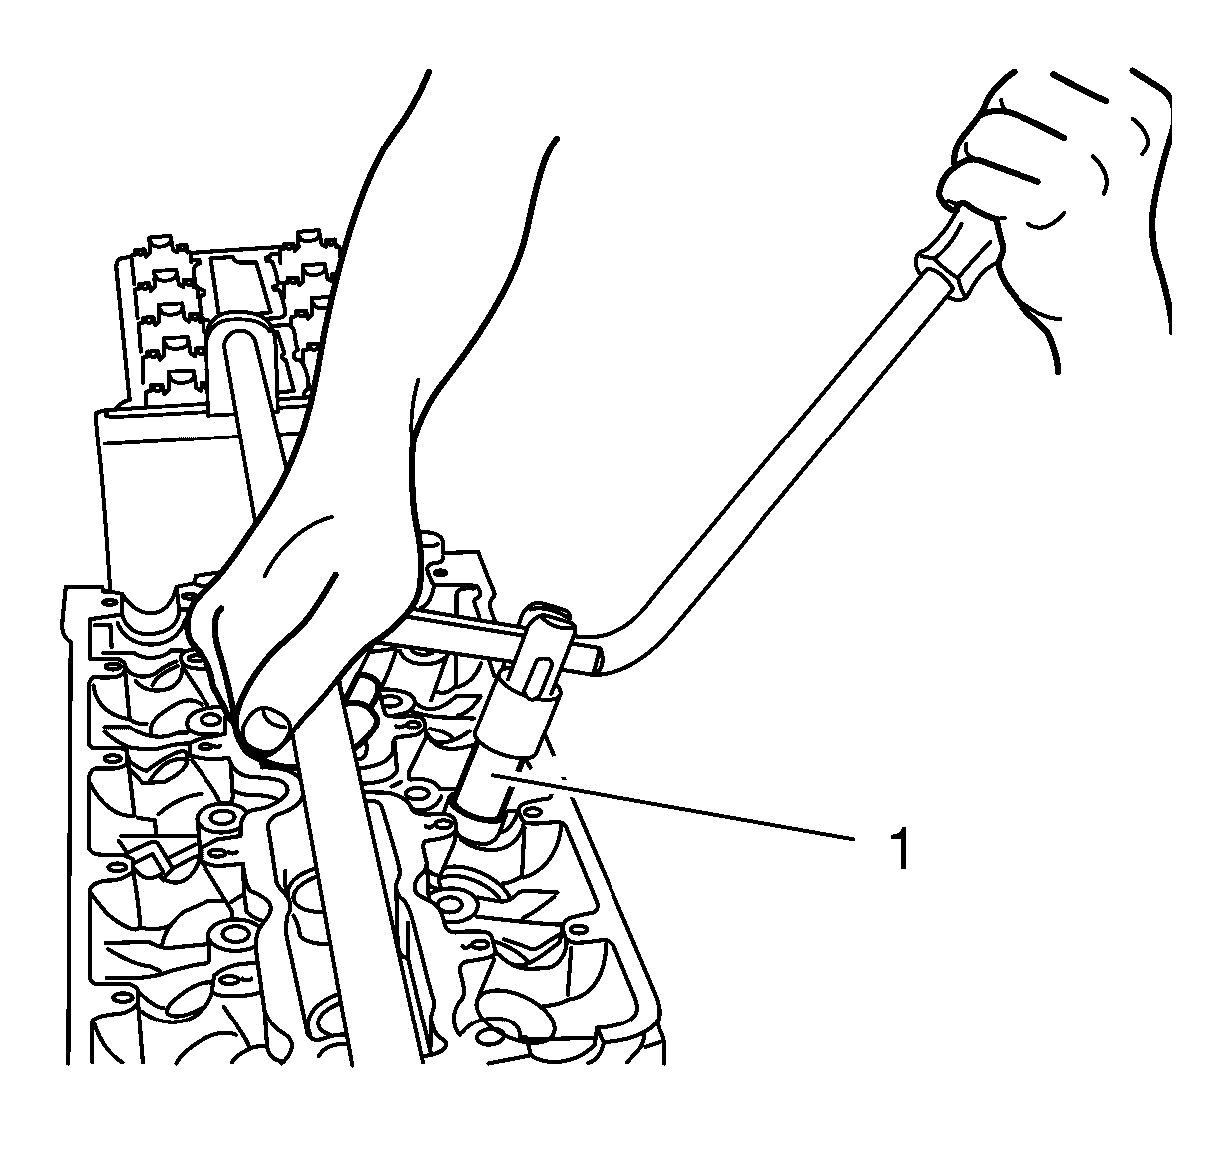
Note: To facilitate the assembly of the valve shim, the assembly head is to touch down (1) with the thrust piece on the valve stem. This avoids a damage of the thrust pieces.
- Adjust (align) the lever tool until the assembly head is positioned perpendicularly over the valve.
Press the assembly head with the lever tool carefully and slowly with little pressure until the valve wedges engage audibly into the valve stem.
- Remove the lever tool (1) and lateral took up.
- Remove the counter holder (1).
Detach the cylinder head from the assembly fixture.
Note: After the assembly of all attachments the cylinder head is to be cleaned thoroughly.
