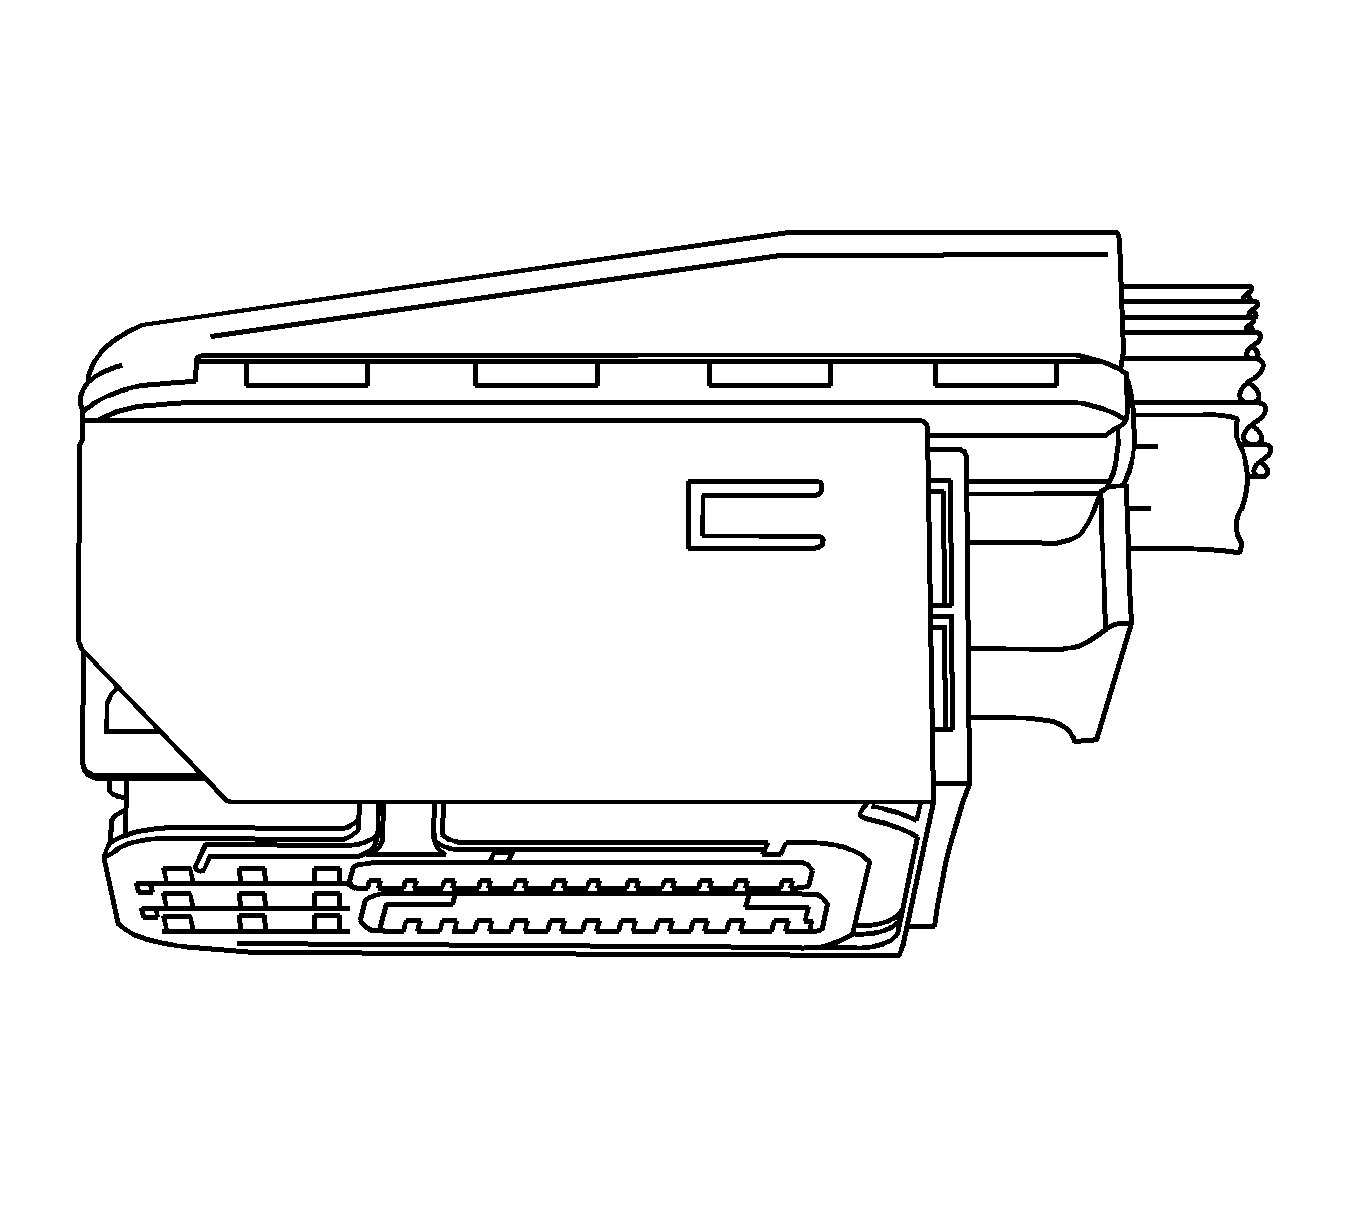
Kostal Connectors Glow Plug Control Module
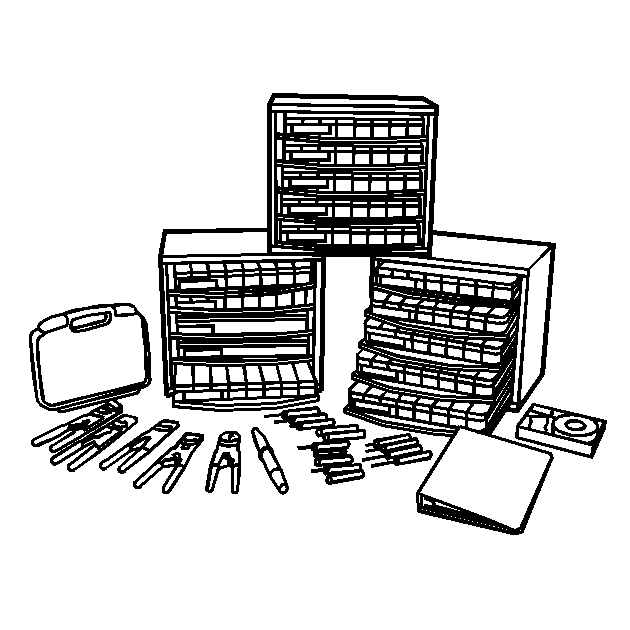
Special Tools
J-38125 Terminal Repair Kit
Removal Procedure
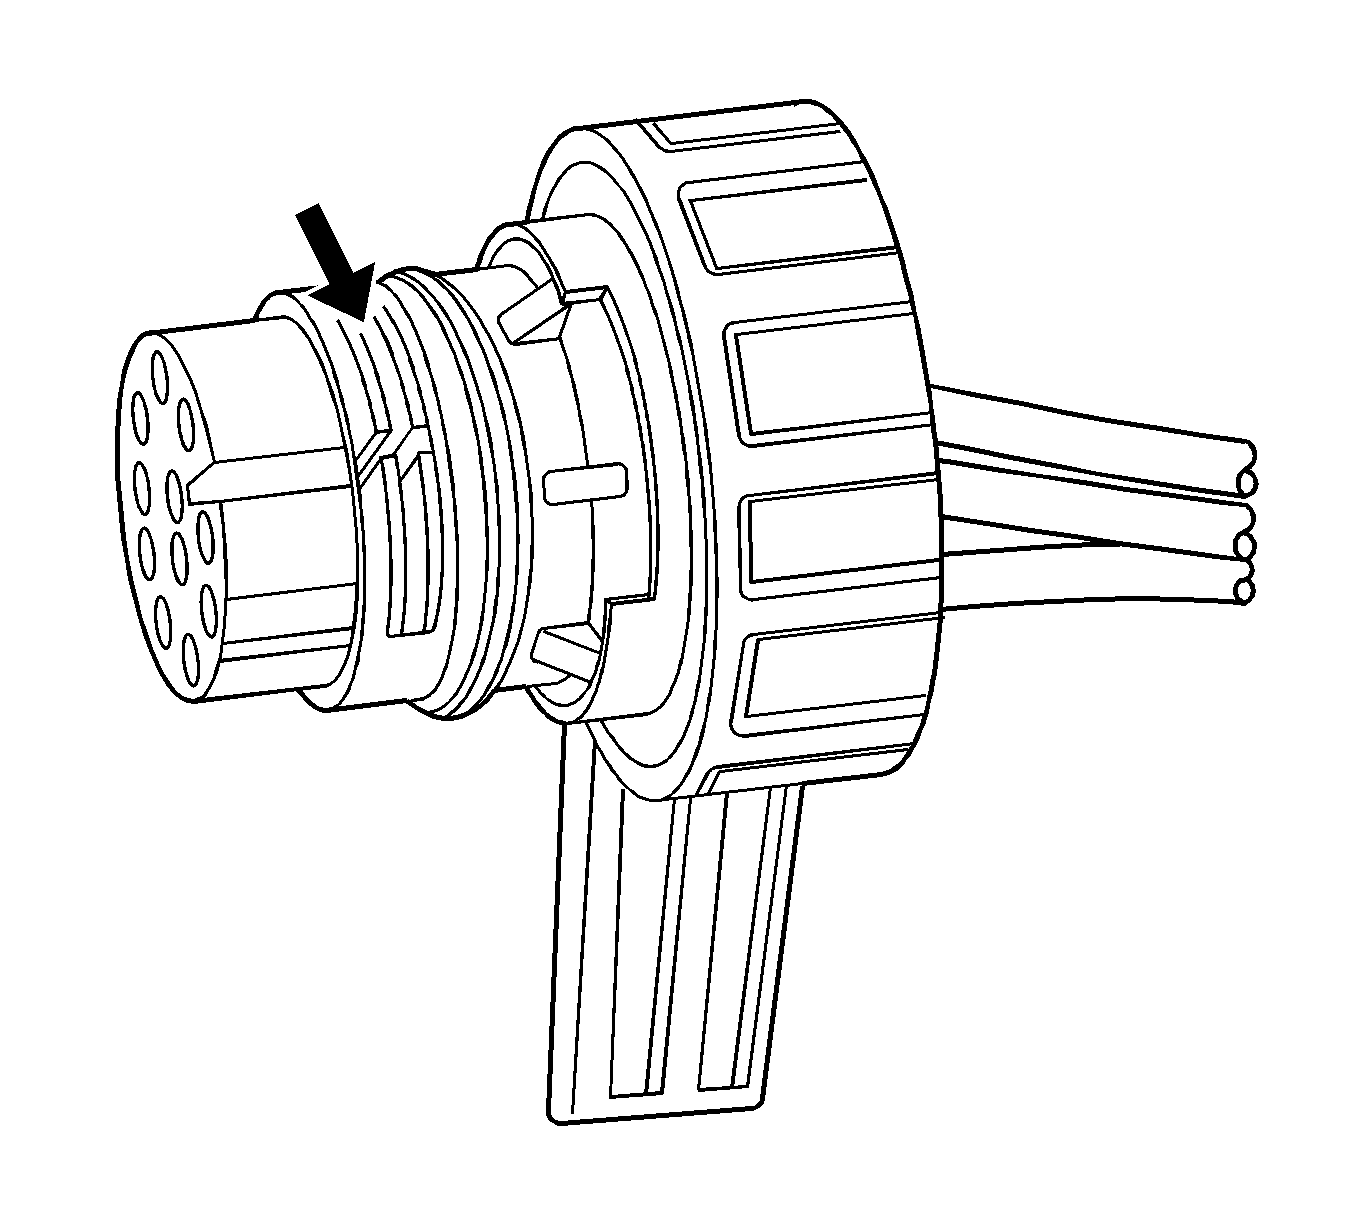
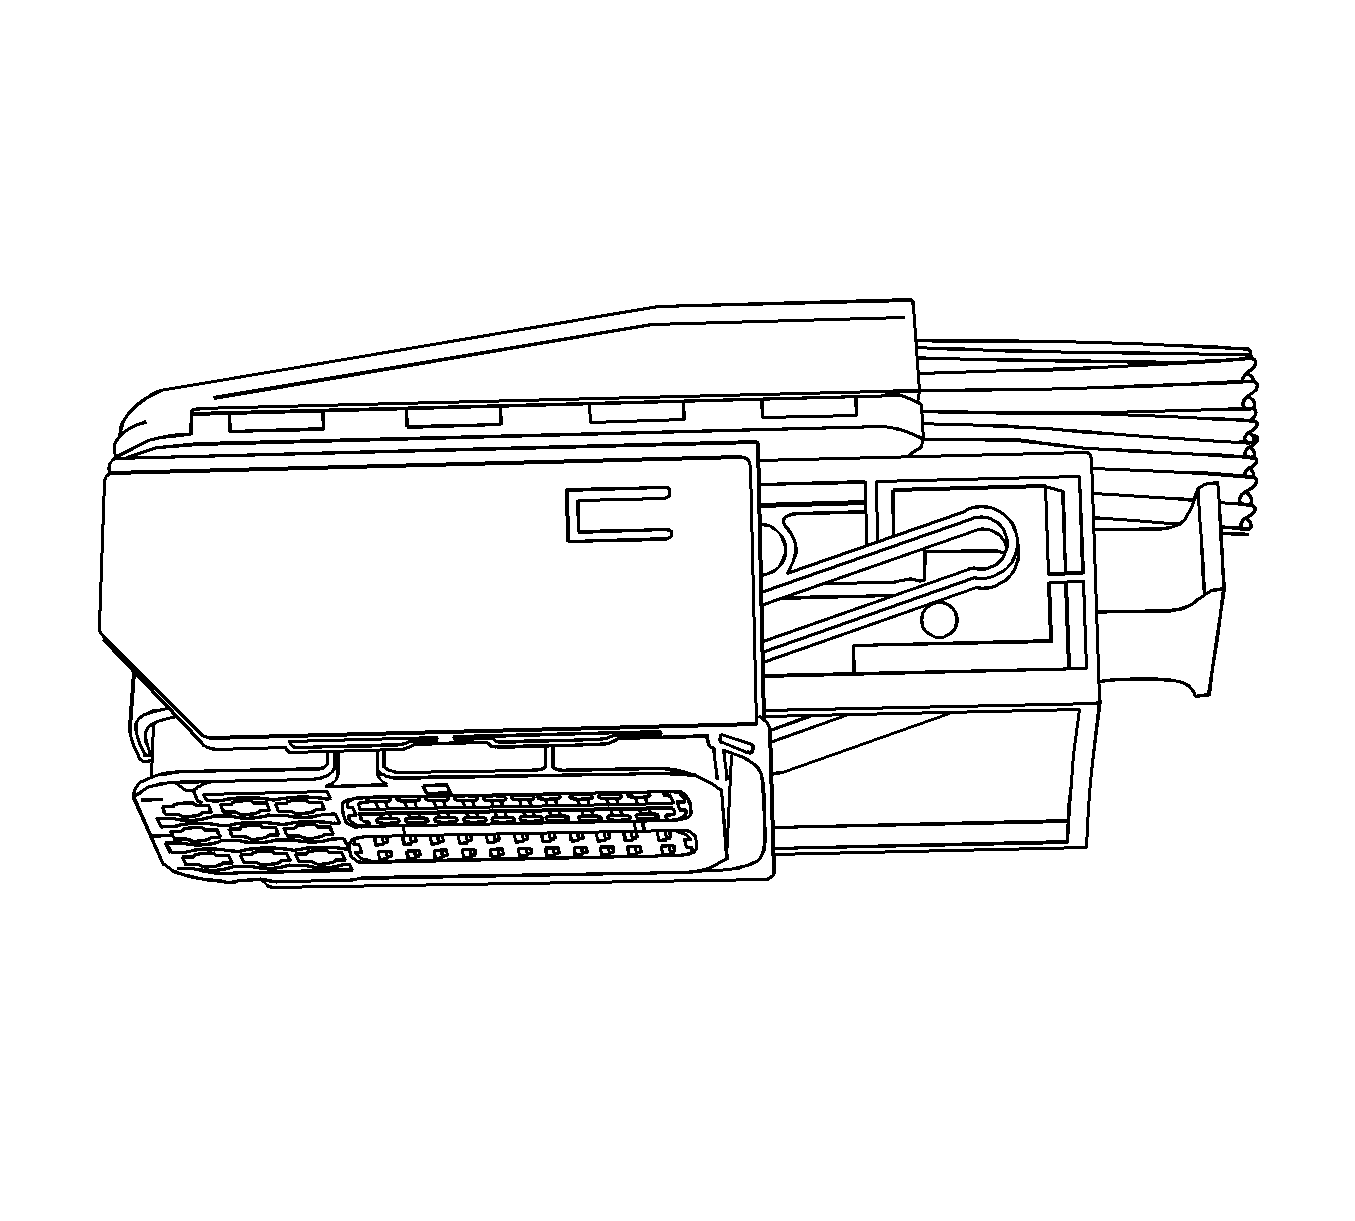
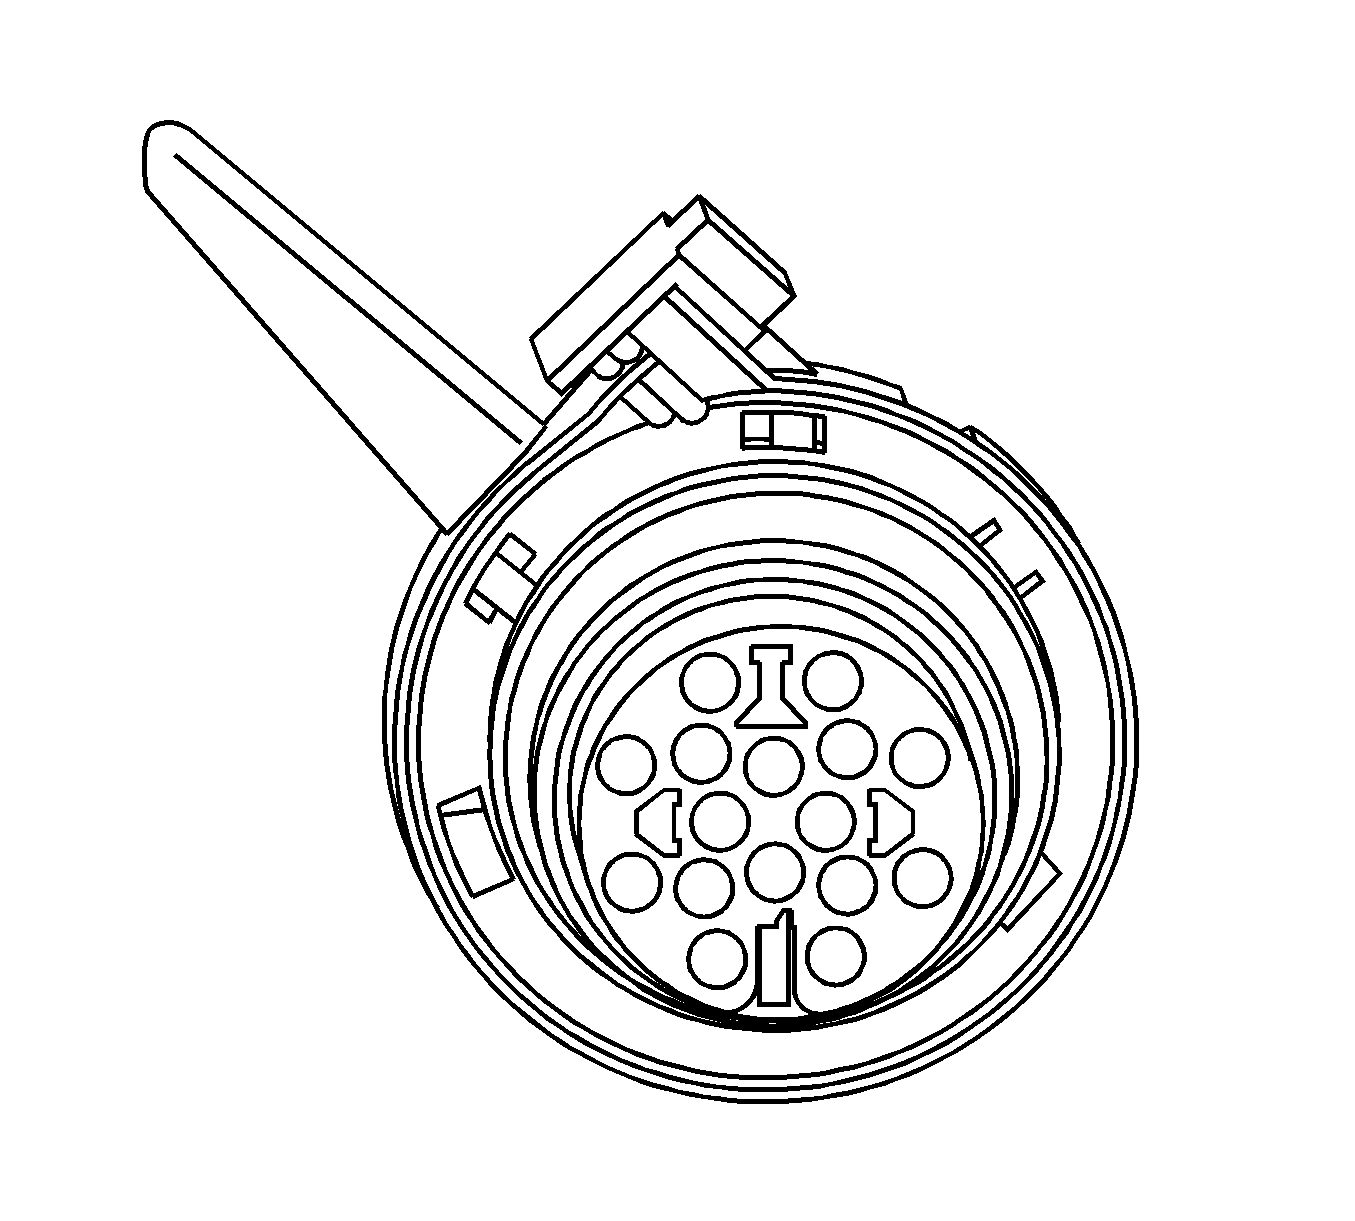
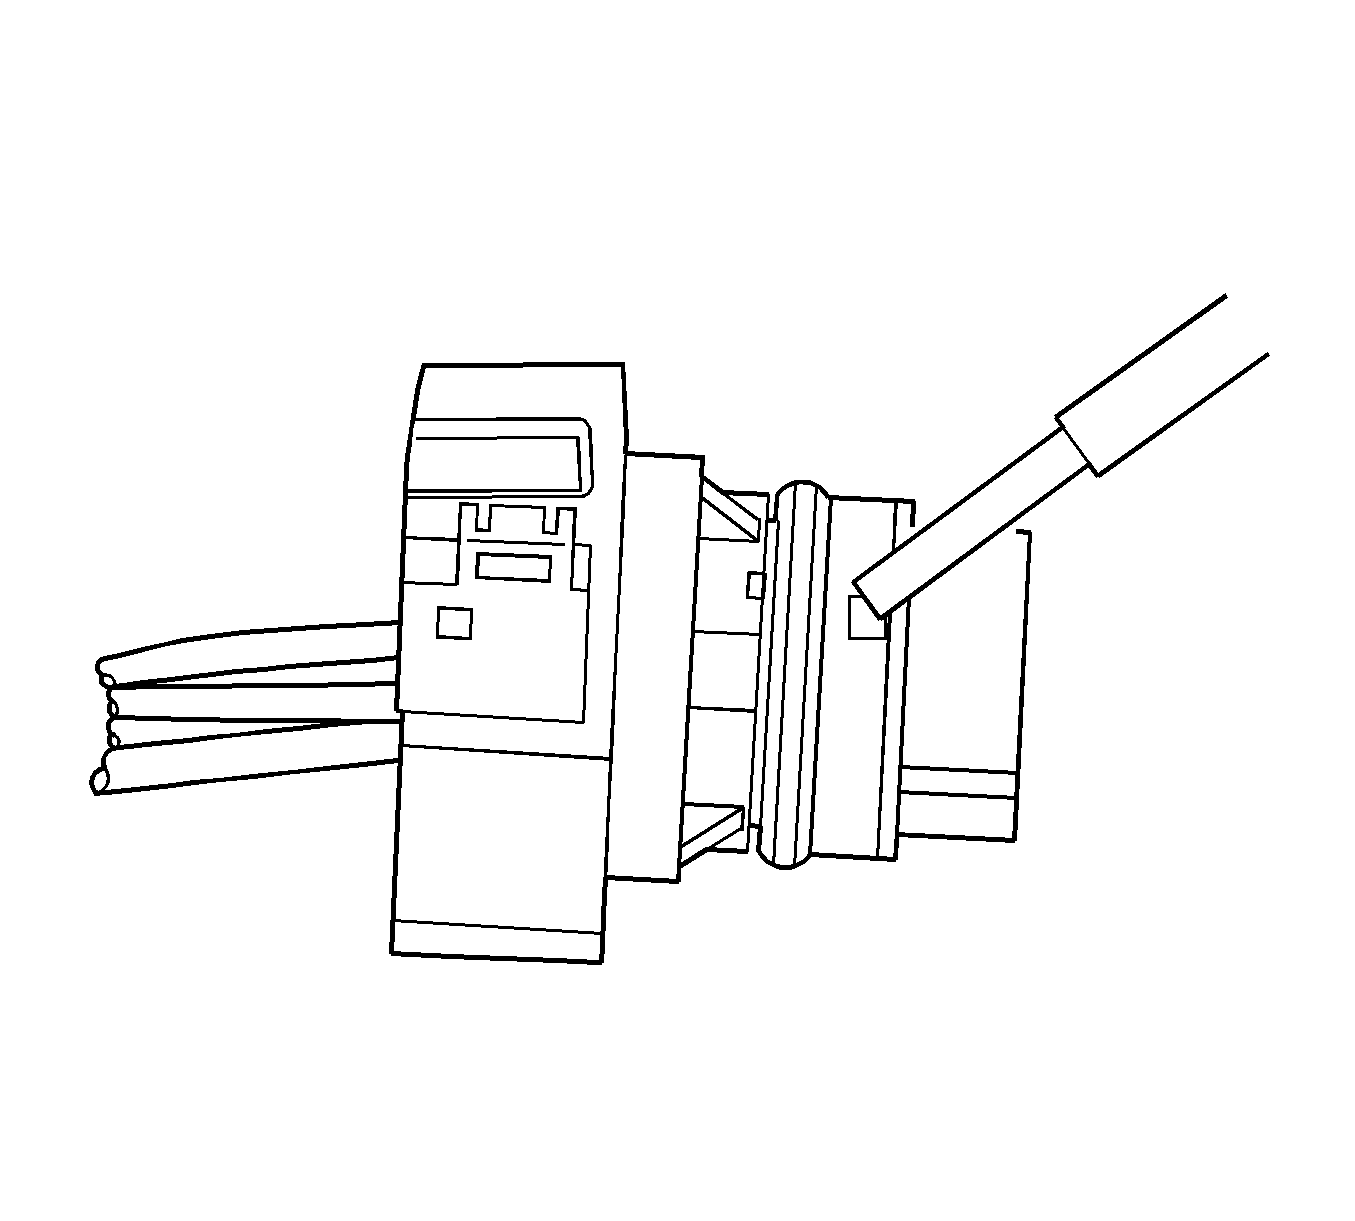
View of typical connector.
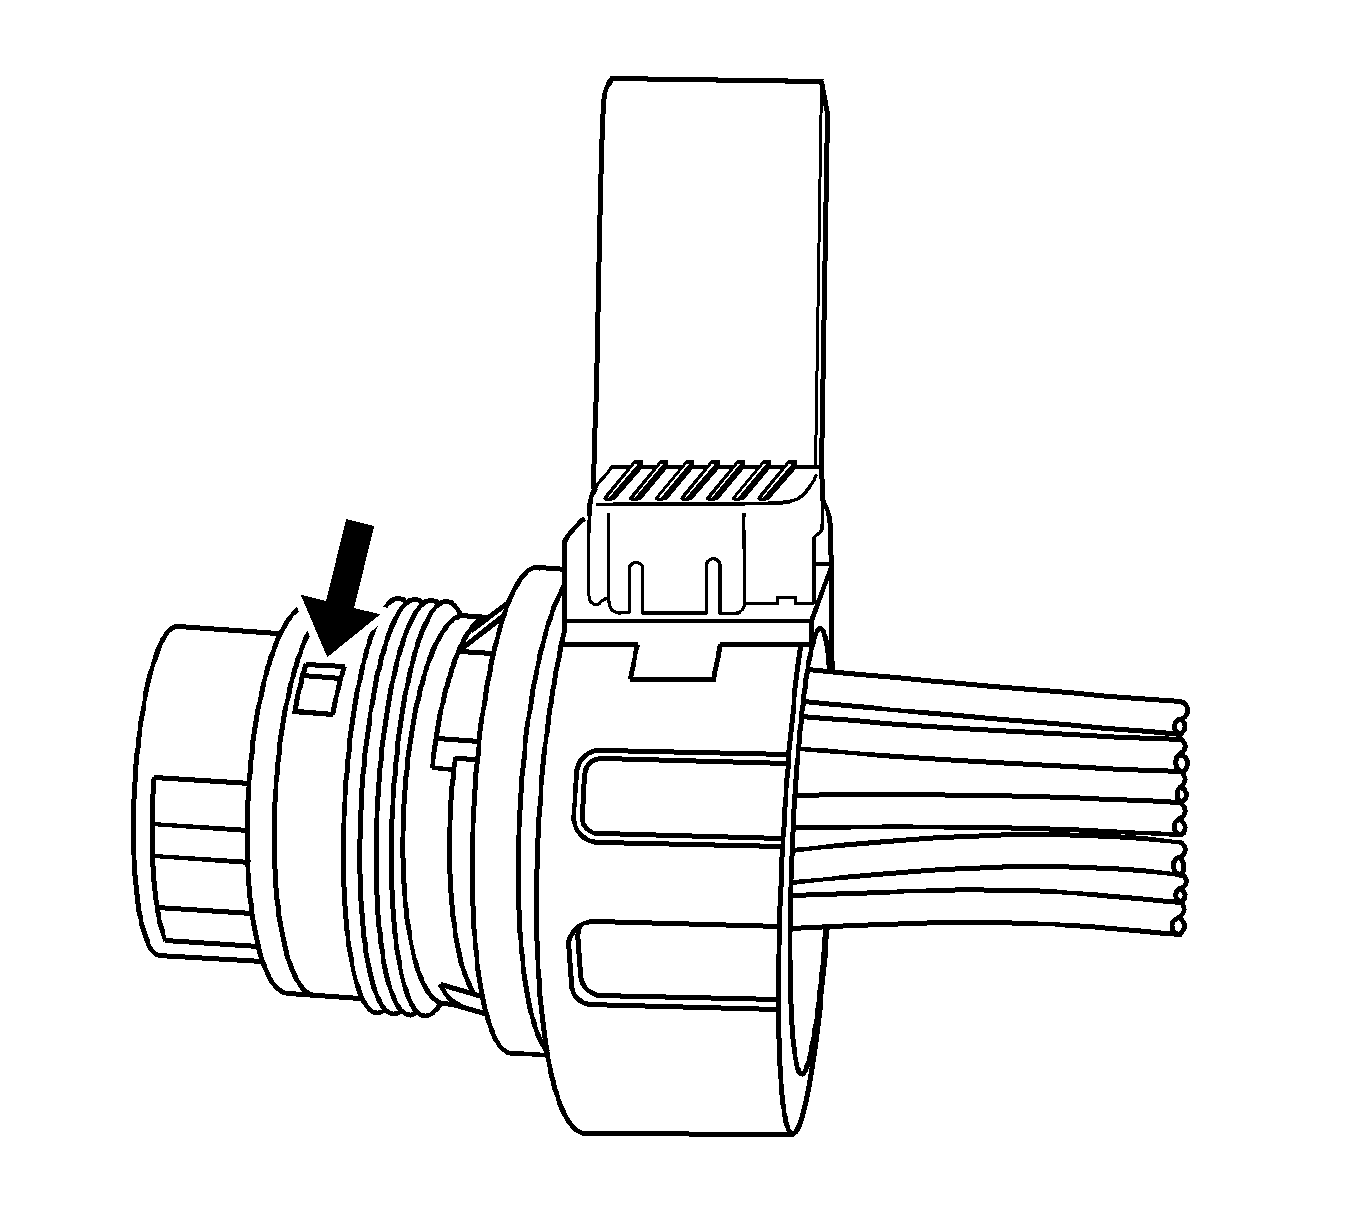
View of connector in released position.
- Locate the assist lever at the back of the connector. Move the assist lever to the rear position.
- Disconnect the connector from the component.
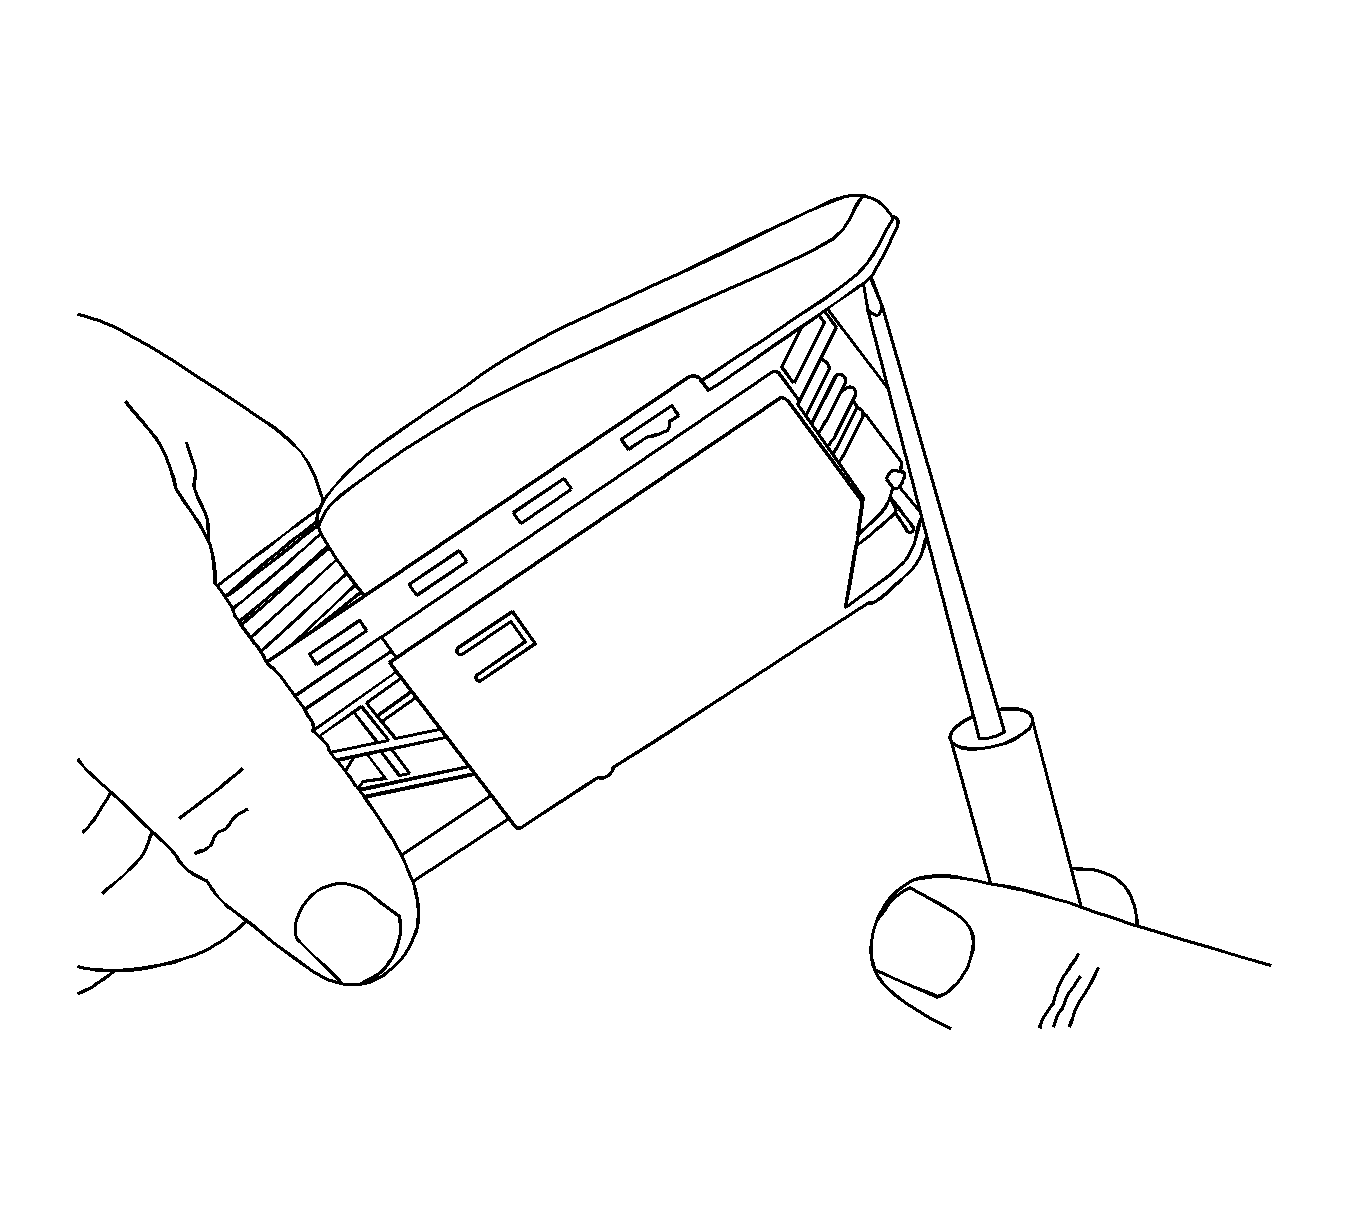
- Use a small flat-blade tool to remove the dress cover.
- Slide the dress cover forward and off of the connector.
- The terminal positive assurance (TPA) is located in the front and rear of the connector.
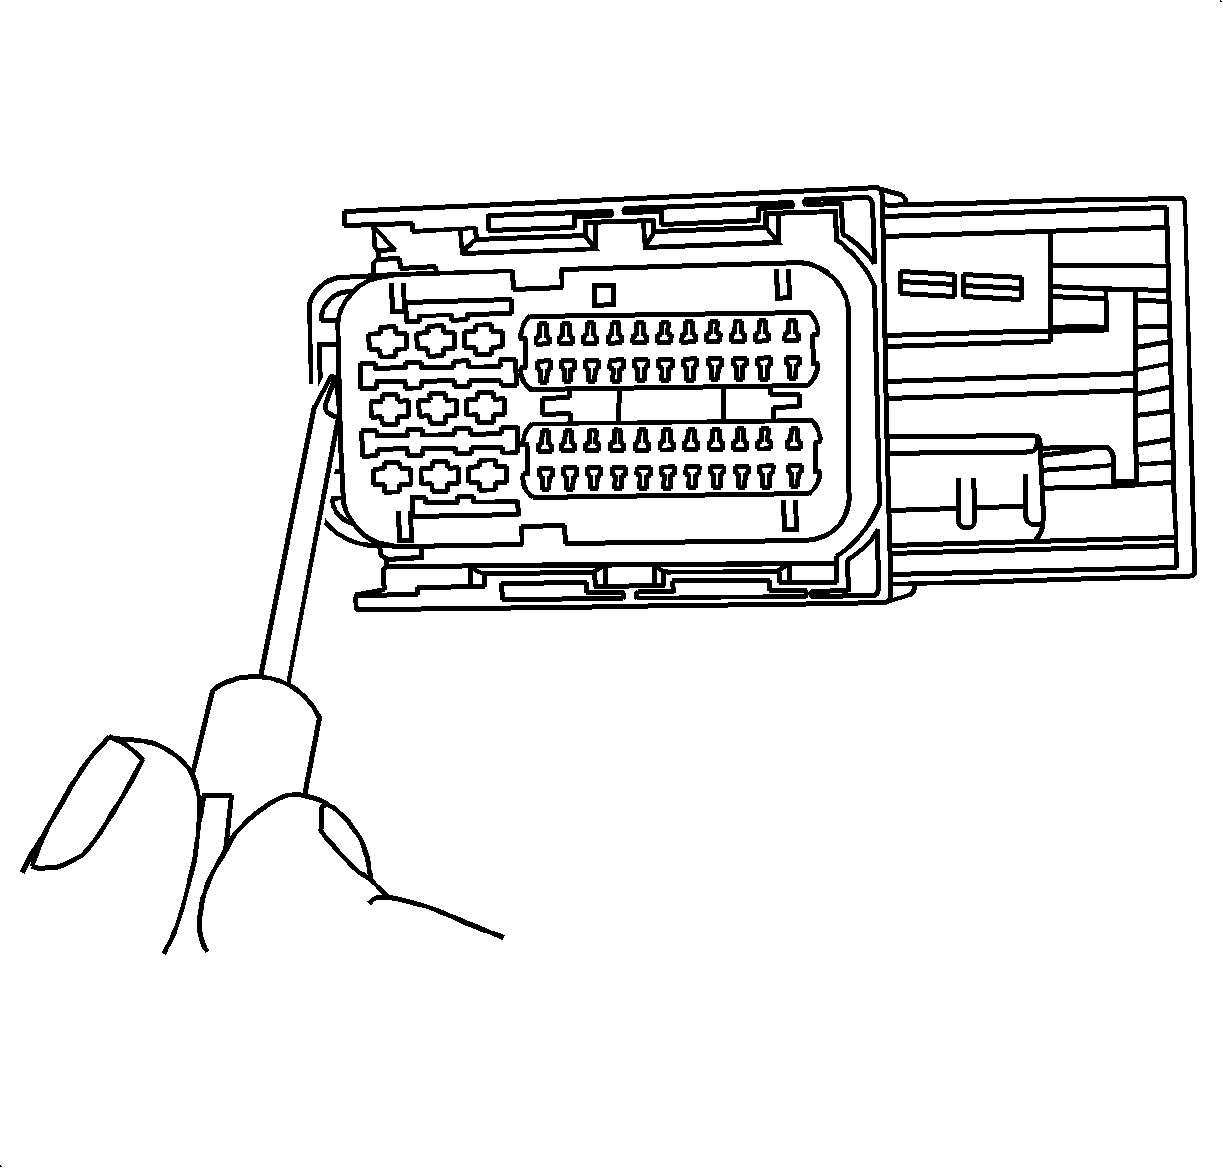
- Use a small flat-blade tool to move the front TPA to the preset position, outboard approximately 0.125 in. (3 mm).
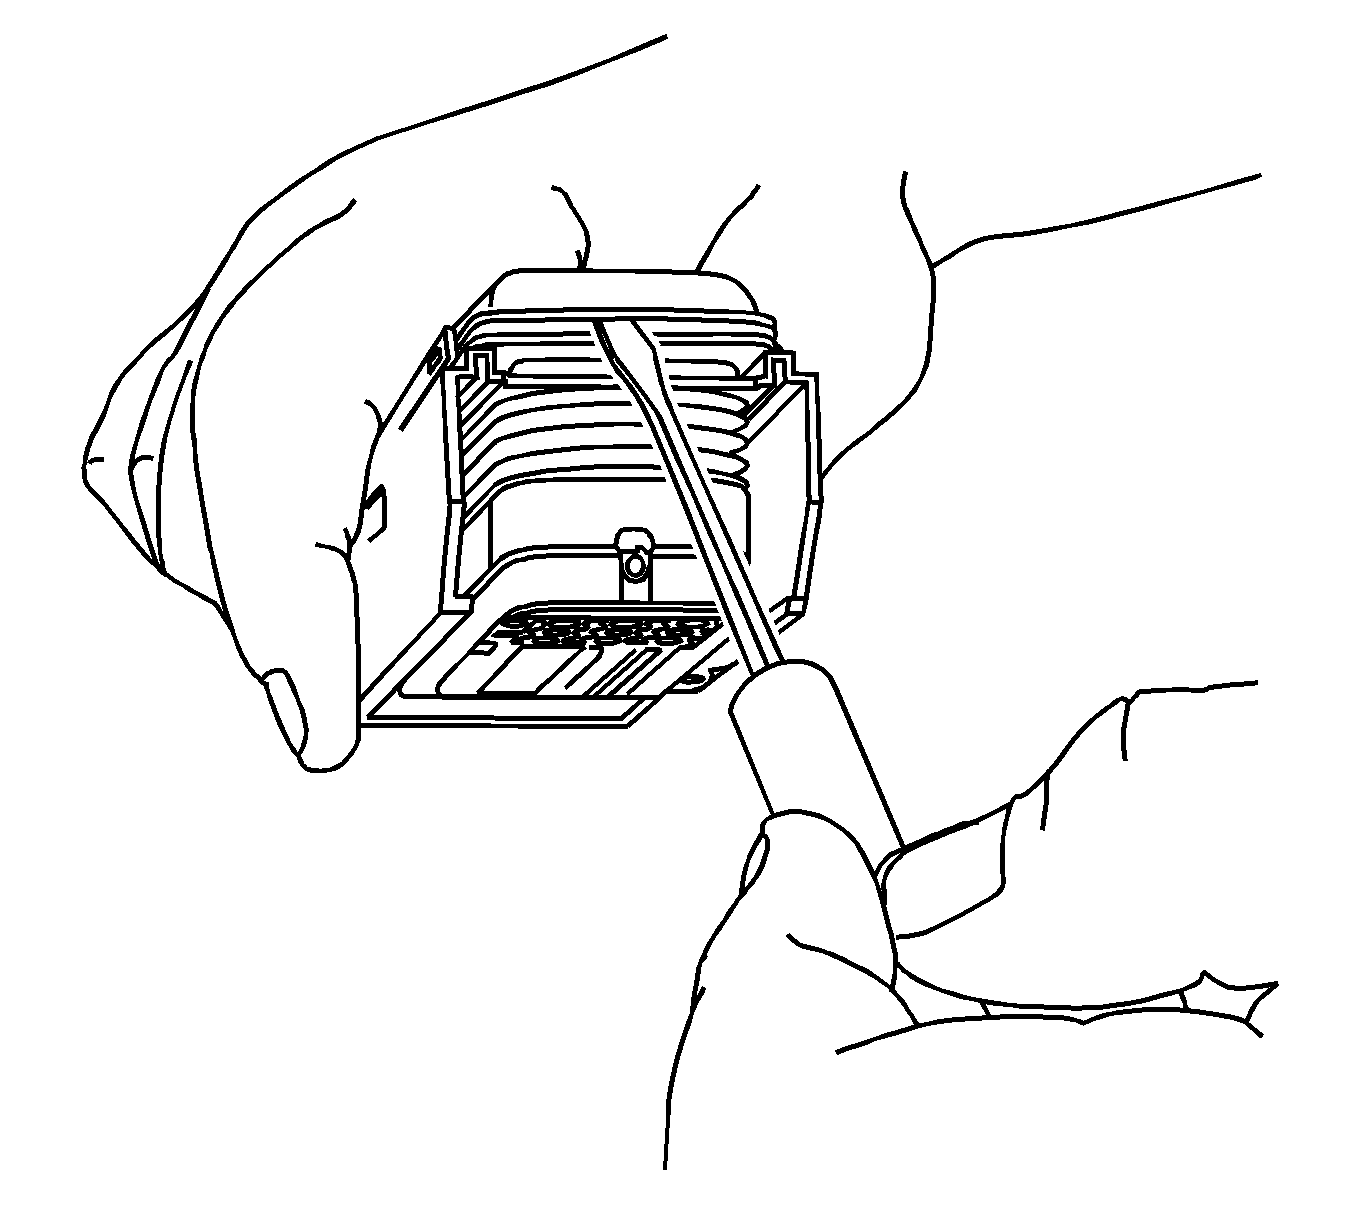
- Use a small flat-blade tool to completely remove the rear TPA from the connector.
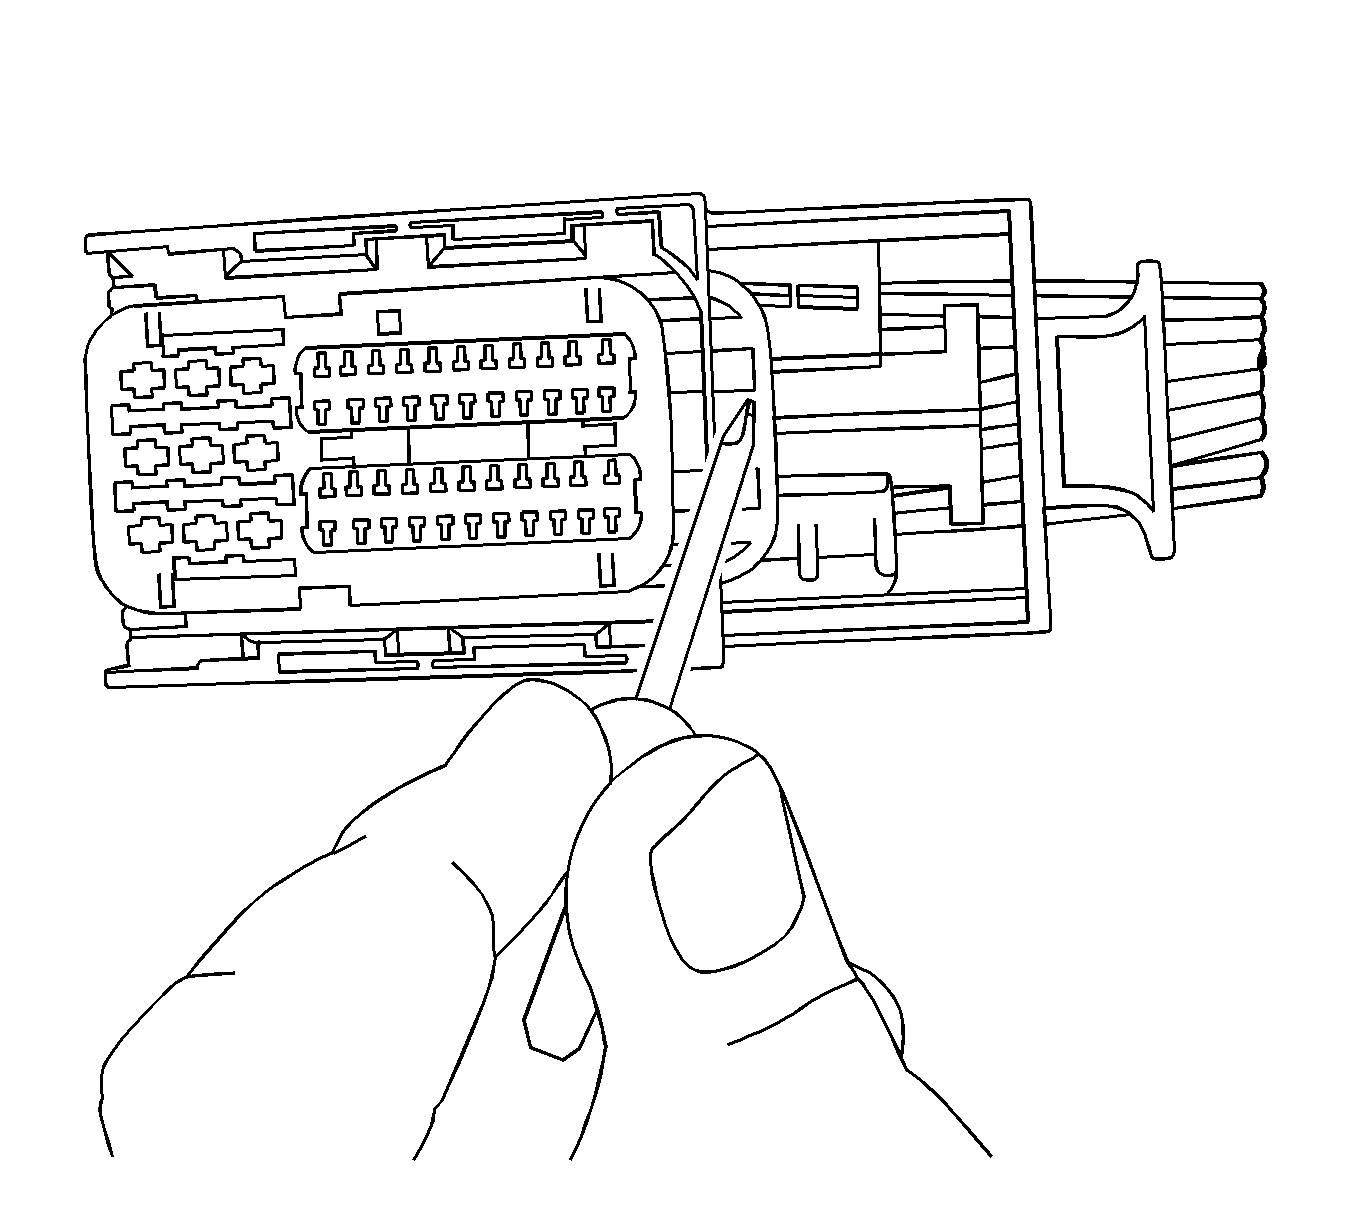
- Use the J 38125-24 or the J 38125-560 tool to release the terminals by inserting the tool into the terminal release cavity. See the release tool cross reference in the Reference Guide of the J-38125 to ensure that the correct release tool is used.
- While holding the removal tool in place, gently pull the wire out of the back of the connector. Always remember never use force when pulling a terminal out of a connector.
Note: The front TPA cannot be removed from the connector. Only move it to the preset position.
Repair Procedure
Use the appropriate terminal and follow the instructions in the J-38125 .
Location of the terminal in the repair tray and the proper crimp tool can be found in the appropriate connector end view.
Kostal Connectors Transmission
Special Tools
J-38125 Terminal Repair Kit
Removal Procedure
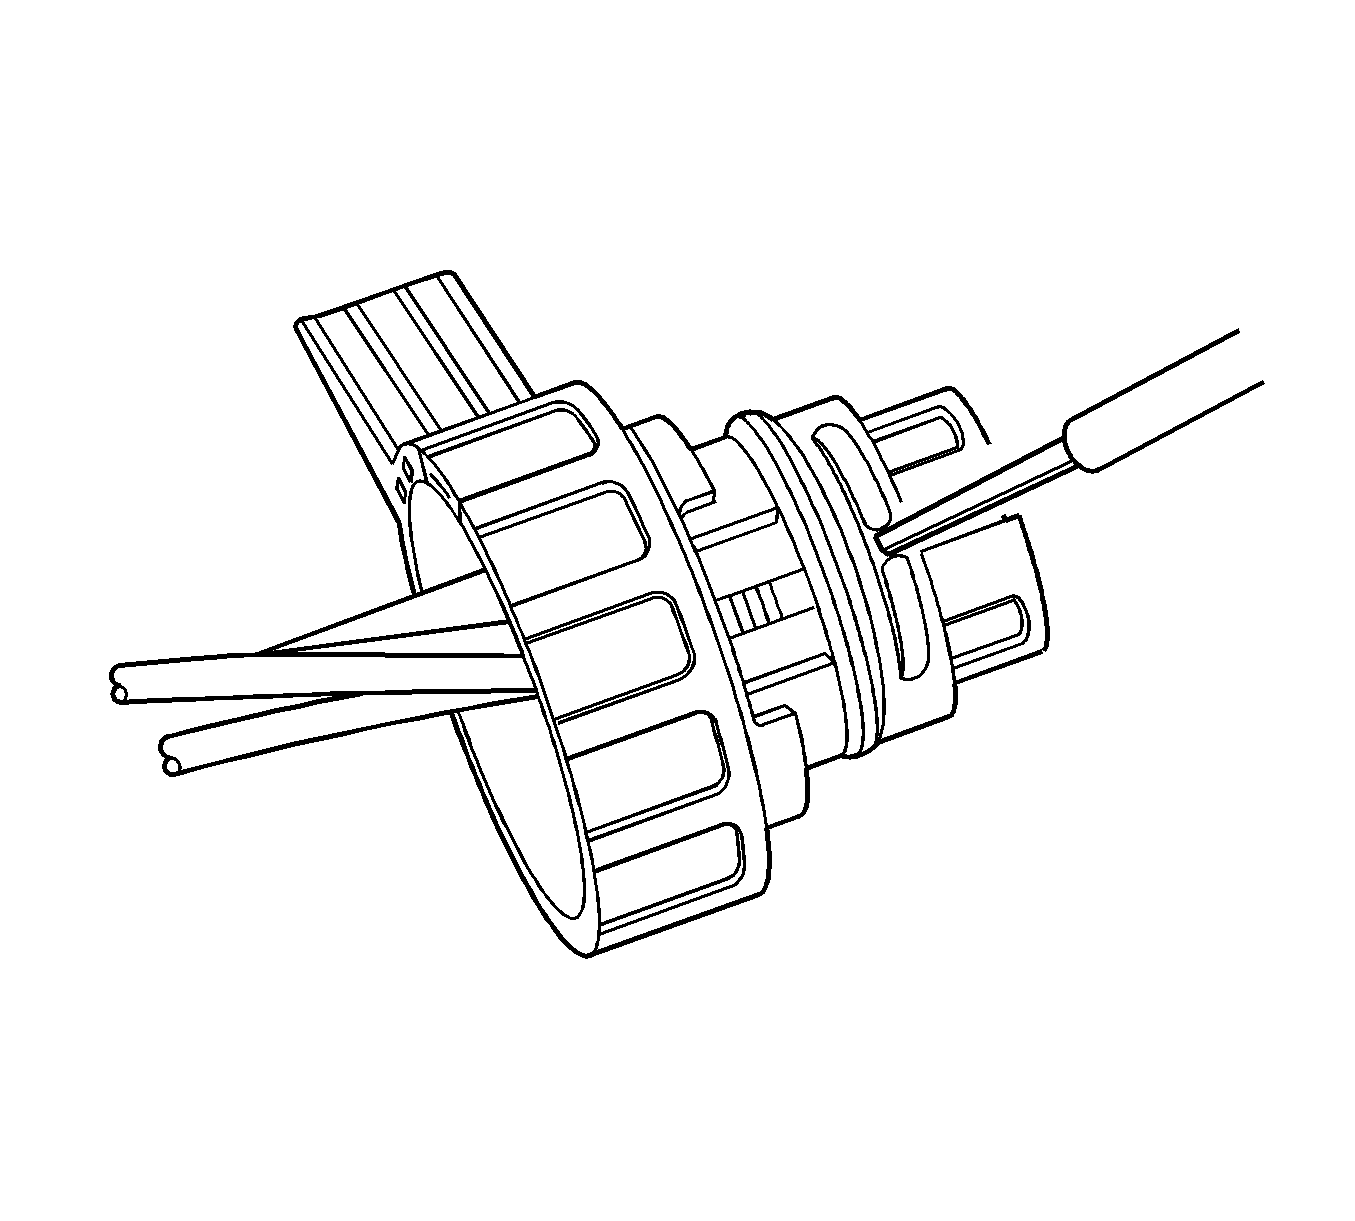
- While depressing the lock, twist and remove the connector from the component.
- Locate the terminal position assurance (TPA).
- Use a small flat-blade tool to push the TPA until it bottoms out.
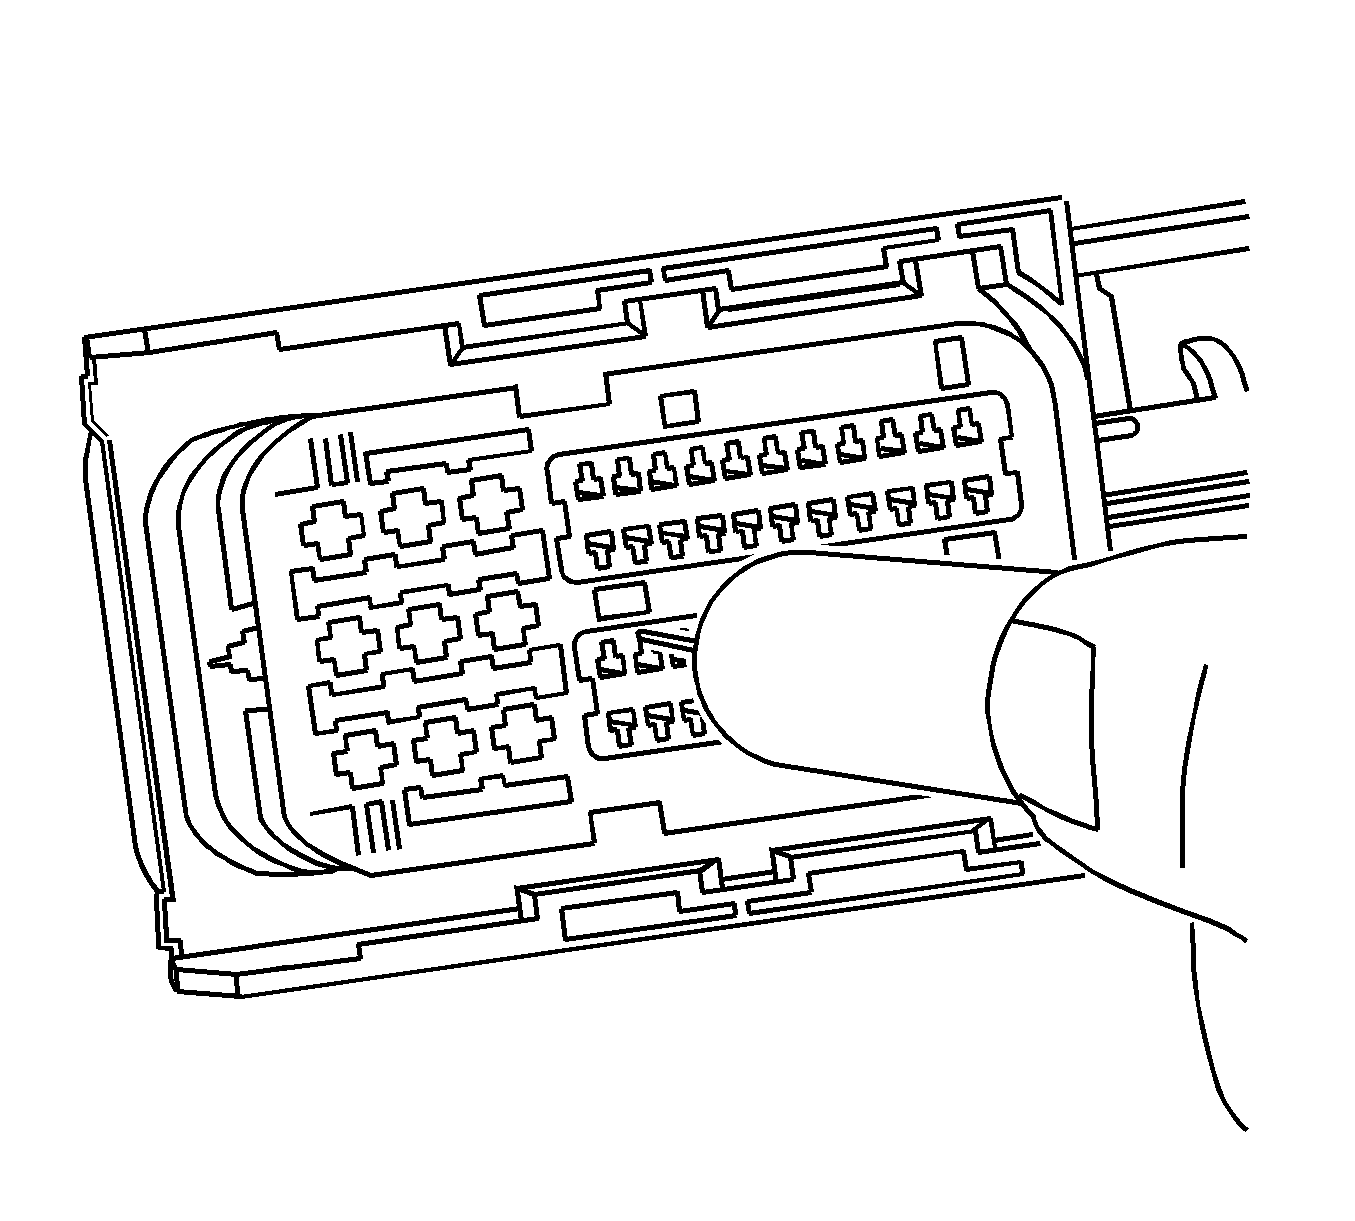
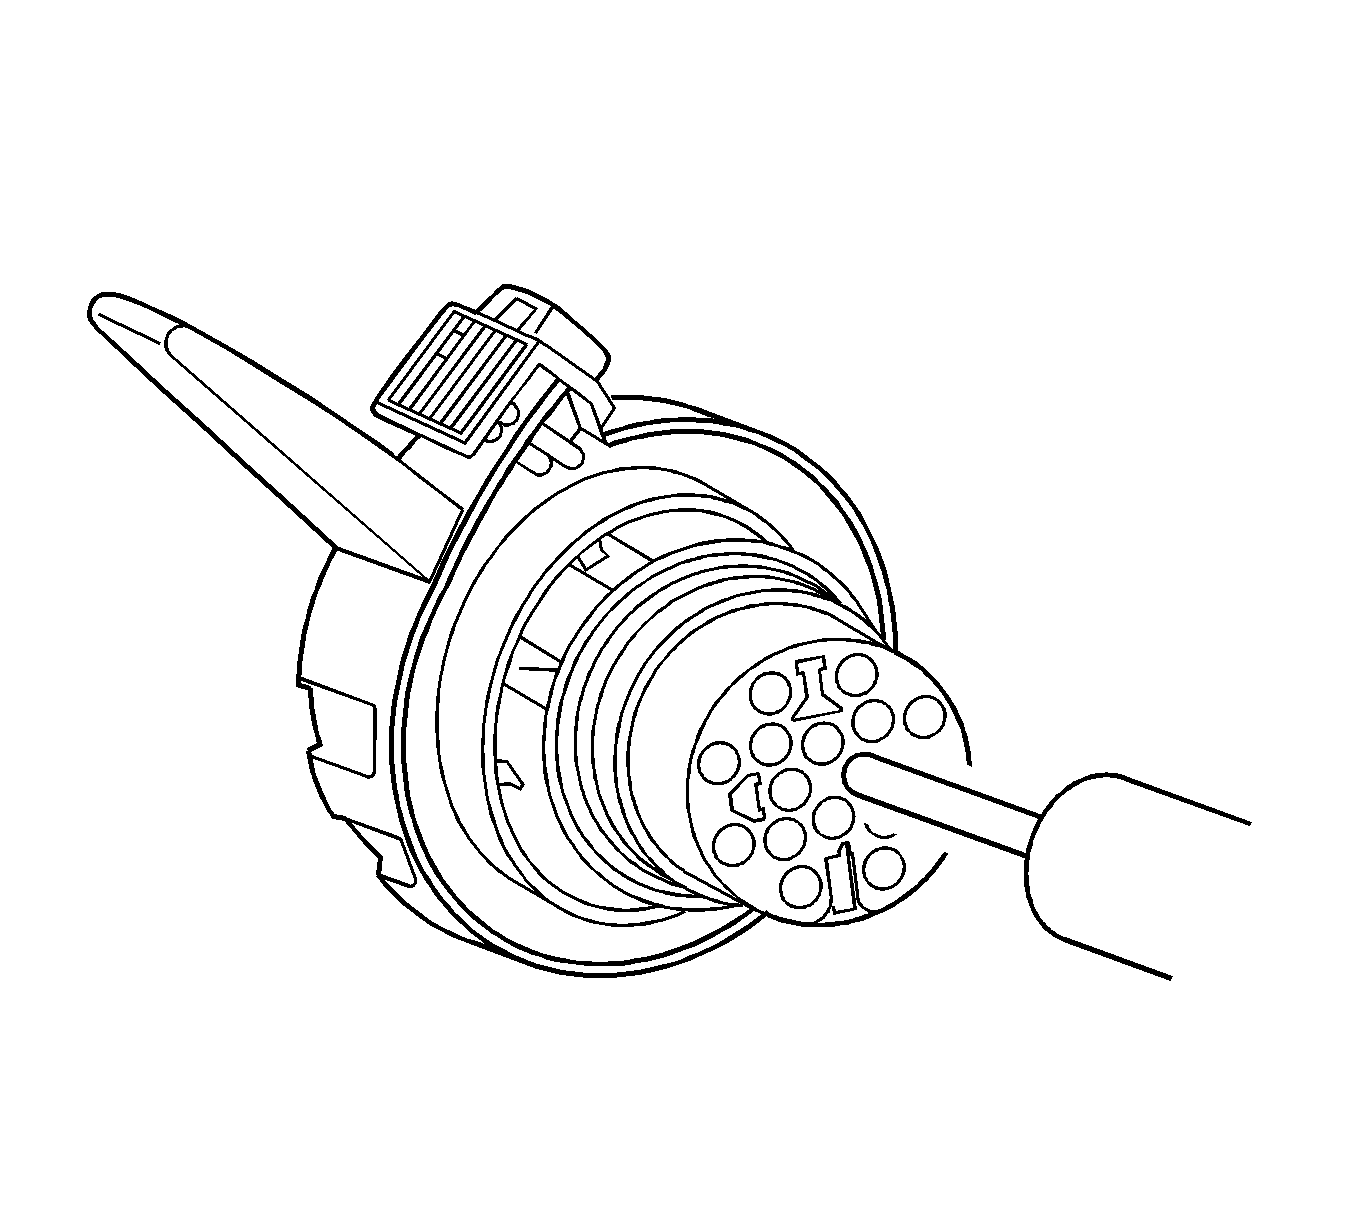
- Use the J 38125-28 tool to release the terminals by inserting the tool into the terminal cavity as shown in the graphic. See the release tool cross reference in the Reference Guide of the J-38125 to ensure that the correct release tool is used.
- While holding the removal tool in place, gently pull the wire out of the back of the connector. Always remember never use force when pulling a terminal out of a connector.
Note: The TPA cannot be removed from the connector while there are terminals present in the connector body.
Repair Procedure
Use the appropriate terminal and follow the instructions in the J-38125 .
Location of the terminal in the repair tray and the proper crimp tool can be found in the appropriate connector end view.
Terminal Replacement Procedure
After the terminal is crimped to the wire, perform the following procedure in order to replace the terminal.
- Slide the new terminal into the correct cavity at the back of the connector.
- Push the terminal into the connector until it locks into place. The new terminal should be even with the other terminals. Ensure that the terminal is locked in place by gently pulling on the wire.
- Locate the terminal position assurance (TPA).
- Use a small flat-blade tool to push the TPA until it bottoms out.
- Ensure the TPA is fully seated. The TPA should be centered and flush with the connector body when viewed.