For 1990-2009 cars only
Removal Procedure
- Remove the charge air cooler inlet pipe. Refer to Charge Air Cooler Inlet Pipe Replacement.
- Remove the charge air cooler outlet pipe. Refer to Charge Air Cooler Outlet Pipe Replacement.
- Remove the air cleaner outlet duct. Refer to Air Cleaner Outlet Duct Replacement.
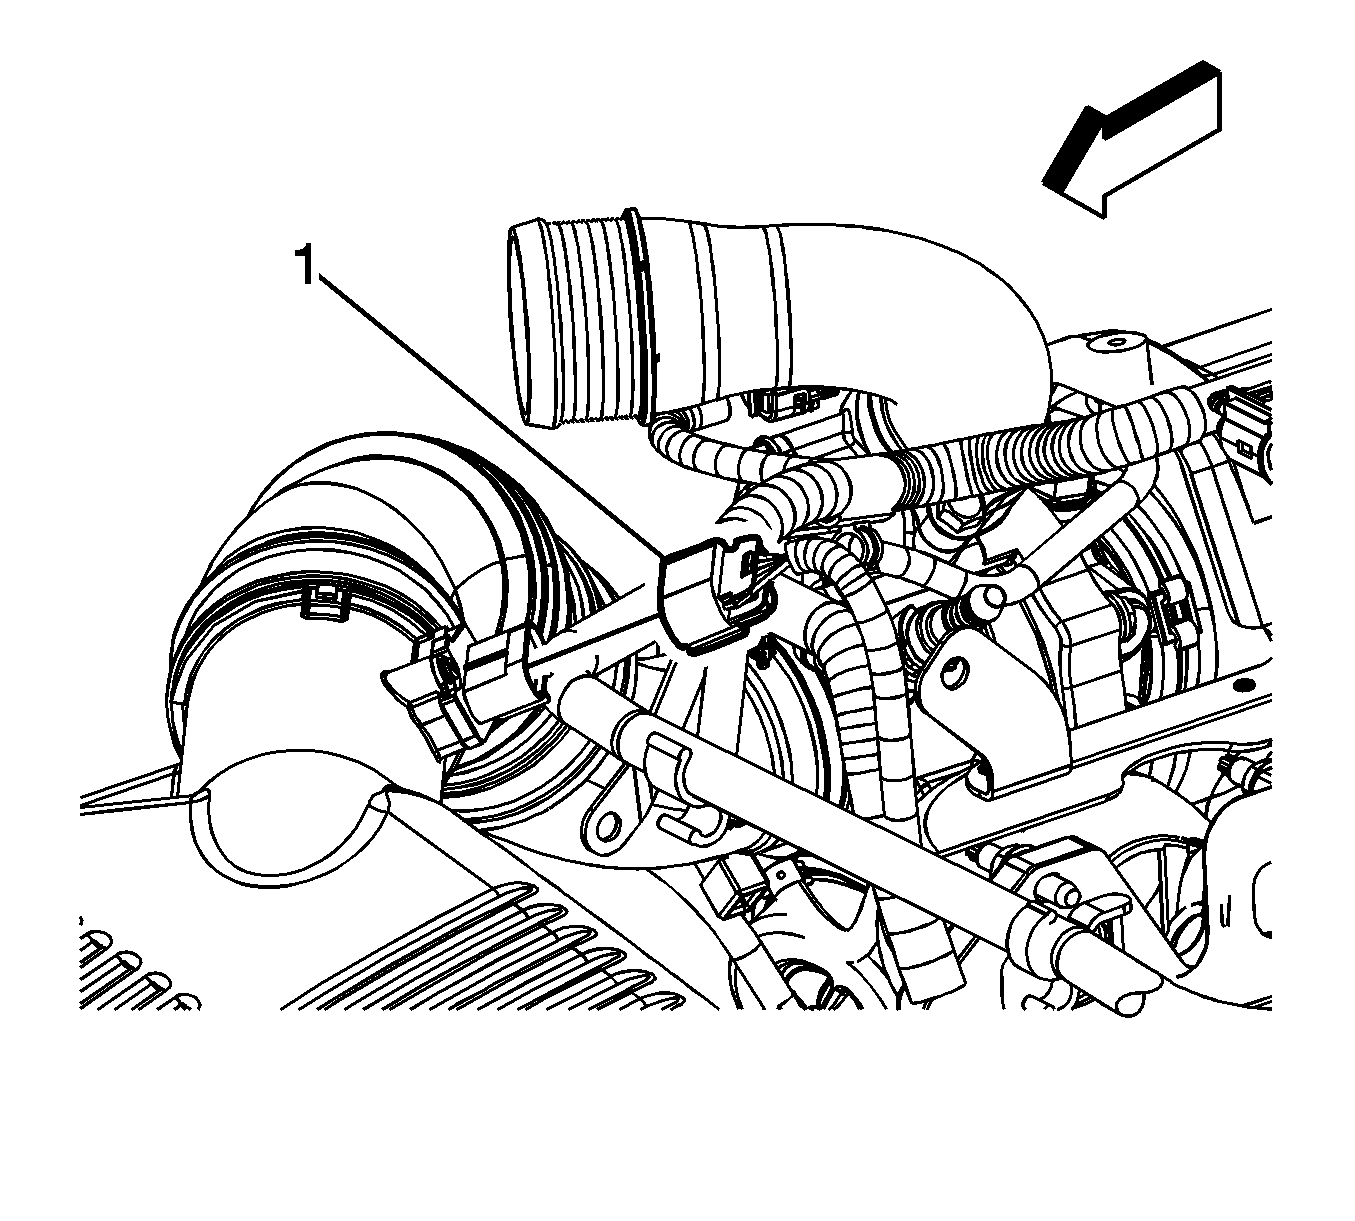
- Disconnect the engine wiring harness electrical connector (1) from the mass air flow (MAF) sensor.
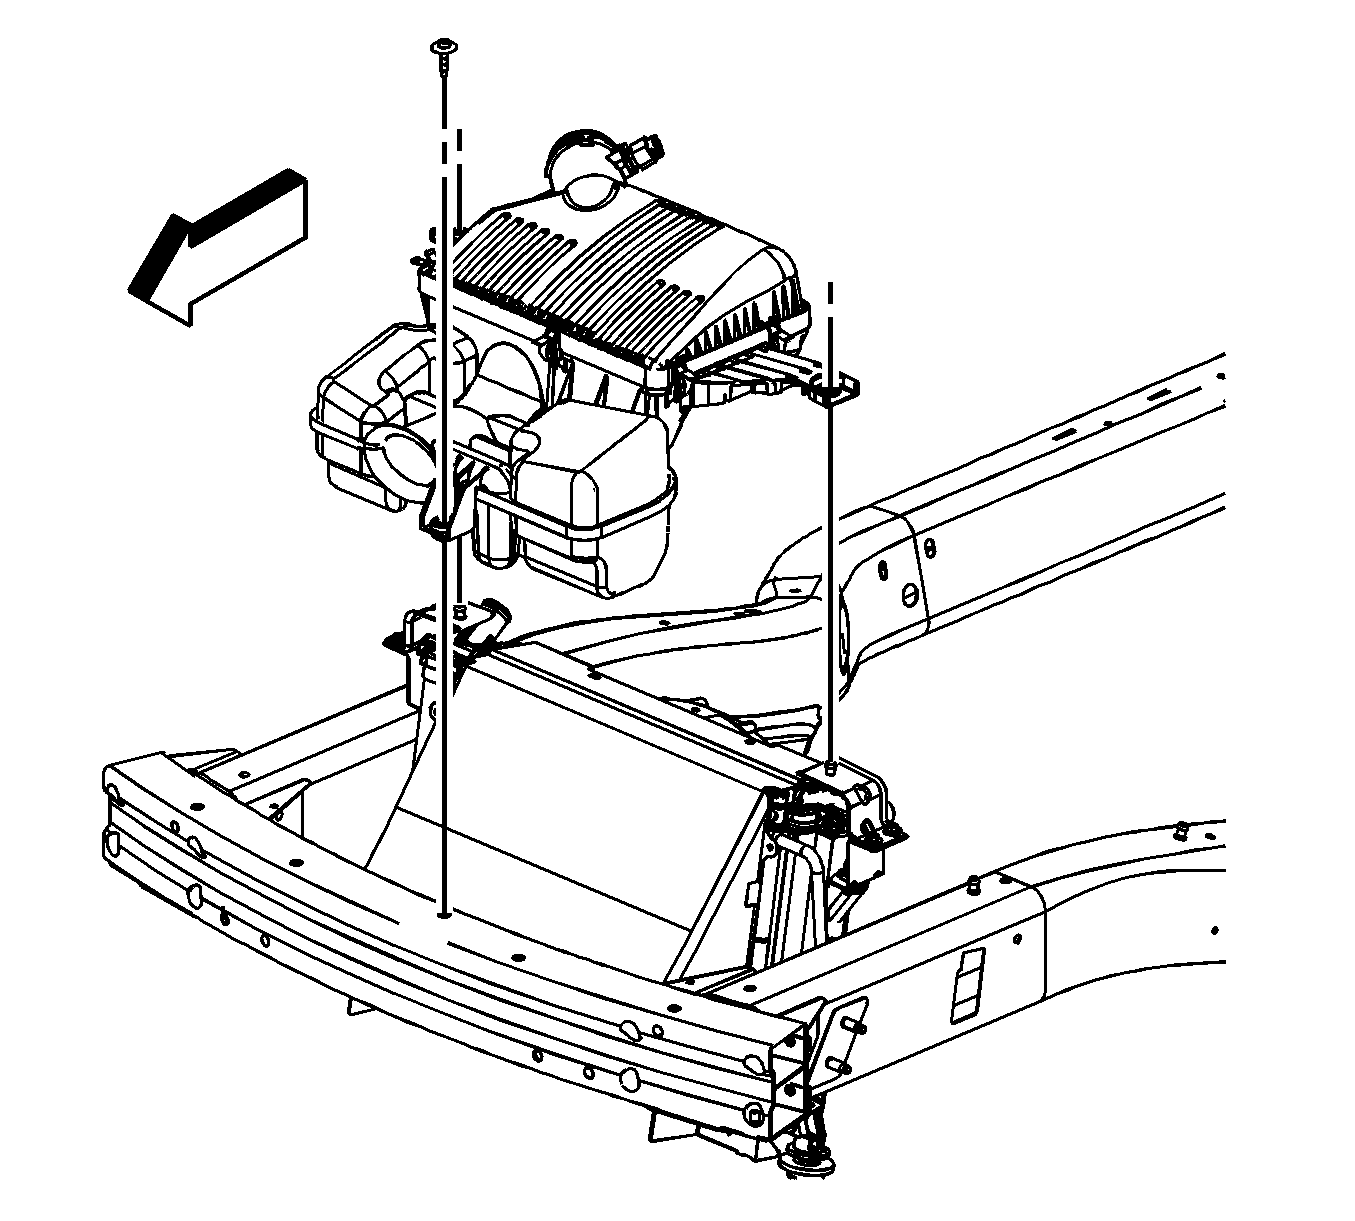
- Remove the air cleaner assembly front bolt.
- Firmly tug on the air cleaner lower assembly in order to disengage the air cleaner from the studs.
- Remove the air cleaner assembly from the vehicle.
Installation Procedure
- Install the air cleaner assembly to the vehicle.
- Position the air cleaner assembly over the studs. Firmly press down over the studs in order to engage the air cleaner to the studs.
- Install the air cleaner assembly front bolt.
- Connect the engine wiring harness electrical connector (1) to the MAF sensor.
- Install the air cleaner outlet duct. Refer to Air Cleaner Outlet Duct Replacement.
- Install the charge air cooler outlet pipe. Refer to Charge Air Cooler Outlet Pipe Replacement.
- Install the charge air cooler inlet pipe. Refer to Charge Air Cooler Inlet Pipe Replacement.
Notice: Refer to Fastener Notice in the Preface section.
Tighten
Tighten the bolt to 10 N·m (89 lb in).
