Removal Procedure
- Remove the control arm assembly. Refer to Rear Axle Lower Control Arm Replacement .
- Mount the control arm in a soft jawed vise with the ball joint stud pointed toward the technician.
- Using the OTC -7249 or equivalent ball joint service kit, select the correct size receiving tube and installing adapter that will fit over the rear of the ball joint assembly.
- Properly position the ball joint press (1), receiving tube (2), and the installing adapter (3) into position over the control arm/ball joint assembly (4) as shown.
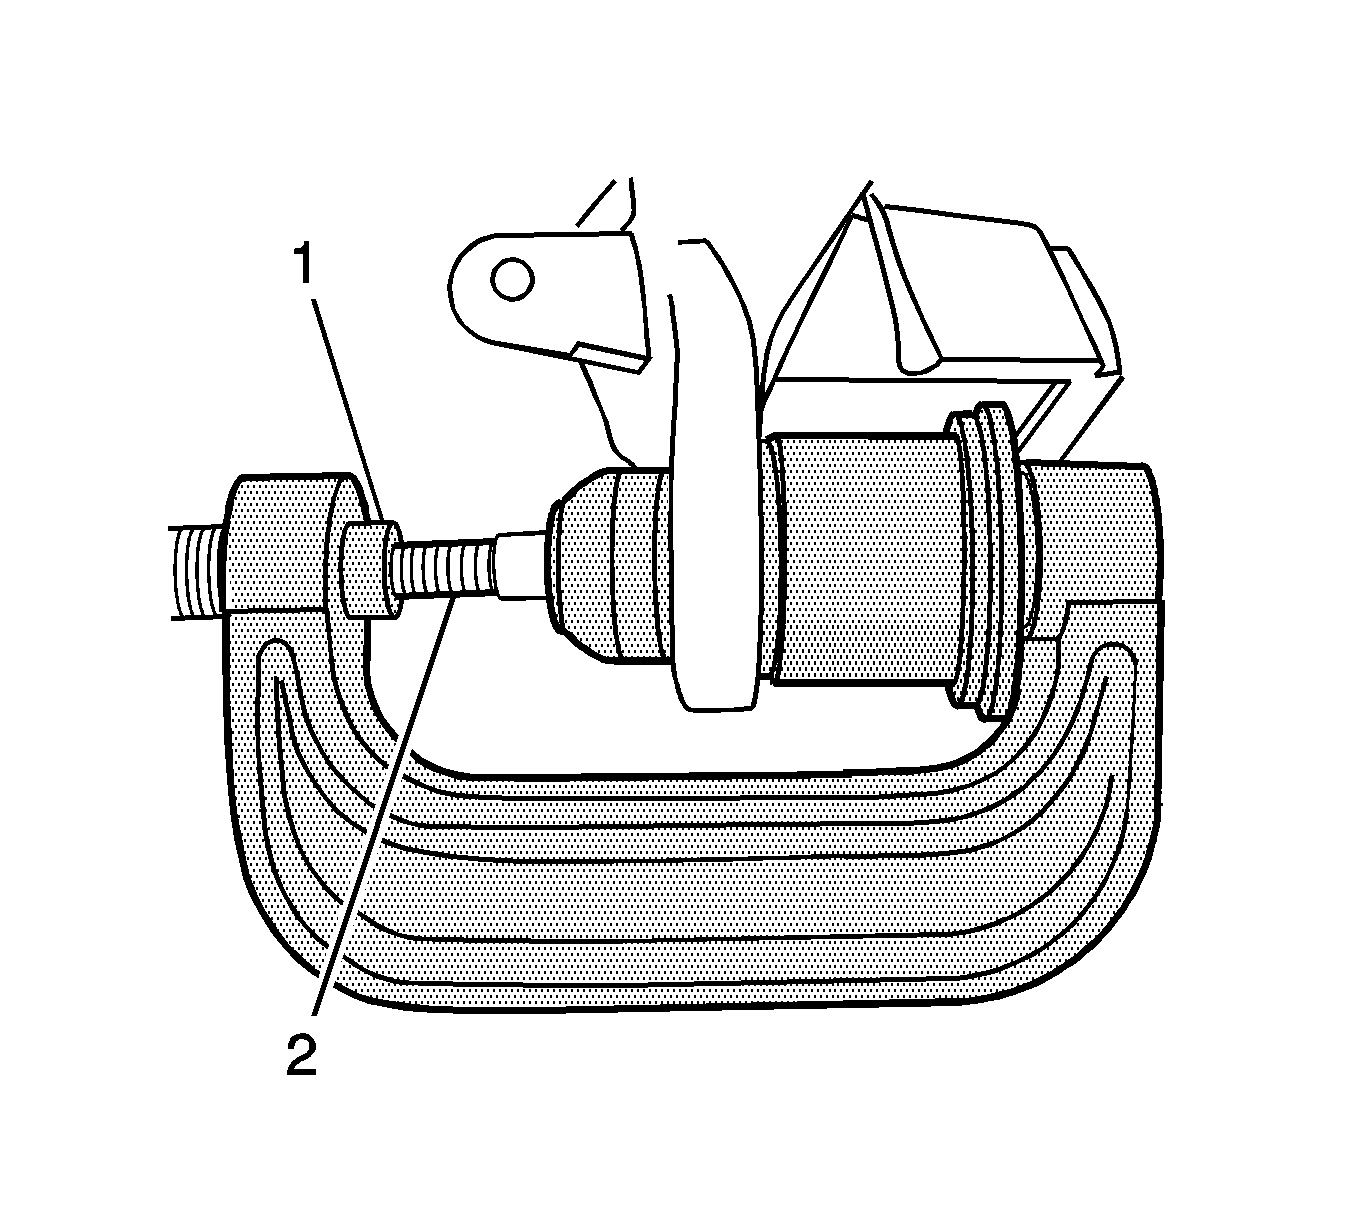
- Tighten the forcing screw (1) until it contacts the top of the ball joint stud (2).
- Ensure that the tools are properly aligned before tightening the forcing screw.
- Tighten the forcing screw until the ball joint is removed from the control arm assembly.
Important: To prevent damage to the control arm assembly, use care when mounting the control arm assembly into the vise.
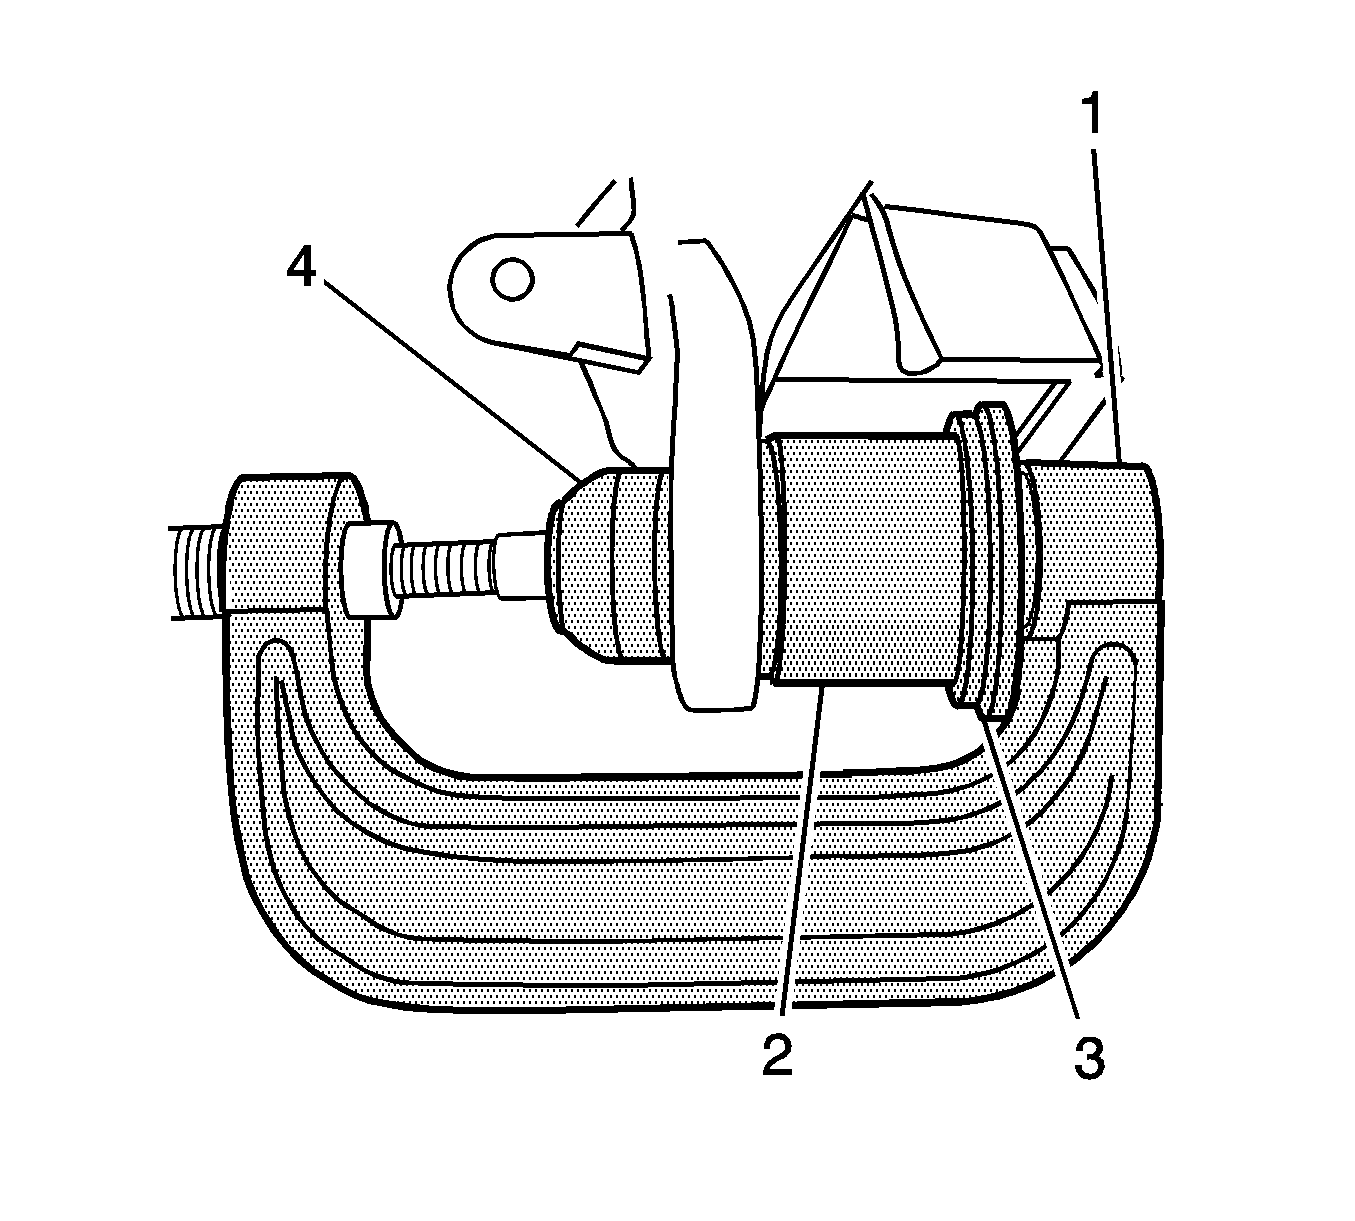
Important: Ensure that the receiving tube is properly positioned to receive the ball joint assembly and the forcing screw is centered onto the top of the ball stud before forcing the ball joint out of the control arm assembly.
Installation Procedure
- Clean and inspect the ball joint bore inner race.
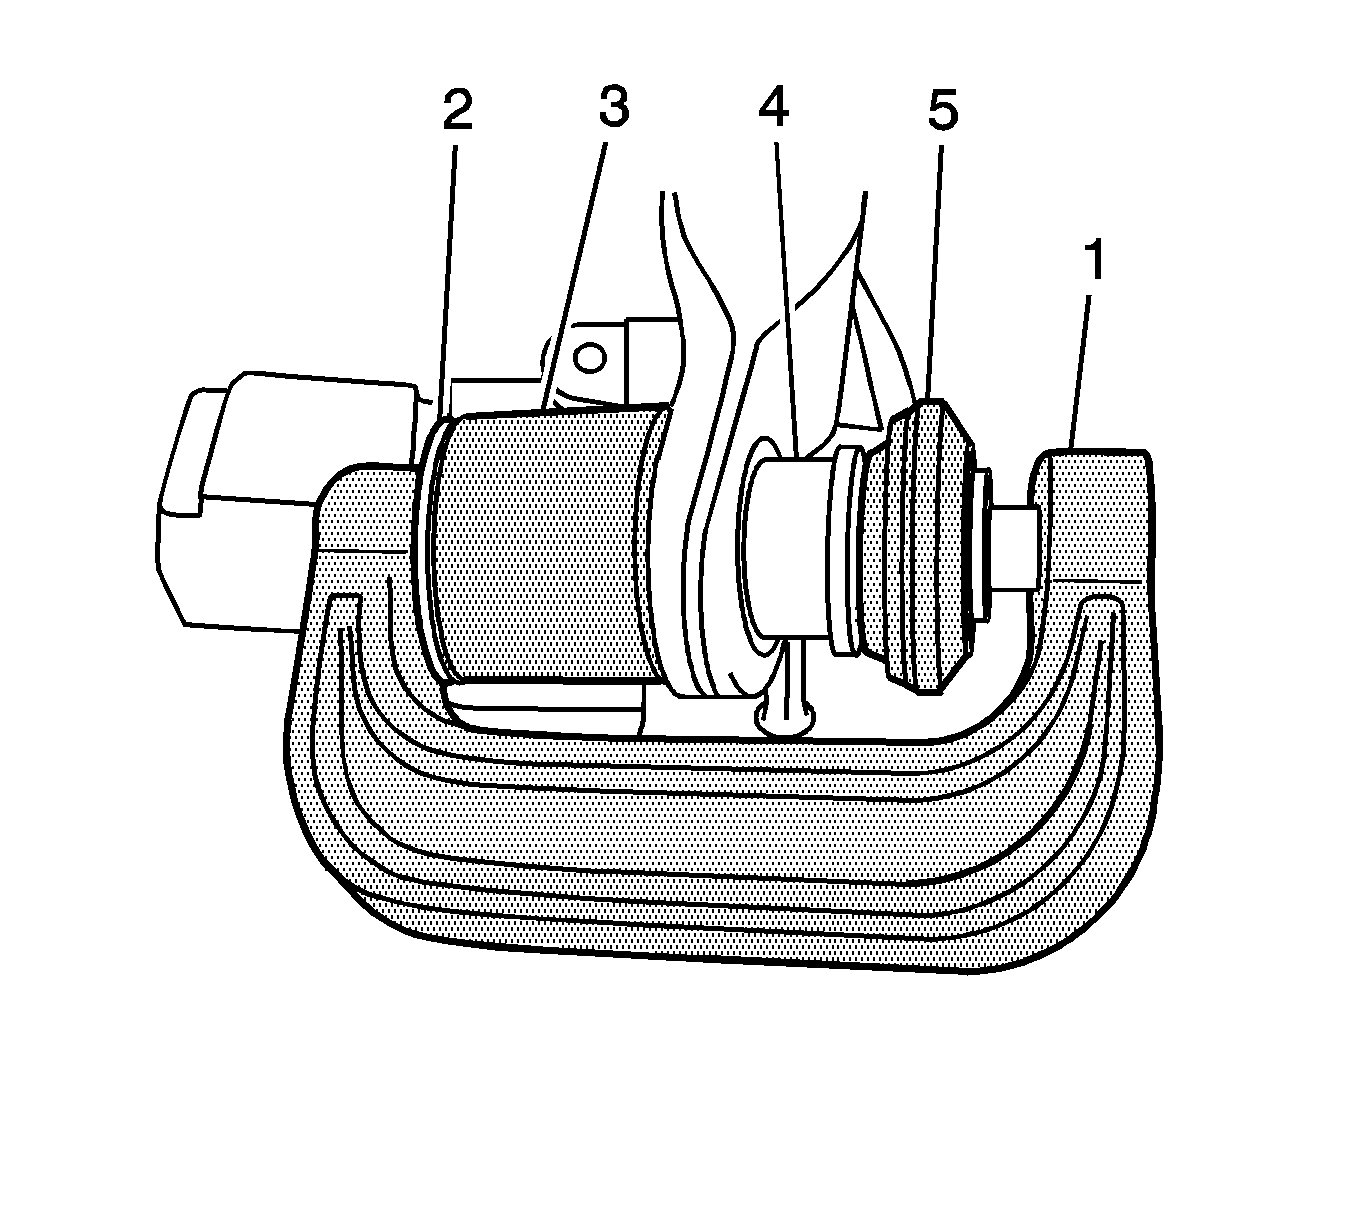
- Properly position the ball joint press (1), installation adapter (2) receiving tube (3) new ball joint assembly (4) and the removing adapter (5) into position.
- Center the new ball joint assembly into the ball joint/control arm assembly bore.
- With the ball joint assembly positioned as straight as possible into the control arm, tighten the forcing screw to press the ball joint into place.
- The ball joint assembly is properly seated when the ball joint contacts the control arm assembly.
- Inspect the ball joint seal to ensure that no damage has occurred to the seal during the installation procedure.
- Install the control arm assembly into the vehicle. Refer to Rear Axle Lower Control Arm Replacement .
- Inspect the ball joint seal to ensure that no damage has occurred during the installation of the lower control arm
Important: Inspect the ball joint bore inner race (internal control arm) for any deep scores or gouges. If the ball joint assembly inner race is damaged, the complete control arm assembly must be replaced.
Important: To prevent damage to the control arm assembly during the ball joint installation, make sure that the ball joint is properly centered into the ball joint assembly bore.
Important: Use only hand tools when tightening the force screw to make sure that the ball joint stays straight as it is driven into the control arm.
