Tools Required
J 36850
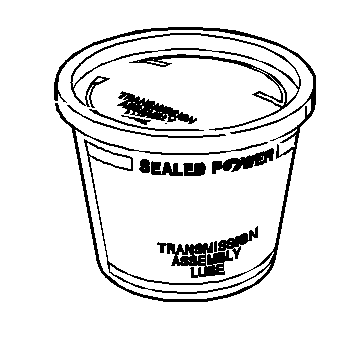
Assembly Lubricant (or equivalent)

- Inspect the control valve body cover (53) for the following conditions:
| • | Damaged or porous gasket sealing surfaces |
| • | Damaged or porous casting surfaces |
| • | Damaged or stripped bolt holes |
- Inspect the control valve body cover gaskets (54, 59) for damage. The gaskets are reusable if they are NOT damaged.
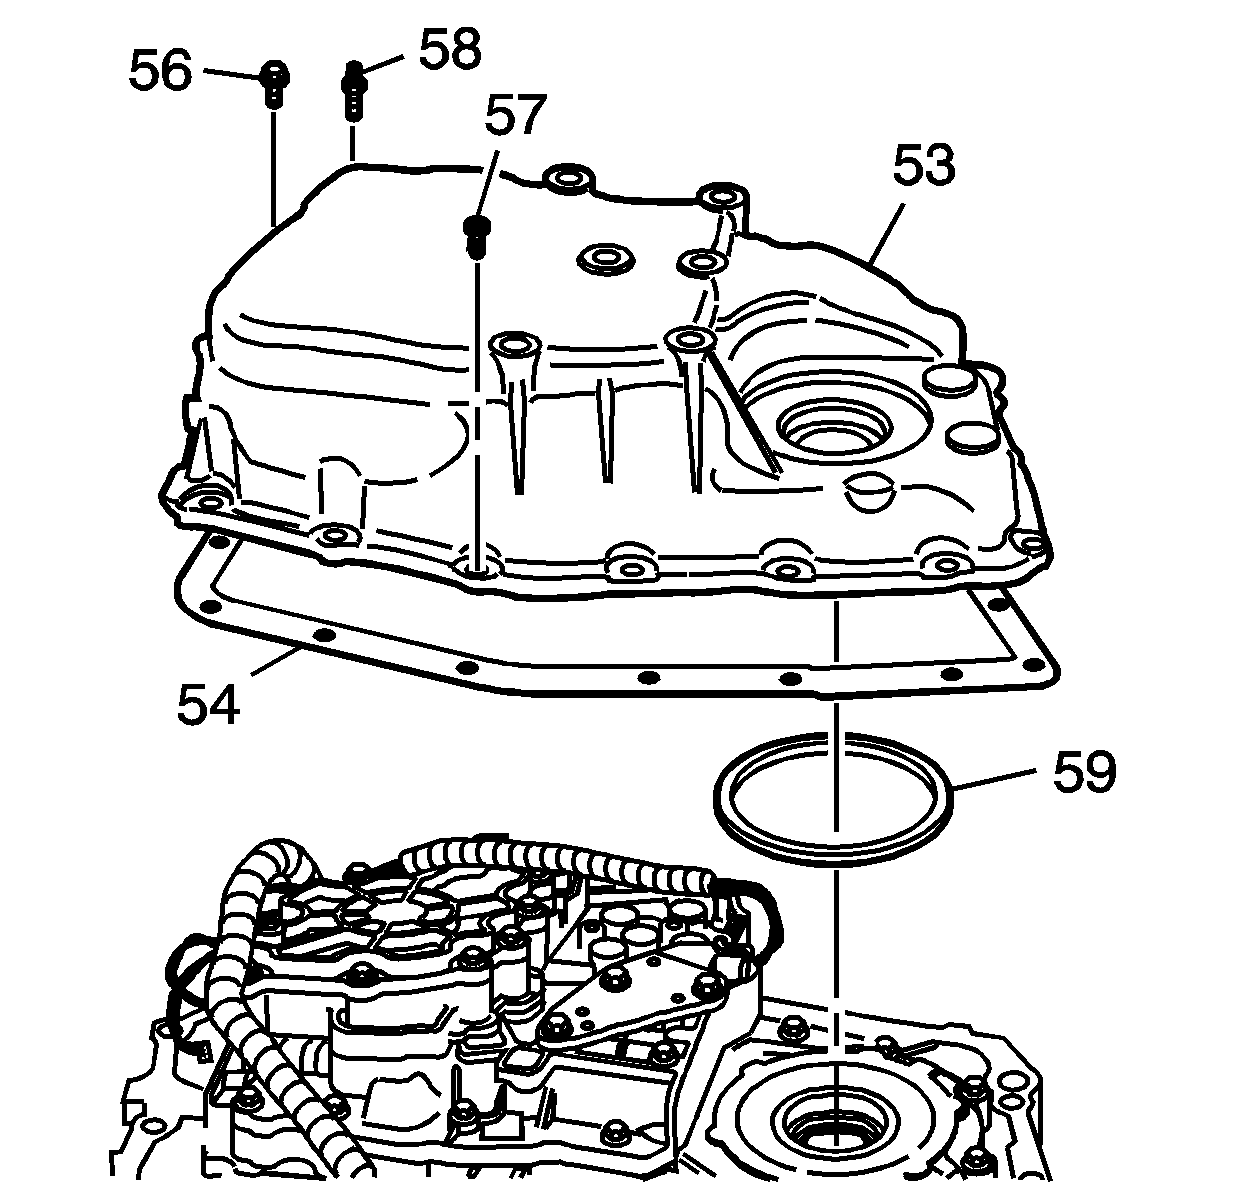
- Assemble the control valve body cover inner gasket (59) to the control valve body cover (53).
Use
J 36850
or equivalent to retain the gasket in position.
- Install the control valve body cover gasket (54) and control valve body cover (53) onto the case. Make sure the gaskets and electrical connector are positioned correctly.
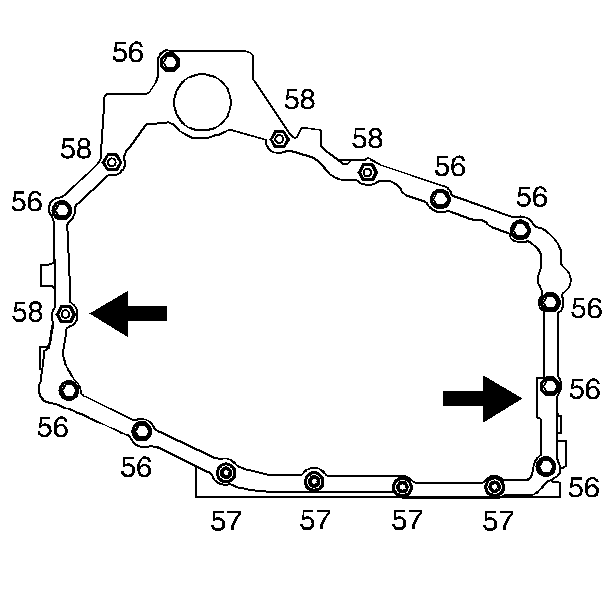
- Install control valve body cover bolt (56) and one control valve body cover to case stud bolt (58) in the locations
shown. These bolts will properly locate the control valve body cover and gasket to the case.
Notice: Use the correct fastener in the correct location. Replacement fasteners
must be the correct part number for that application. Fasteners requiring
replacement or fasteners requiring the use of thread locking compound or sealant
are identified in the service procedure. Do not use paints, lubricants, or
corrosion inhibitors on fasteners or fastener joint surfaces unless specified.
These coatings affect fastener torque and joint clamping force and may damage
the fastener. Use the correct tightening sequence and specifications when
installing fasteners in order to avoid damage to parts and systems.
- Install the remaining bolts as indicated:
| • | Nine control valve body cover bolts (56) |
| • | Four control valve body cover TORX® head bolts (57) |
| • | Four control valve body cover to case stud bolts (58) |
Tighten
Tighten all bolts to 25 N·m (18 lb ft).
