- Install the pinion bearing cups into the differential carrier assembly, if necessary. Refer to
Front Differential Drive Pinion Gear Bearing Cup Installation
.
- Install the selective shim between the inner pinion bearing and the shoulder of the pinion gear.
- Install the inner pinion bearing onto the pinion gear using the
J 33785
.
- Install the new collapsible spacer onto the pinion gear.
- Lubricate the inner and the outer pinion bearing with axle lubricant. Use the proper fluid. Refer to
Fluid and Lubricant Recommendations
.
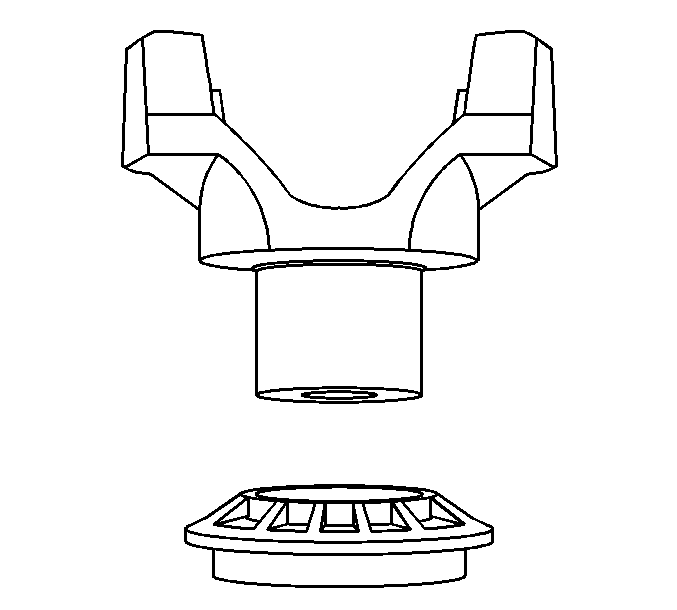
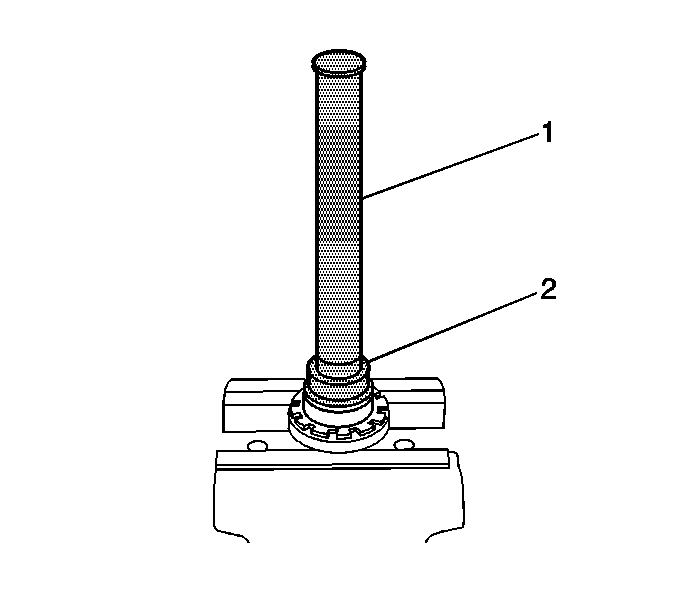
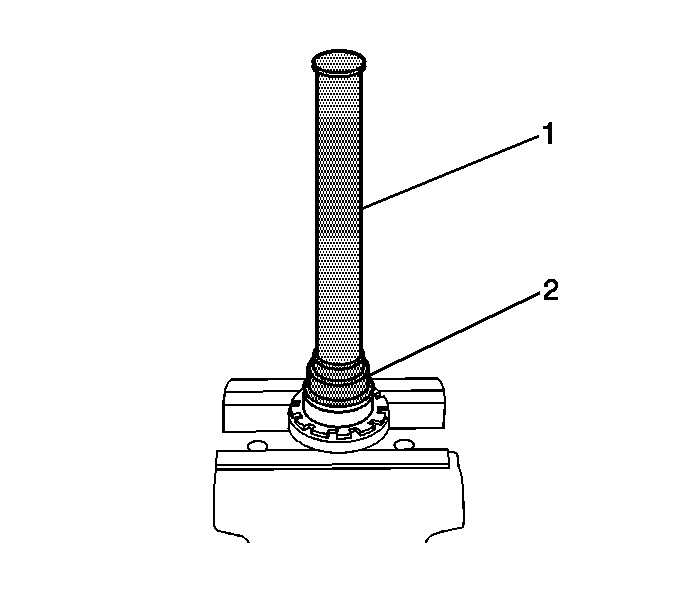
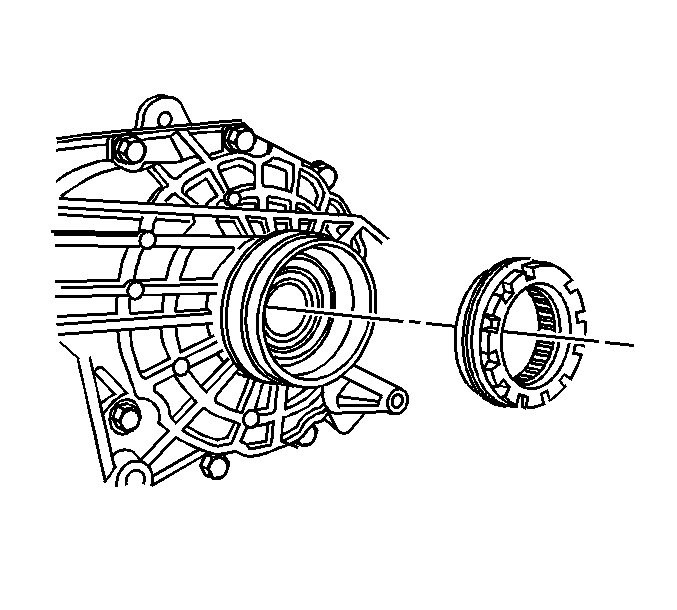
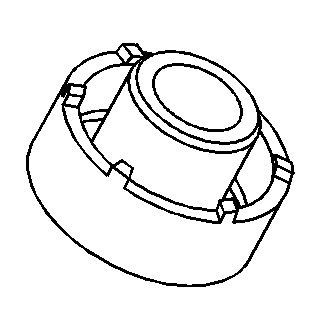
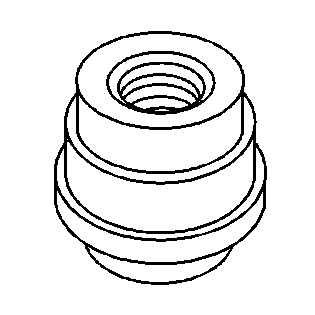
- Install the new deflector onto the pinion yoke using a soft-faced hammer.
- Install the outer pinion bearing into the differential carrier half.
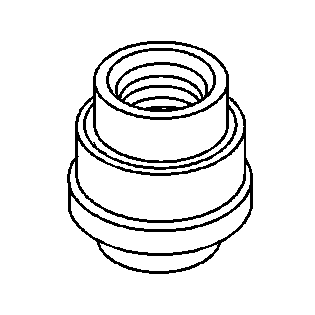
- Install the oil seal by doing the following:
| 8.1. | Install the differential carrier case half into a vise. |
Place shop towels in the vise in order to protect the differential carrier case.
| 8.2. | Install the seal using the
J 33782
. Ensure the seal flange is seated on the axle housing surface. |
- Apply sealant to the splines of the pinion yoke. Use the correct sealant. Refer to
Adhesives, Fluids, Lubricants, and Sealers
.
- Install the pinion gear, with the inner pinion bearing and the new collapsible spacer, into the differential carrier case.
- Install the pinion yoke.
Notice: Do not hammer the pinion flange/yoke onto the pinion shaft. Pinion components
may be damaged if the pinion flange/yoke is hammered onto the pinion shaft.
- Seat the pinion yoke onto the pinion shaft by tapping it with a soft-faced hammer until a few pinion shaft threads show through the yoke.
- Install the washer and a new pinion nut.
If the new pinion nut cannot be installed, perform the following steps in order to seat the pinion yoke onto the pinion so that the washer and new pinion nut can be installed:
| 13.1. | Remove the pinion nut washer. |
| 13.2. | Install the old pinion nut. |
| 13.3. | Tighten the nut until a few of the shaft threads show through the nut so that the washer and new pinion nut can be installed. |
| 13.4. | Remove the old pinon nut. |
| 13.5. | Install the pinion nut washer. |
| 13.6. | Install the new pinion nut. |
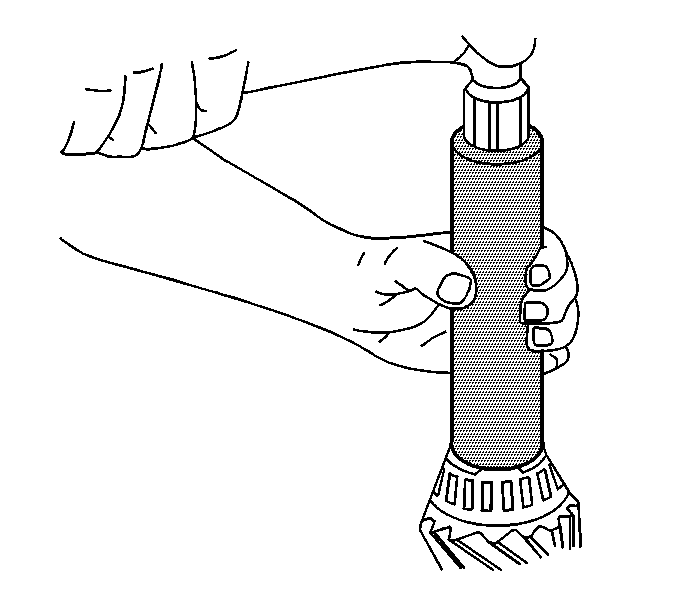
- Install the
J 8614-01
onto the pinion yoke as shown.
Notice: Refer to Fastener Notice in the Preface section.
Important: If the rotating torque is exceeded, the pinion will have to be removed and a new collapsible spacer installed.
- Tighten the pinion nut while holding the
J 8614-01
.
Tighten
Tighten the pinion nut until the pinion end play is just taken up. Rotate the pinion while tightening the nut to seat the bearings.
- Remove the
J 8614-01
.
- Measure the rotating torque of the pinion using an inch-pound torque wrench.
Specification
The rotating torque of the pinion should be 1.0-2.3 N·m (10-20 lb in) for used bearings or 1.7-3.4 N·m (15-30 lb in) for new bearings.
- If the rotating torque measurement is below 1.0 N·m (10 lb in) for used bearings or 1.7 N·m (15 lb in) for new bearings, reinstall the
J 8614-01
and
continue to tighten the pinion nut.
Tighten
Tighten the pinion nut, in small increments, as needed, until the torque required in order to rotate the pinion is 1.0-2.3 N·m (10-20 lb in) for used bearings or 1.7-3.4 N·m
(15-30 lb in) for new bearings.
- Once the specified torque is obtained, rotate the pinion several times to ensure the bearings have seated.
Recheck the rotating torque and adjust if necessary.
- Remove the
J 8614-01
.
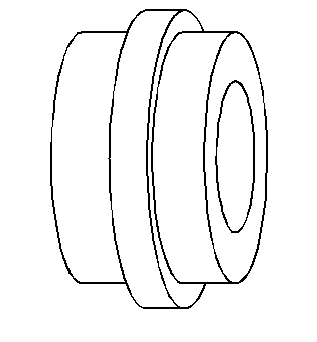
- Install the left side differential carrier bearing,
print side out, to the left side differential adjuster nut using the
J 8092
(1) and the
J 45232
(2).
- Install the left side differential bearing adjuster into the left differential
carrier case half using the
J 42213
.
- Install the left differential case side bearing cup into the left differential carrier case half using the
J 23423-A
and the
J 8092
.
- Install the right side differential carrier bearing,
print side out, to the right side differential adjuster nut using the
J 8092
(1) and the
J 45233
(2).
- Install the right side differential bearing adjuster into the right side differential carrier case half using
the
J 45224
.
- Install the right differential case side bearing cup into the right differential carrier case half using the
J 23423-A
and the
J 8092
.
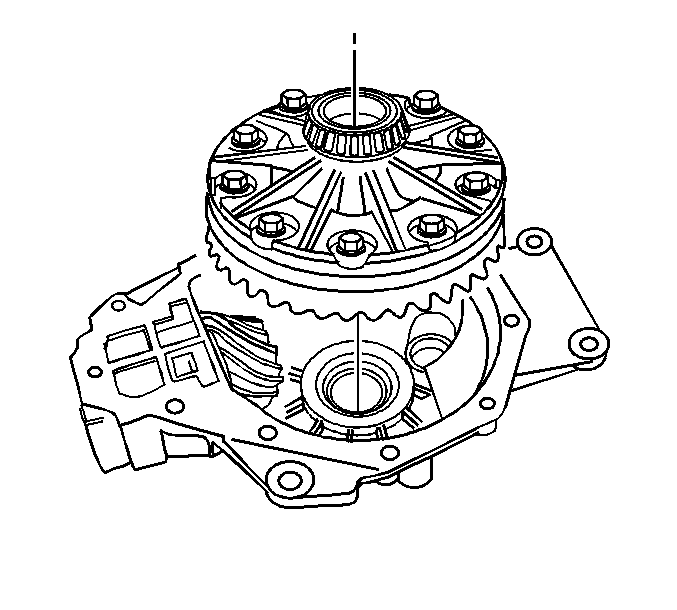
- Install the differential case assembly into the left differential carrier case half.
- Clean the sealing surface of each half of the differential carrier case and the inner axle housing to differential carrier assembly.
The surfaces must be clean of all grease and oil.
- Apply a bead of sealer to one differential carrier case half sealing surface. Use the correct sealer. Refer to
Adhesives, Fluids, Lubricants, and Sealers
.
- Install the right differential carrier case half to the left differential carrier case half.
If the carrier case halves do not make complete contact, back out the right side differential adjuster using the
J 45224
.
- Install the differential carrier case bolts.
Tighten
Tighten the differential carrier case bolts to 48 N·m (35 lb ft).
- While rotating the pinion yoke back and forth, turn the right side differential adjuster nut sleeve clockwise using the
J 45224
until 0.0254-0.0762 mm (0.001-0.003 in)
of backlash can be felt between the ring gear and the drive pinion.
- Turn the left side differential adjuster nut sleeve clockwise using the
J 45224
in order to preload the differential side bearings against the differential side bearing cups.
Tighten
Tighten the differential adjuster nut to 75 N·m (55 lb ft).
- Rotate the pinion several times in order to seat the pinion and differential side bearings.
- Measure the rotating torque of the drive pinion and differential assembly using an inch-pound torque wrench.
Specification
The rotating torque of the pinion and differential assembly should be 3.4-6.2 N·m (30-55 lb in) for new bearings or 2.8-5.1 N·m (25-45 lb in)
for used bearings.
- If the rotating torque measurement is below 2.8 N·m (25 lb in) for used bearings, or 3.4 N·m (30 lb in) for new bearings, adjust the differential side bearing preload using the following steps:
| 36.1. | Place an alignment mark between the differential adjuster nut sleeve and the differential carrier case, left and right sides. |
| 36.2. | Using the
J 45224
, turn the left and the right side differential adjuster nut sleeves in or clockwise one notch. |
| 36.3. | Measure the rotating torque of the pinion and differential assembly using an inch-pound torque wrench. |
| 36.4. | Compare the new measurement to the specification listed in step 35. If the rotating torque of the pinion and differential assembly is not within specifications, continue to tighten the left and right side differential adjuster nut sleeves one notch
at a time on each side until the rotating torque of the pinion and differential assembly is within specifications |
- If the rotating torque measurement is above 5.1 N·m (45 lb in) for used bearings, or 6.2 N·m (55 lb in) for new bearings, adjust the differential side bearing preload using the following steps:
| 37.1. | Place an alignment mark between the differential adjuster nut sleeve and the differential carrier case, left and right sides. |
| 37.2. | Using the
J 45224
, turn the left and the right side differential adjuster nut sleeves out or counterclockwise one notch. |
| 37.3. | Measure the rotating torque of the pinion and differential assembly using an inch-pound torque wrench. |
| 37.4. | Compare the new measurement to the specification listed in step 35. If the rotating torque of the pinion and differential assembly is not within specifications, continue to loosen the left and right side differential adjuster nut sleeves one notch
at a time on each side until the rotating torque of the pinion and differential assembly is within specifications. |
- Once the specified rotating torque is obtained, rotate the pinion several times to ensure the bearings have seated.
Recheck the rotating torque and adjust if necessary.
- Measure the drive pinion to ring gear backlash and adjust, if necessary. Refer to
Backlash Inspection and Adjustment
.
- Once the bearing preload and drive pinion to ring gear backlash is within specifications, perform a gear tooth contact pattern check to ensure proper contact between the pinion and the ring gear. Refer to
Gear Tooth Contact Pattern Inspection
.
- Complete the assembly of the differential carrier. Refer to
Differential Carrier Assembly Final Assembly
.
