Caution: Road test a vehicle under safe conditions and while obeying all traffic laws.
Do not attempt any maneuvers that could jeopardize vehicle control. Failure to adhere
to these precautions could lead to serious personal injury and vehicle damage.
Important: Before performing any road test, inspect the tires and wheels. Refer
to
Tire and Wheel Inspection
.
The following road test procedures are the most informative and the
most used:
| • | Neutral coast-down test |
| • | Standing start acceleration test (launch shudder) |
These tests will help to pinpoint the vibration. Perform all of the
tests on a smooth, level road.
Slow Acceleration Test
This test will identify those conditions which are related to the engine-speed
or to the vehicle-speed. Additional tests may be necessary in order to determine
the exact cause of the vibration.
Caution: Road test a vehicle under safe conditions and while obeying all traffic laws.
Do not attempt any maneuvers that could jeopardize vehicle control. Failure to adhere
to these precautions could lead to serious personal injury and vehicle damage.
- On a smooth,
level road, slowly accelerate up to highway speed.
- Look for disturbances that match the customer's description.
- Observe the following readings where the disturbance occurs:
| • | The vehicle speed, km/h (mph) |
| • | The frequency (if possible) |
Now perform the neutral coast-down test and the downshift test.
Neutral Coast-Down Test
Caution: Road test a vehicle under safe conditions and while obeying all traffic laws.
Do not attempt any maneuvers that could jeopardize vehicle control. Failure to adhere
to these precautions could lead to serious personal injury and vehicle damage.
- On a smooth
level road, accelerate to a speed slightly higher than the speed at which
the vibration occurs.
- Shift the vehicle into NEUTRAL gear and coast down through the
vibration range.
Observe whether the vibration is present in NEUTRAL gear.
If the vibration still occurs in NEUTRAL gear, then the vibration is
definitely sensitive to vehicle-speed. At this point, the following components
have been eliminated as a cause of the vibration:
| • | The clutch disc (manual transmission) |
| • | The transmission flywheel (automatic transmission) |
Depending on the symptoms or the frequency, the repair will concentrate
on one of the following components:
| • | The tire and wheel assemblies |
| • | The transmission output shaft |
| • | The rear axle differential pinion |
| • | The rear drive axle or the rear drive axle shafts |
Downshift Test
Caution: Road test a vehicle under safe conditions and while obeying all traffic laws.
Do not attempt any maneuvers that could jeopardize vehicle control. Failure to adhere
to these precautions could lead to serious personal injury and vehicle damage.
- On a smooth,
level road, accelerate to the speed at which the concern vibration occurs.
Observe the engine RPM.
- Decelerate and safely downshift to the next lower gear.
- Operate the vehicle at the previous engine RPM.
If the vibration returns at the same engine RPM, the following conditions
are the most probable causes of the vibration:
| • | The clutch disc (manual transmission) |
| • | The transmission flywheel (automatic transmission) |
Repeat this test in lower gears, and in NEUTRAL gear, in order to confirm
the results.
In some cases, a vibration may also be sensitive to torque or engine
load, as well as being related to a specific engine speed or vehicle speed.
These vibrations can be most difficult to diagnose, and require additional
testing. A systematic approach usually leads to isolating the problem.
Neutral Run-Up Test
This test is designed to identify vibrations which are related to the
speed of the engine. Use this test when the customer has a concern with vibration
at idle, or as a follow-up to the downshift test. This test probably
doesn't apply when the complaint is related to vehicle speed only (appearing
at the same vehicle speed regardless of the engine speed).
Caution: Road test a vehicle under safe conditions and while obeying all traffic laws.
Do not attempt any maneuvers that could jeopardize vehicle control. Failure to adhere
to these precautions could lead to serious personal injury and vehicle damage.
- Slowly increase
the engine speed while looking for disturbances that match the customer's
complaint.
- Observe the engine speed (RPM) and the frequency (if possible)
where the vibration occurs.
Brake Torque Test
This test is designed to identify engine-related vibrations that were
not uncovered with the neutral run-up test. This test also works for vibrations
that are sensitive to the engine load or to the torque. This test will
probably not apply to vibrations which are related only to the speed
of the vehicle.
Caution: Road test a vehicle under safe conditions and while obeying all traffic laws.
Do not attempt any maneuvers that could jeopardize vehicle control. Failure to adhere
to these precautions could lead to serious personal injury and vehicle damage.
- Apply the
park brake.
- Block the front wheels.
- Step firmly on the brake pedal.
- Place the vehicle in DRIVE.
- Slowly increase the engine speed while looking for vibrations
that match the customer's description.
- Observe the engine speed (RPM) and the frequency (if possible)
at which the disturbance occurs.
- If necessary, place the vehicle in REVERSE gear and repeat steps
5 and 6.
Steering Input Test
This test is intended to determine how much the wheel bearings and other
suspension components contribute to the vibration, especially a vibration
relating to noise, such as growl, grinding, and roaring.
Caution: Road test a vehicle under safe conditions and while obeying all traffic laws.
Do not attempt any maneuvers that could jeopardize vehicle control. Failure to adhere
to these precautions could lead to serious personal injury and vehicle damage.
- With the
vehicle at the vibration speed (mph), drive through slow sweeping turns, first
in one direction and then in the other direction.
- If the vibration gets worse or if the vibration goes away, inspect
the following components as possible causes of the vibration:
- The CV joint angle increases when the vehicle is turning. On front
wheel drive (FWD) and four wheel drive (4WD) vehicles, CV joint condition
systems may appear when the angle increases. Putting a load on the
CV joint may increase the vibration amplitude. The third order, tire
speed related amplitude would remain the same.
Standing Start Acceleration (Launch Shudder) Test
The purpose of this test is to duplicate a vibration called launch shudder.
In some cases, a powertrain mount or an exhaust ground-out may also be the
cause of the vibration, depending on the symptoms.
Caution: Road test a vehicle under safe conditions and while obeying all traffic laws.
Do not attempt any maneuvers that could jeopardize vehicle control. Failure to adhere
to these precautions could lead to serious personal injury and vehicle damage.
- With the
vehicle at a complete stop and in gear, remove your foot from the brake pedal.
- Accelerate to 48-64 km/h (30-40 mph)
while looking for vibrations that match the customer's description.
Other possible causes of launch shudder include the following conditions:
| • | A worn or damaged drive axle CV joint |
| • | A ground-out through the engine or transmission mounts |
| • | Faulty exhaust hangers and mounts |
Four-Wheel Drive (4WD) Vehicles
Notice: If you remove an all-wheel-drive propeller shaft for diagnosis, it is
recommended that you drive no more than needed (7 miles
maximum). Additional mileage may damage the transfer case.
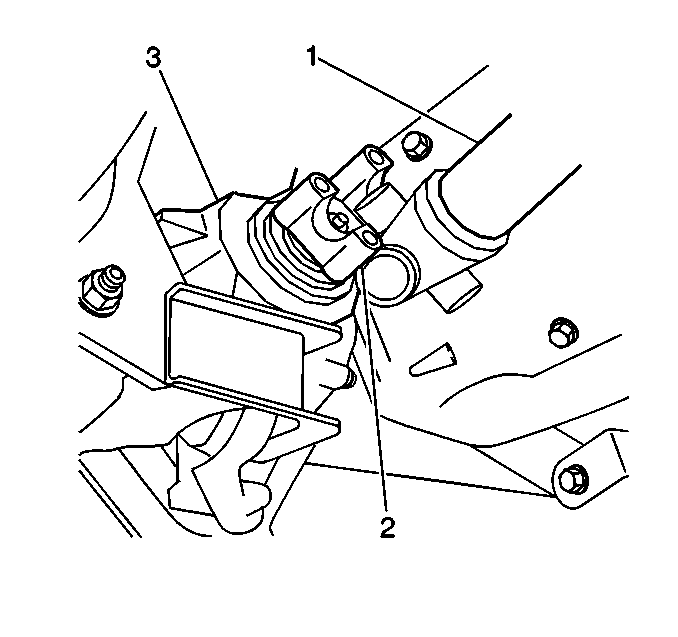
Important: Mark the propshafts (1) and the flange/yoke (2) before
removing these components from the vehicle. Reinstall the prop shafts with
the marks lined up in order to prevent induced vibrations.
- If a vibration is sensitive to vehicle speed (mph), try removing
either the front propshaft or the rear propshaft.
- Install a plug in the opening for the transmission or the transfer
case output shaft, in order to keep oil from leaking out.
- Drive the vehicle through the vibration speed range.
- If the vibration goes away with the propshaft removed, the problem
is probably in that component.
- If the vibration does not go away, put the propshaft back in.
Remove the other propshaft. Repeat the road test.
- If the vibration is still present, use an accurate reed tachometer
or EVA in order to test the tire/wheel assembly or the related components
(for example, the hub, the brake rotors, the drum). Remember, accurate
vibration frequency readings are important.
