For 1990-2009 cars only
Tool Required
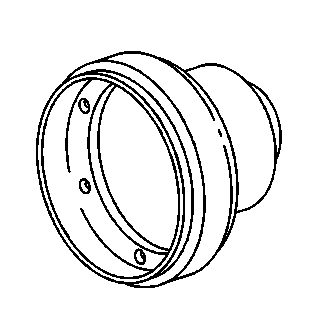
J 41172 Oil Seal Installer
Removal Procedure
- Remove the transmission assembly. Refer to Two-Wheel-Drive Transmission Replacement or Four-Wheel-Drive Transmission Replacement in Manual Transmission or Two-Wheel-Drive Transmission Replacement or Four-Wheel-Drive Transmission Replacement in Automatic Transmission.
- Remove the clutch and pressure plate on manual transmission equipped vehicles. Refer to Clutch Assembly Replacement in Clutch.
- Mark the flywheel-to-engine position.
- Remove the flywheel from the crankshaft. Refer to Engine Flywheel Replacement .
- Carefully pry out the crankshaft rear oil seal using a screwdriver.
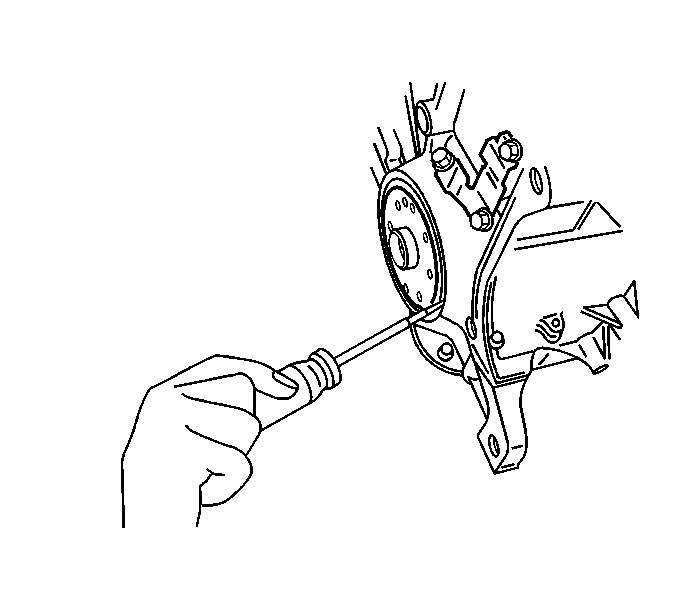
Important: To protect the crankshaft from damage, wrap the tip of the screwdriver with tape.
Installation Procedure
- Apply GM P/N 1051344 Chassis Grease to the new crankshaft rear oil seal lip.
- Position the new seal in place over the end of the crankshaft.
- Lightly tap the crankshaft rear oil seal into place using a hammer and the J 41172 .
- Install the flywheel. Refer to Engine Flywheel Replacement .
- Install the clutch and pressure plate on manual transmission equipped vehicles. Refer to Clutch Assembly Replacement in Clutch.
- Install the transmission assembly. Refer to Two-Wheel-Drive Transmission Replacement or Four-Wheel-Drive Transmission Replacement in Manual Transmission or Two-Wheel-Drive Transmission Replacement or Four-Wheel-Drive Transmission Replacement in Automatic Transmission.
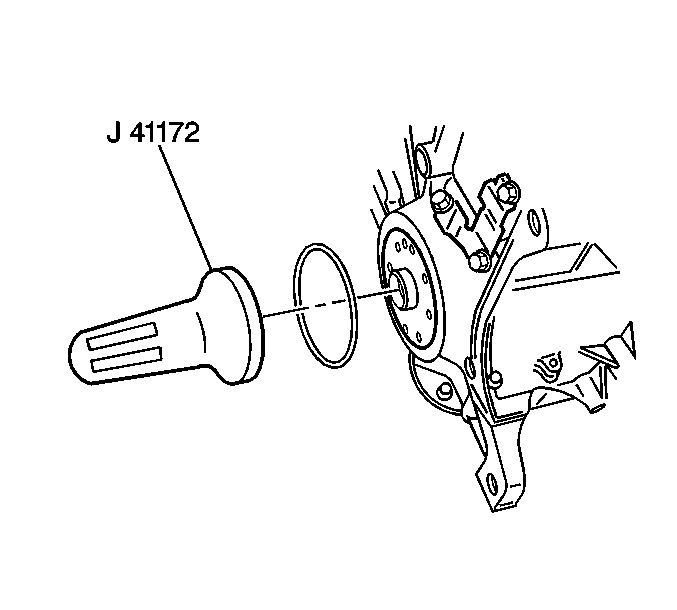
Important: The J 41172 will install the seal to the correct installed depth. Other seal installers may not seat the seal properly and oil leakage may result.
