For 1990-2009 cars only
Evaporative Emission System Hoses/Pipes Replacement 2500 LWB - 98.4L (26 gal) Tank-Front
Removal Procedure
Important: Clean all fuel and evaporative emission (EVAP) line connections and surrounding areas prior to disconnecting the lines in order to avoid possible fuel and/or EVAP system contamination.
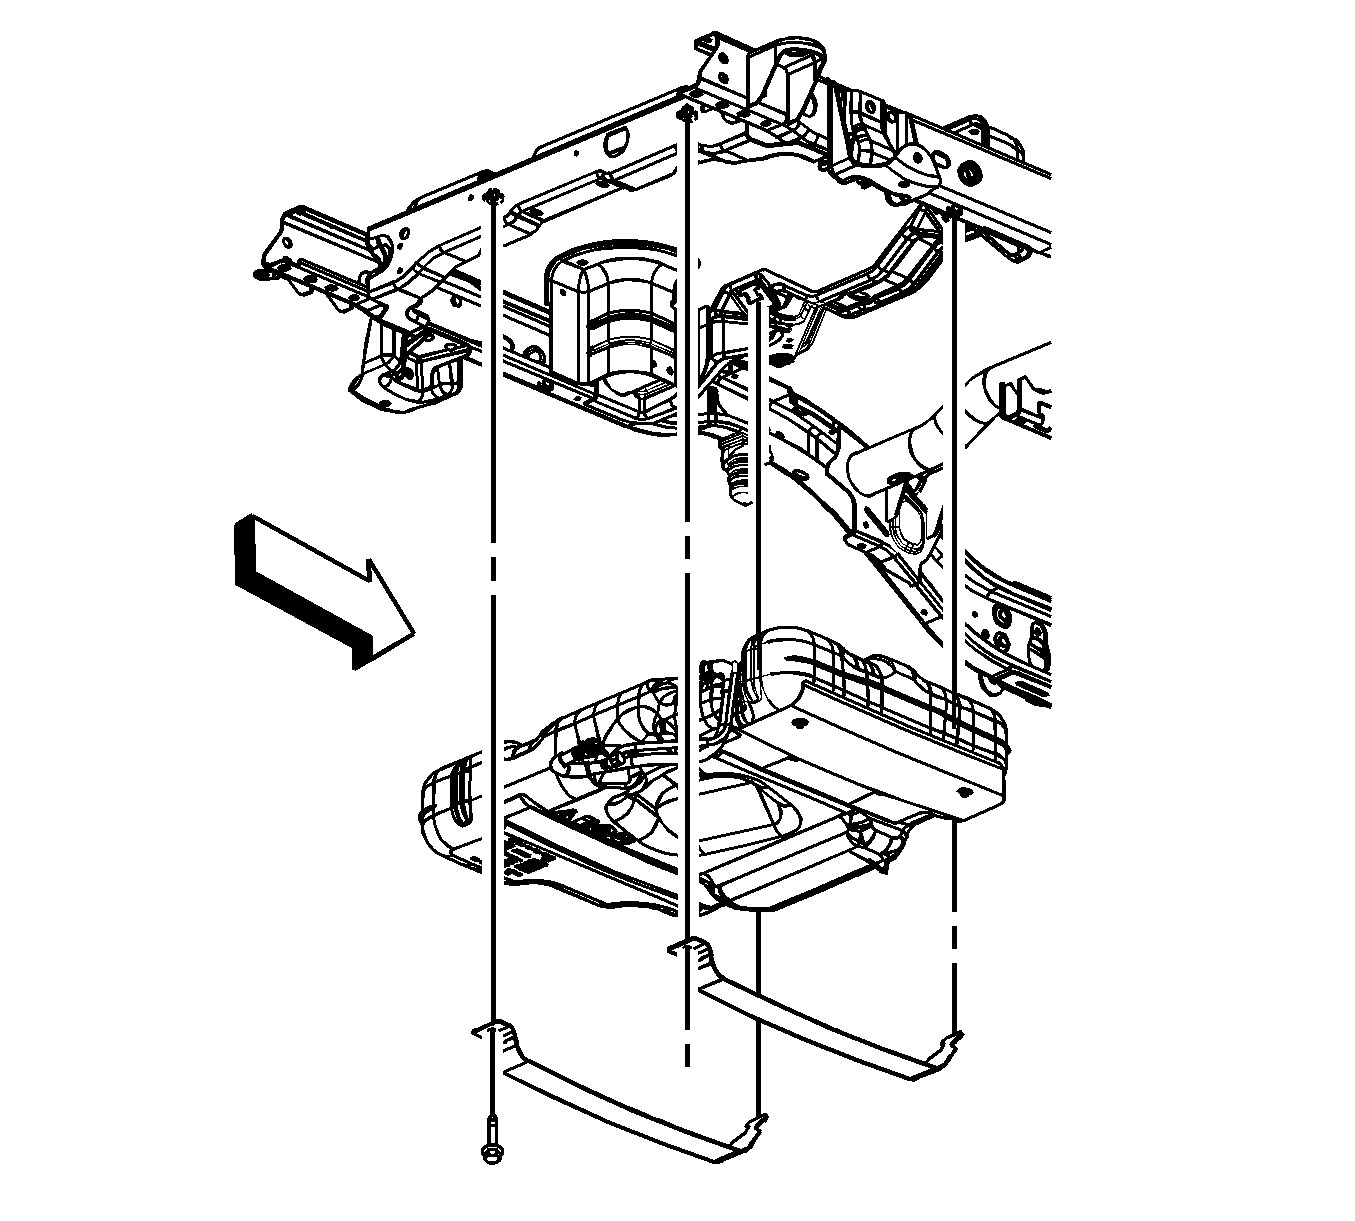
- Remove the fuel tank. Refer to Fuel Tank Replacement .
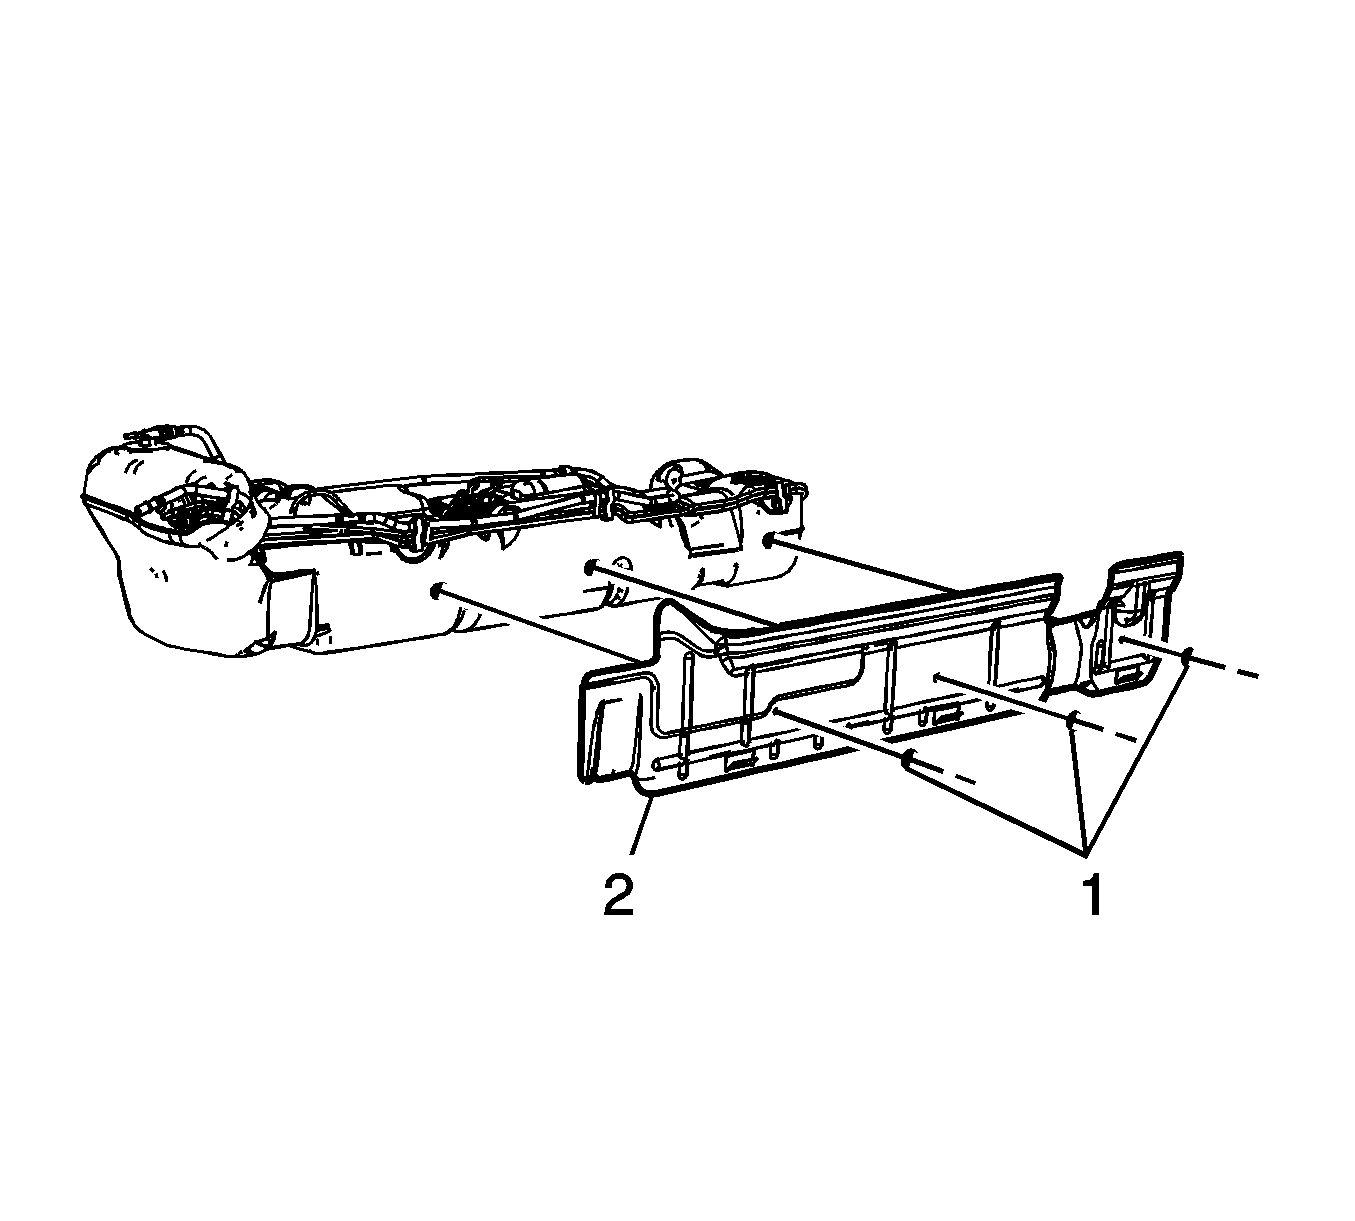
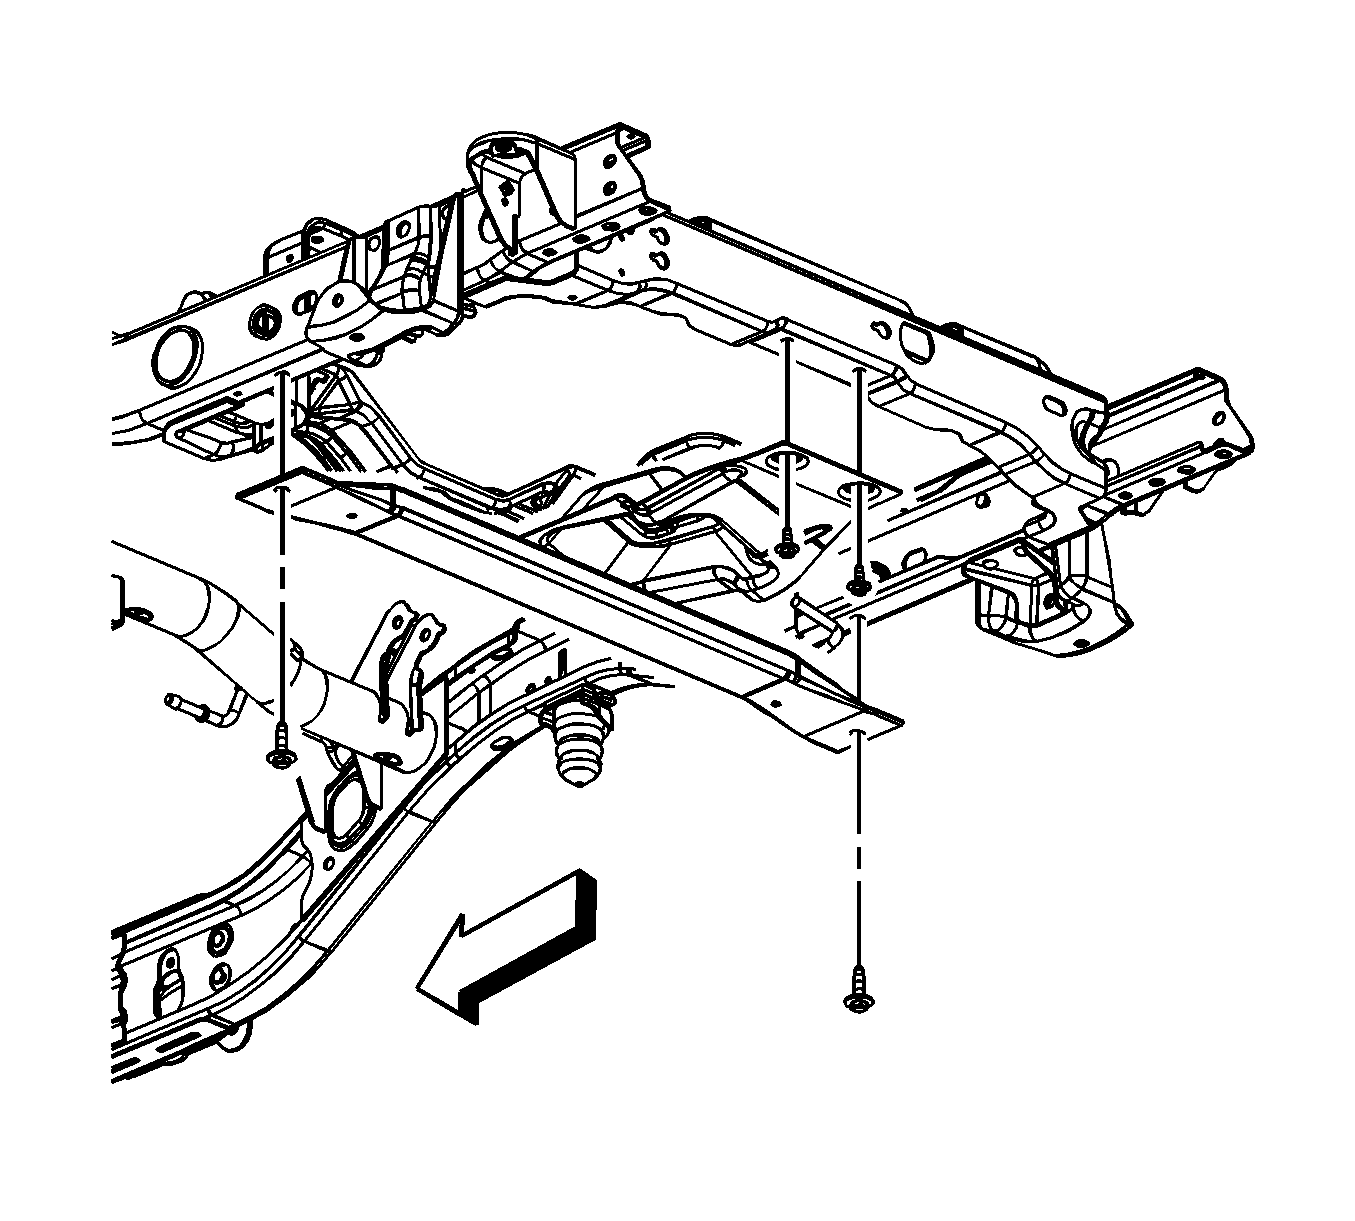
- Remove the fuel tank shield retainers (1) and shield (2).
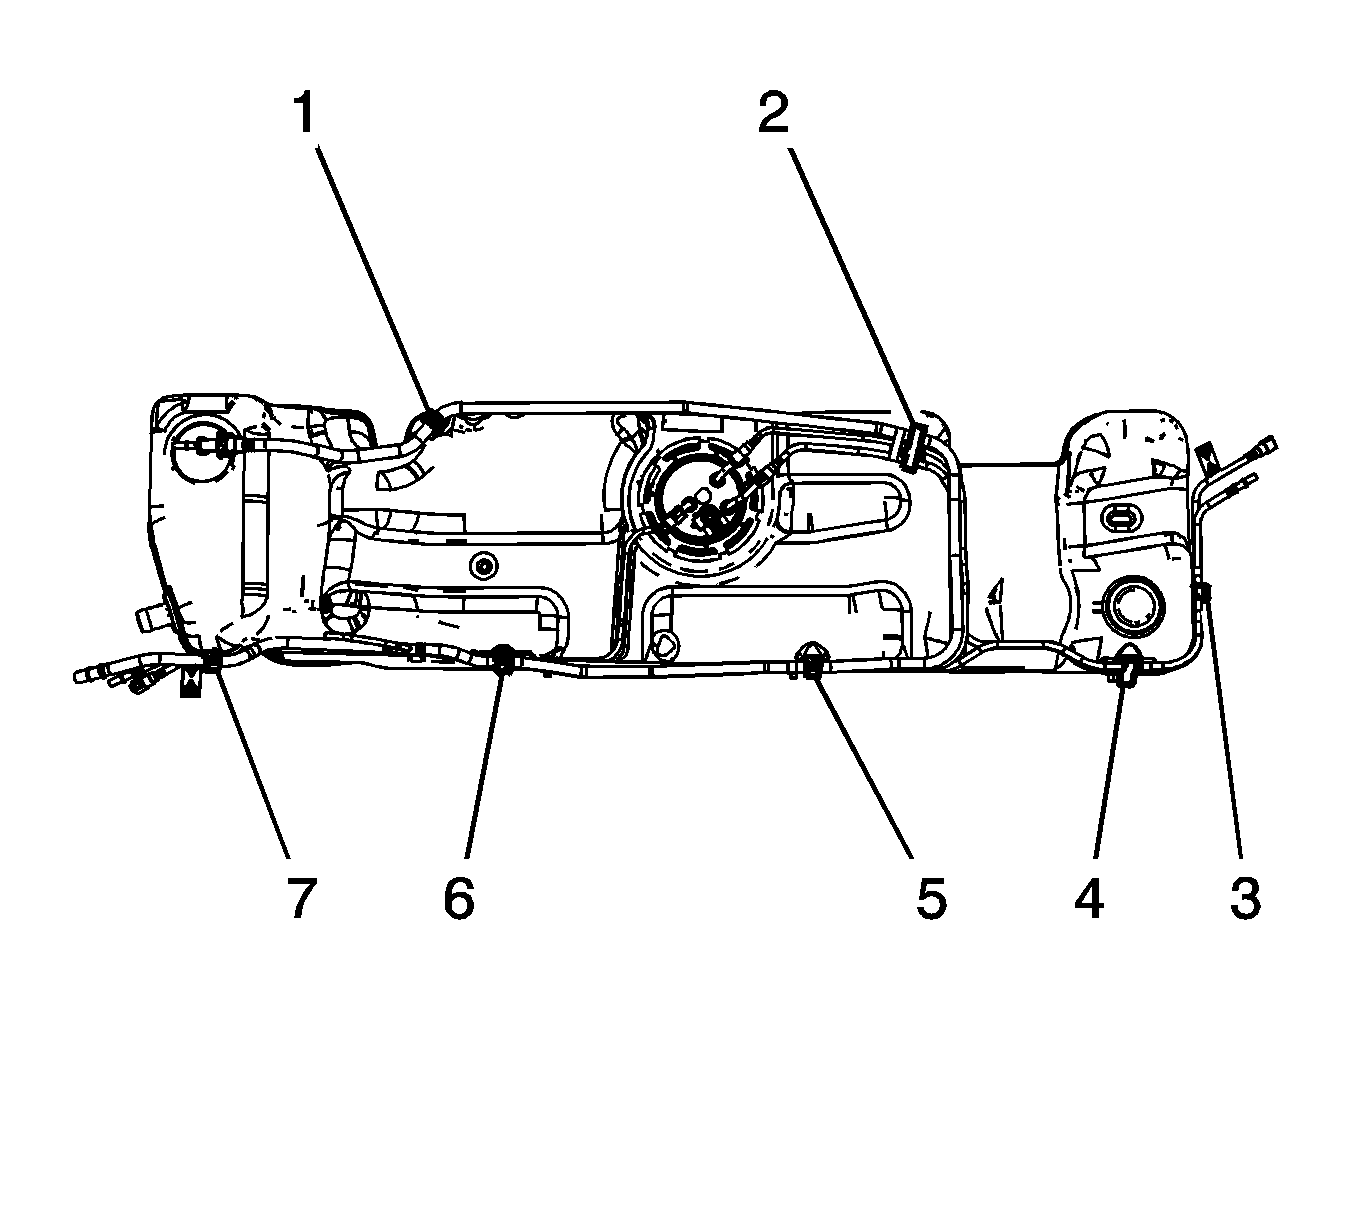
- Remove the EVAP line from the fuel tank clip (1).
- Open the fuel tank clips (2-7) and remove the fuel/EVAP lines from the clips.
- Disconnect the fuel/EVAP line quick connect fittings from the fuel tank module. Refer to Plastic Collar Quick Connect Fitting Service .
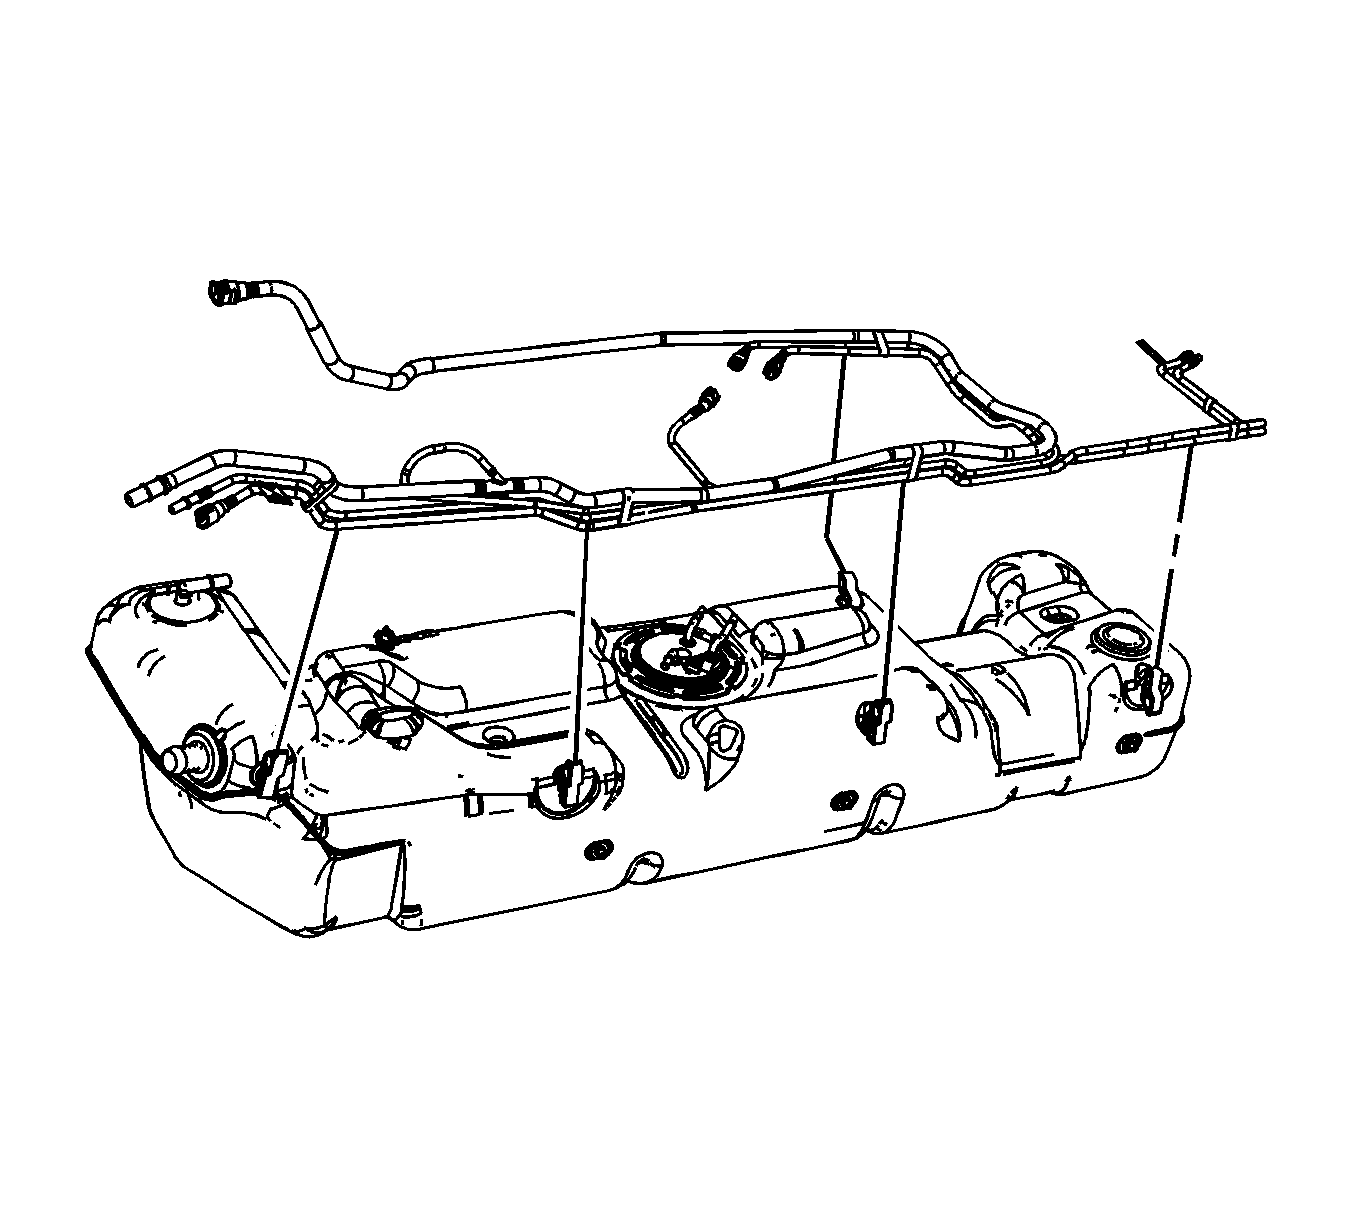
- Remove the fuel/EVAP lines from the fuel tank.
Installation Procedure
- Install the fuel/EVAP lines to the fuel tank.
- Connect the fuel/EVAP line quick connect fittings at the fuel tank module. Refer to Plastic Collar Quick Connect Fitting Service .
- Install the fuel/EVAP lines to the fuel tank clips (2-7) and close the clips.
- Install the fuel/EVAP line to the fuel tank clip (1).
- Install the fuel tank shield (2) and retainers (1).
- Install the fuel tank. Refer to Fuel Tank Replacement .
Evaporative Emission System Hoses/Pipes Replacement 2500 LWB - Intermediate
Removal Procedure
Important: Clean all fuel and evaporative emission (EVAP) line connections and surrounding areas prior to disconnecting the lines in order to avoid possible fuel and/or EVAP system contamination.
- Relieve the fuel system pressure. Refer to Plastic Collar Quick Connect Fitting Service .
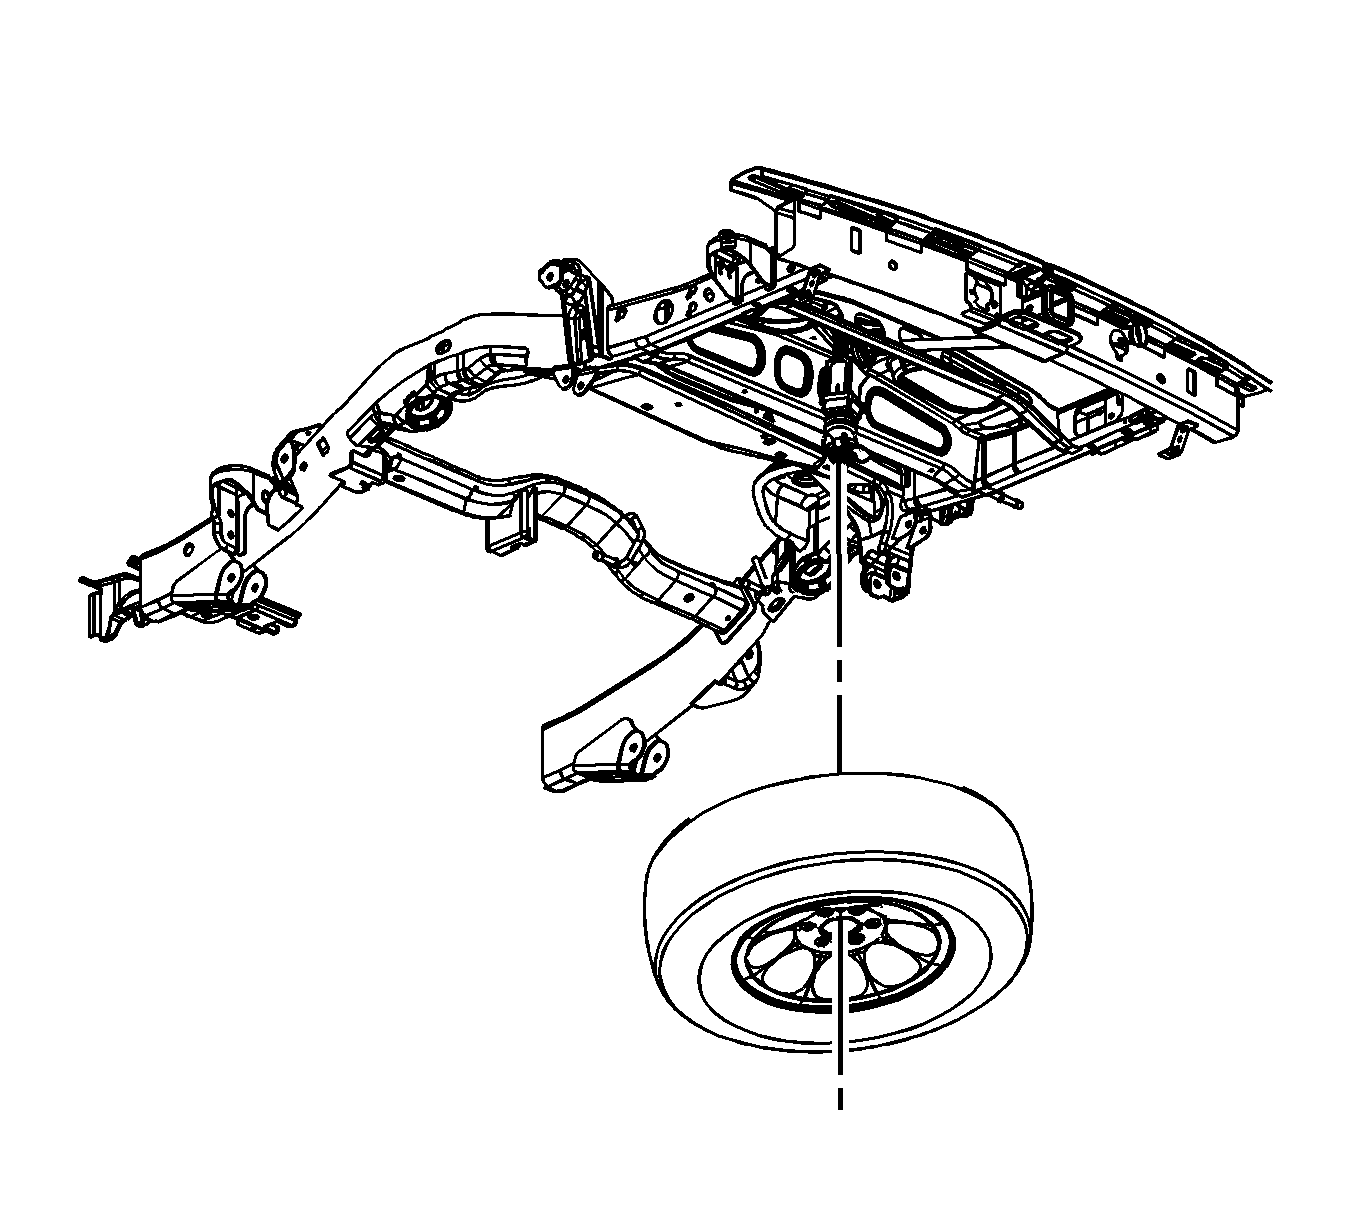
- Remove the spare tire stowage lock cylinder.
- Remove the spare tire.
- Drain the rear fuel tank. Refer to Fuel Tank Draining .
- Remove the rear exhaust insulator.
- Remove the spare tire hoist crossmember bolts and crossmember.
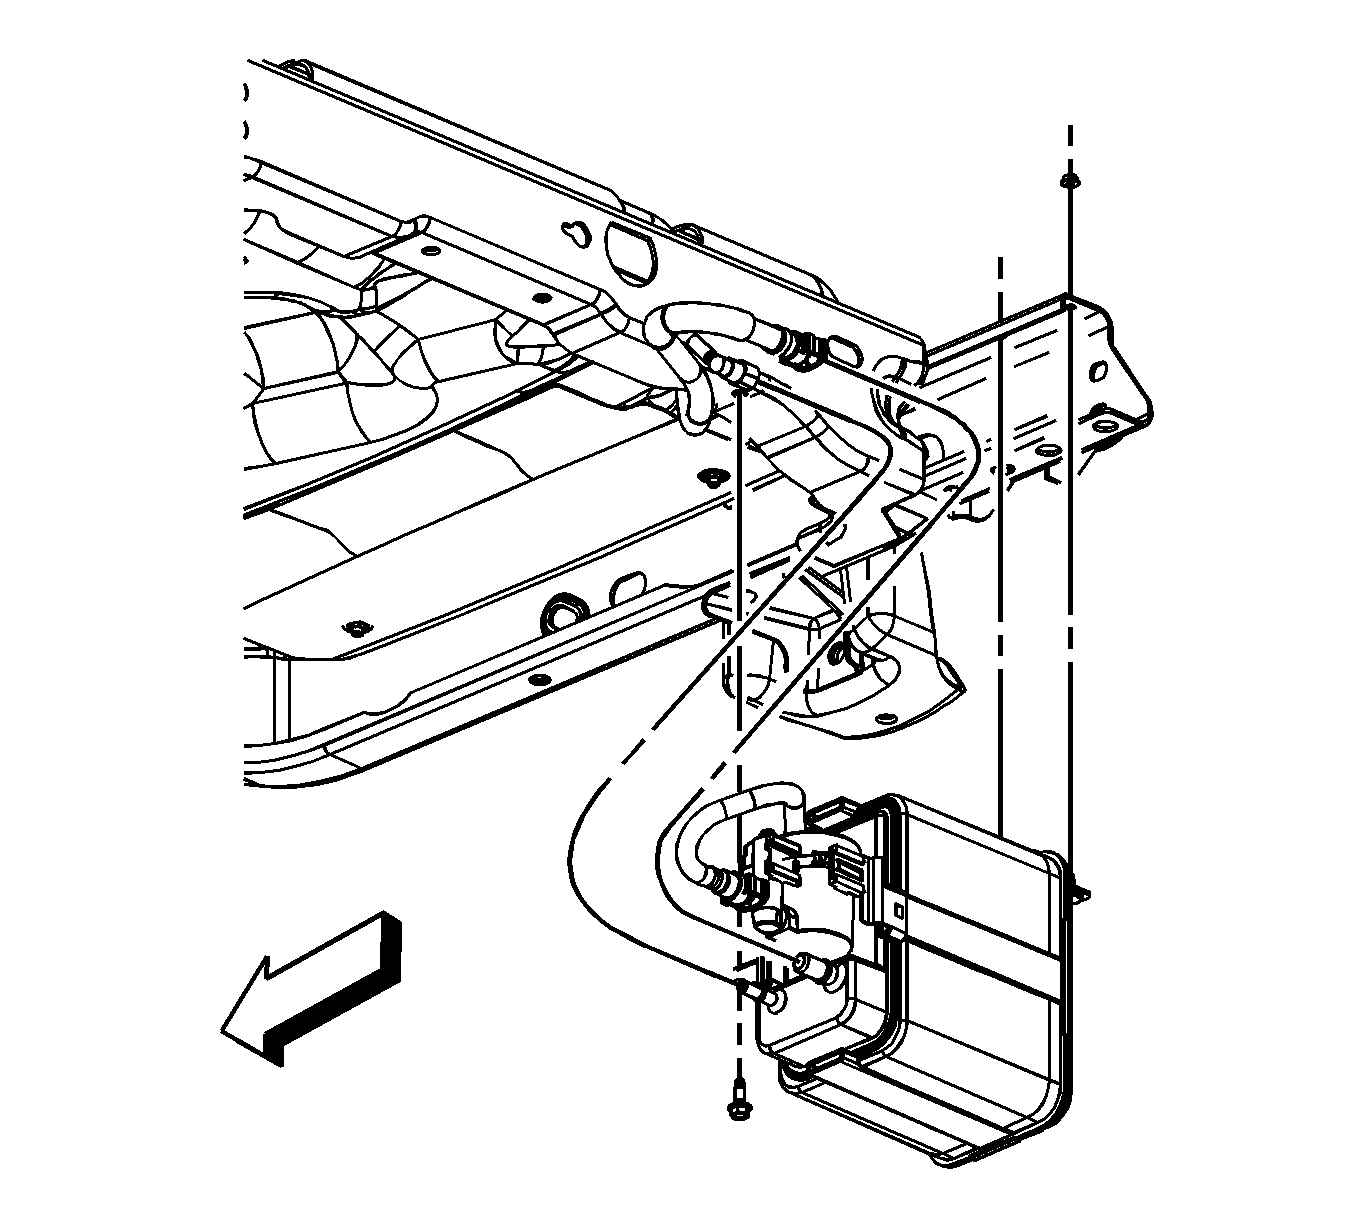
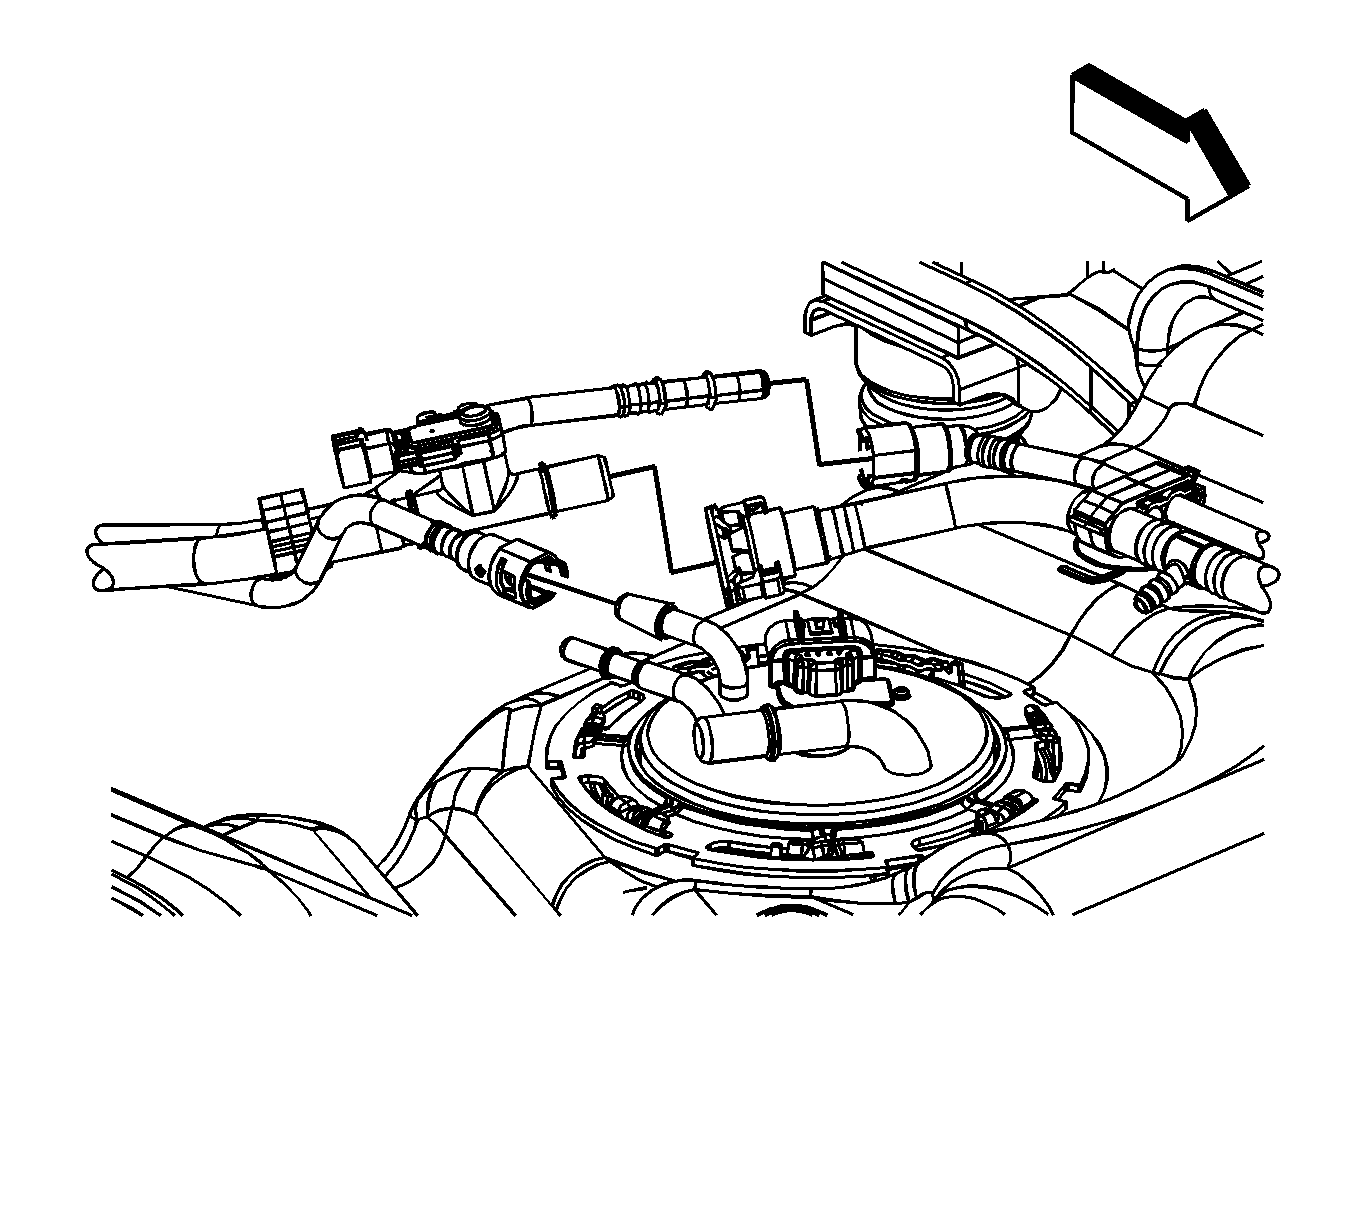
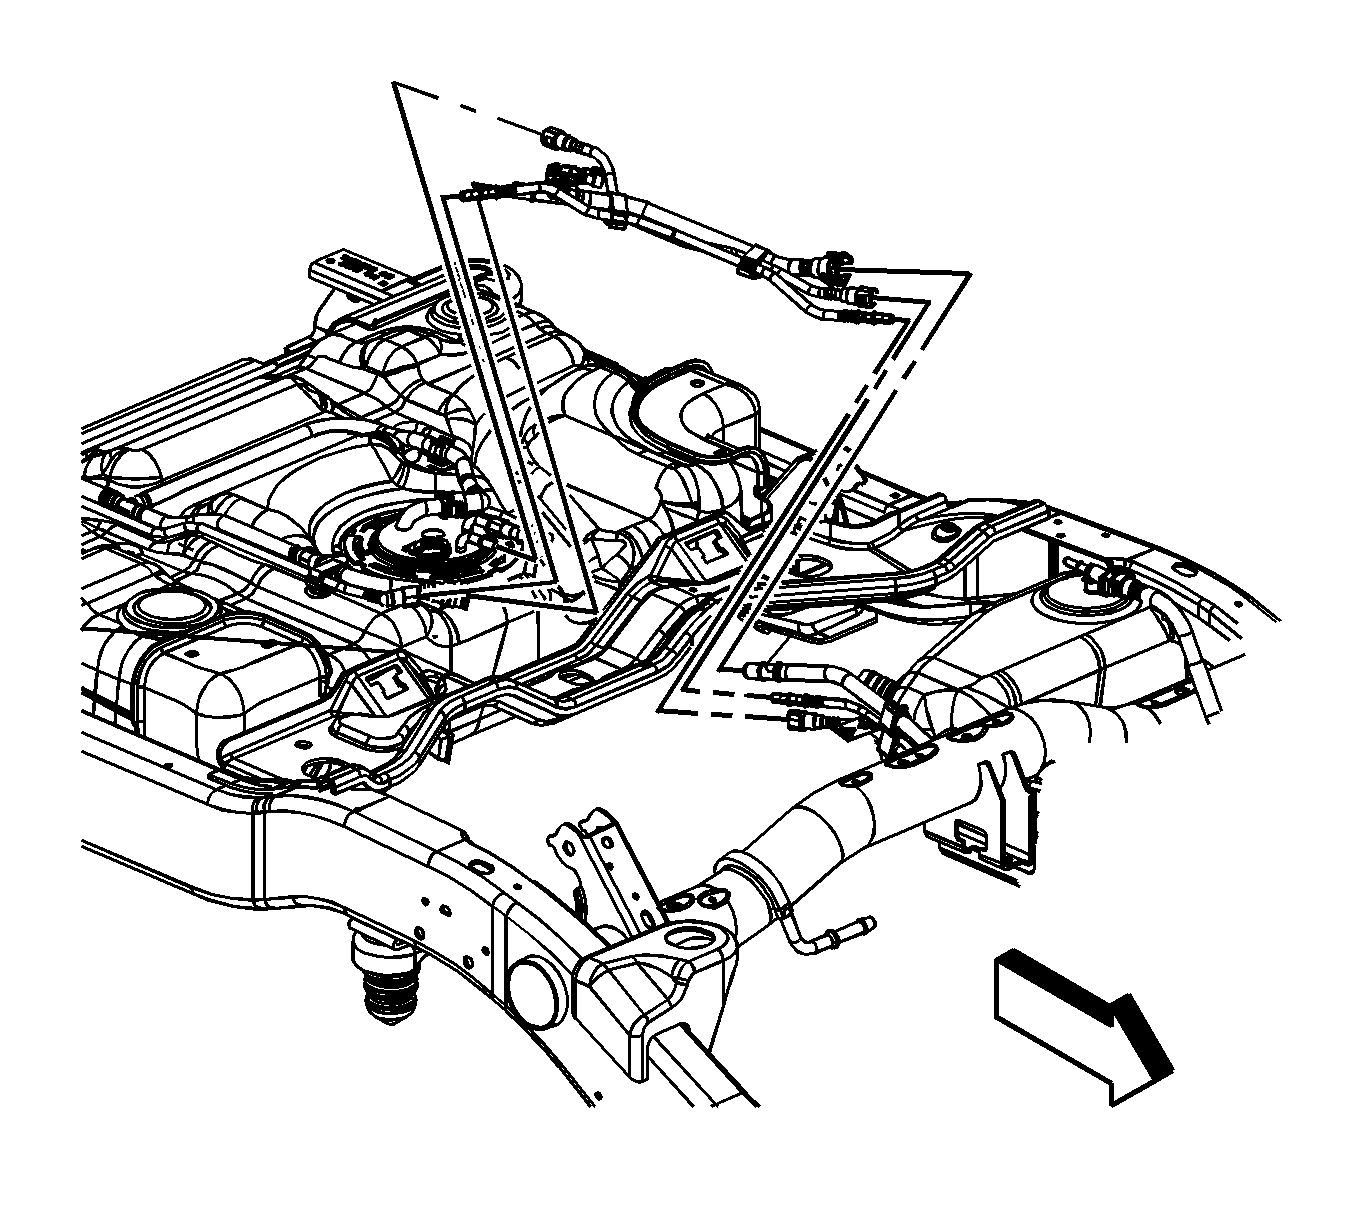
- Disconnect the rear fuel tank EVAP line quick connect fittings from the EVAP canister. Refer to Plastic Collar Quick Connect Fitting Service .
- Disconnect the fuel and EVAP intermediate line quick connect fittings from the front tank lines. Refer to Plastic Collar Quick Connect Fitting Service .
- Disconnect the chassis harness electrical connector (1) from the fuel pressure sensor.
- Support the fuel tank with a suitable jack.
- Remove the fuel tank strap bolts.
- Remove the fuel tank straps.
- With the aid of an assistant, lower the rear tank until the intermediate line connections can be reached.
- Disconnect the fuel and EVAP intermediate line quick connect fittings from the rear tank. Refer to Plastic Collar Quick Connect Fitting Service .
- Remove the fuel and EVAP intermediate line assembly.
- Cap the fuel and EVAP lines in order to prevent possible EVAP/fuel system contamination.
Notice: Refer to Damage to Fuel Tank Straps Notice in the Preface section.
Installation Procedure
- Remove the caps from the fuel and EVAP lines.
- Install the fuel and EVAP intermediate lines.
- Connect the fuel and EVAP intermediate line quick connect fittings to the rear tank. Refer to Plastic Collar Quick Connect Fitting Service .
- With the aid of an assistant, completely raise the rear tank.
- Install the fuel tank straps.
- Install the fuel tank strap bolts.
- Remove the adjustable jack from under the fuel tank.
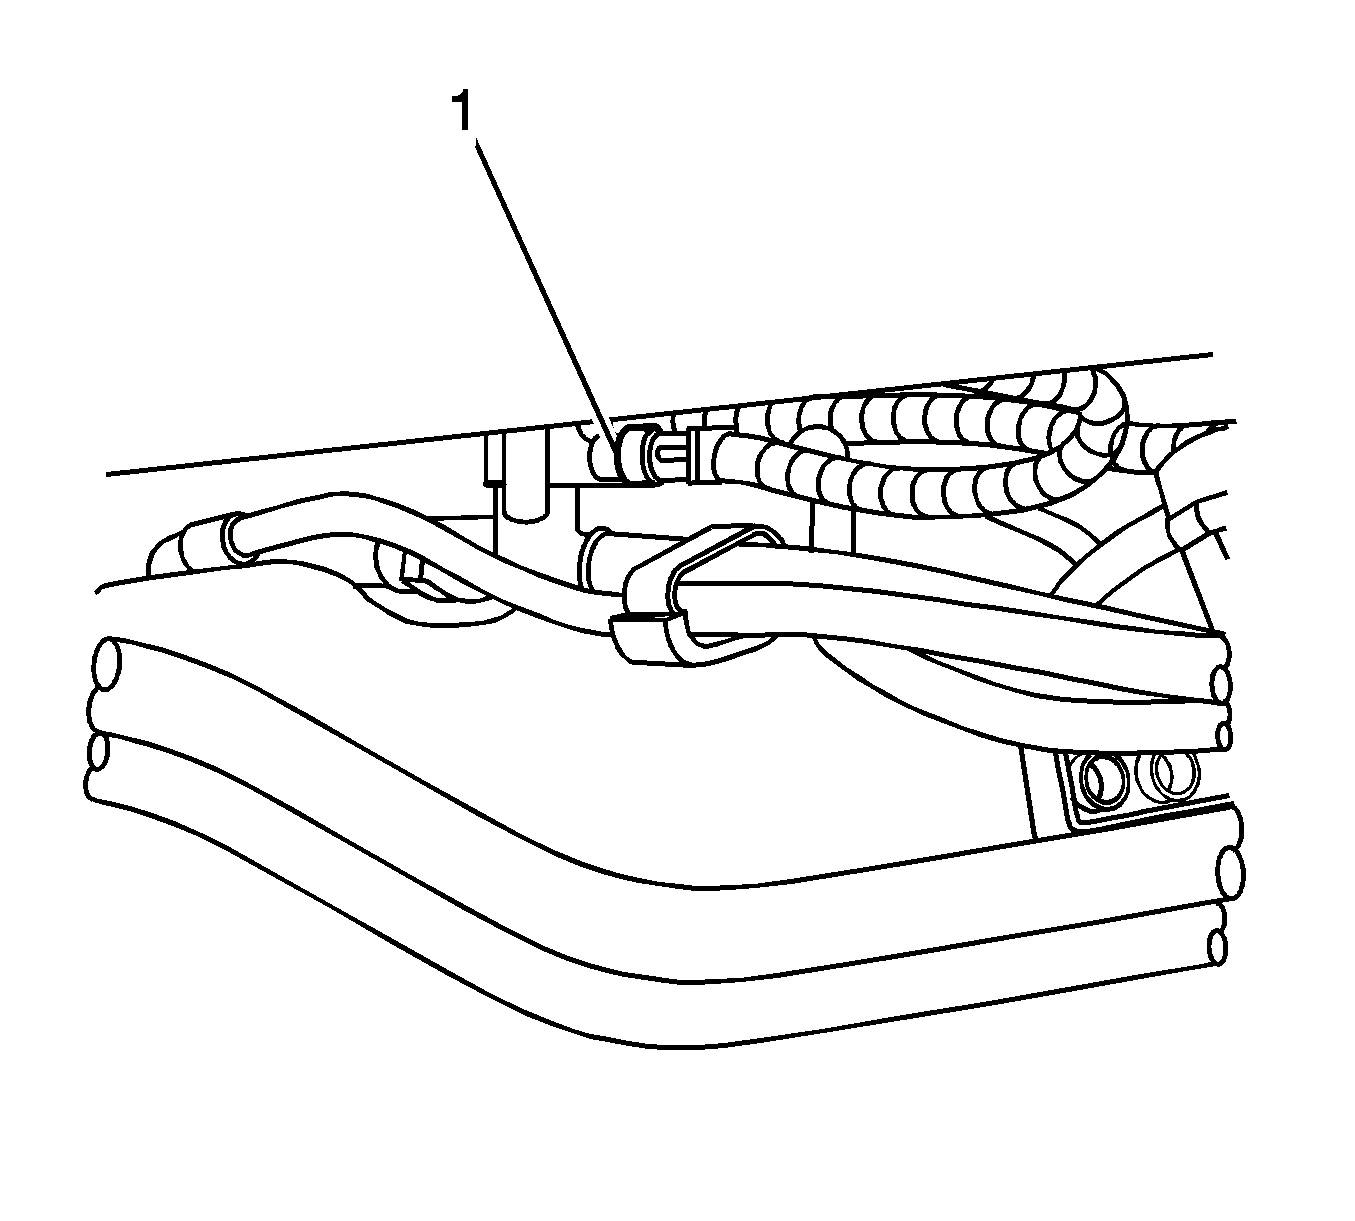
- Connect the chassis harness electrical connector (1) to the fuel pressure sensor.
- Connect the fuel and EVAP intermediate line quick connect fittings to the front tank lines. Refer to Plastic Collar Quick Connect Fitting Service .
- Connect the rear tank EVAP line quick connect fittings to the EVAP canister. Refer to Plastic Collar Quick Connect Fitting Service .
- Install the spare tire hoist crossmember and bolts.
- Install the rear exhaust insulator.
- Install the spare tire.
- Install the spare tire stowage lock cylinder.
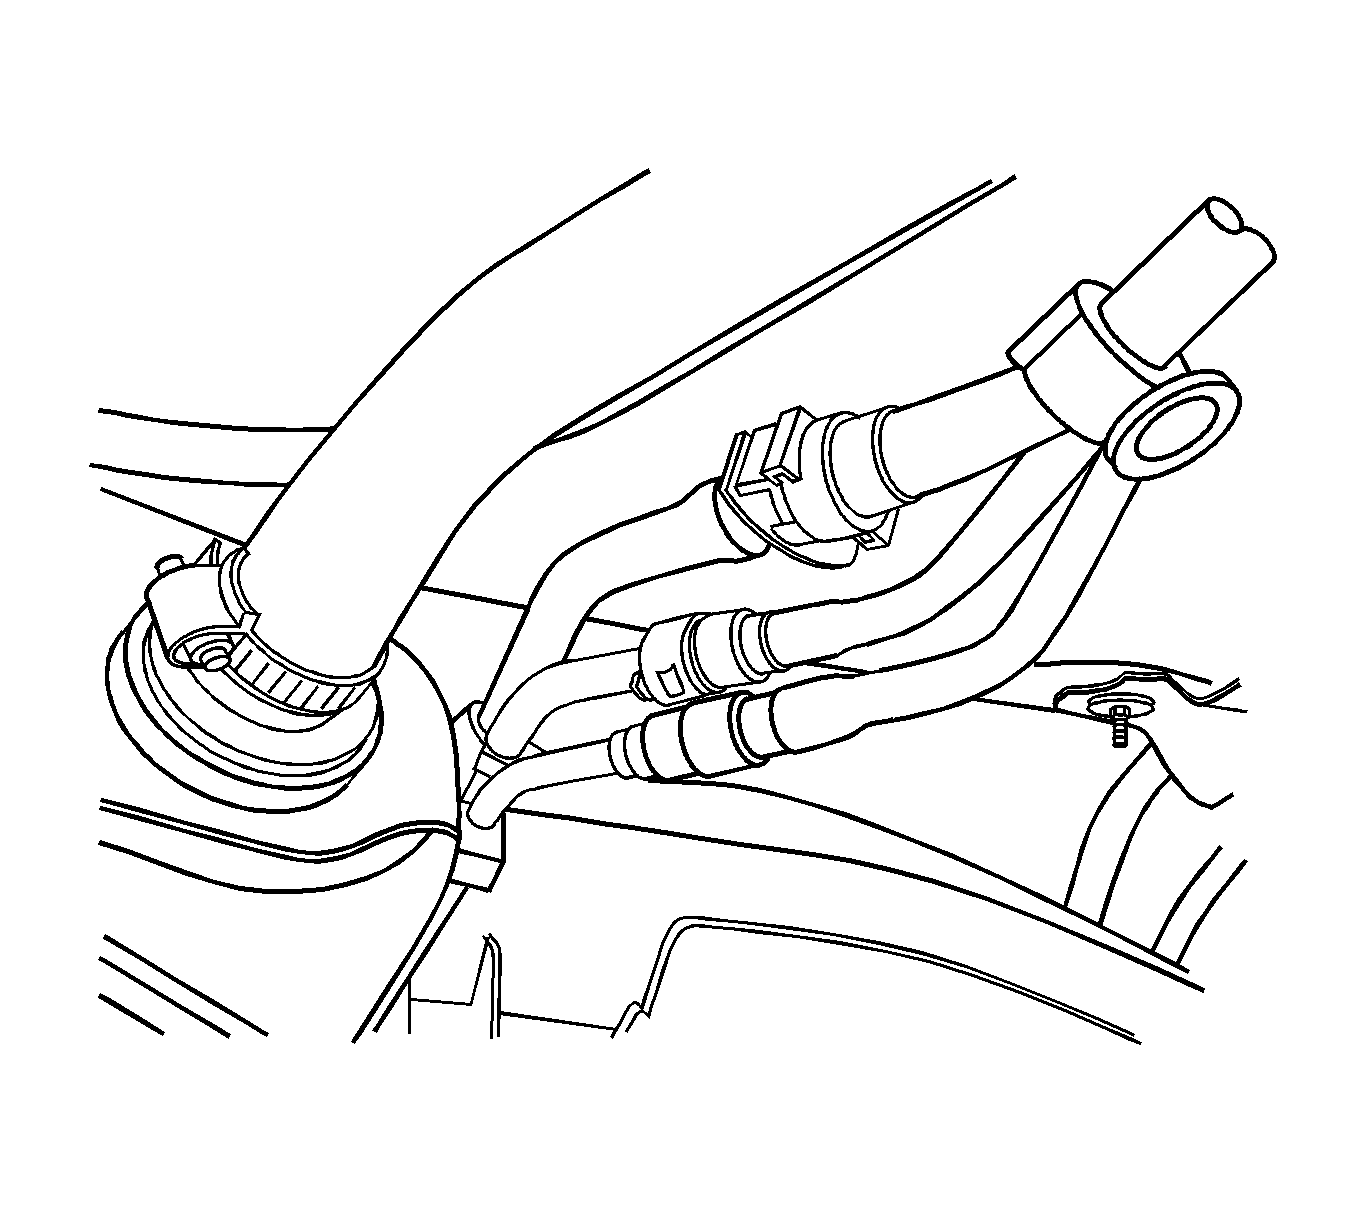
- Install the fuel tank filler housing.
- Install the fuel tank filler housing to fuel tank fill pipe bolts.
- Install the fuel tank filler housing to body TORX® screws (1) and retainer (2).
- Refill the fuel tank.
- Install the fuel fill cap.
- Connect the negative battery cable. Refer to Battery Negative Cable Disconnection and Connection .
- Use the following procedure in order to inspect for leaks:
- Install the intake manifold sight shield. Refer to Upper Intake Manifold Sight Shield Replacement .
Notice: Refer to Fastener Notice in the Preface section.
Tighten
Tighten the bolts to 40 N·m (30 lb ft).
Tighten
Tighten the bolts to 50 N·m (37 lb ft).

Tighten
Tighten the bolts to 2.3 N·m (20 lb in).

Tighten
Tighten the screws to 2.3 N·m (20 lb in).
| 21.1. | Turn the ignition ON, with the engine OFF, for 2 seconds. |
| 21.2. | Turn the ignition OFF for 10 seconds. |
| 21.3. | Turn the ignition ON, with the engine OFF. |
| 21.4. | Inspect for fuel leaks. |
