For 1990-2009 cars only
Removal Procedure
- Remove the lower intake manifold. Refer to Intake Manifold Replacement .
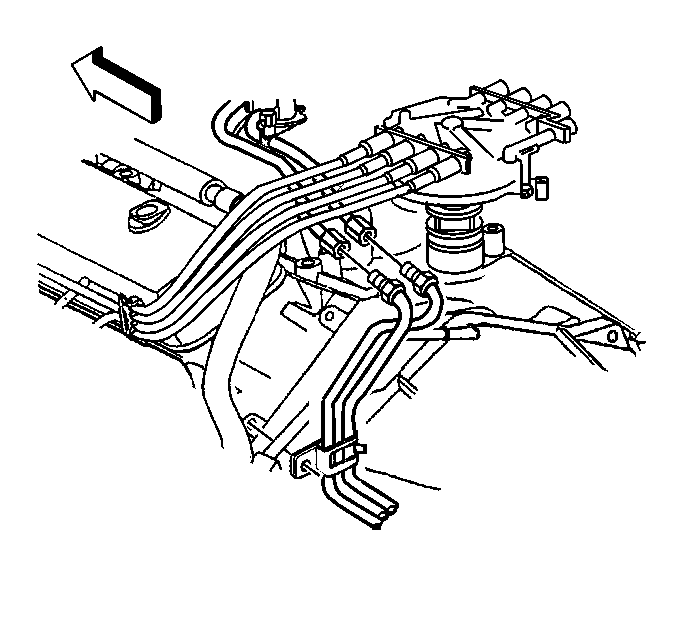
- Disconnect the spark plug wires from the distributor cap. Refer to Spark Plug Wire Harness Replacement in Engine Electrical.
- Remove the distributor cap.
- Remove the water pump inlet hose from the water pump. Refer to Radiator Hose Replacement in Engine Cooling.
- Remove the drive belt. Refer to Drive Belt Replacement .
- Remove the A/C compressor from the power steering pump bracket, if equipped, and set it aside. Refer to Air Conditioning Compressor Replacement in Heating, Ventilation and Air Conditioning.
- Remove AIR check valve (crossover) pipe, if so equipped. Refer to Secondary Air Injection Check Valve and Check Valve Pipe Replacement in Engine Controls 5.0, 5.7L.
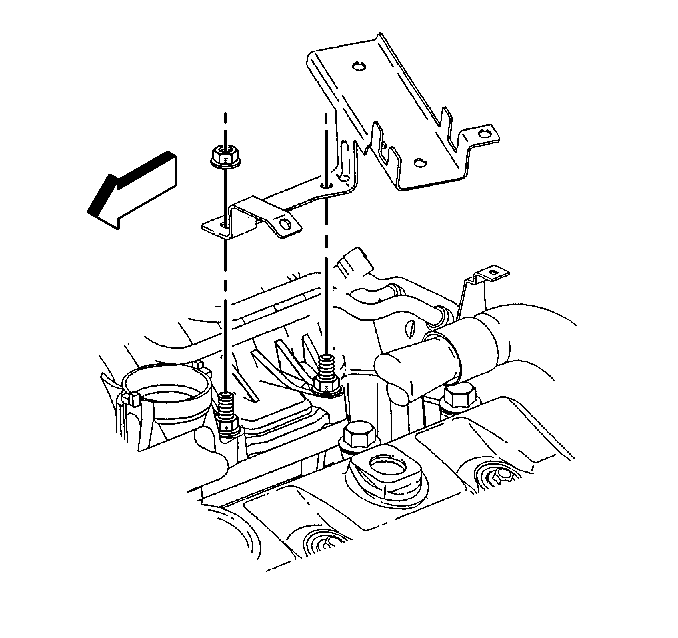
- Remove the wiring bracket from the rear of the cylinder head.
- Disconnect the accessory bracket and slide it forward. Refer to Accessory Mounting Brackets Replacement .
- Remove the exhaust manifold. Refer to Exhaust Manifold Replacement .
- Remove the valve rocker arms and valve pushrods. Refer to Valve Rocker Arm and Push Rod Replacement .
- Remove the power steering pump. Refer to Power Steering Pump Replacement in Power Steering.
- Remove the power steering pump mounting bracket. Refer to Accessory Mounting Brackets Replacement in Power Steering.
- For the right side cylinder head, remove the following components:
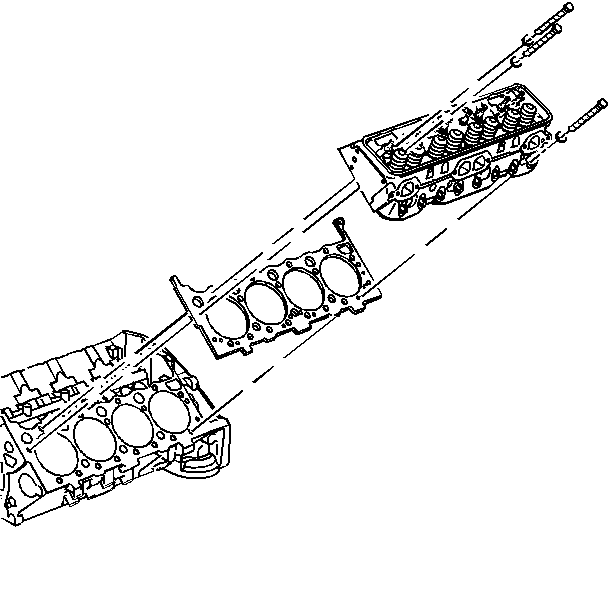
- Remove the cylinder head. Refer to Cylinder Head Removal (Left) and Cylinder Head Removal (Right) .

Important: It is not necessary to evacuate the Air Conditioning refrigerant.

| • | Generator. Refer to Generator Replacement in Engine Electrical. |
| • | Oil indicator tube bracket bolt. Refer to Oil Level Indicator and Tube Replacement . |
| • | Remove the generator and drive belt tensioner bracket. Refer to Accessory Mounting Brackets Replacement . |

Installation Procedure
Tools Required
J 36600 Electronic
Torque Angle Meter
- Install the cylinder head. Refer to Cylinder Head Installation (Left) and Cylinder Head Installation (Right) .
- Install the valve rocker arms and the valve pushrods. Refer to Valve Rocker Arm and Push Rod Replacement .
- Install the lower intake manifold. Refer to Intake Manifold Replacement .
- For the left side cylinder head, install the power steering pump mounting bracket. Refer to Accessory Mounting Brackets Replacement .
- For the right side cylinder head, install the generator mounting bracket. Refer to Accessory Mounting Brackets Replacement .
- Install the generator. Refer to Accessory Mounting Brackets Replacement in Engine Electrical.
- Oil indicator tube bracket bolt. Refer to Oil Level Indicator and Tube Replacement .
- Install the exhaust manifold. Refer to Exhaust Manifold Replacement .
- Install the valve rocker arm covers. Refer to Valve Rocker Arm Cover Replacement .
- Install the wiring bracket to the rear of the cylinder head.
- Connect the accessory bracket. Refer to Accessory Mounting Brackets Replacement .
- Install the A/C compressor, if equipped. Refer to Air Conditioning Compressor Replacement in Heating, Ventilication and Air Conditioning.
- Install the drive belt. Refer to Drive Belt Replacement .
- Install the distributor cap.
- Connect the spark plug wires to the distributor cap. Refer to Spark Plug Wire Harness Replacement in Engine Electrical.
- Install the upper radiator hose. Refer to Radiator Hose Replacement in Engine Cooling.
- Install the air cleaner assembly.
- Refill the cooling system. Refer to Cooling System Draining and Filling .

