Catalytic Converter Replacement 0.8L
Removal Procedure
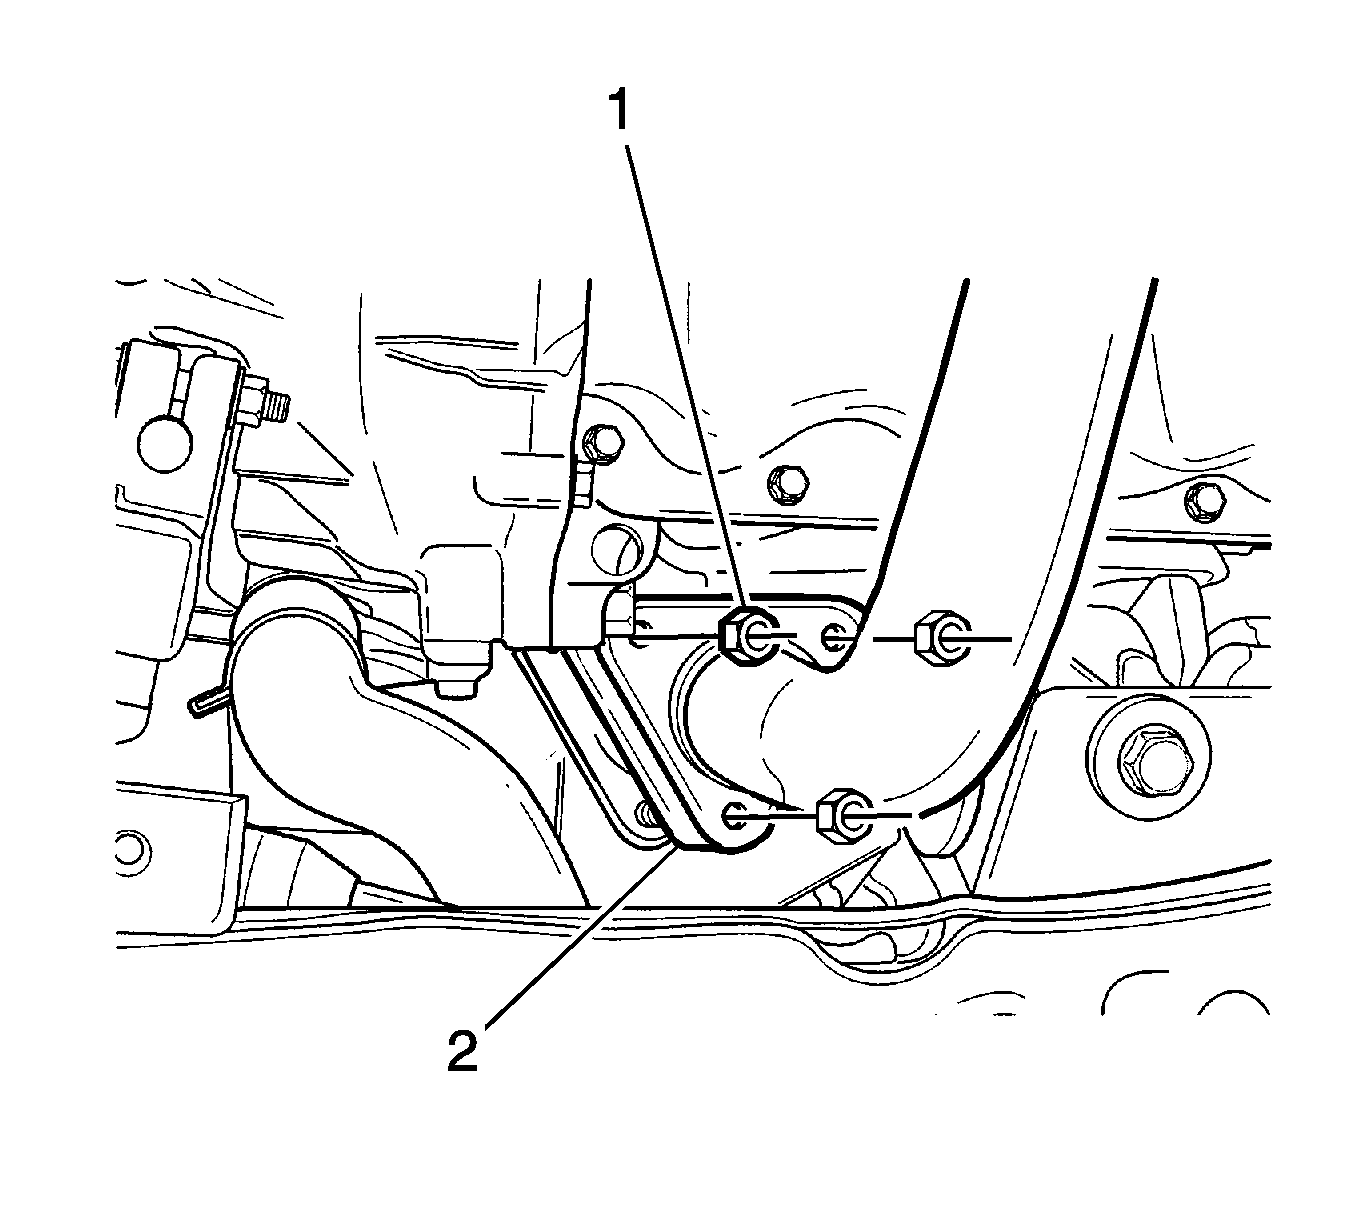
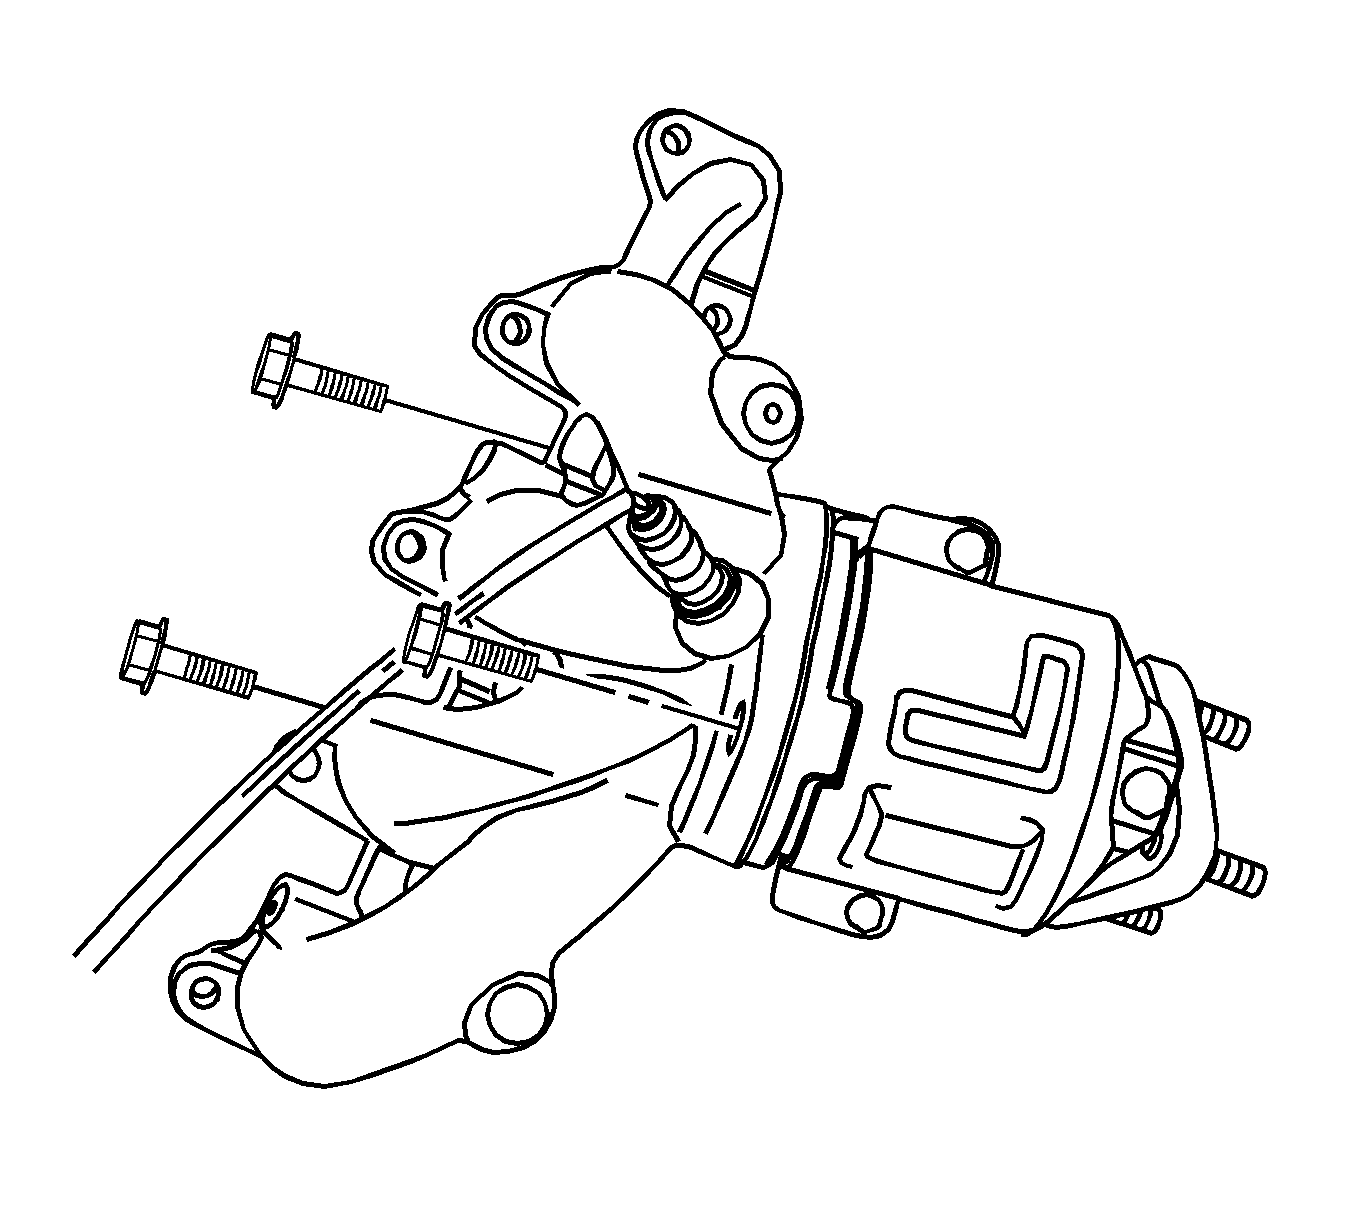
- Remove the nuts (1).
- Remove the gasket (2).
- Remove the front exhaust pipe from the pup-up catalytic converter.
- Inspect the gasket for damage or leakage.
- Remove the air cleaner assembly. Refer to Air Cleaner Assembly Replacement .
- Disconnect the oxygen sensor (O2S) connector.
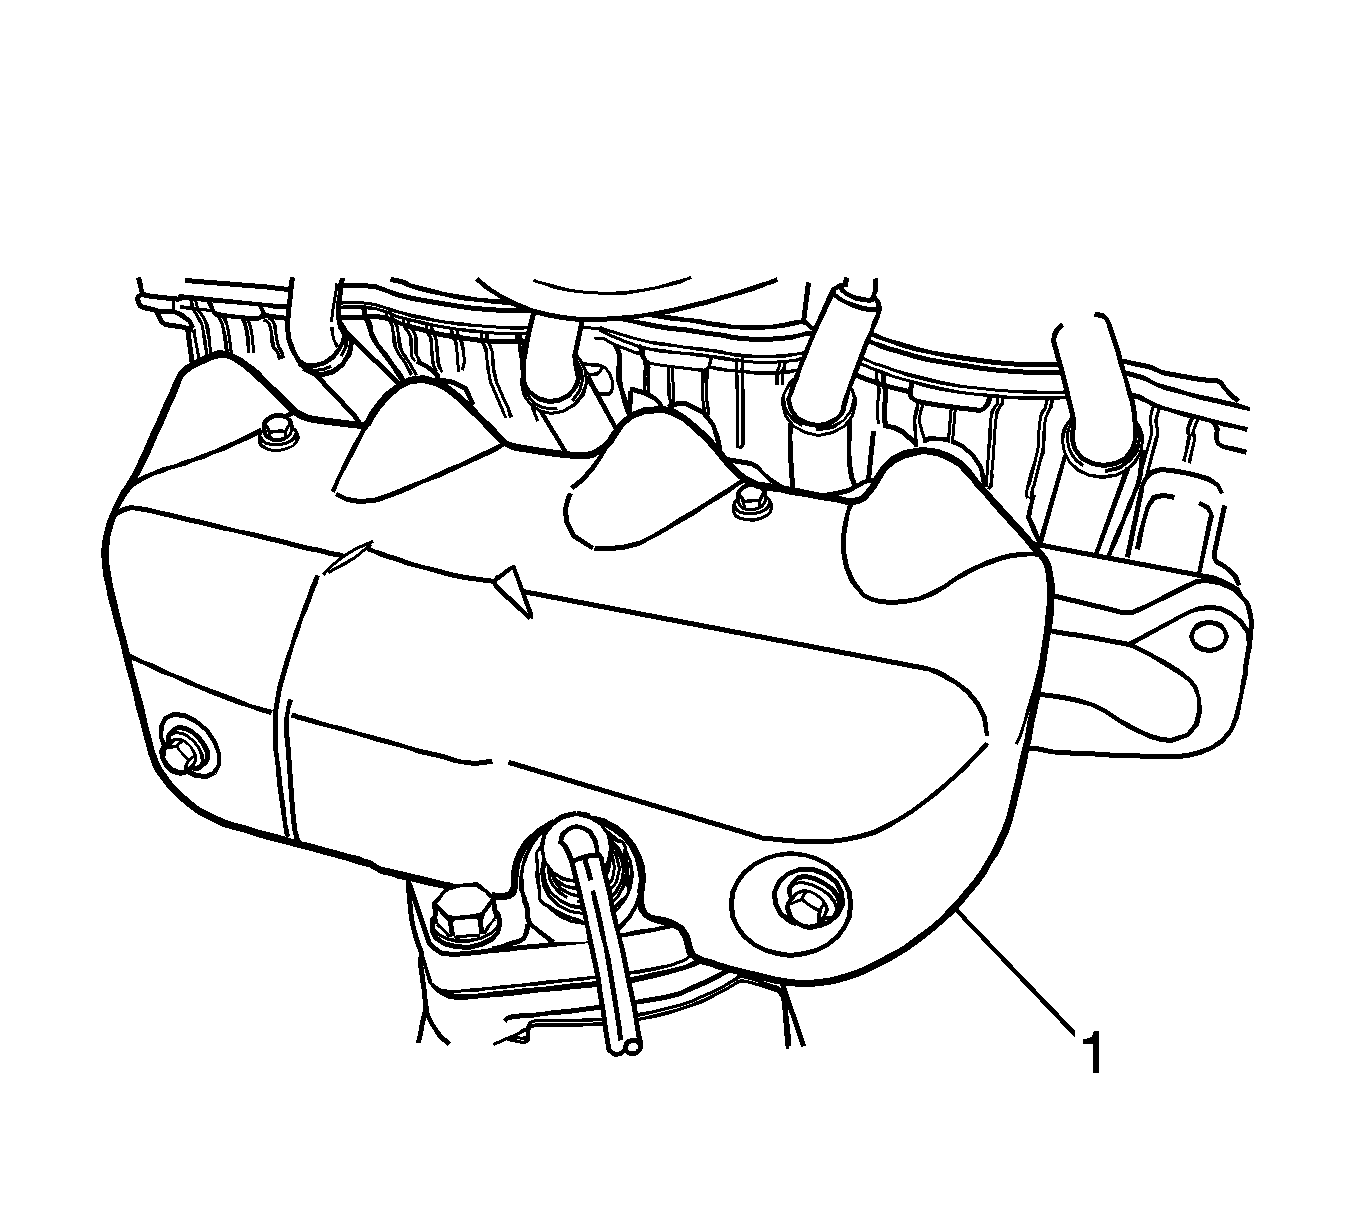
- Remove the exhaust manifold heat shield.
- Remove the exhaust manifold. Refer to Exhaust Manifold Removal .
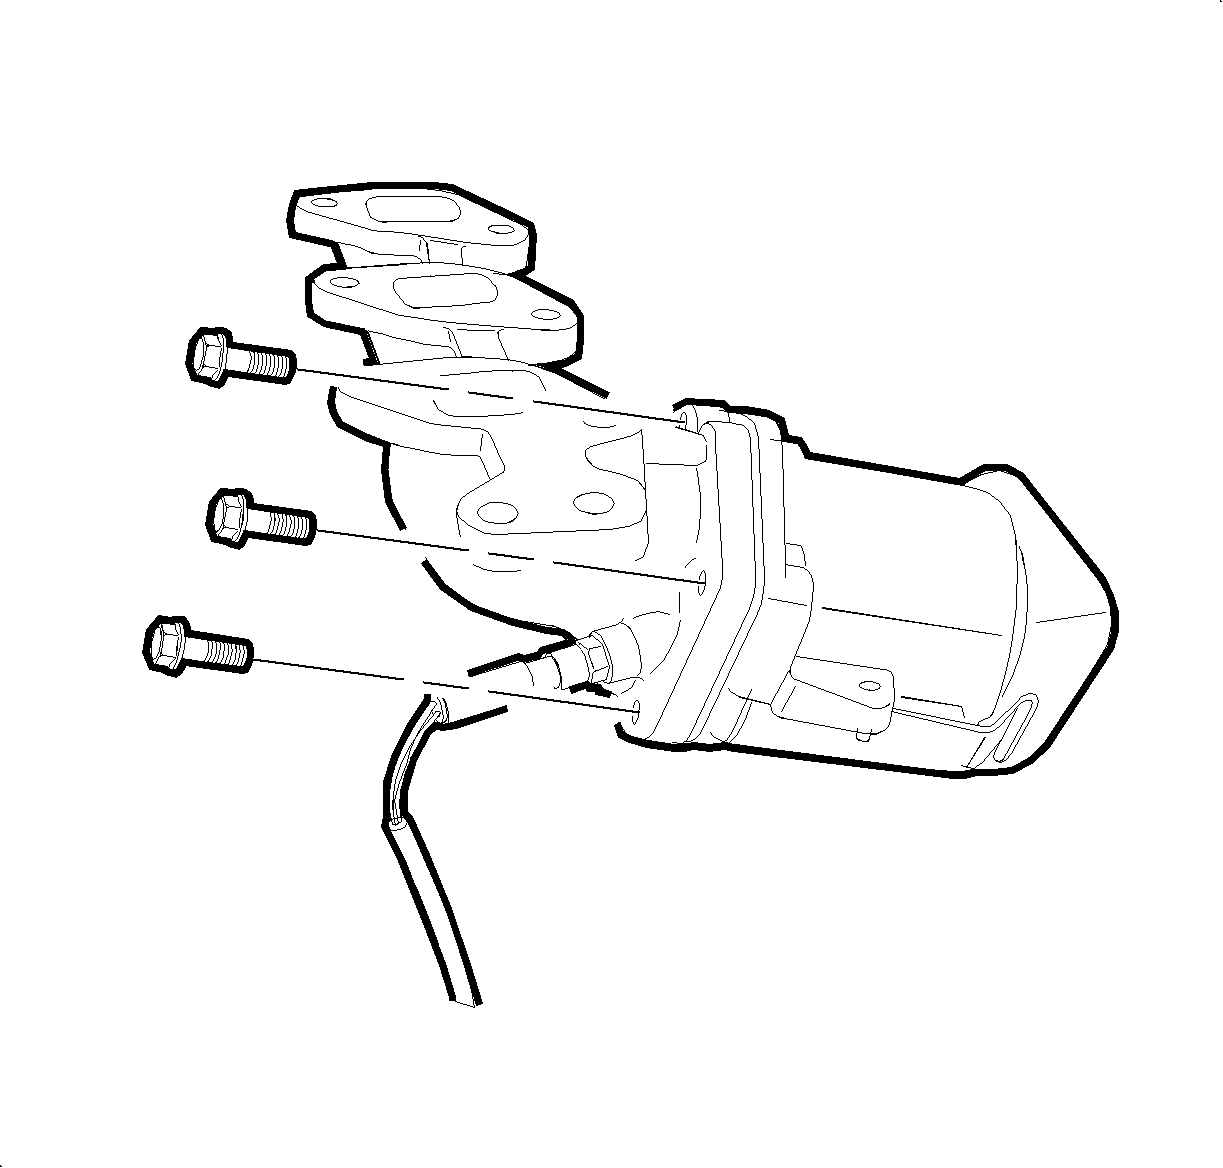
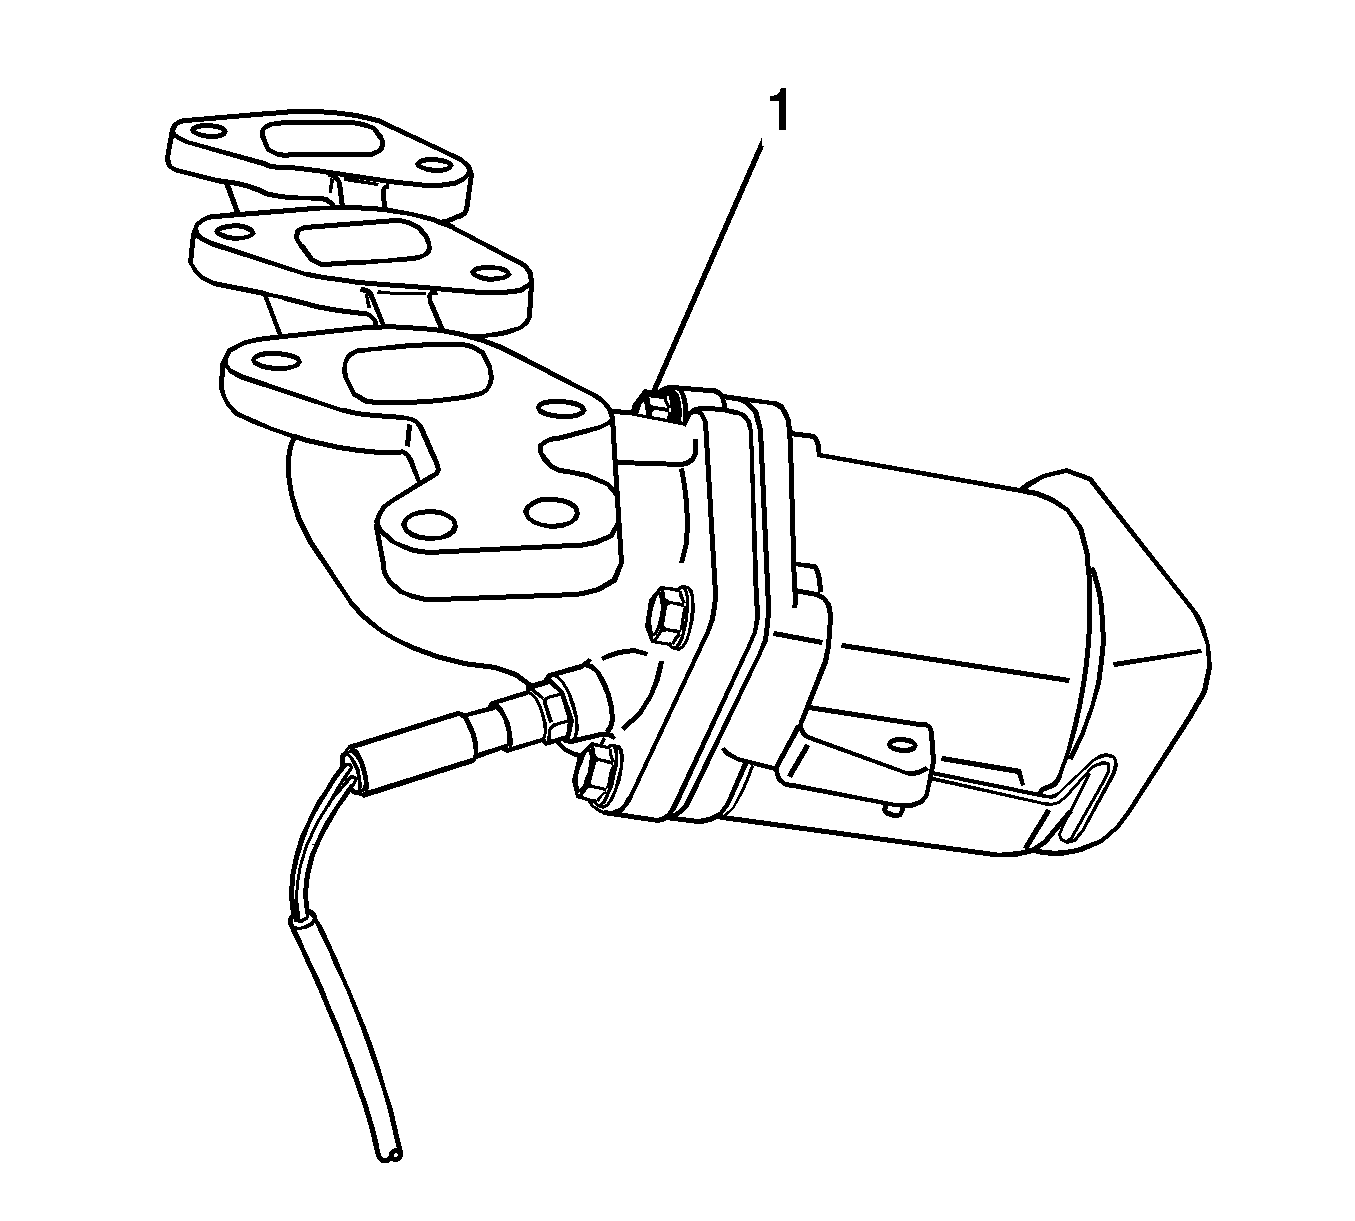
- Remove the bolts securing the pup-up catalytic convertor.
Caution: Refer to Hot Exhaust System Caution in the Preface section.
Notice: To prevent internal damage to the flexible coupling of the catalytic converter assembly, the converter must be supported. The vertical movement at the rear of the catalytic converter assembly must not exceed 6 degrees up or down.

Installation Procedure
- Install the pup-up catalytic convertor to exhaust manifold (1).
- Install exhaust manifold (1). Refer to Exhaust Manifold Installation .
- Install the exhaust manifold heat shield.
- Connect the oxygen sensor (O2S) connector.
- Install the air cleaner assembly. Refer to Air Cleaner Assembly Replacement .
- Position the gasket between to the front exhaust pipe.
- Install the front exhaust pipe to the pup-up catalytic convertor (1).
Notice: Refer to Fastener Notice in the Preface section.
Tighten
Tighten the bolts to 25-35 N·m (18-25 lb ft).

Tighten
Tighten the bolts to 25-35 N·m (18-25 lb ft).
Catalytic Converter Replacement 1.0L
Removal Procedure
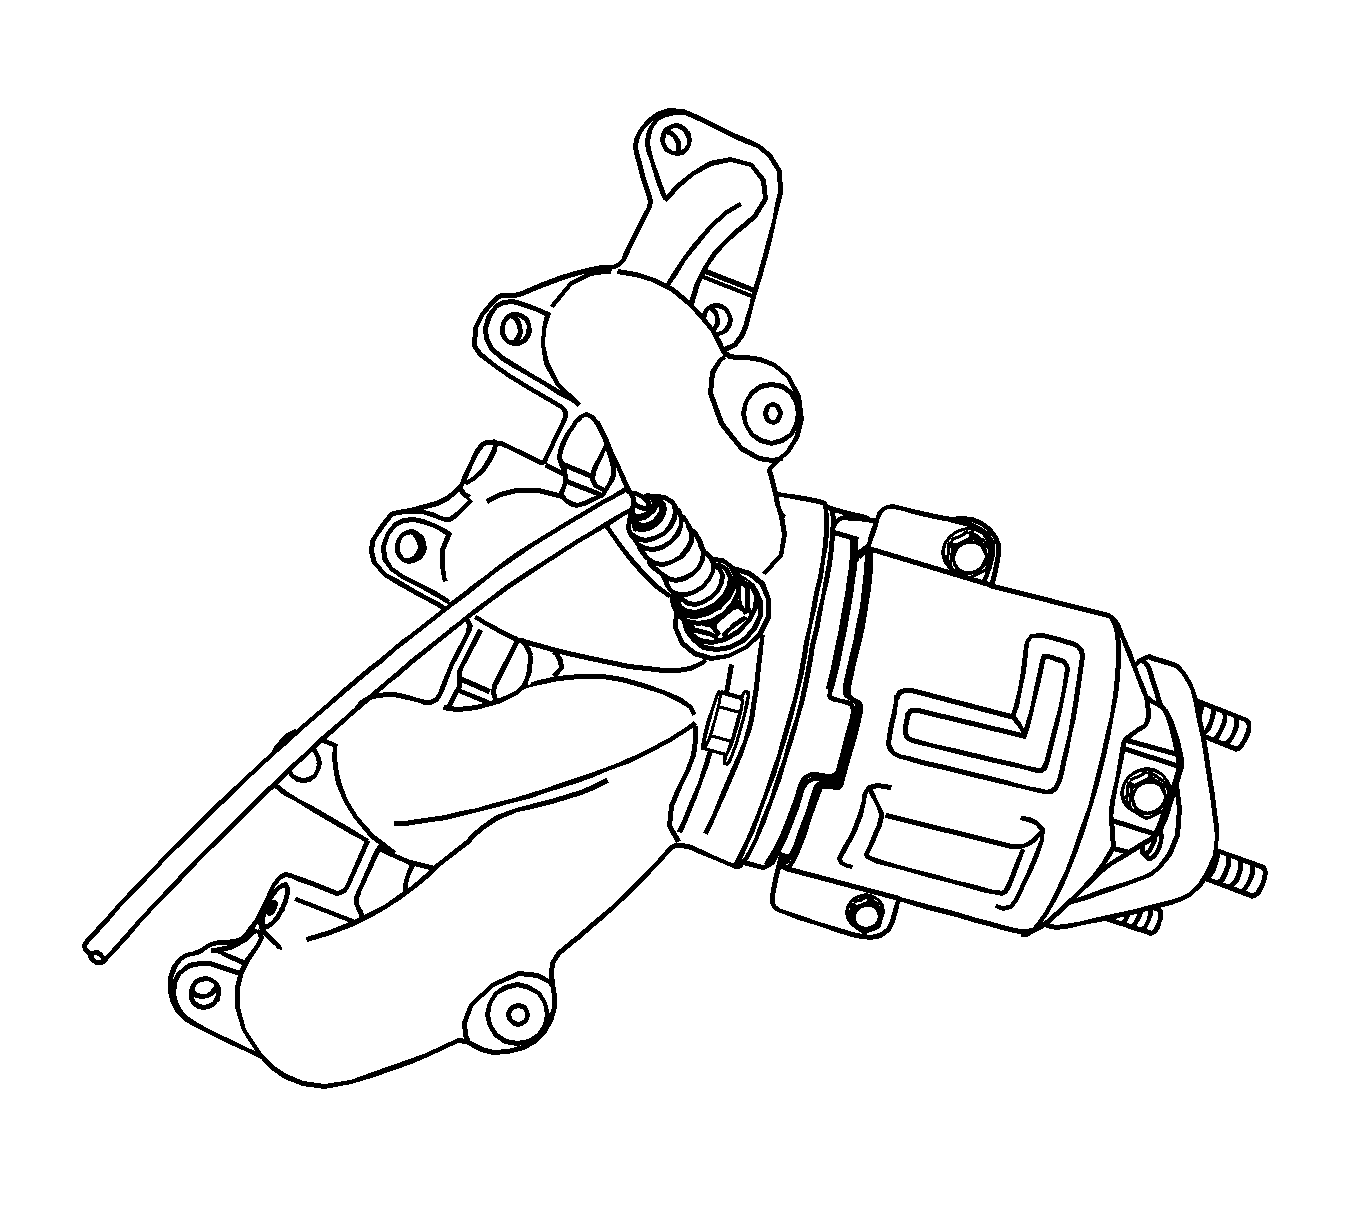
- Remove the front exhaust pipe nuts (1).
- Remove the gasket (2).
- Remove the front exhaust pipe from the pup-up catalytic convertor.
- Inspect the gasket for damage or leak.
- Remove the air cleaner assembly.
- Disconnect oxygen sensor (O2S) connector.
- Remove the exhaust manifold heat shield.
- Remove the exhaust manifold. Refer to Exhaust Manifold Removal .
- Remove the pup-up catalytic convertor bolts.
- Remove the pup-up catalytic convertor from the exhaust manifold.
Caution: While engine is operating, the exhaust system will become extremely hot. To prevent burns avoid contacting a hot exhaust system.
Notice: To prevent internal damage to the flexible coupling of the catalytic converter assembly, the converter must be supported. The vertical movement at the rear of the catalytic converter assembly must not exceed 6 degrees up or down.
Installation Procedure
- Install the pup-up catalytic convertor to the exhaust manifold.
- Install the exhaust manifold bolts and nuts. Refer to Exhaust Manifold Installation .
- Install the heat shield bolts to the exhaust manifold.
- Connect the oxygen sensor (02S) connector.
- Install the air cleaner assembly.
- Position the gasket and install the front exhaust pipe to the pup-up catalytic convertor (1).
Notice: Refer to Fastener Notice in the Preface section.
Tighten
Tighten the bolts to 25-35 N·m (18-25 lb ft).
Tighten
Tighten the bolts to 8-12 N·m (71-106 lb in).
Tighten
Tighten the bolts to 25-35 N·m (18-25 lb ft).
