High Intensity Discharge Headlamp Replacement Delphi
Removal Procedure
- Remove the battery negative cable.
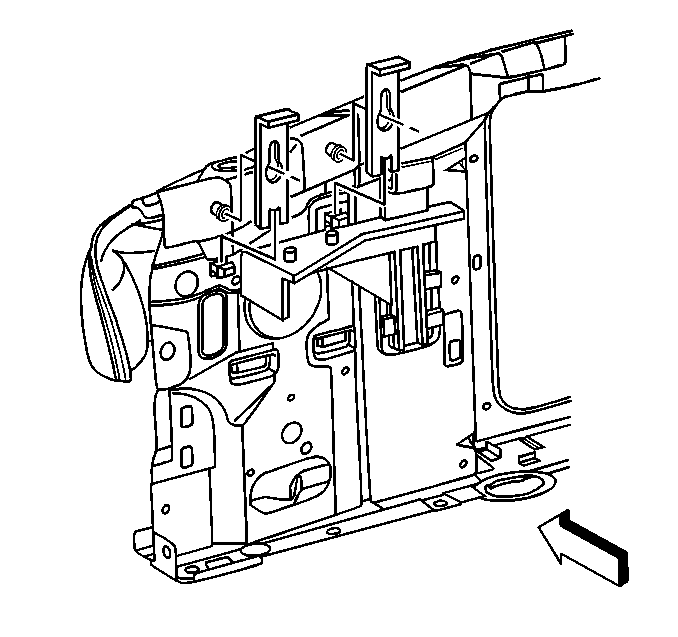
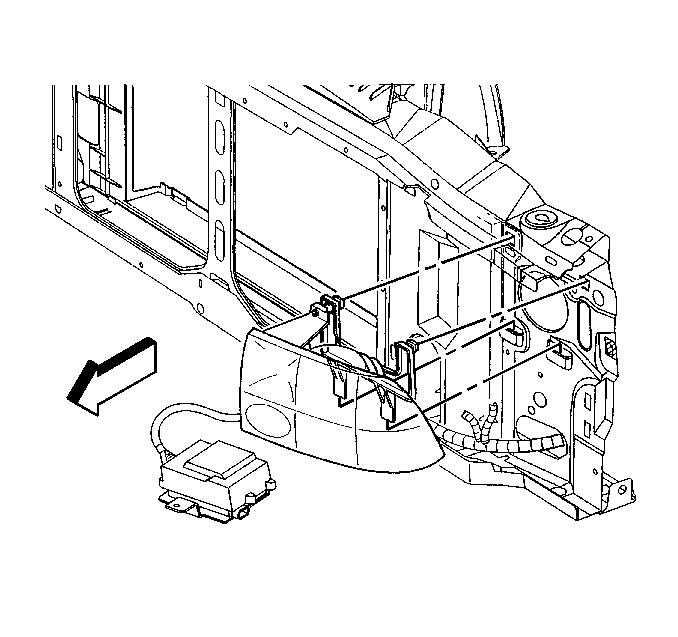
- Remove the radiator grille from the vehicle. Refer to Grille Replacement in Exterior Trim.
- Remove the front bumper assembly from the vehicle. Refer to Front Bumper Impact Bar Replacement in Bumpers.
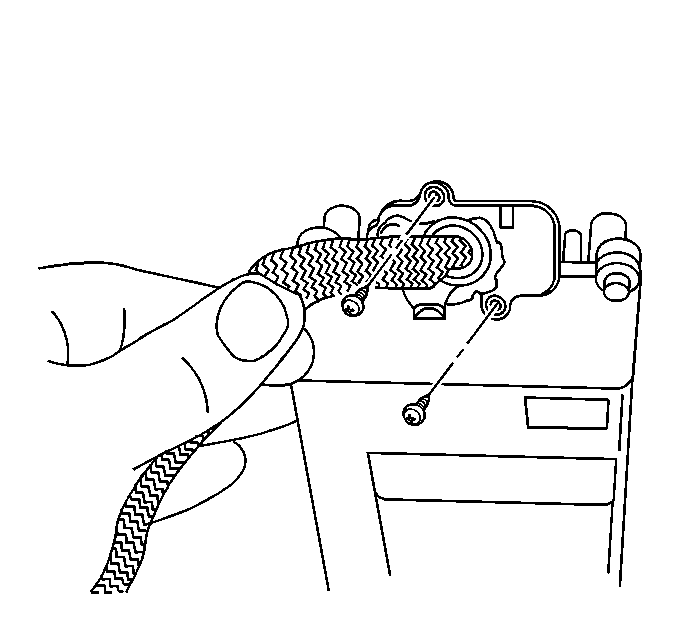
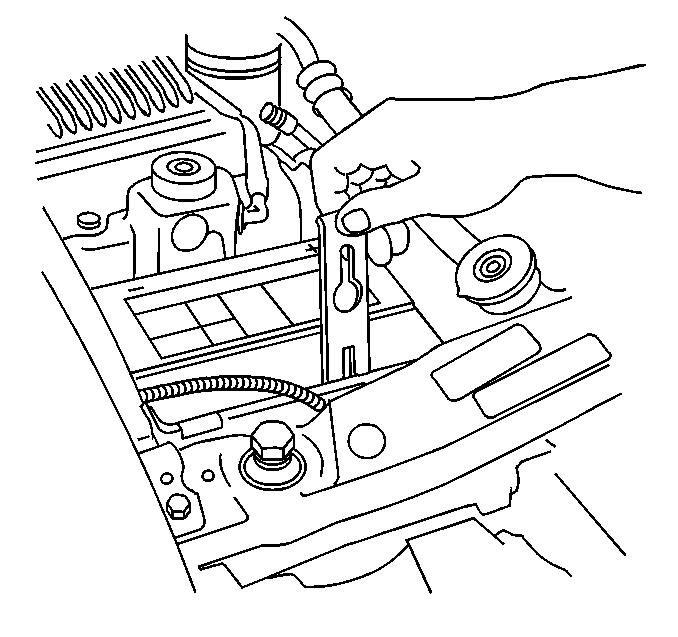
- Remove the starter cable retainers from the headlamp ballast.
- Remove the starter cable from the headlamp ballast.
- Remove the headlamp retainers by pulling up and outward.
- Disconnect the electrical connections and bulb(s) from the headlamp housing.
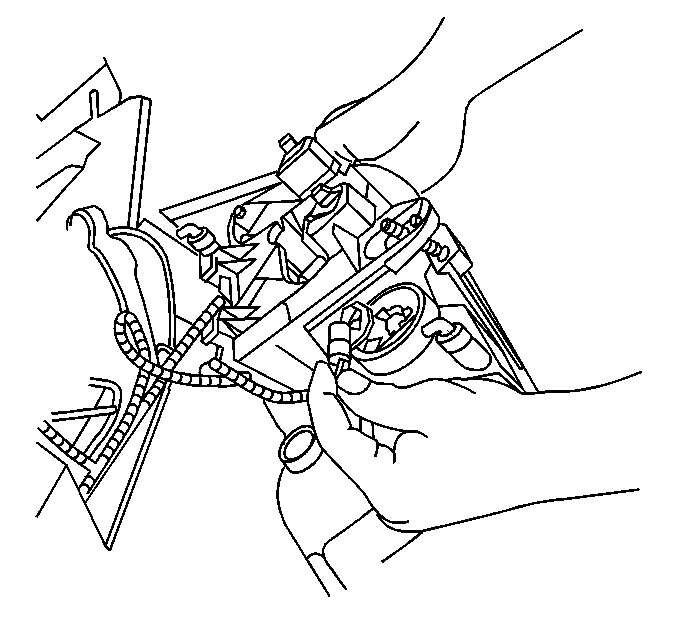
- Remove the headlamp mounting bracket retainers.
- Remove the headlamp mounting bracket from the headlamp housing.
- On a bench, remove the arc tube with starter from the headlamp housing. Refer to High Intensity Discharge Headlamp Starter/Arc Tube Replacement .
Caution: The high intensity discharge system produces high voltage and current.
To reduce the risk of severe shocks and burns:
• Never open the high intensity discharge system ballast or the
arc tube assembly starter. • Never probe between the high intensity discharge system ballast
output connector and the arc tube assembly.
Caution: The high intensity discharge system produces high voltage and current. In order to reduce the risk of severe shocks and burns, the battery negative cable must be disconnected any time service work is being performed on or around the high intensity discharge system.
Notice: Avoid touching the bulb or letting the bulb come in contact with anything damp. Oil from your skin or moisture on the bulb can cause the bulb to explode when the bulb is turned on. If either comes in contact with the bulb, clean the bulb with alcohol or a suitable degreaser and wipe the bulb dry.
Caution: Unless directed otherwise, the ignition and start switch must be in the OFF or LOCK position, and all electrical loads must be OFF before servicing any electrical component. Disconnect the negative battery cable to prevent an electrical spark should a tool or equipment come in contact with an exposed electrical terminal. Failure to follow these precautions may result in personal injury and/or damage to the vehicle or its components.

Installation Procedure
- On a bench, assemble the arc tube with starter to the headlamp. Refer to High Intensity Discharge Headlamp Starter/Arc Tube Replacement .
- Install the headlamp mounting bracket to the headlamp housing.
- Install the headlamp mounting bracket retainers.
- Connect the electrical connections and bulb(s) to the headlamp housing.
- Install the headlamp to the vehicle.
- Install the headlamp retainers by pushing down and inward.
- Install the starter cable retainers to the headlamp ballast.
- Install the starter cable to the headlamp ballast.
- Install the front bumper assembly to the vehicle. Refer to Front Bumper Impact Bar Replacement in Bumpers.
- Install the radiator grille to the vehicle. Refer to Grille Replacement in Exterior Trim.
- Install the battery negative cable.
Notice: Use the correct fastener in the correct location. Replacement fasteners must be the correct part number for that application. Fasteners requiring replacement or fasteners requiring the use of thread locking compound or sealant are identified in the service procedure. Do not use paints, lubricants, or corrosion inhibitors on fasteners or fastener joint surfaces unless specified. These coatings affect fastener torque and joint clamping force and may damage the fastener. Use the correct tightening sequence and specifications when installing fasteners in order to avoid damage to parts and systems.
Tighten
| • | Tighten the headlamp mounting bracket flange nut to 5 N·m (45 lb in). |
| • | Tighten the headlamp mounting bracket bolts to 1.24 N·m (11 lb in). |
Important: Ensure that the lower retaining tabs are seated for proper headlamp housing retention.
Tighten
Tighten the starter cable screws to 0.7 N·m (6 lb in).
High Intensity Discharge Headlamp Replacement Philips
Removal Procedure
Caution: The high intensity discharge system produces high voltage and current.
To reduce the risk of severe shocks and burns:
• Never open the high intensity discharge system ballast or the
arc tube assembly starter. • Never probe between the high intensity discharge system ballast
output connector and the arc tube assembly.
Caution: The high intensity discharge system produces high voltage and current. In order to reduce the risk of severe shocks and burns, the battery negative cable must be disconnected any time service work is being performed on or around the high intensity discharge system.
Caution: Unless directed otherwise, the ignition and start switch must be in the OFF or LOCK position, and all electrical loads must be OFF before servicing any electrical component. Disconnect the negative battery cable to prevent an electrical spark should a tool or equipment come in contact with an exposed electrical terminal. Failure to follow these precautions may result in personal injury and/or damage to the vehicle or its components.
- Remove the battery negative cable.
- Remove the radiator grille from the vehicle. Refer to Grille Replacement in Exterior Trim.
- Remove the front bumper assembly from the vehicle. Refer to Front Bumper Impact Bar Replacement in Bumpers.
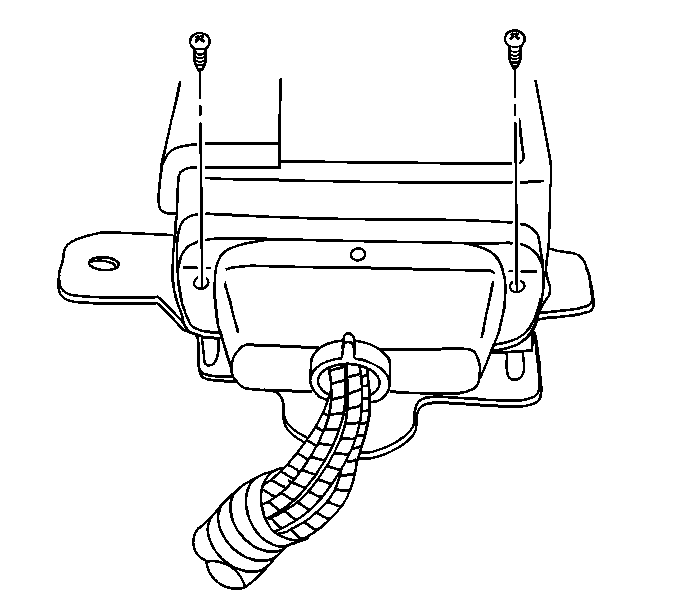
- Remove the starter cable retaining screws and cover from the headlamp ballast.
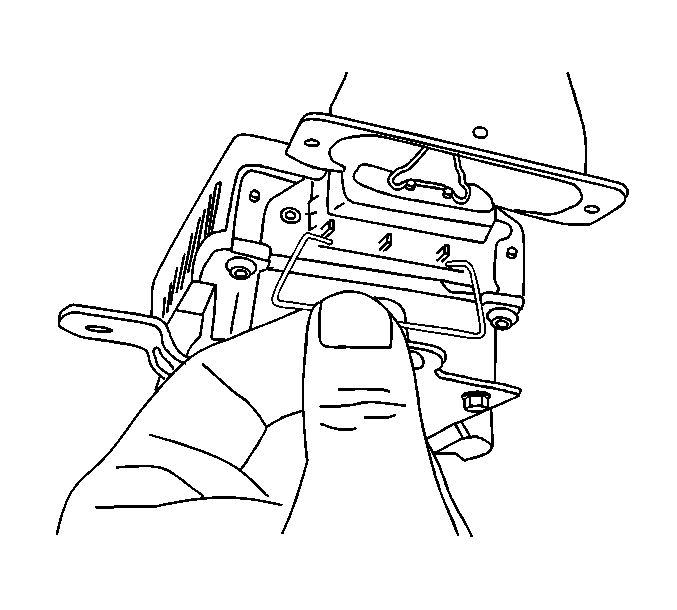
- Remove the retaining clip from the starter cable connector.
- Remove the starter cable from the headlamp ballast.
- Remove the headlamp retainers by pulling up and outward.
- Disconnect the electrical connections and bulb(s) from the headlamp housing.
- Remove the headlamp mounting bracket retainers.
- Remove the headlamp mounting bracket from the headlamp housing.
- On a bench, remove the arc tube with starter from the headlamp housing. Refer to High Intensity Discharge Headlamp Starter/Arc Tube Replacement .
Notice: Avoid touching the bulb or letting the bulb come in contact with anything damp. Oil from your skin or moisture on the bulb can cause the bulb to explode when the bulb is turned on. If either comes in contact with the bulb, clean the bulb with alcohol or a suitable degreaser and wipe the bulb dry.
Installation Procedure
- On a bench, assemble the arc tube with starter to the headlamp. Refer to High Intensity Discharge Headlamp Starter/Arc Tube Replacement .
- Install the headlamp mounting bracket to the headlamp housing.
- Install the headlamp mounting bracket retainers.
- Connect the electrical connections and bulb(s) to the headlamp housing.
- Install the headlamp to the vehicle.
- Install the headlamp retainers by pushing down and inward.
- Install the starter cable connector to the ballast.
- Install the retaining clip to the starter cable connector.
- Install the starter cable retaining screws and cover to the headlamp ballast.
- Install the front bumper assembly to the vehicle. Refer to Front Bumper Impact Bar Replacement in Bumpers.
- Install the radiator grille to the vehicle. Refer to Grille Replacement in Exterior Trim.
- Install the battery negative cable.
Notice: Use the correct fastener in the correct location. Replacement fasteners must be the correct part number for that application. Fasteners requiring replacement or fasteners requiring the use of thread locking compound or sealant are identified in the service procedure. Do not use paints, lubricants, or corrosion inhibitors on fasteners or fastener joint surfaces unless specified. These coatings affect fastener torque and joint clamping force and may damage the fastener. Use the correct tightening sequence and specifications when installing fasteners in order to avoid damage to parts and systems.
Tighten
| • | Tighten the headlamp mounting bracket flange nut to 5 N·m (45 lb in). |
| • | Tighten the headlamp mounting bracket bolts to 1.24 N·m (11 lb in). |
Important: Ensure that the lower retaining tabs are seated for proper headlamp housing retention.
Important: The arc tube will not energize if the retaining clip is removed or improperly installed.
Tighten
Tighten the starter cable screws to 0.7 N·m (6 lb in).
