The steps outlined in this procedure are the general requirements for properly setting the toe.
The alignment equipment varies in design and capabilities, therefore, consult with the equipment manufacturer's guidelines prior to setting this angle.
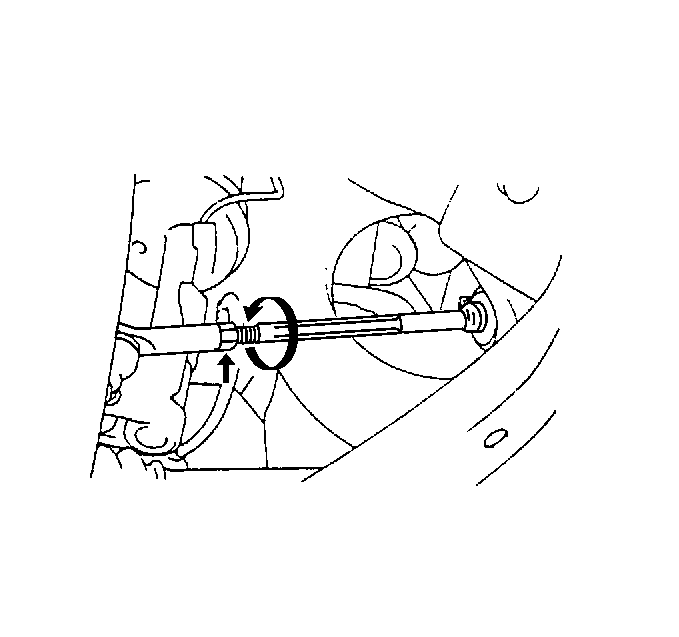
The toe adjustments are made by changing the length of the tie rods. A threaded adjusting sleeve is provided for this purpose.
The tie rod adjuster parts can become rusted in service.
Apply penetrating oil between the tie rod end locknut and the tie rod adjuster. Rotate the tie rod ends until they move freely.
Perform the following steps in order to make front toe adjustment:
- Make sure the steering wheel is set in a straight-ahead position.
- Make the toe adjustments separately at each tire and wheel.
- Remove the inner tie rod outer boot clamps.
- Loosen the tie rod end lock nuts.
- Turn the left and right steering rack ends an equal amount in order to adjust the toe-in.
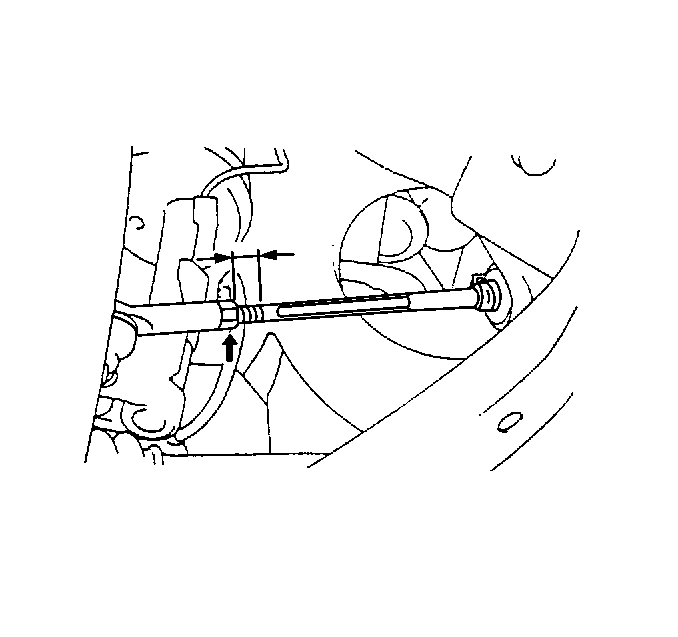
- Verify that the length of the left and right steering rack ends are the same. Verify that the number of threads showing on the left and and on the right steering rack ends are the same.
- Verify that the outer tie rod ends are at right angles to the steering knuckle.
- Place the boot on the seat. Make sure the boot is not twisted.
- Install the boot clamp.
Notice: Use the correct fastener in the correct location. Replacement fasteners must be the correct part number for that application. Fasteners requiring replacement or fasteners requiring the use of thread locking compound or sealant are identified in the service procedure. Do not use paints, lubricants, or corrosion inhibitors on fasteners or fastener joint surfaces unless specified. These coatings affect fastener torque and joint clamping force and may damage the fastener. Use the correct tightening sequence and specifications when installing fasteners in order to avoid damage to parts and systems.
Tighten
Tighten the steering rack ends to 56 N·m (41 lb ft).
