Removal Procedure
The GM replacement brake lining material is recommended for all GM vehicles. This is done in order to maintain the balance between front and rear brake performance. GM replacement parts have been carefully selected in order to provide the proper brake balance for purposes of both stopping distance and controllability over the full range of operation conditions. Installation of the front or rear brake lining material with performance different from that of the GM replacement parts recommended for this vehicle may change the intended brake balance of this vehicle.
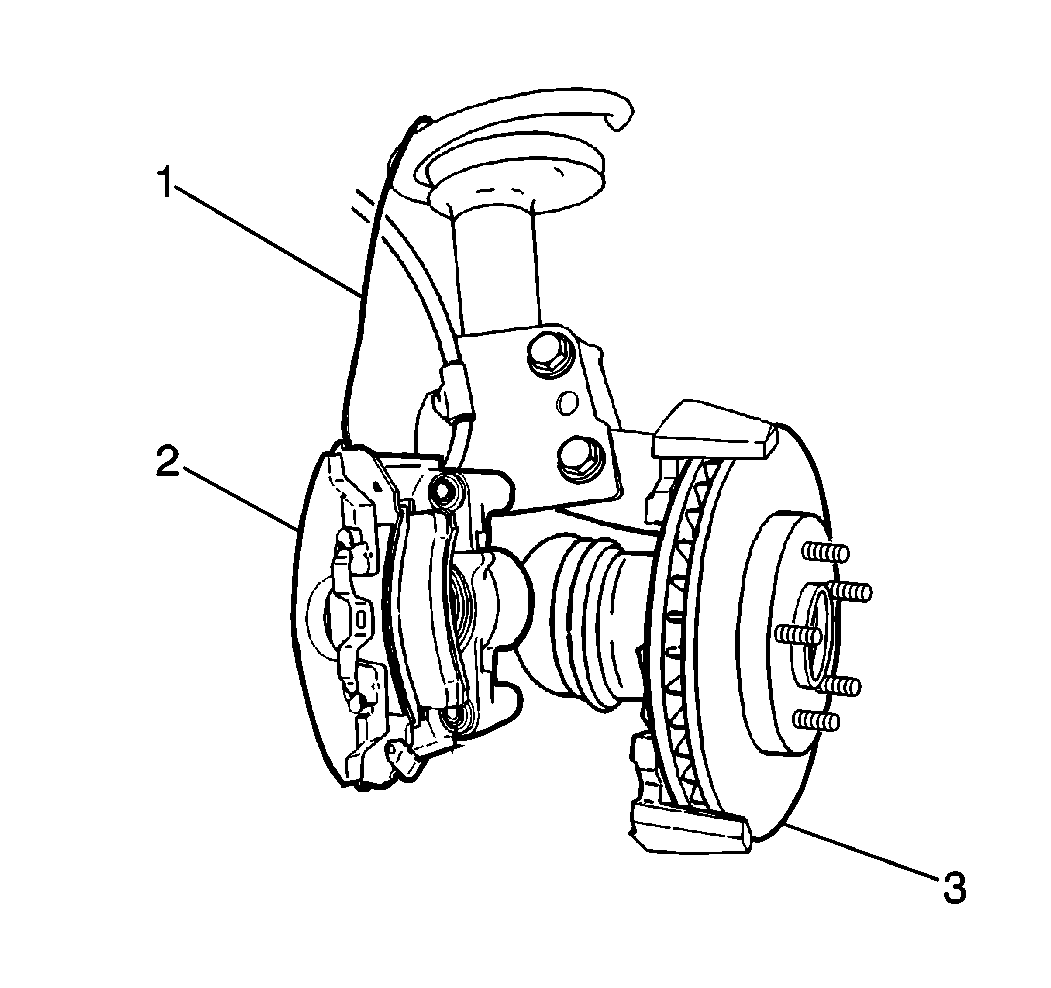
- Remove the brake caliper (2) from the steering knuckle. Do not remove the brake hose unless replacing the caliper. Refer to Brake Caliper Replacement .
- Suspend the brake caliper (2) from the strut using a wire hook (1).
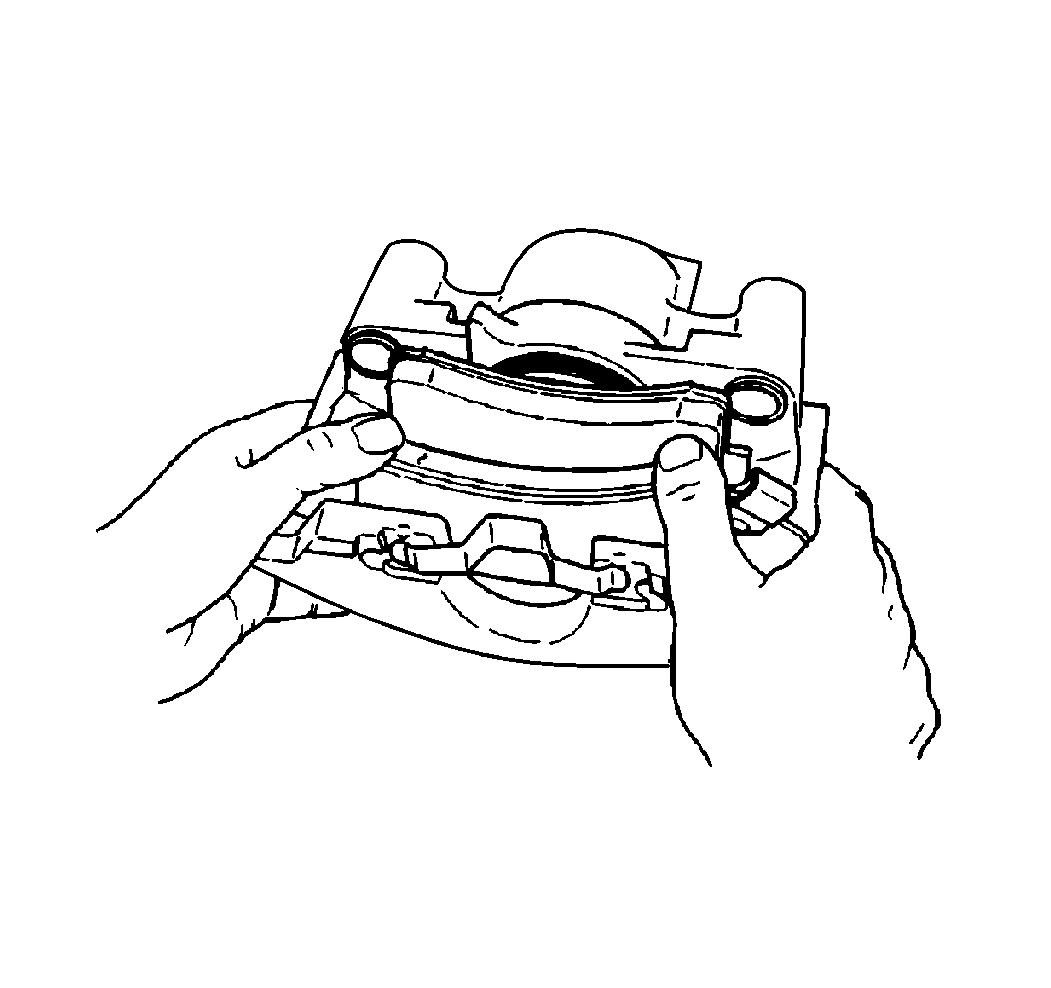
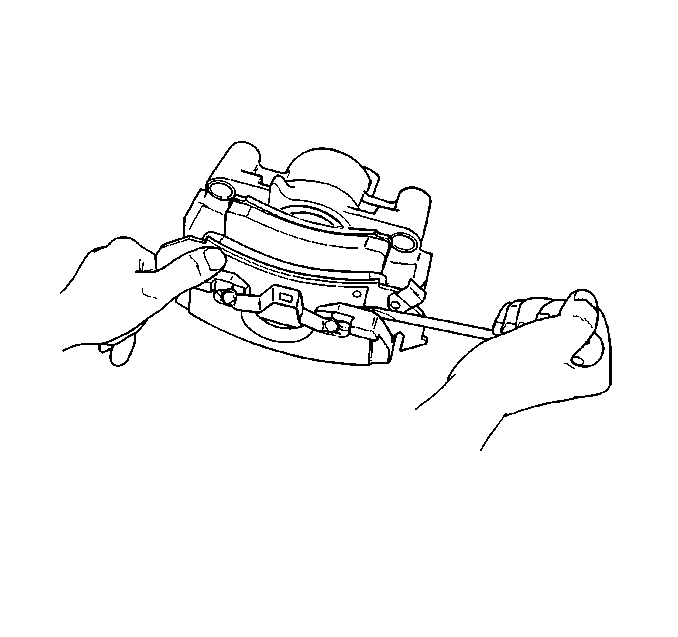
- Remove the front outboard brake pad. Use a screwdriver to disengage the buttons on the front brake pad from the holes in the front caliper housing.
- Remove the front inboard pad.
- Clean the brake pad contact area on the brake caliper with a wire brush.
- Inspect the contact area for excessive wear. Replace the caliper for excessive wear.
- Inspect the caliper mounting bolts for corrosion or damage. Use new parts, including bushings, when installing the brake caliper if any corrosion is found. Do not attempt to polish away corrosion.
Installation Procedure
- Bottom the piston into the brake caliper bore. If installing new brake pads, use a C-clamp (2) in order to bottom the piston. Use a metal plate or wooden block across the face of the piston. Do not damage the piston or the brake caliper boot.
- Lift the inner-edge brake caliper boot next to the piston. Press out any trapped air.
- Apply a thin layer of silicone grease on the caliper to the area where the brake pad moves on the caliper.
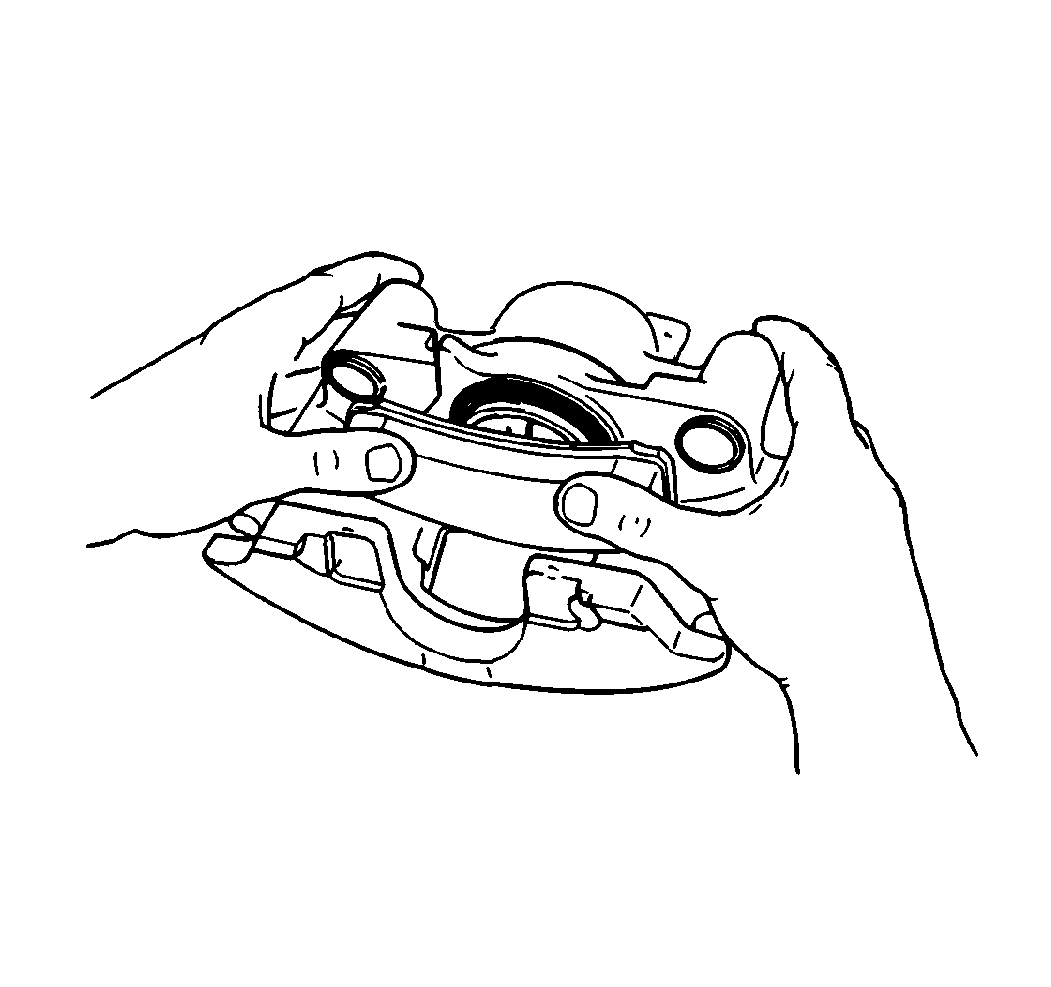
- Install the front inboard pad.
- Install the front outboard pad with the wear indicator at the leading edge of the front brake pad during forward wheel rotation. The back of the front pad must lay flat against the front brake caliper.
- Install the front brake caliper. Refer to Brake Caliper Replacement .
- Fill the master cylinder to the proper level with clean brake fluid. Refer to Master Cylinder Reservoir Filling in Hydraulic Brakes.
- Apply approximately 778 N (175 lb) of force to the brake pedal 3 times in order to seat the pads.
- Burnish the brake pads and the brake rotors. Refer to Burnishing Pads and Rotors.

Important: Before installing new brake pads, wipe the outside surface of the brake caliper boot clean. Use denatured alcohol.
Important: The brake caliper boot must lay flat below the level of the piston face.
| • | Snap the retainer ring into the front brake caliper piston. |
| • | The front brake pad retainer spring is already staked to the brake pad. |
| • | The front brake pad must lay flat against the front brake caliper piston. |