Engine Coolant Fan Replacement Gasoline Engines
Removal Procedure
- Disconnect the negative battery cable.
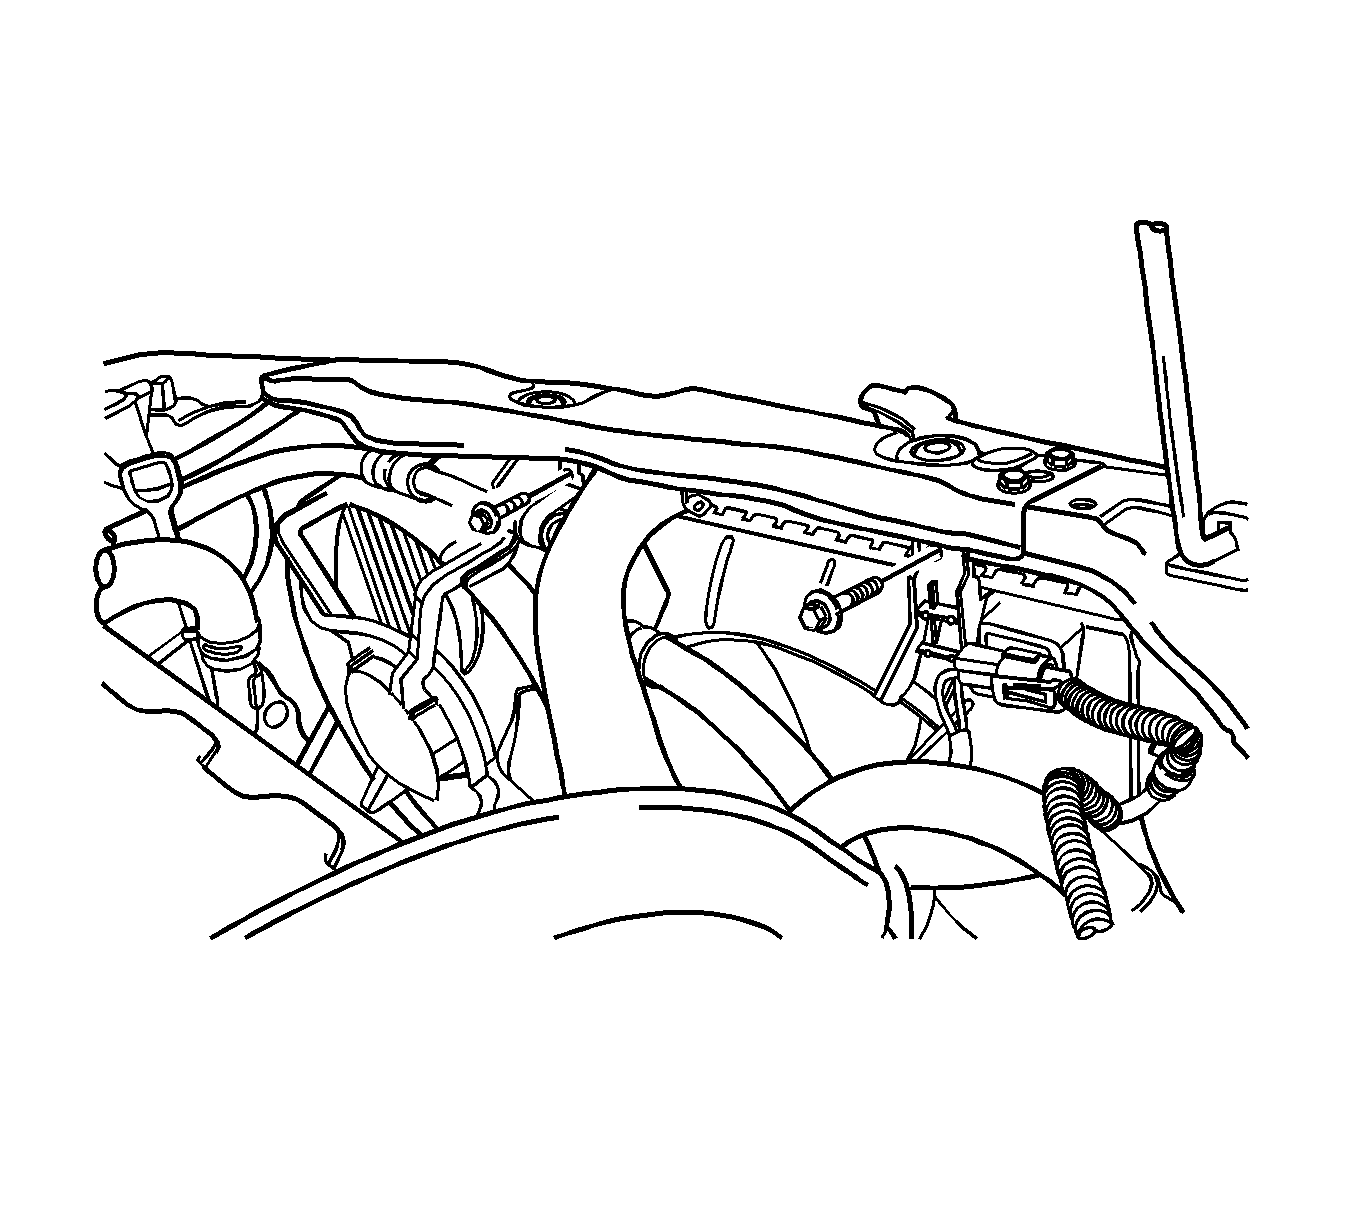
- Disconnect the cooling fan electrical connector.
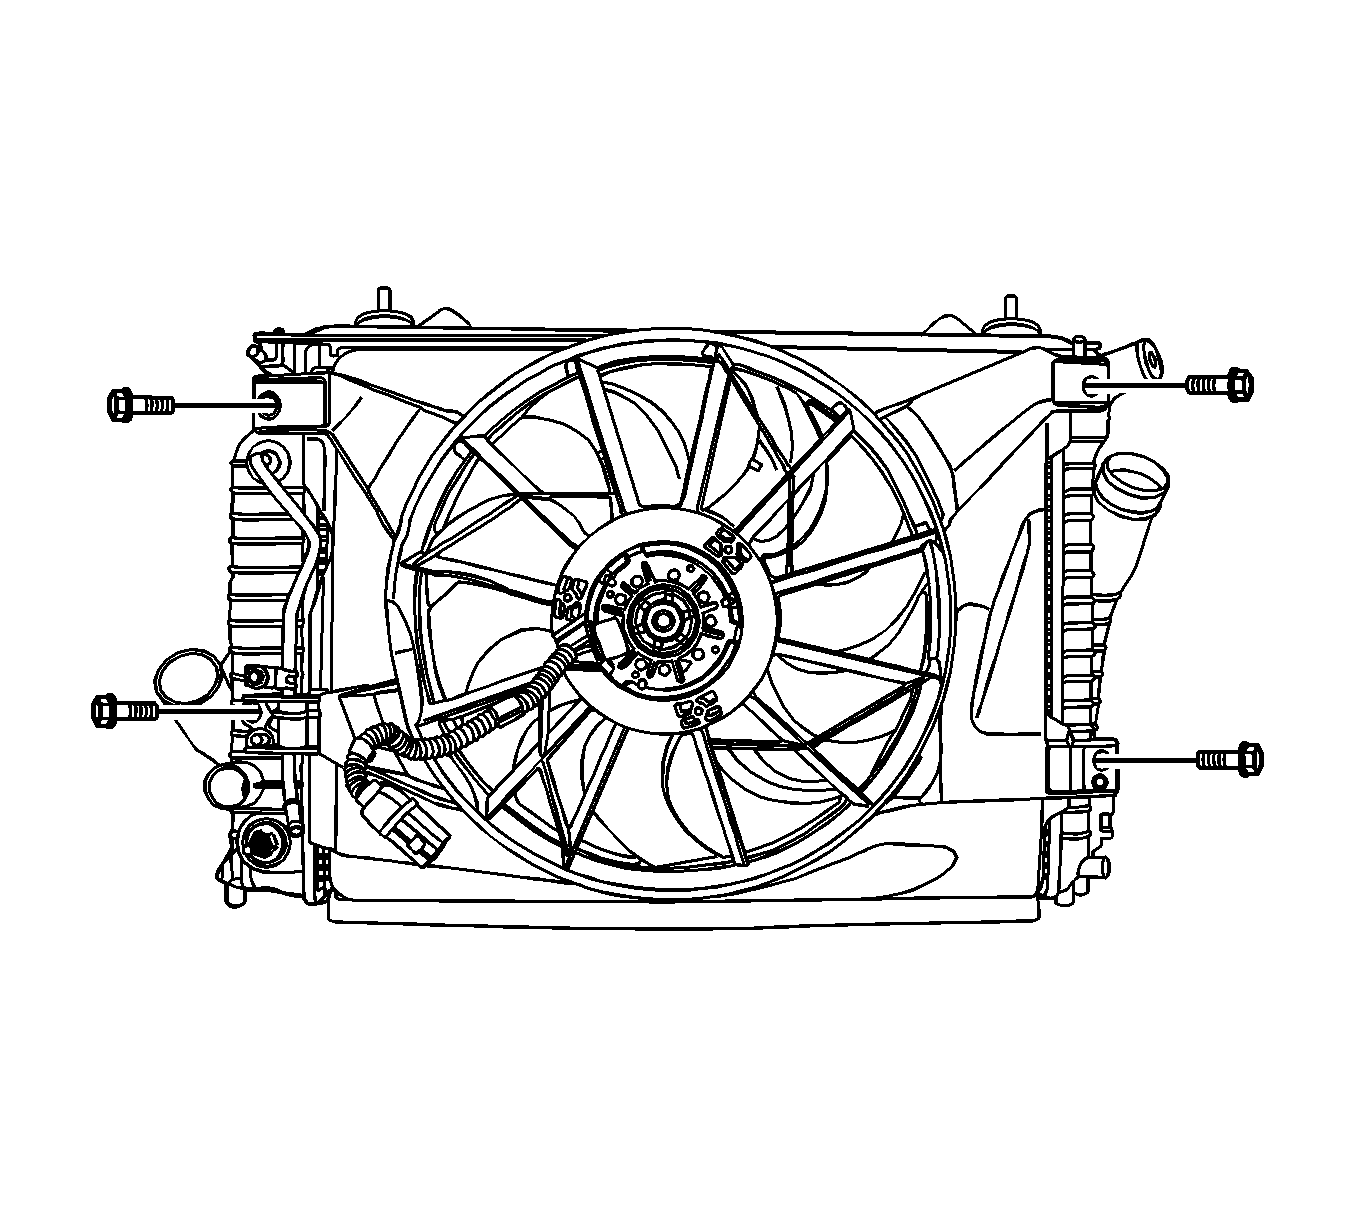
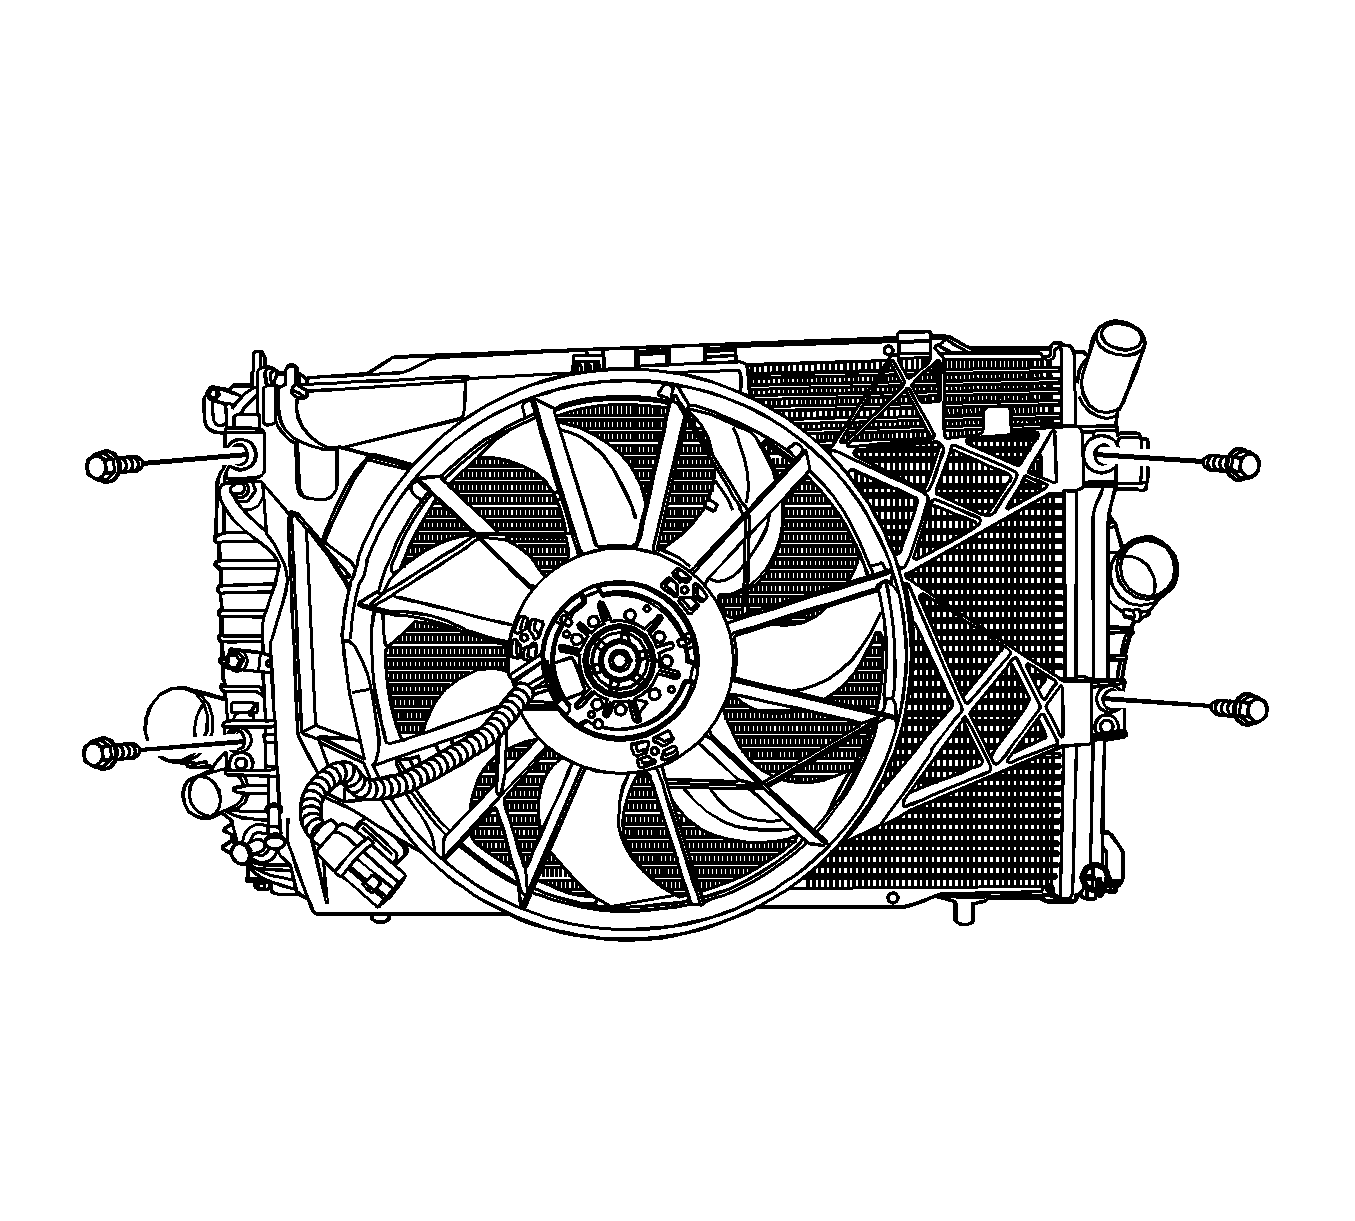
- Remove the fan shroud mounting bolts.
- Lift the fan shroud assembly upward, and remove the fan shroud assembly from the vehicle.
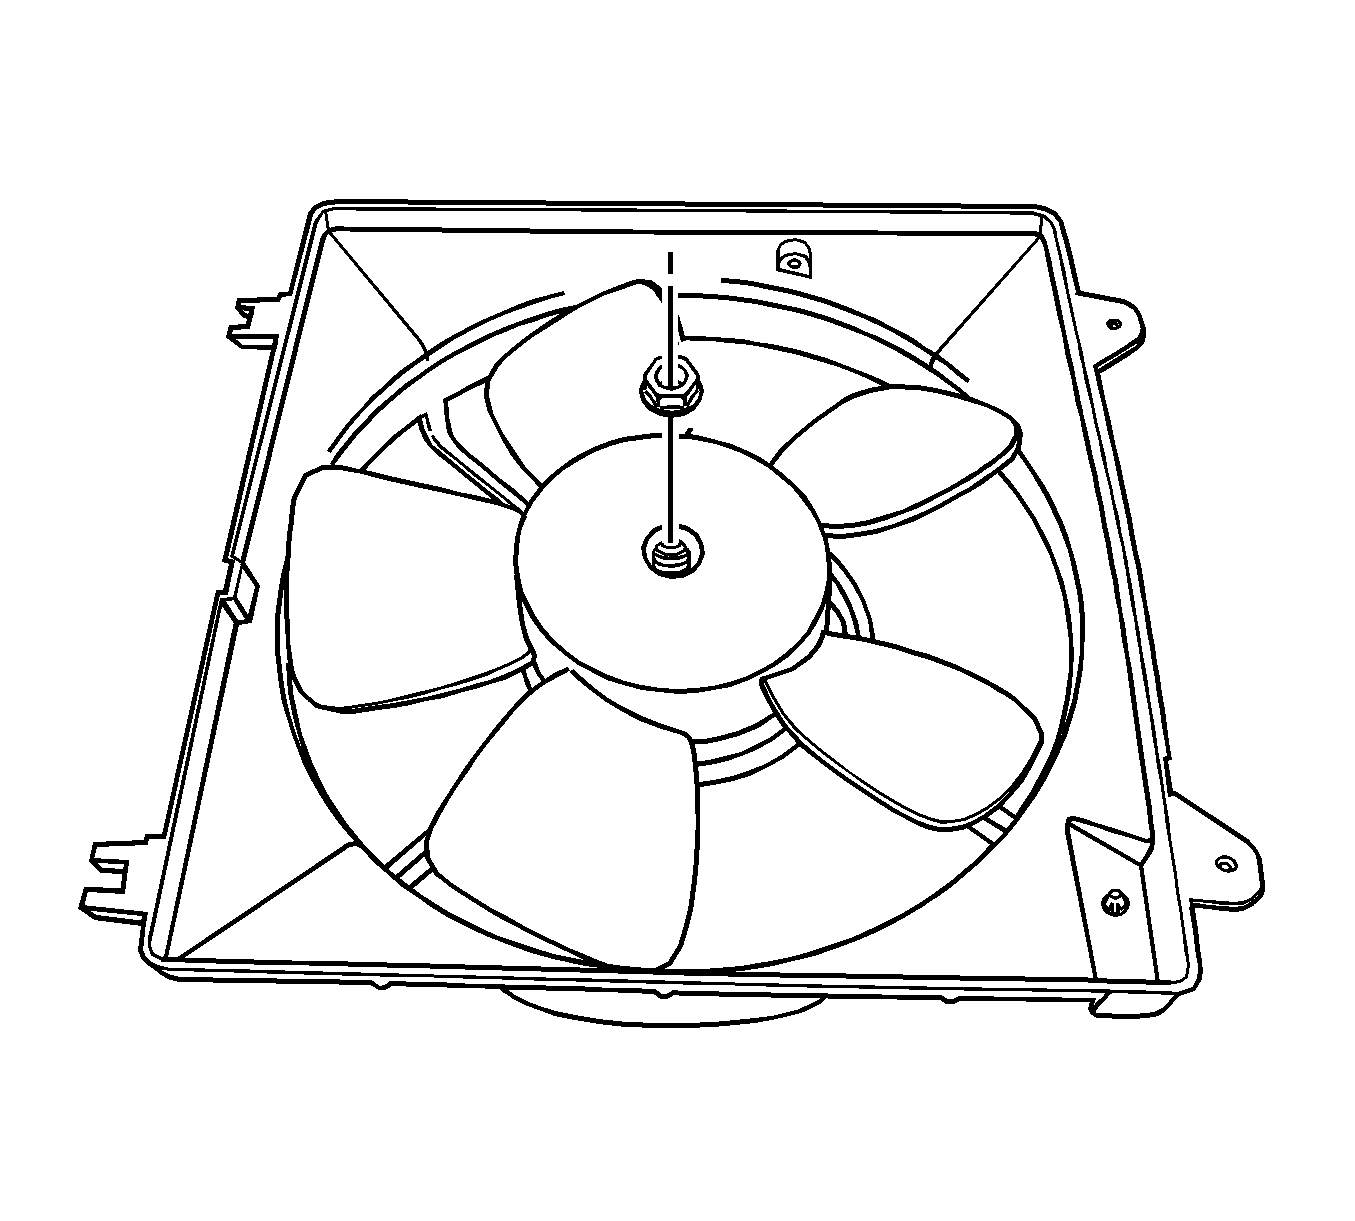
- Remove the fan blade from the fan shroud assembly by removing the nut at the center of the fan hub.
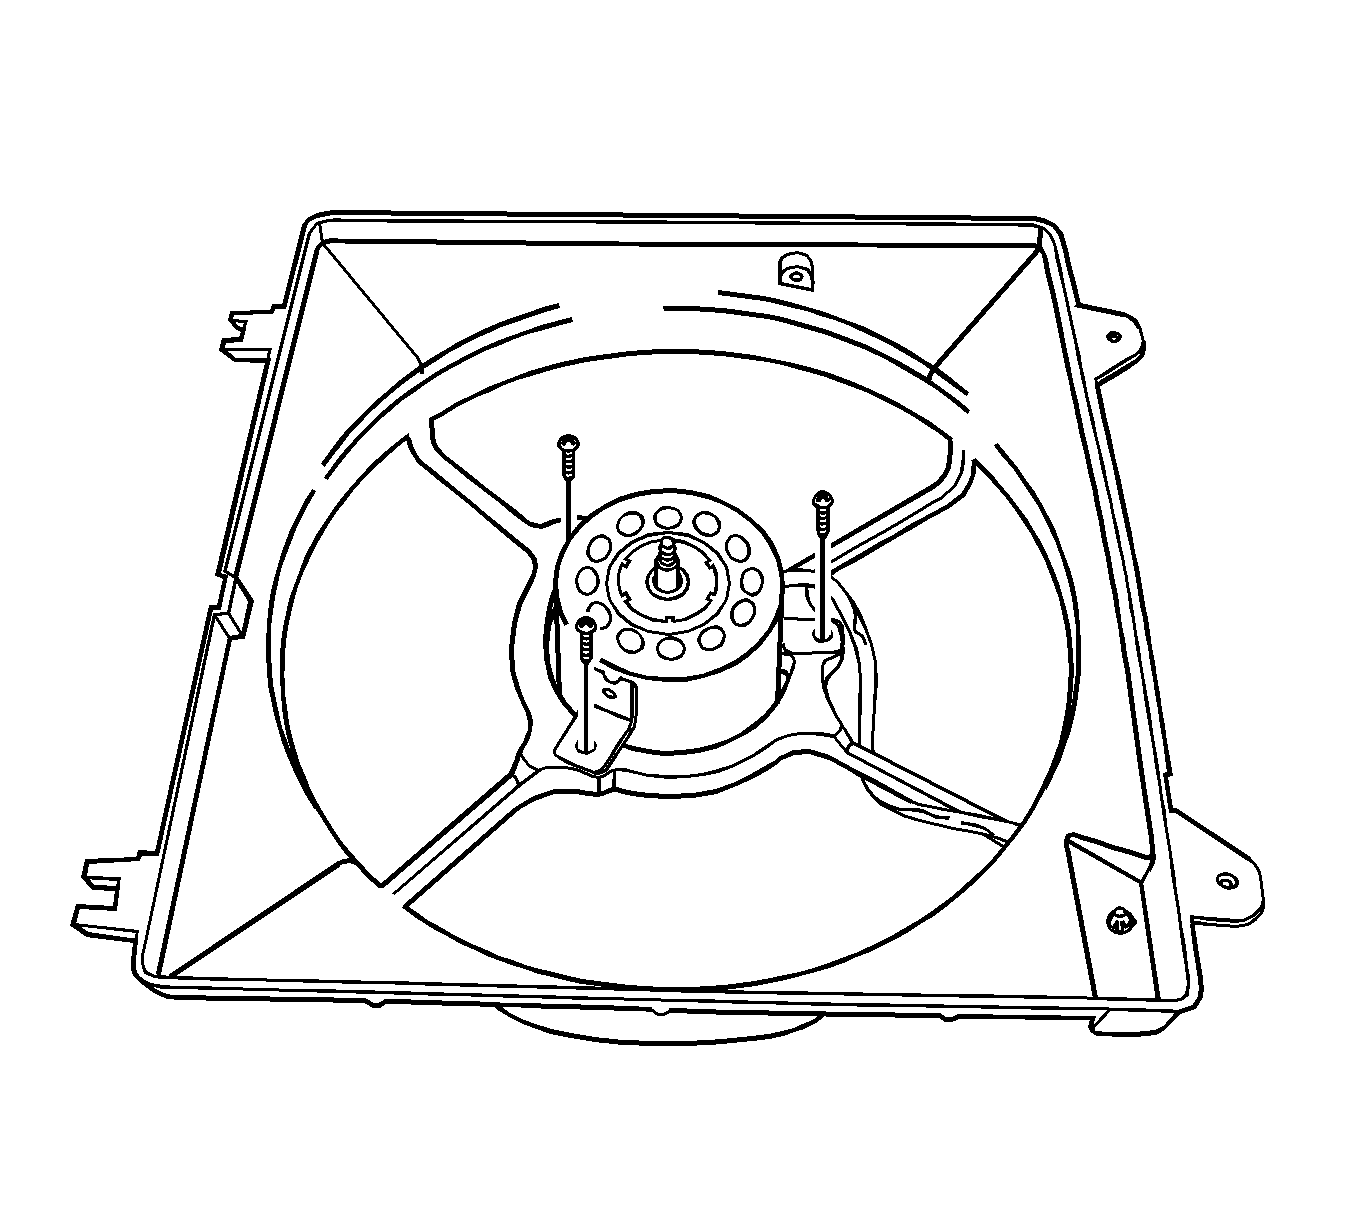
- Turn over the fan shroud assembly.
- Remove the fan motor retaining screws.
- Remove the fan motor from the shroud.
Caution: Refer to Battery Disconnect Caution in the Preface section.
Installation Procedure
- Install the fan motor to the shroud.
- Secure the motor to the shroud with the retaining screws.
- Turn over the fan shroud assembly.
- Install the fan to the fan shroud assembly with the single nut in the center of the fan hub.
- Install the fan shroud assembly to the radiator.
- Secure the shroud to the top of the radiator with the mounting bolts.
- Connect the cooling fan electrical connector.
- Connect the negative battery cable.
Caution: If a fan blade is bent or damaged in any way, do not repair or reuse the damaged part. Always replace a bent or damaged fan blade. Fan blades that have been damaged can not be assured of proper balance and could fail and fly apart during subsequent use. This creates an extremely dangerous situation.
The fan blades must remain in proper balance. You cannot assure fan blade balance once a fan blade has been bent or damaged. A fan blade that is not in proper balance could fail and fly apart during use, creating an extremely dangerous situation.Notice: Refer to Fastener Notice in the Preface section.
Tighten
Tighten the fan motor retaining screws to 4 N·m (35 lb in).
Tighten
Tighten the fan motor nut to 3.2 N·m (28 lb in).
Important: Be careful to seat the mounting post on the fan shroud into the socket at the radiator left tank. Be sure to slip the tab at the bottom edge of the shroud into the retaining clip near the center of the radiator.
Tighten
Tighten the fan assembly mounting bolts to 4 N·m (35 lb in).
Engine Coolant Fan Replacement Diesel Engine
Removal Procedure
- Disconnect the negative battery cable.
- Remove the beauty cover. Refer to Engine Cover Replacement .
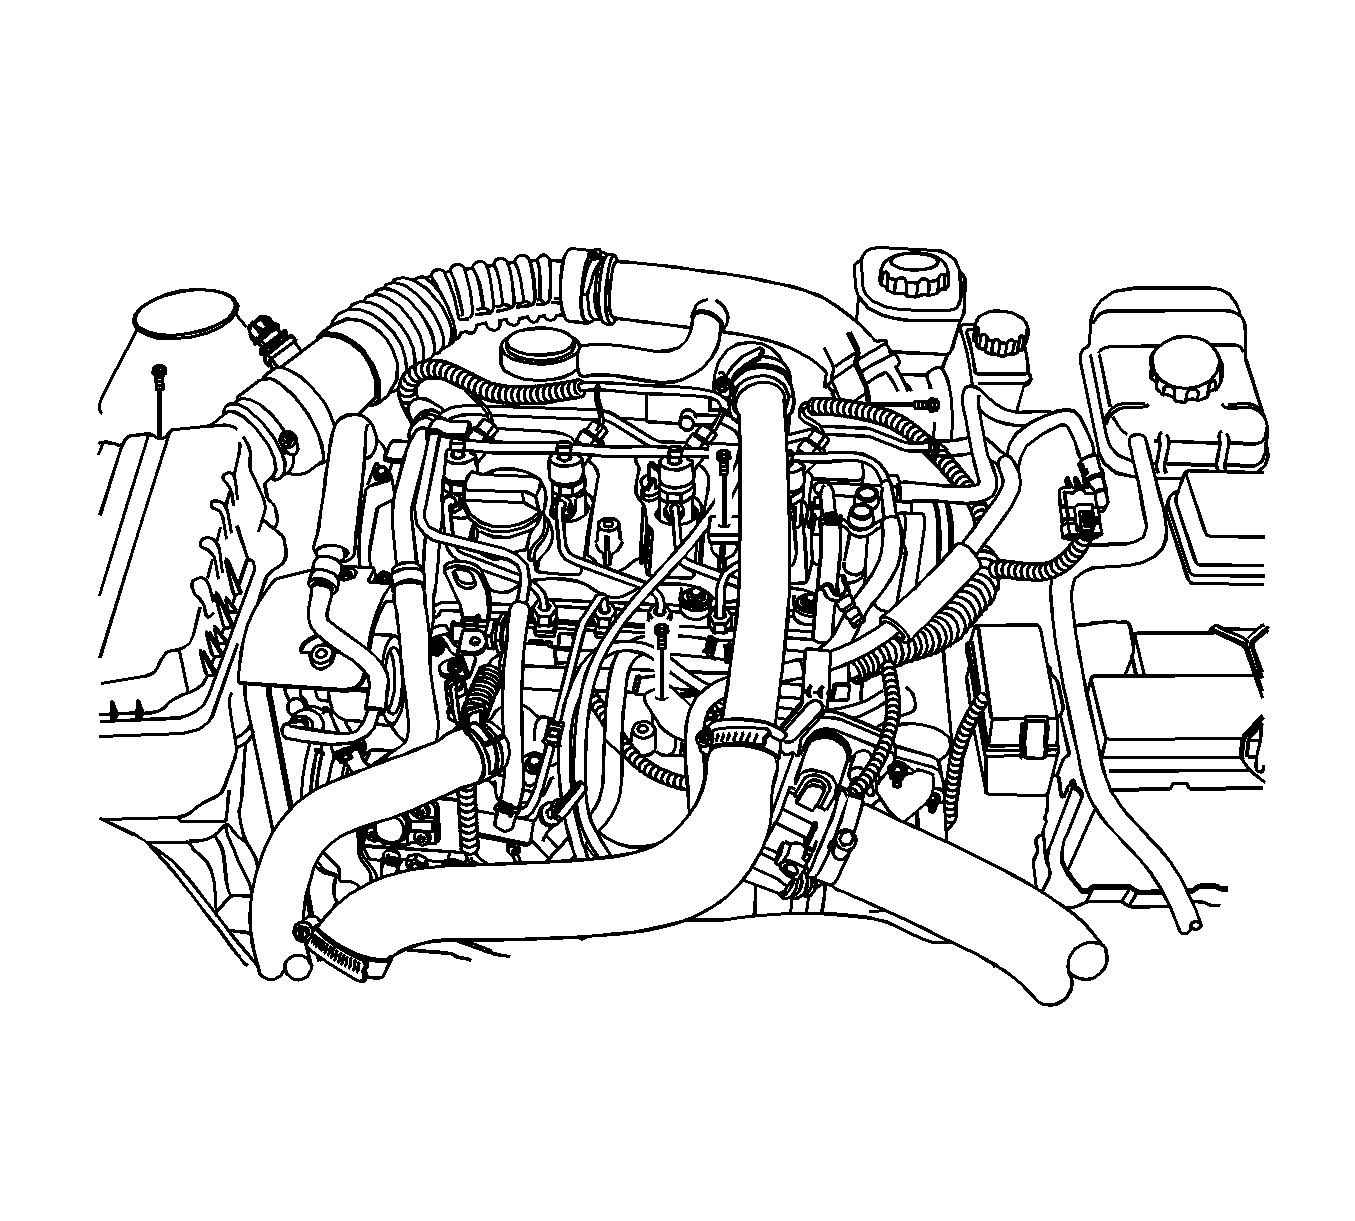
- Remove the charge air system hoses and ducts. Refer to Charge Air Cooler Inlet Pipe and Outlet Pipe Replacement .
- Remove the battery and battery tray. Refer to Battery Tray Replacement .
- Remove the underhood auxiliary fuse block.
- Disconnect the main cooling fan electrical connector.
- Remove the cooling fan shroud mounting bolts.
- Remove the cooling fan assembly upward.
Caution: Refer to Battery Disconnect Caution in the Preface section.
Installation Procedure
- Install the cooling fan to the radiator.
- Install the cooling fan assembly retaining bolts.
- Install the underhood auxiliary fuse block.
- Install the battery and battery tray. Refer to Battery Tray Replacement .
- Install the charge air system hoses and ducts. Refer to Charge Air Cooler Inlet Pipe and Outlet Pipe Replacement .
- Install the engine cover. Refer to Engine Cover Replacement .
- Connect the negative battery cable.
Caution: To help avoid personal injury or damage to the vehicle, a bent, cracked, or damaged fan blade or housing should always be replaced.
Notice: Refer to Fastener Notice in the Preface section.
Tighten
Tighten the cooling fan assembly bolts to 4 N·m (35 lb in).
