For 1990-2009 cars only
Special Tools
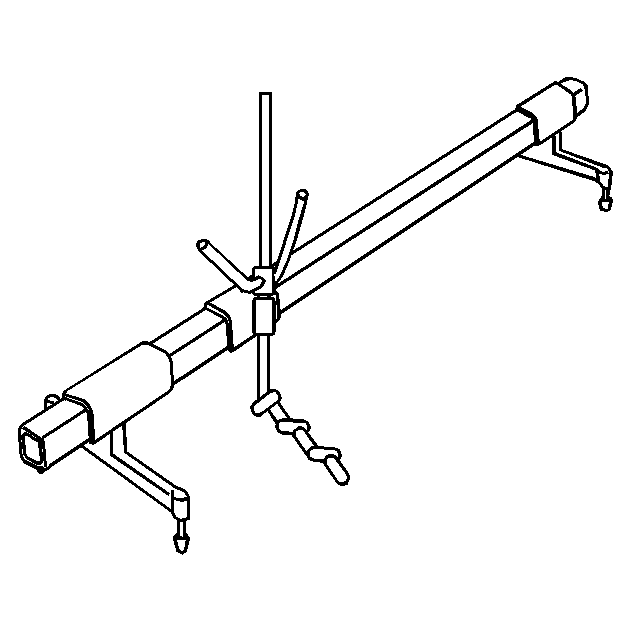
DW-110-060 Engine Support Fixture
Removal Procedure
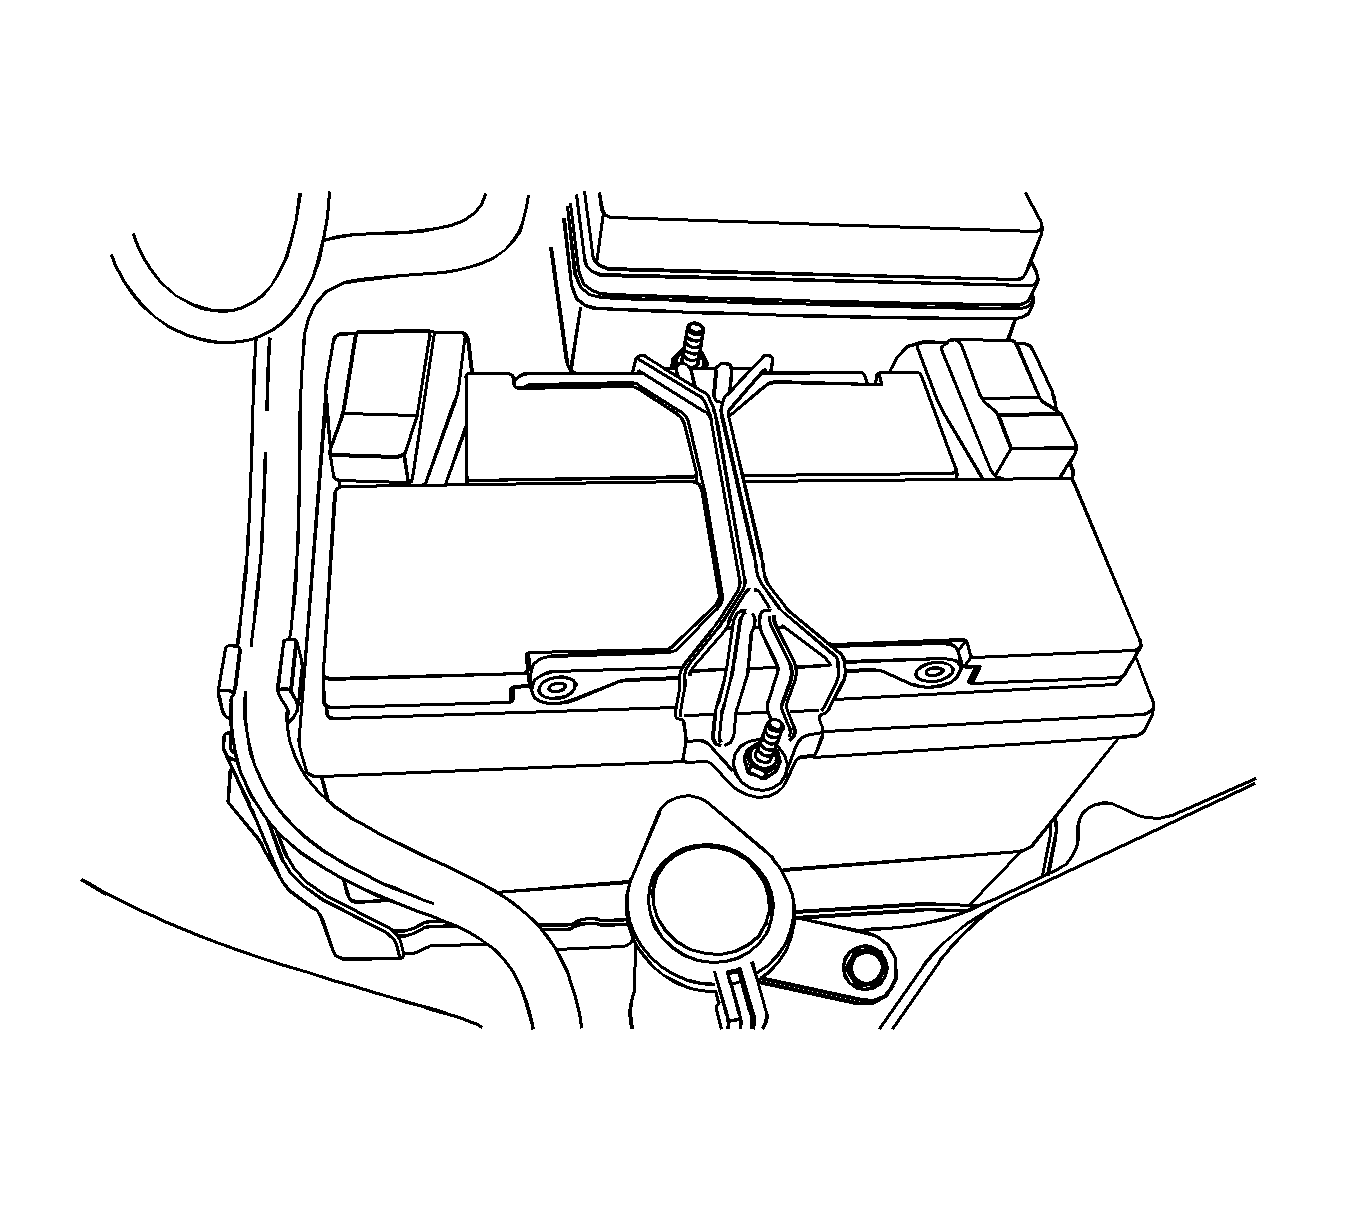
- Remove the battery and tray. Refer to Battery Tray Replacement .
- Remove the fuel filter assembly. Refer to Fuel Filter Replacement .
- Drain the transaxle fluid. Refer to Transmission Fluid Replacement .
- Disconnect the shift control cable from the transaxle. Refer to Shift Control Cable Adjustment .
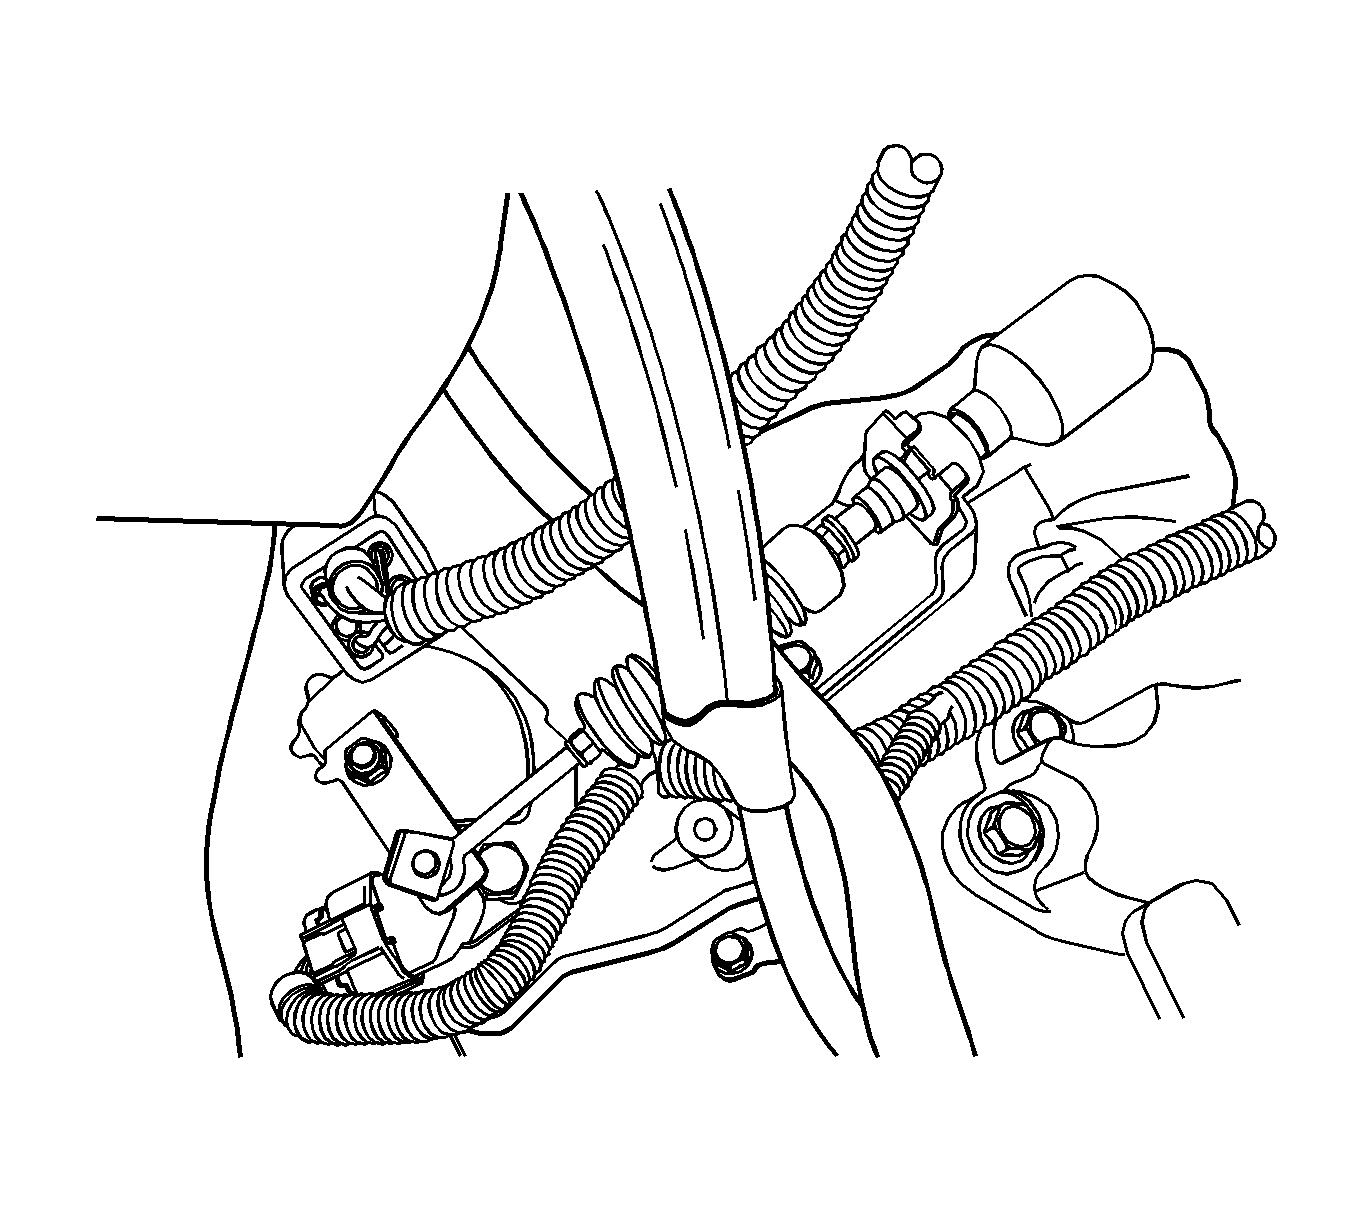
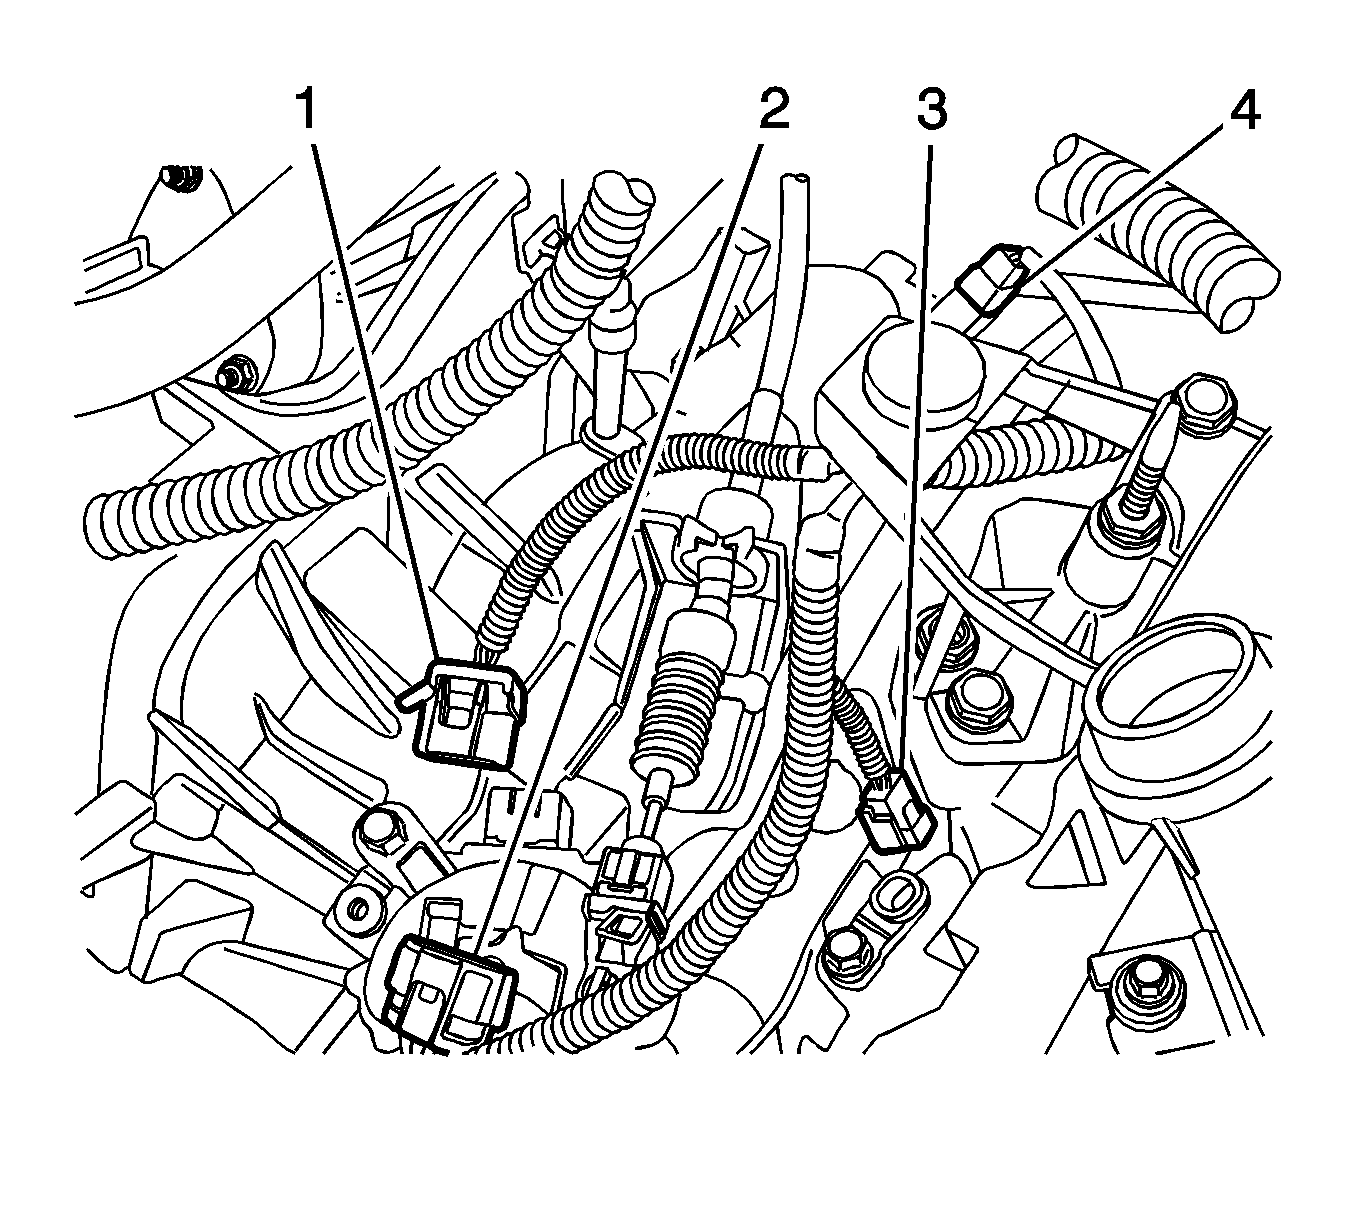
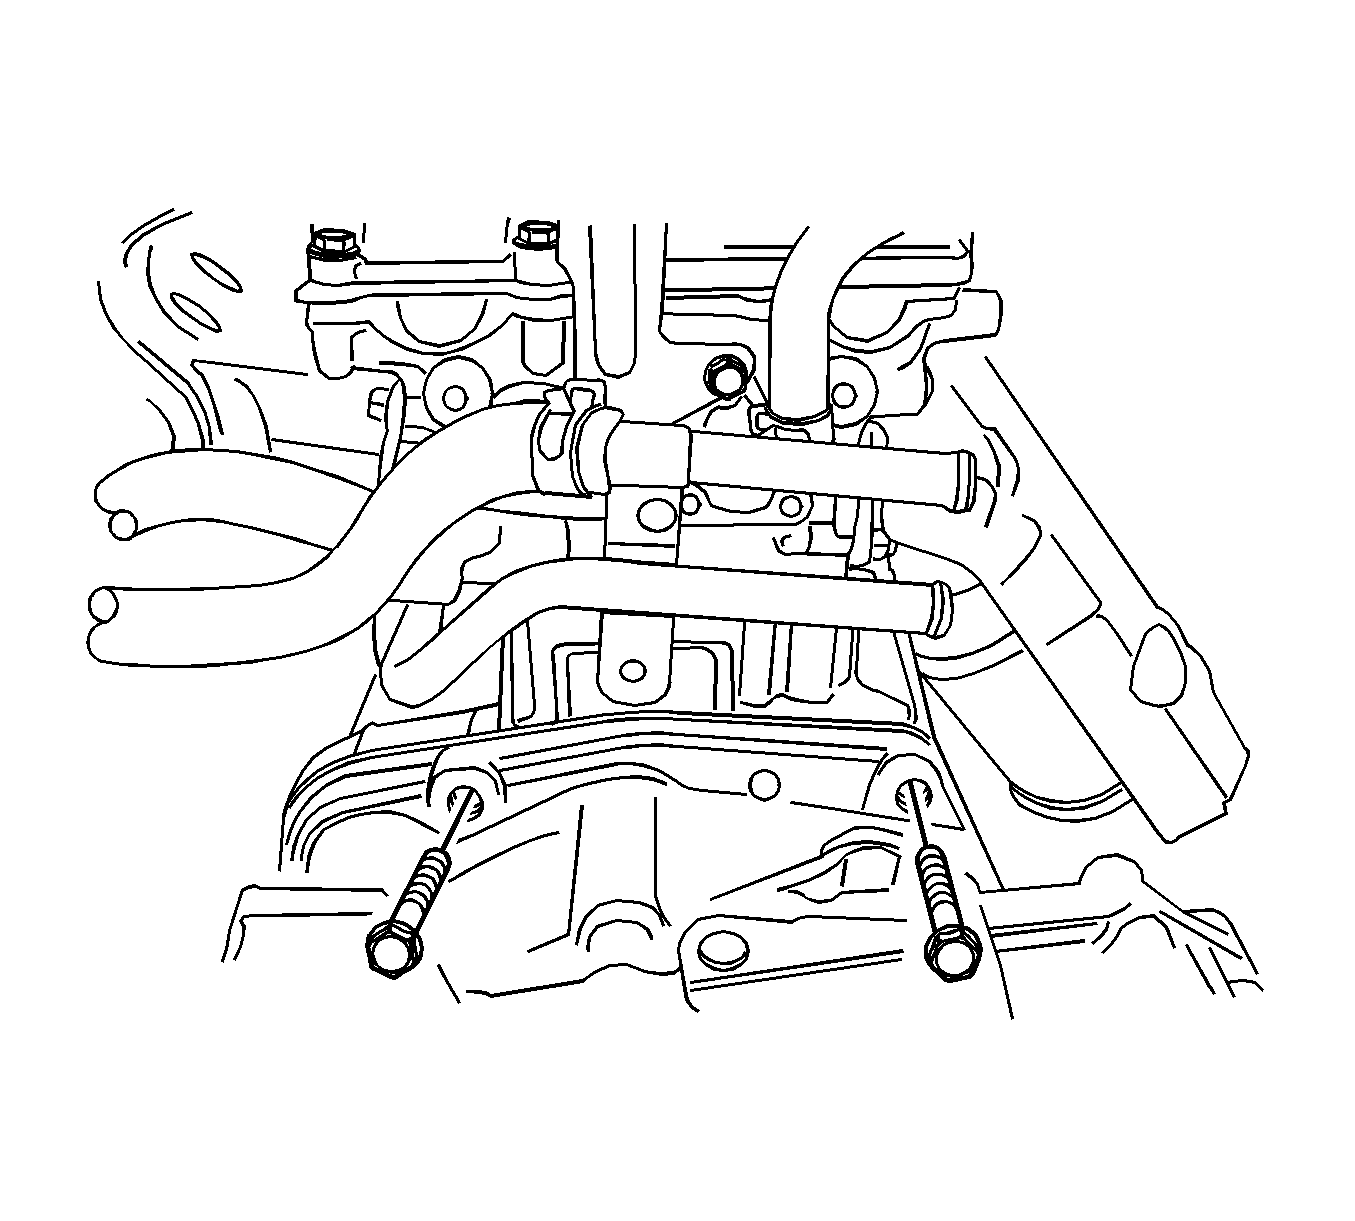
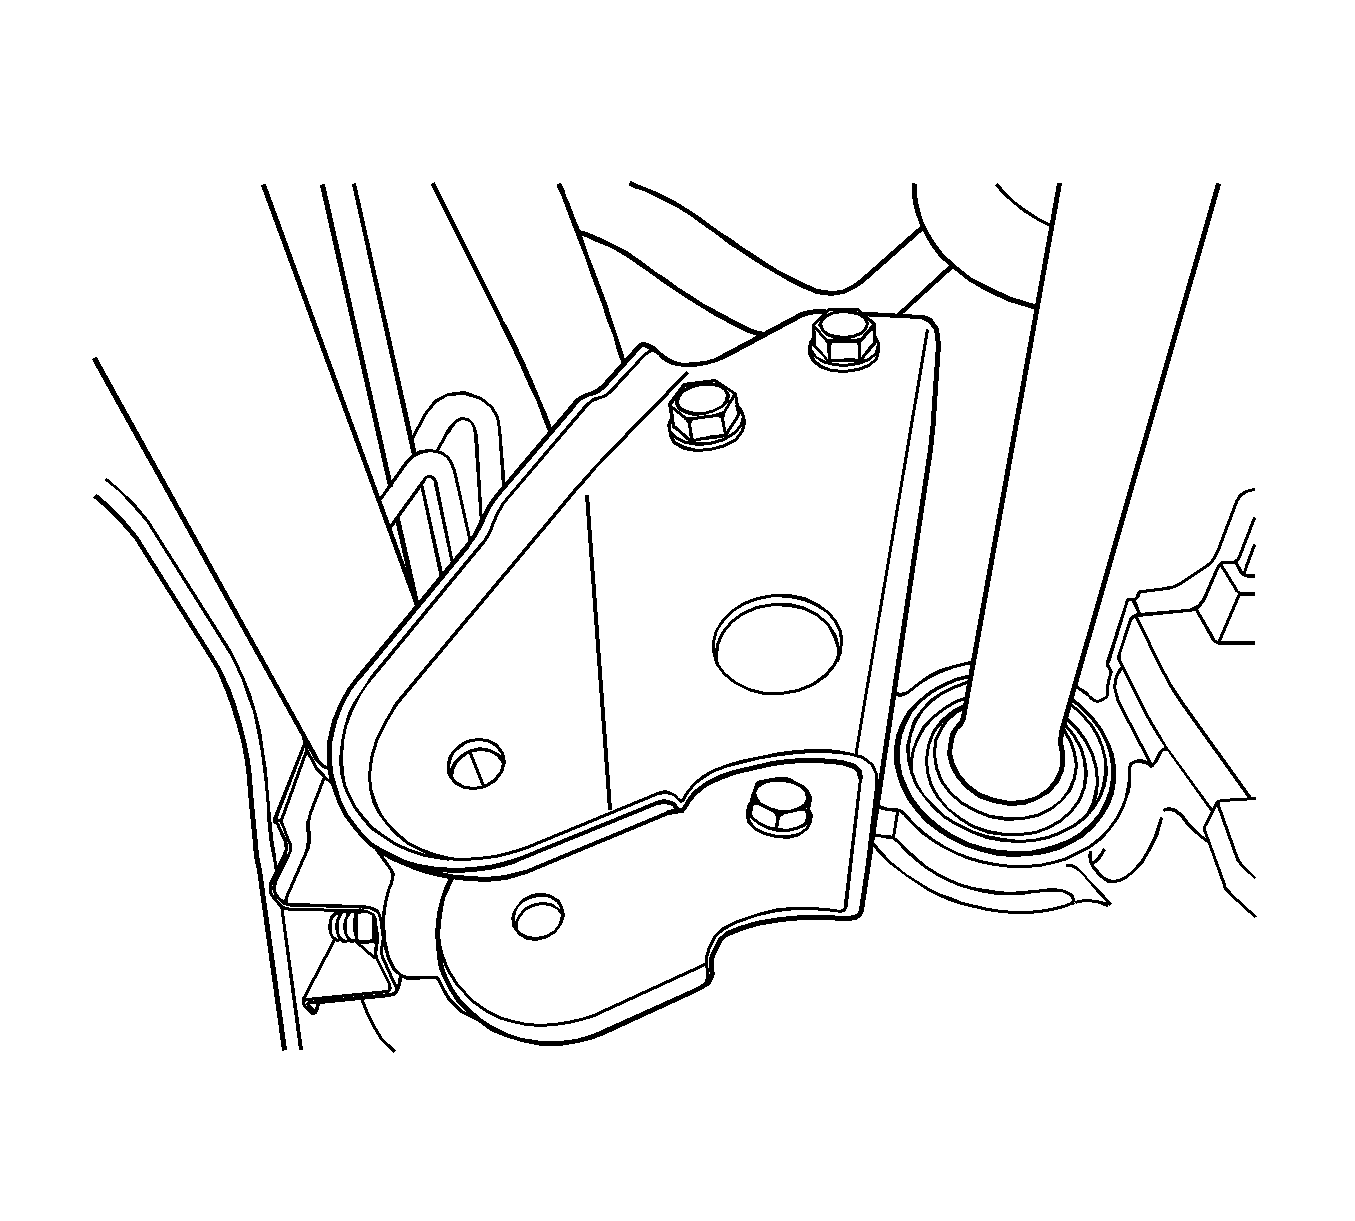
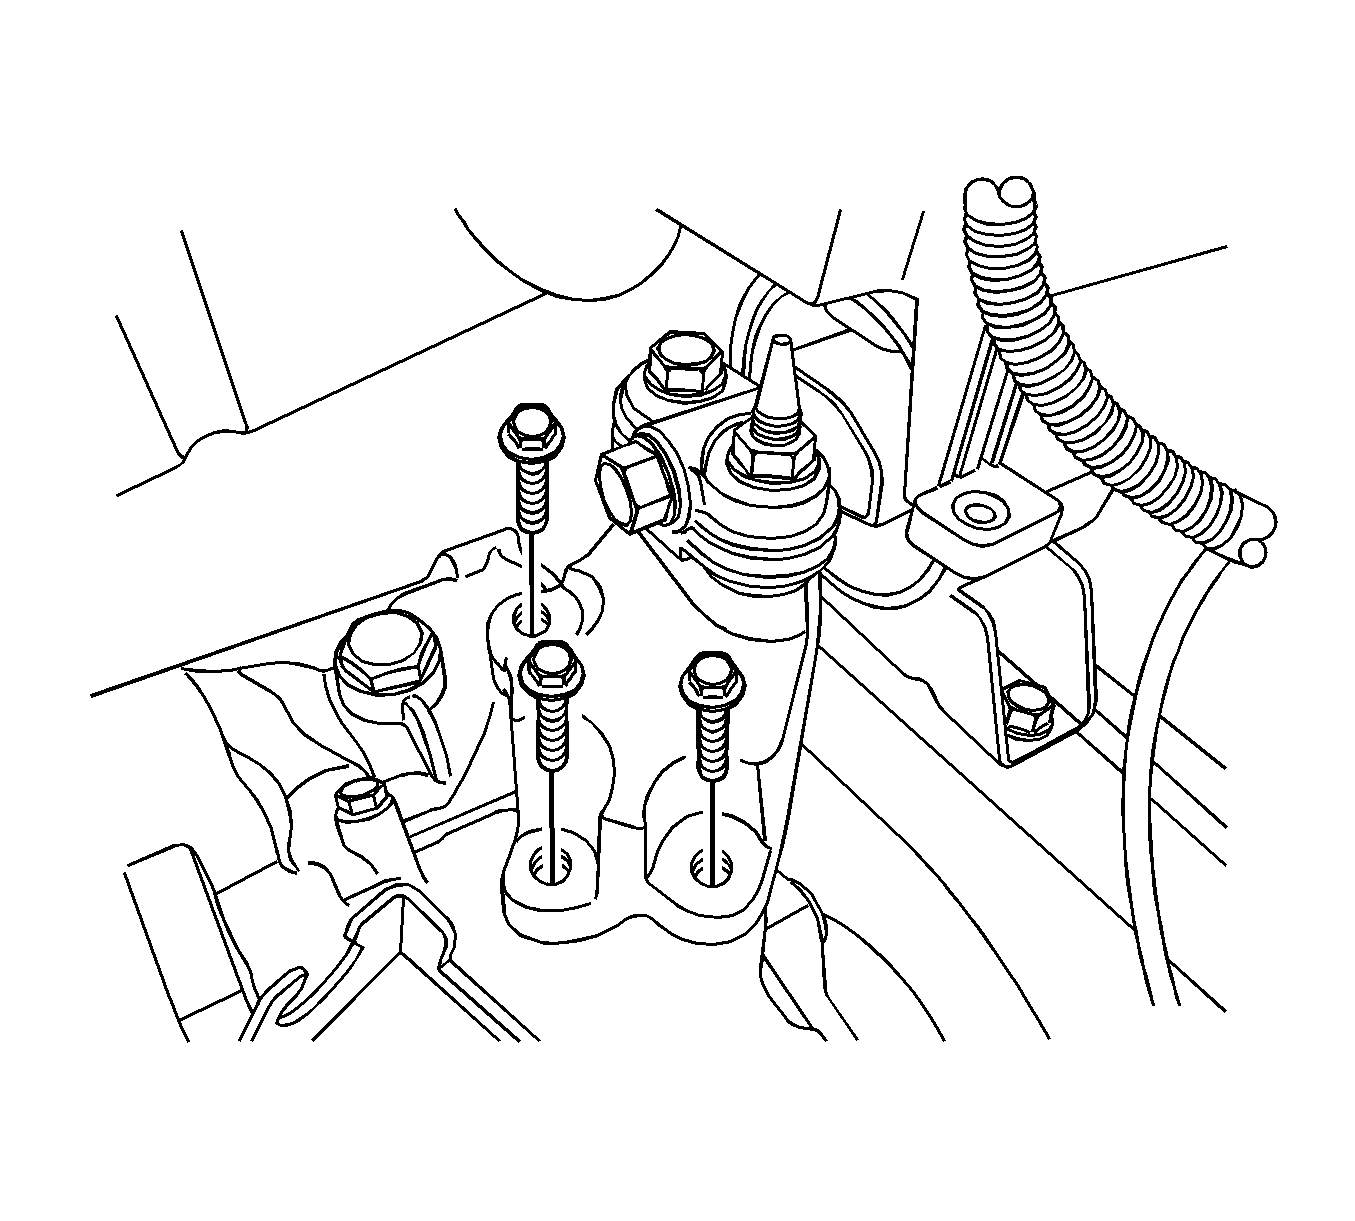
- Disconnect the transmission range (TR) switch electrical connector (1).
- Disconnect the transaxle wiring electrical connector (2).
- Disconnect the input speed sensor electrical connector (3) and the output speed sensor electrical connector (4).
- Remove the upper 2 transaxle-to-engine bolts.
- Remove the starter. Refer to Starter Motor Replacement .
- Support the engine assembly using the DW-110-060 .
- Raise and suitably support the vehicle.
- Remove the engine under covers, if equipped.
- Remove the centermember.
- Remove the exhaust front pipe. Refer to Front Pipe Replacement .
- Remove the crossmember. Refer to Front Suspension Crossmember Replacement .
- Remove the engine front mount. Refer to Engine Mount Replacement .
- Remove the drive axles. Refer to Wheel Drive Shaft Replacement .
- Remove the oil cooler line from the transaxle. Refer to Oil Cooler Hose/Pipe Replacement .
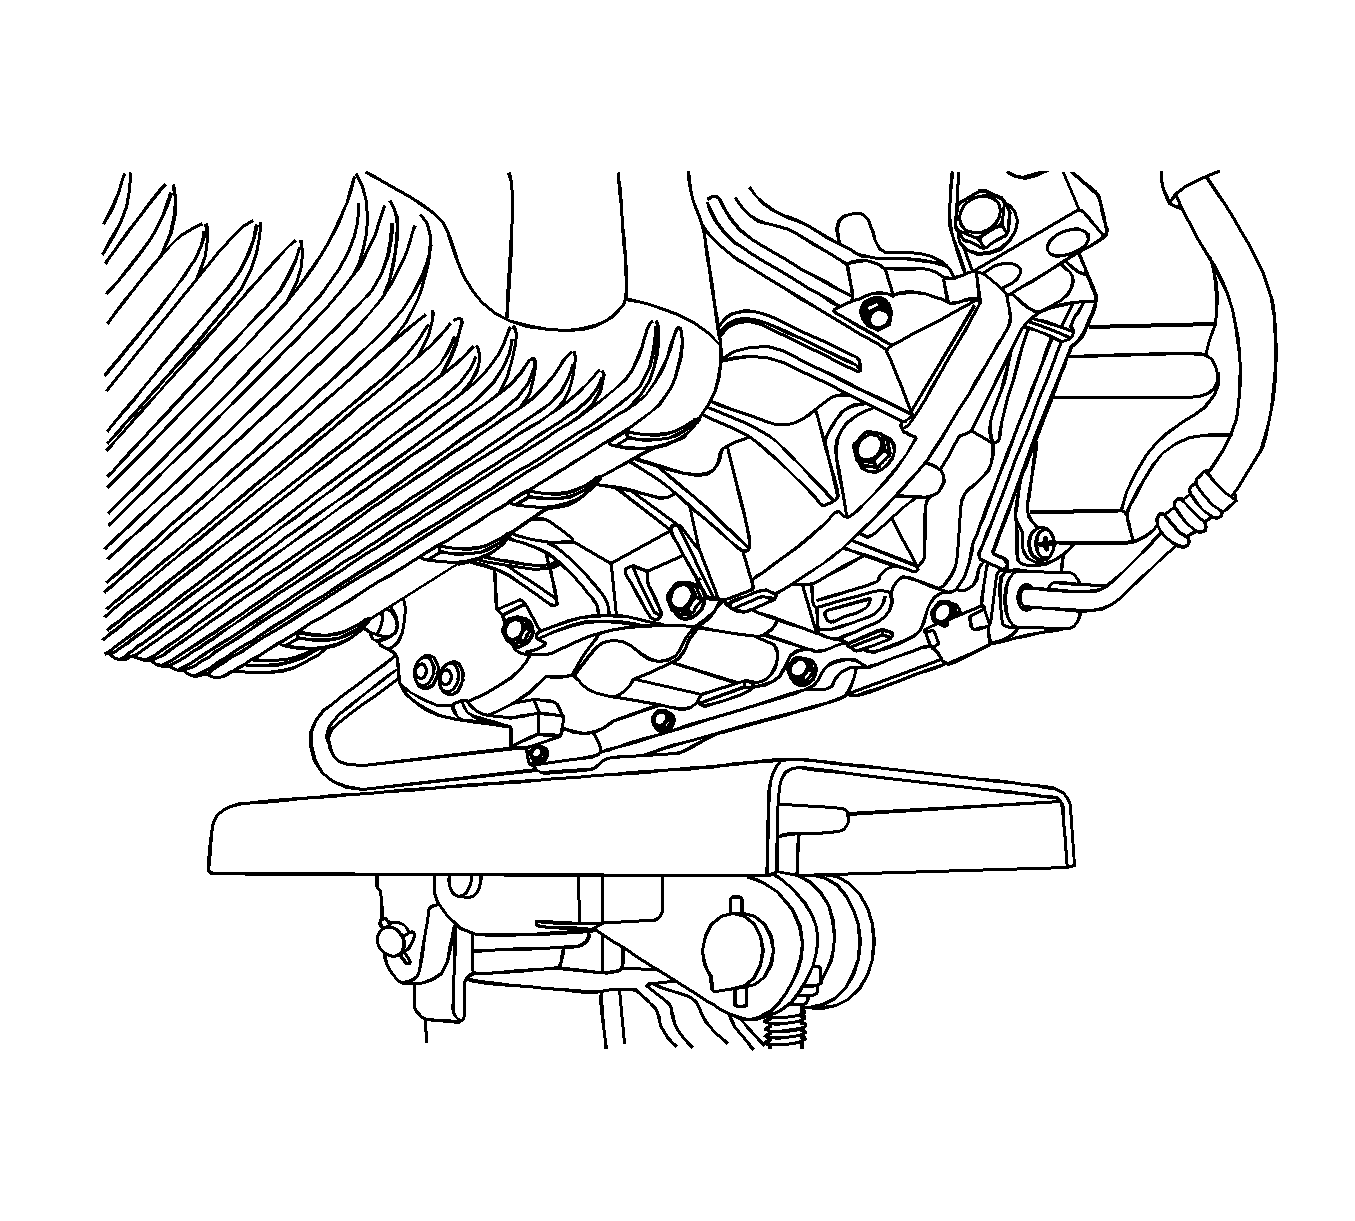
- Remove the 6 flywheel-to-torque converter bolts after removing the plastic cover.
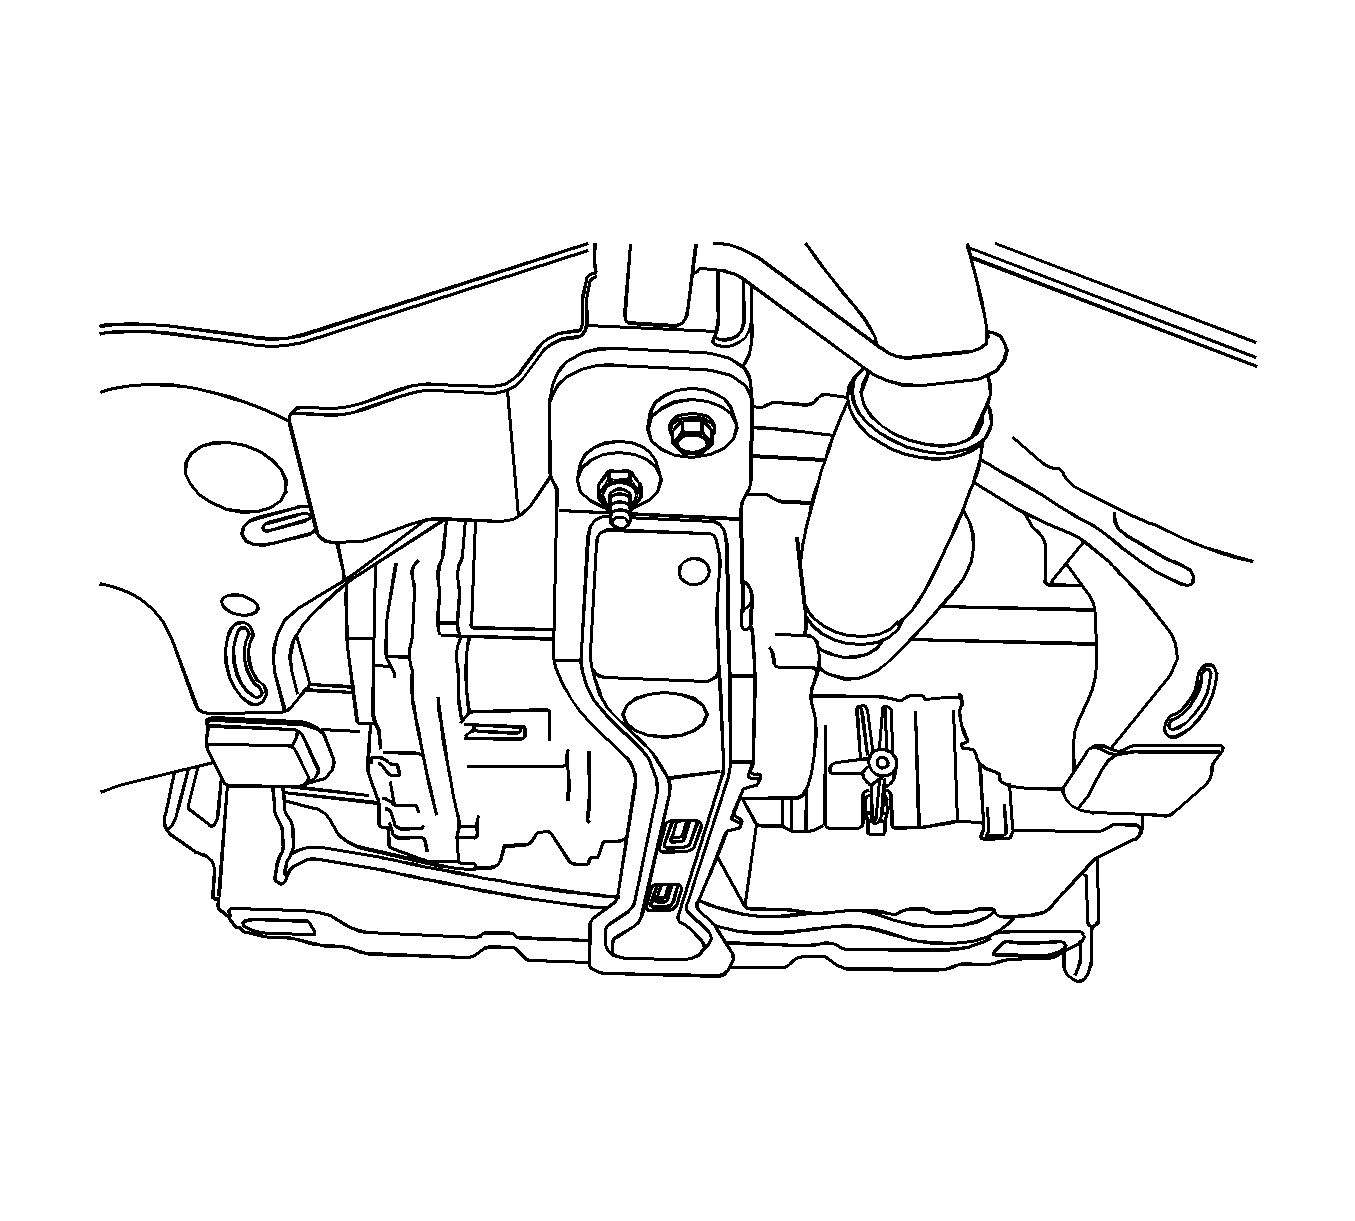
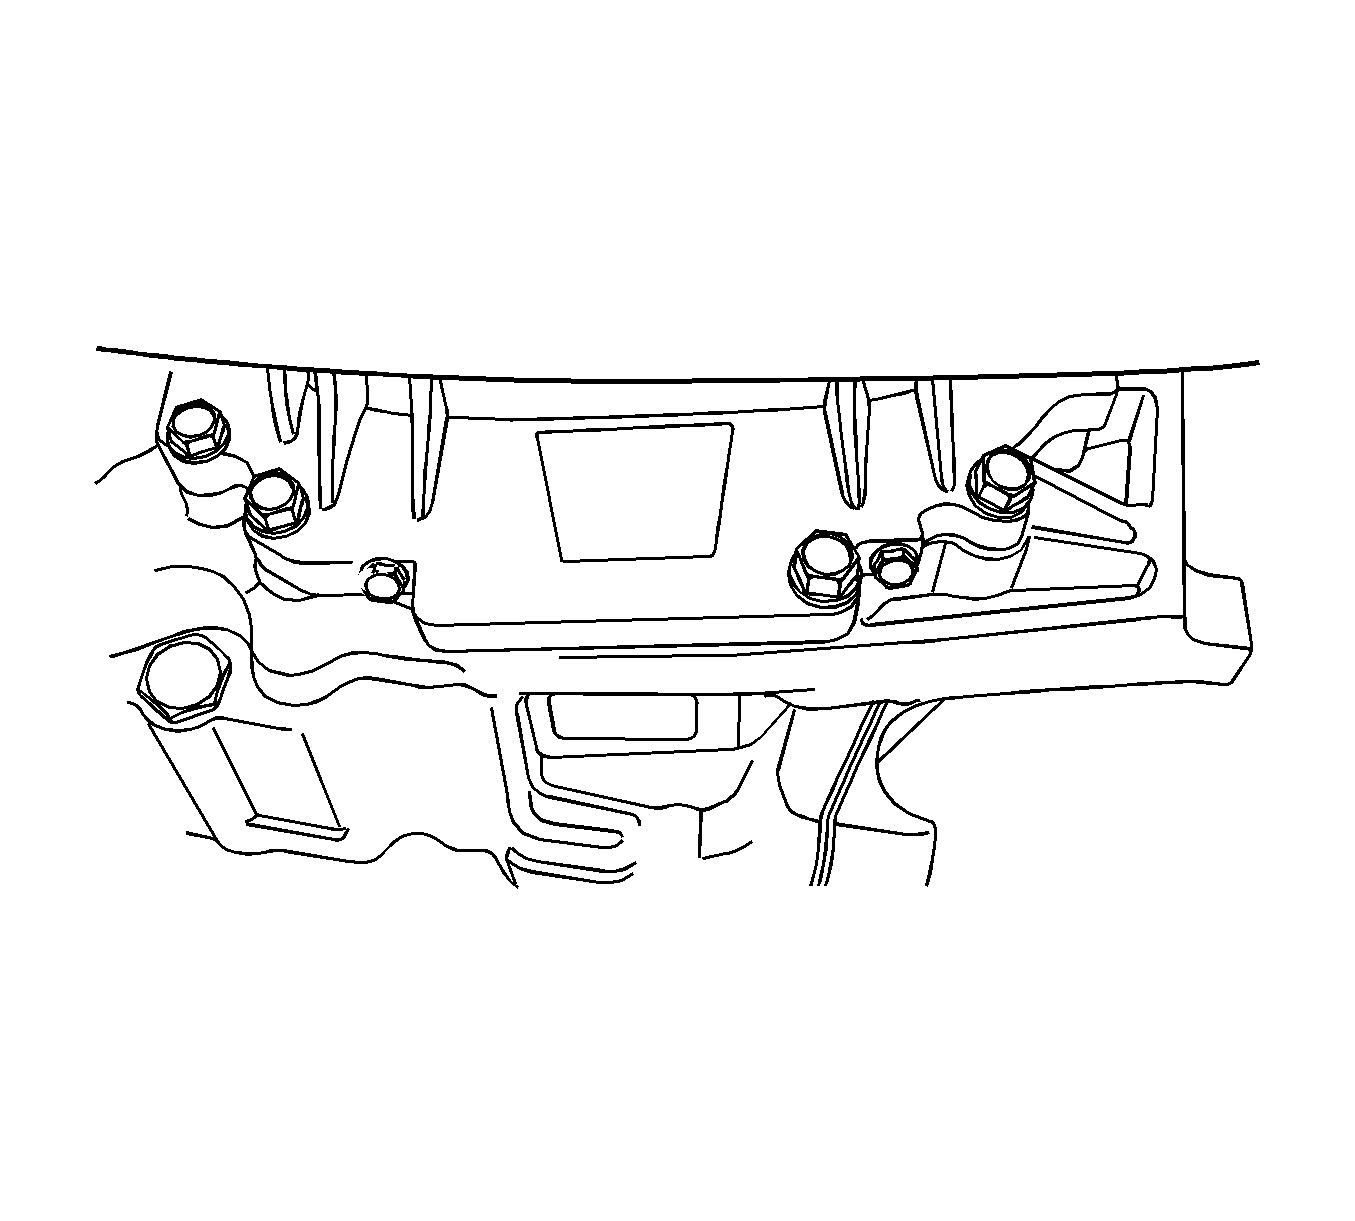
- Remove the rear transaxle mounting bracket bolts.
- Support the transaxle assembly using the supporting jack.
- Remove the oil pan flange-to-transaxle bolts.
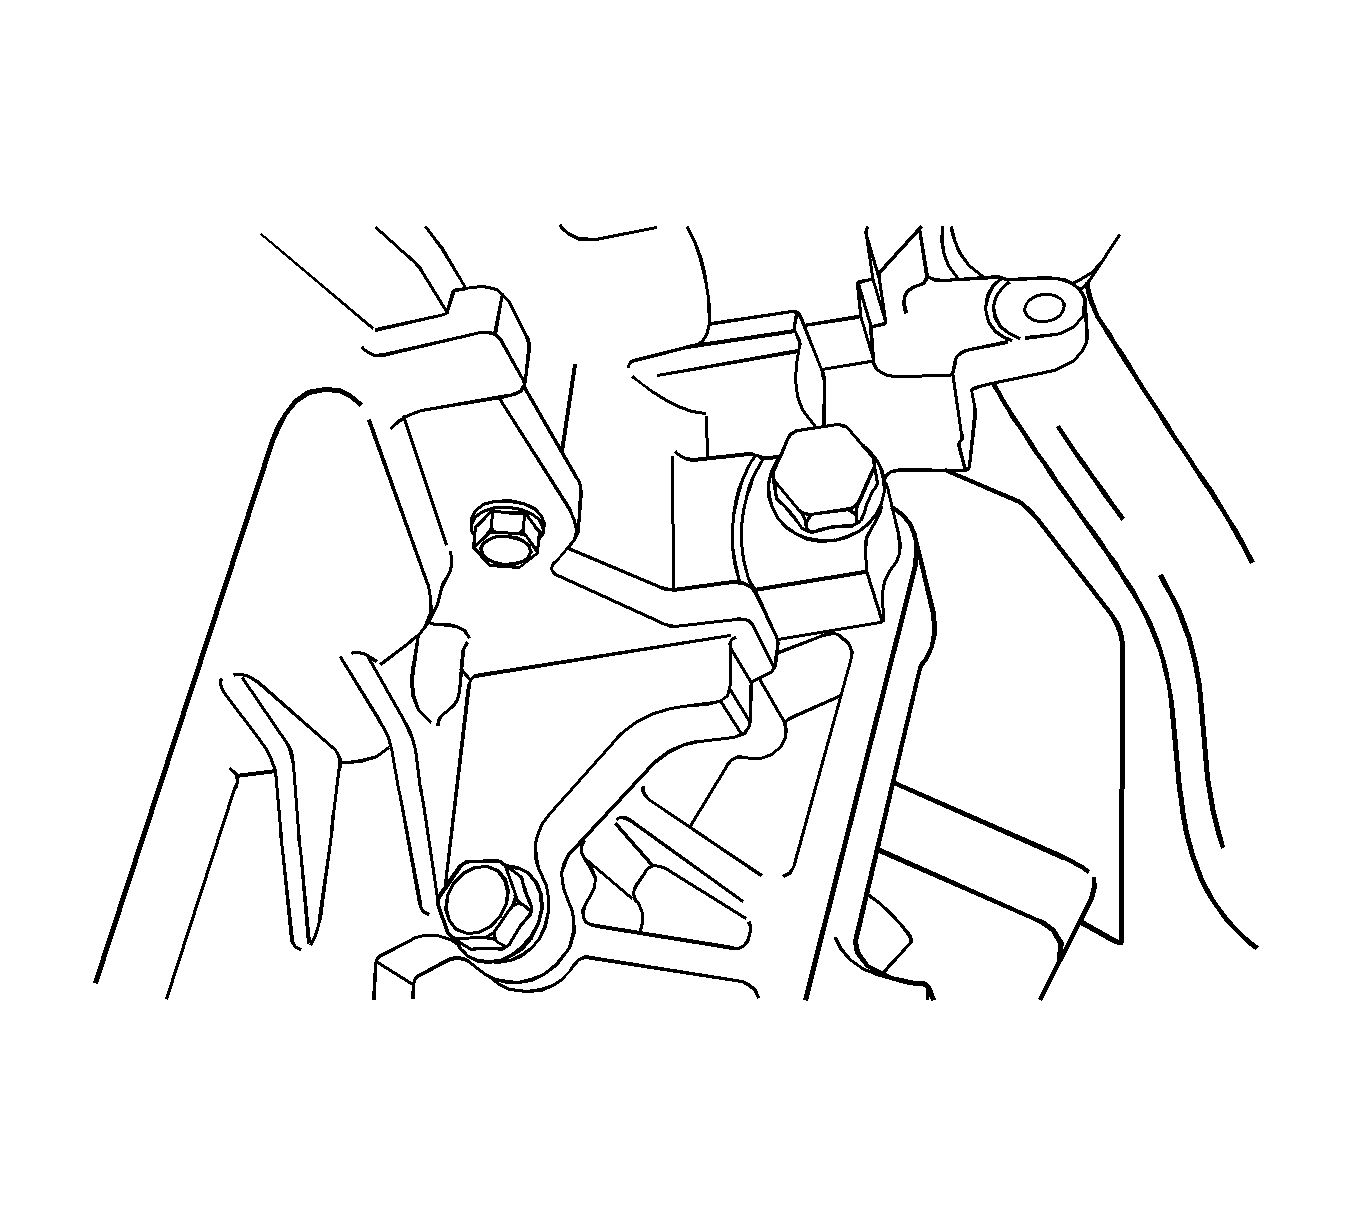
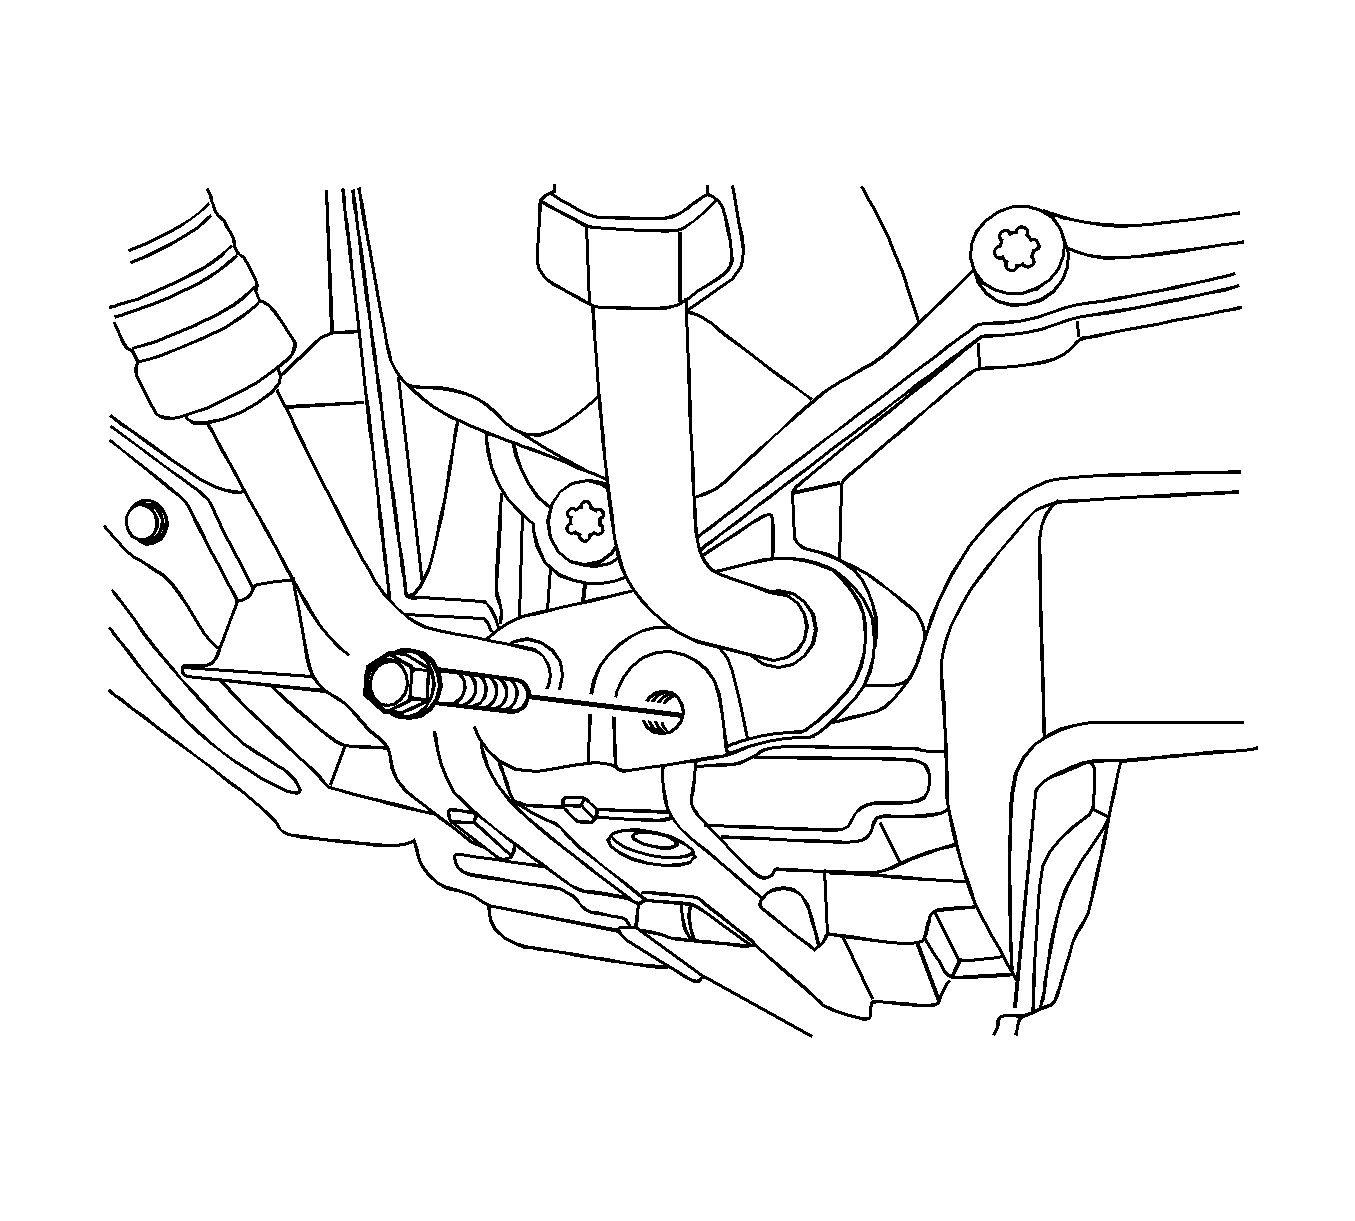
- Remove the left lower engine-to-transaxle bolts near the rear transaxle mounting bracket side.
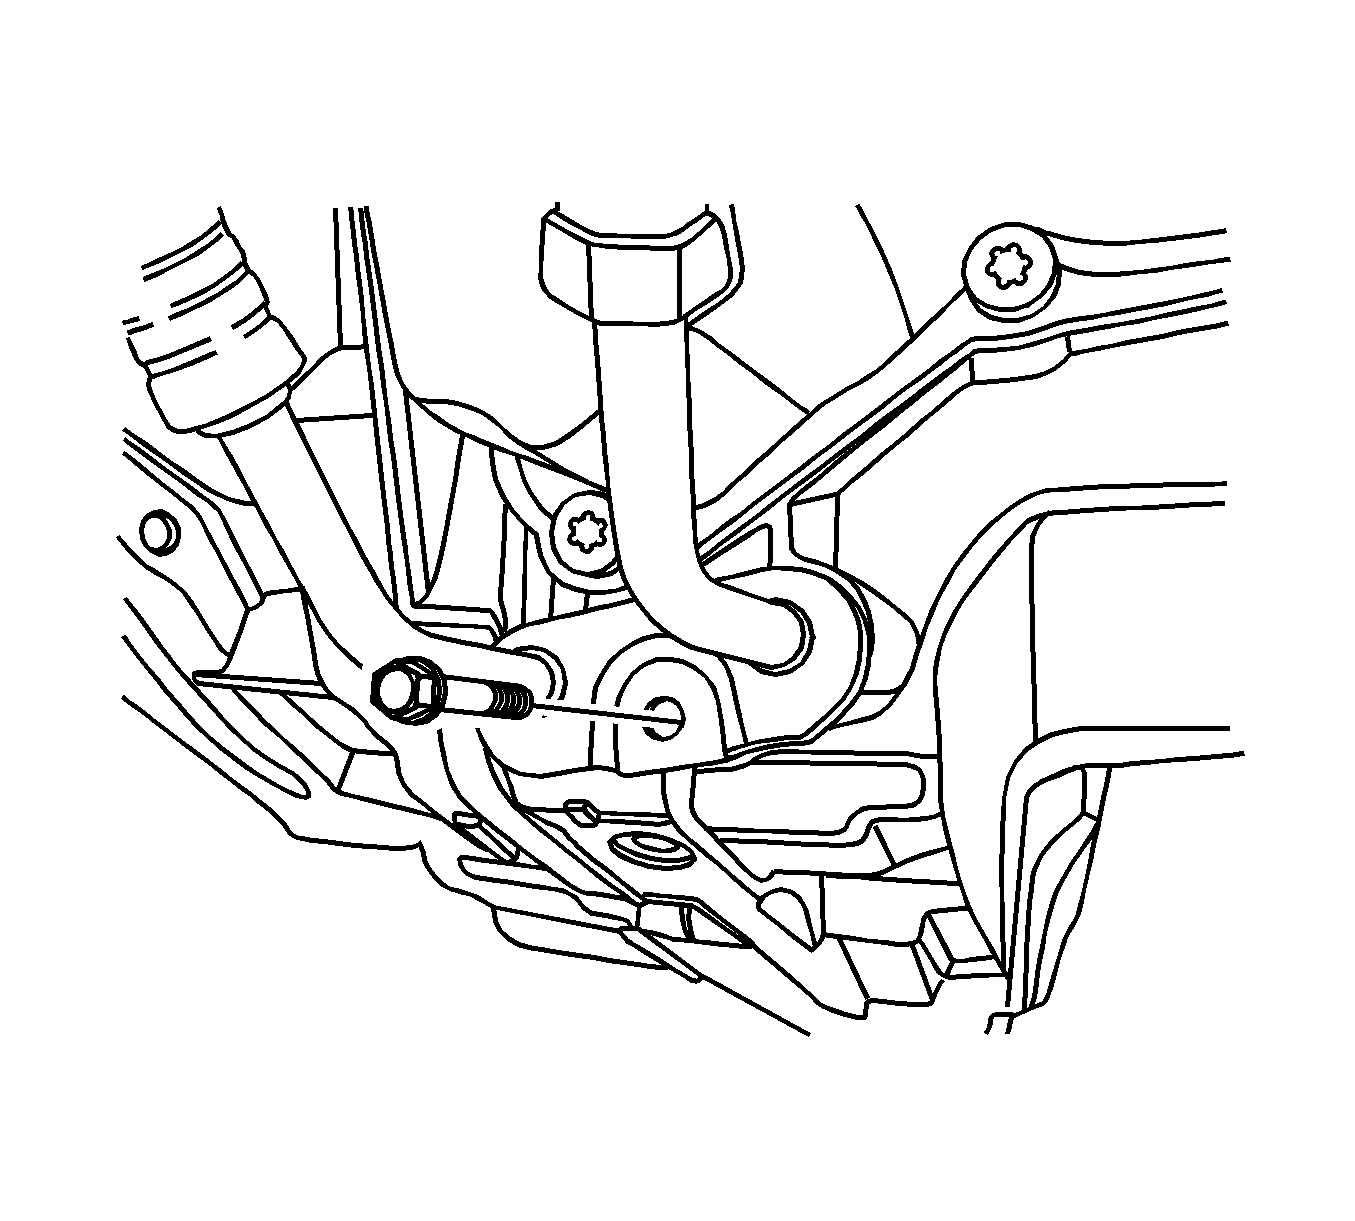
- Remove the right lower engine-to-transaxle bolt near the engine front mount.
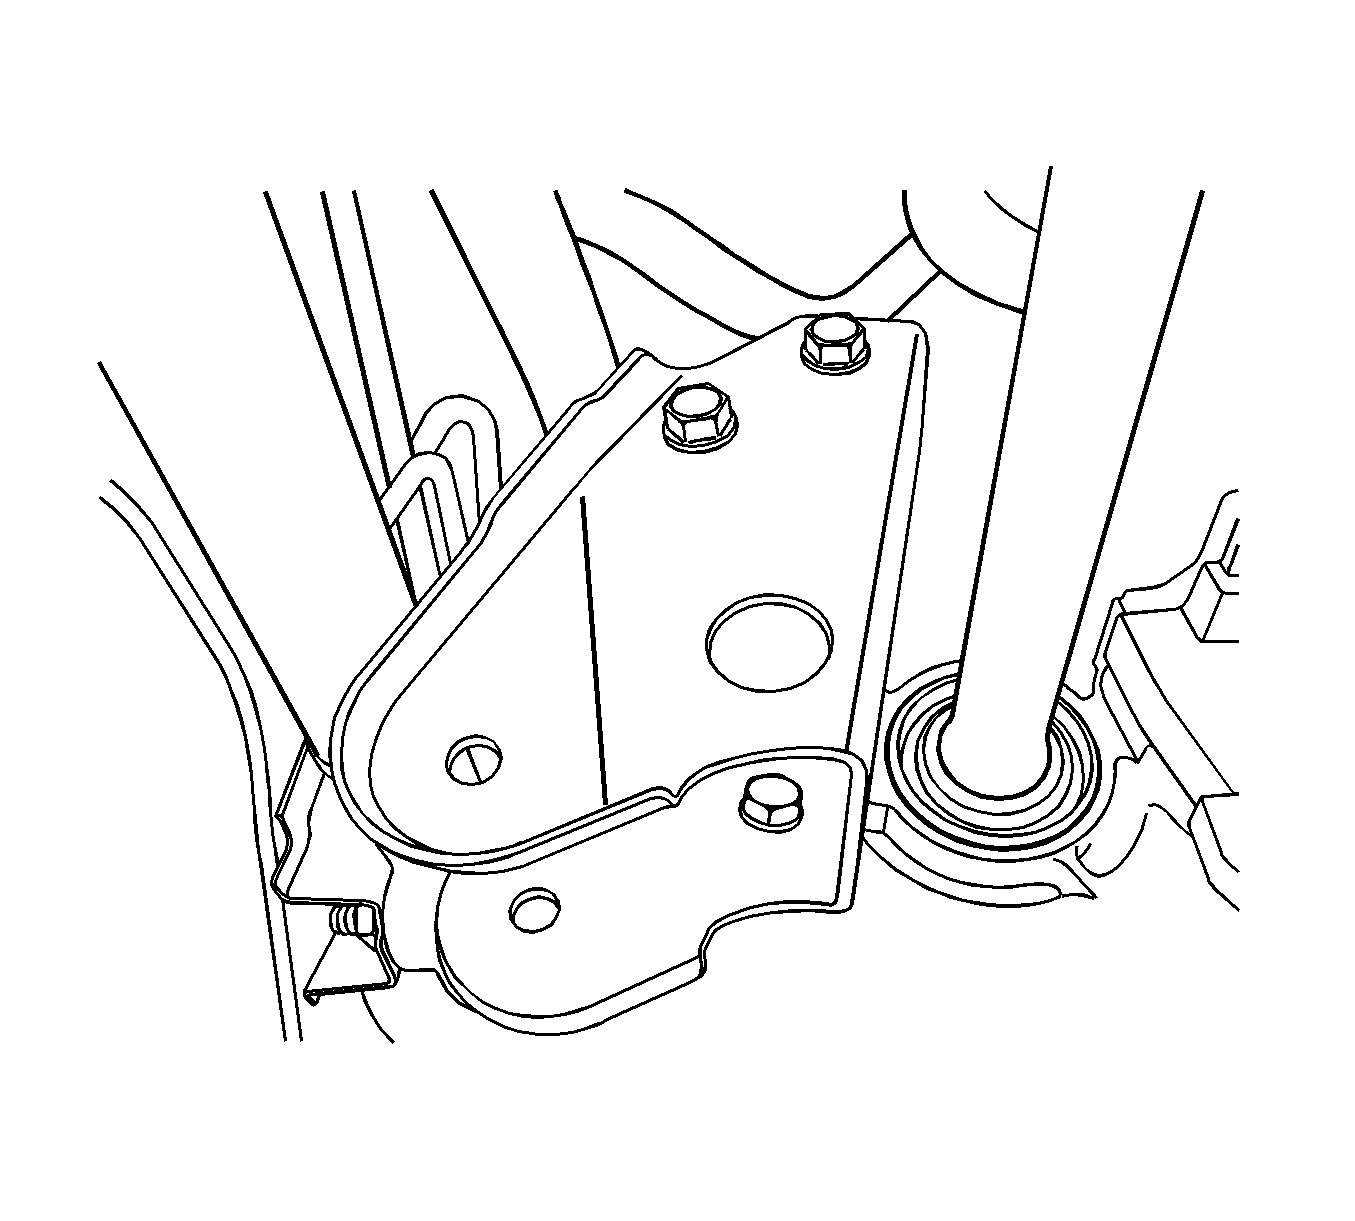
- Remove the left transaxle mounting bracket bolts. Refer to Transmission Mount Replacement - Left Side .
- Carefully remove the transaxle assembly from the vehicle.


Installation Procedure
- Install the transaxle into the vehicle and support the transaxle assembly using the supporting jack.
- Install the left transaxle mounting bracket bolts. Refer to Transmission Mount Replacement - Left Side .
- Install the right lower engine-to-transaxle bolt near the engine front mount.
- Install the left lower engine-to-transaxle bolts near the rear transaxle mounting bracket side.
- Install the oil pan flange-to-transaxle bolts.
- Install the rear transaxle mounting bracket bolts.
- Install the 6 flywheel-to-torque converter bolts and the plastic cover.
- Install the upper transaxle-to-engine bolts.
- Install the oil cooler line to the transaxle. Refer to Oil Cooler Hose/Pipe Replacement .
- Install the starter. Refer to Starter Motor Replacement .
- Install the engine front mount bolts and the mount. Refer to Engine Mount Replacement .
- Install the drive axles. Refer to Wheel Drive Shaft Replacement .
- Install the exhaust front pipe. Refer to Front Pipe Replacement .
- Install the centermember.
- Install the crossmember. Refer to Front Suspension Crossmember Replacement .
- Install the engine under covers, if equipped.
- Lower the vehicle.
- Remove the DW-110-060 from the vehicle.
- Install the TR switch electrical connector (1).
- Connect the transaxle wiring electrical connector (2).
- Connect the input speed sensor electrical connector (3) and the output speed sensor electrical connector (4).
- Install the shift control cable to the transaxle. Refer to Shift Control Cable Adjustment .
- Adjust the shift control cable. Refer to Shift Control Cable Adjustment .
- Install the fuel filter assembly. Refer to Fuel Filter Replacement .
- Install the battery and tray. Refer to Battery Tray Replacement .
- Add fluid to the transaxle.
- Check the fluid level. Refer to Transmission Fluid Replacement .
Notice: Refer to Fastener Notice in the Preface section.
Tighten
Tighten the right lower engine-to-transaxle bolt to 73 N·m (54 lb ft).
Tighten
Tighten the left lower engine-to-transaxle bolts to 73 N·m (54 lb ft).
Tighten
Tighten the oil pan flange-to-transaxle bolts to 50 N·m (37 lb ft).
Tighten
Tighten the rear transaxle mounting bracket bolts to 90 N·m (66 lb ft).
Tighten
Tighten the flywheel-to-torque converter bolts to 45 N·m (33 lb ft).
Tighten
Tighten the upper transaxle-to-engine bolts to 73 N·m (54 lb ft).
Tighten
Tighten the engine front mount bolts to 60 N·m (44 lb ft).
