Removal Procedure
- Remove the fuel pump fuse.
- Start the engine. After it stalls, crank the engine for 10 seconds to rid the fuel system of fuel pressure.
- Remove the hood. Refer to Hood Replacement .
- Drain the engine oil.
- Disconnect the negative battery cable.
- Discharge the air conditioning (A/C) system. if equipped. Refer to Refrigerant Recovery and Recharging .
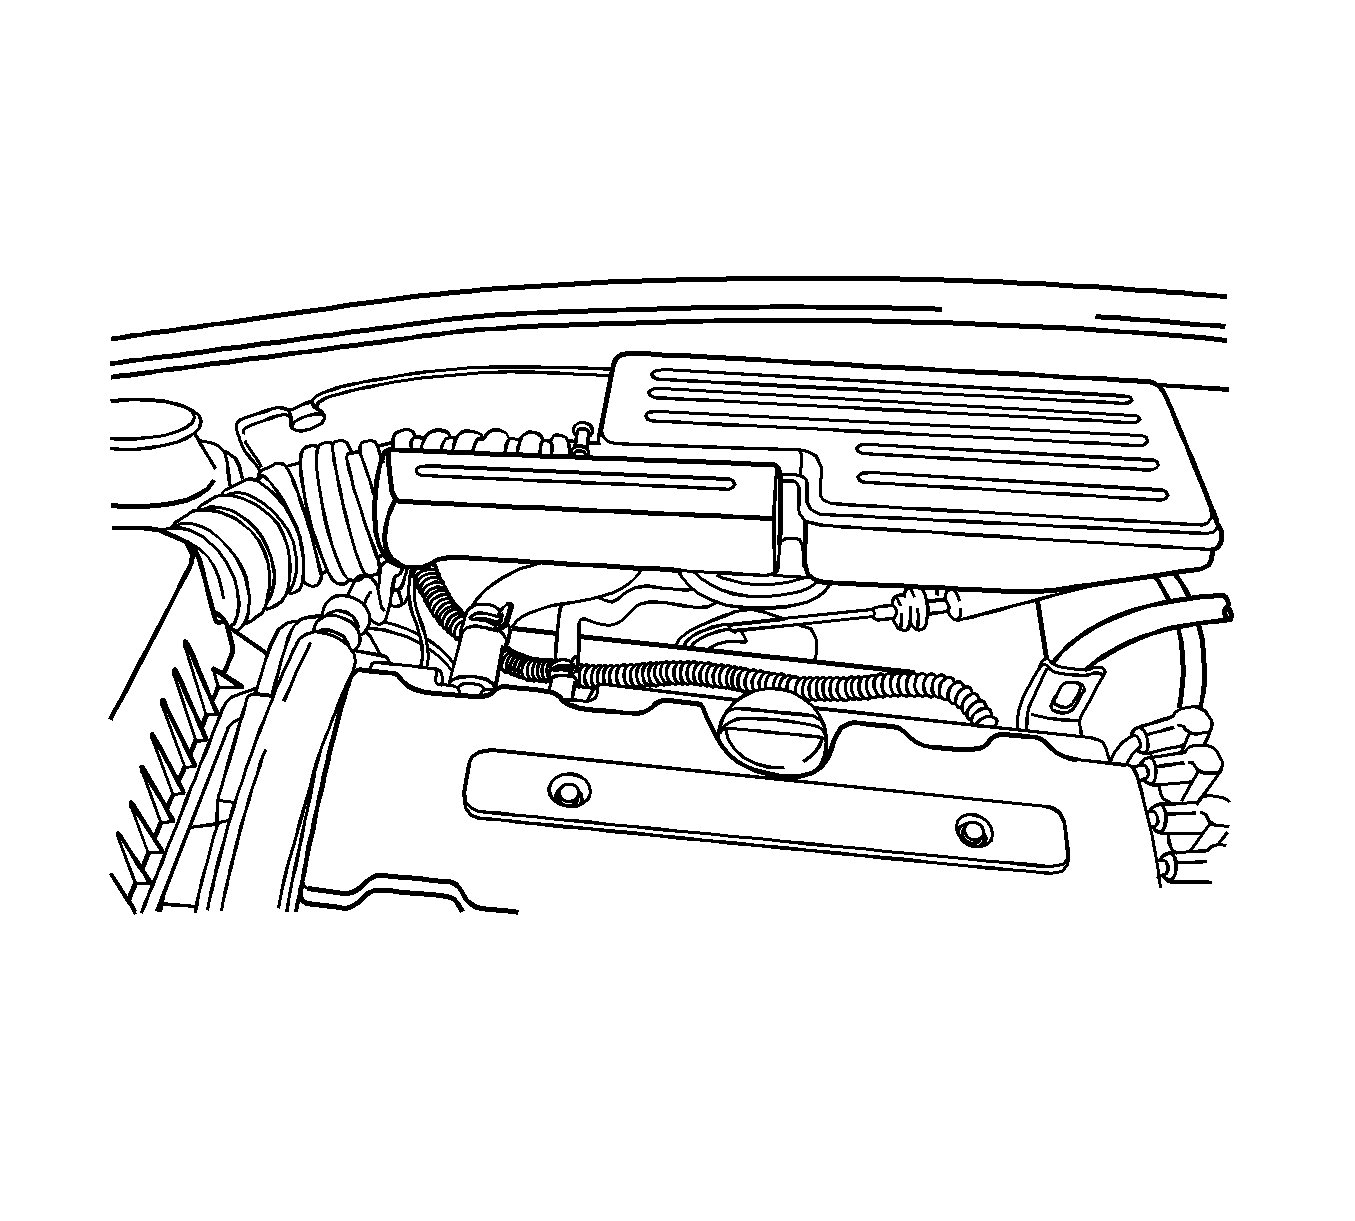
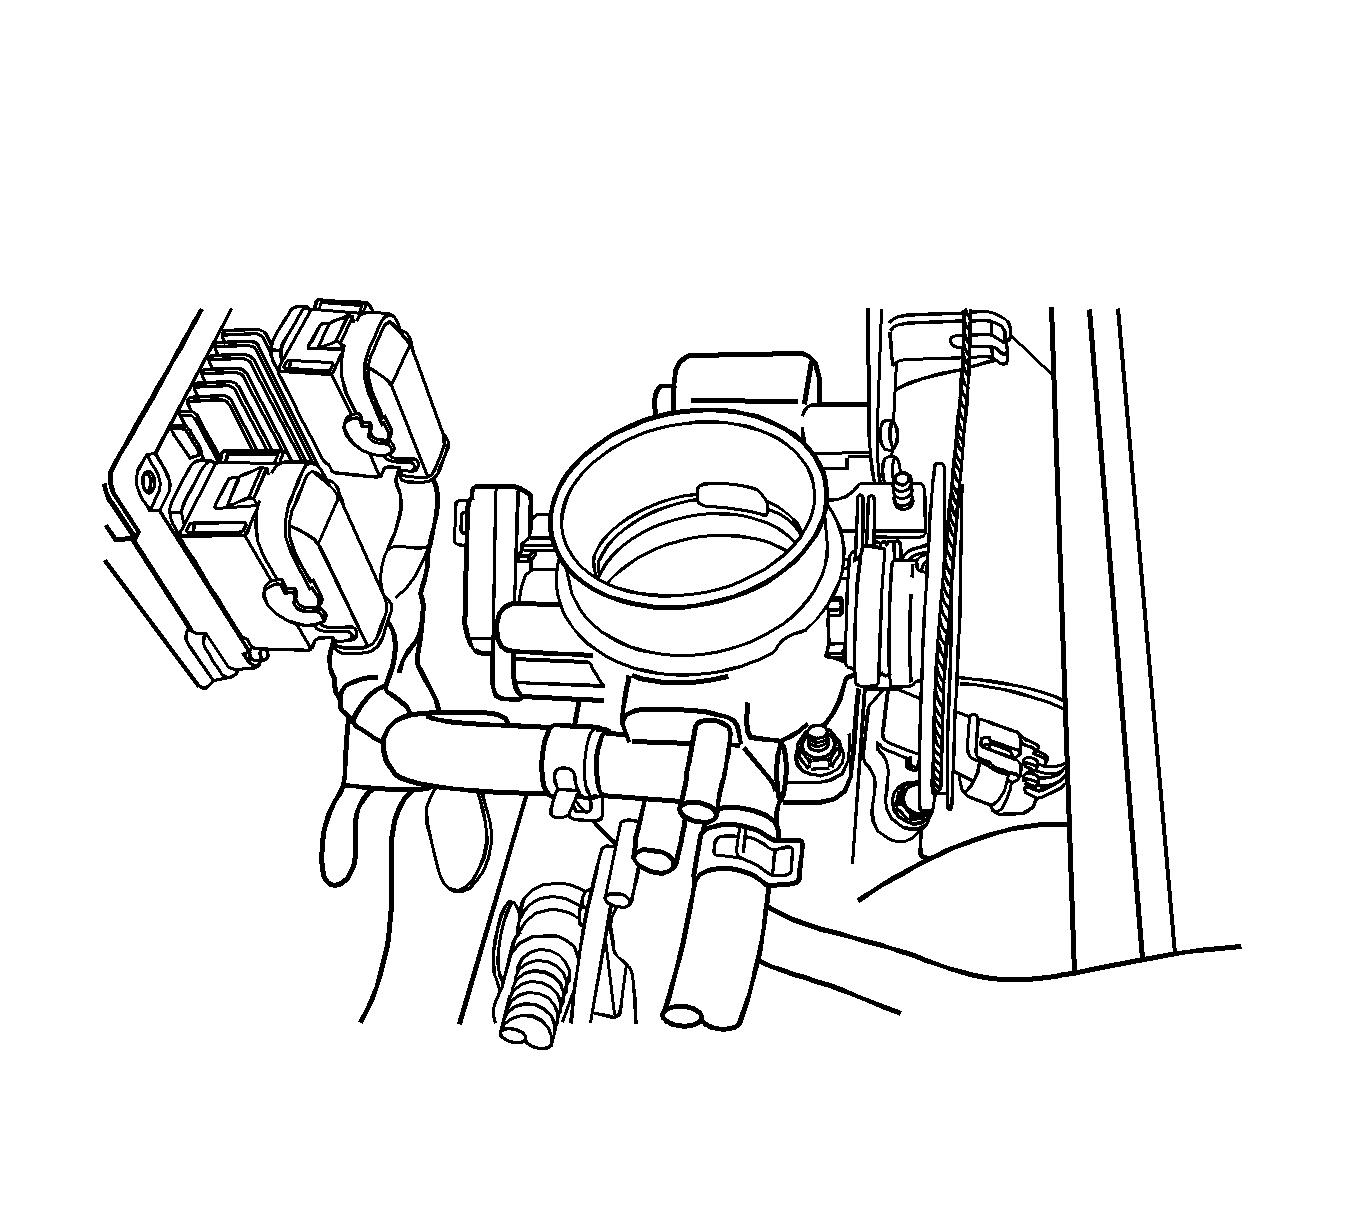
- Disconnect the intake air temperature (IAT) sensor connector.
- Remove the air cleaner outlet hose from the throttle body and air cleaner housing.
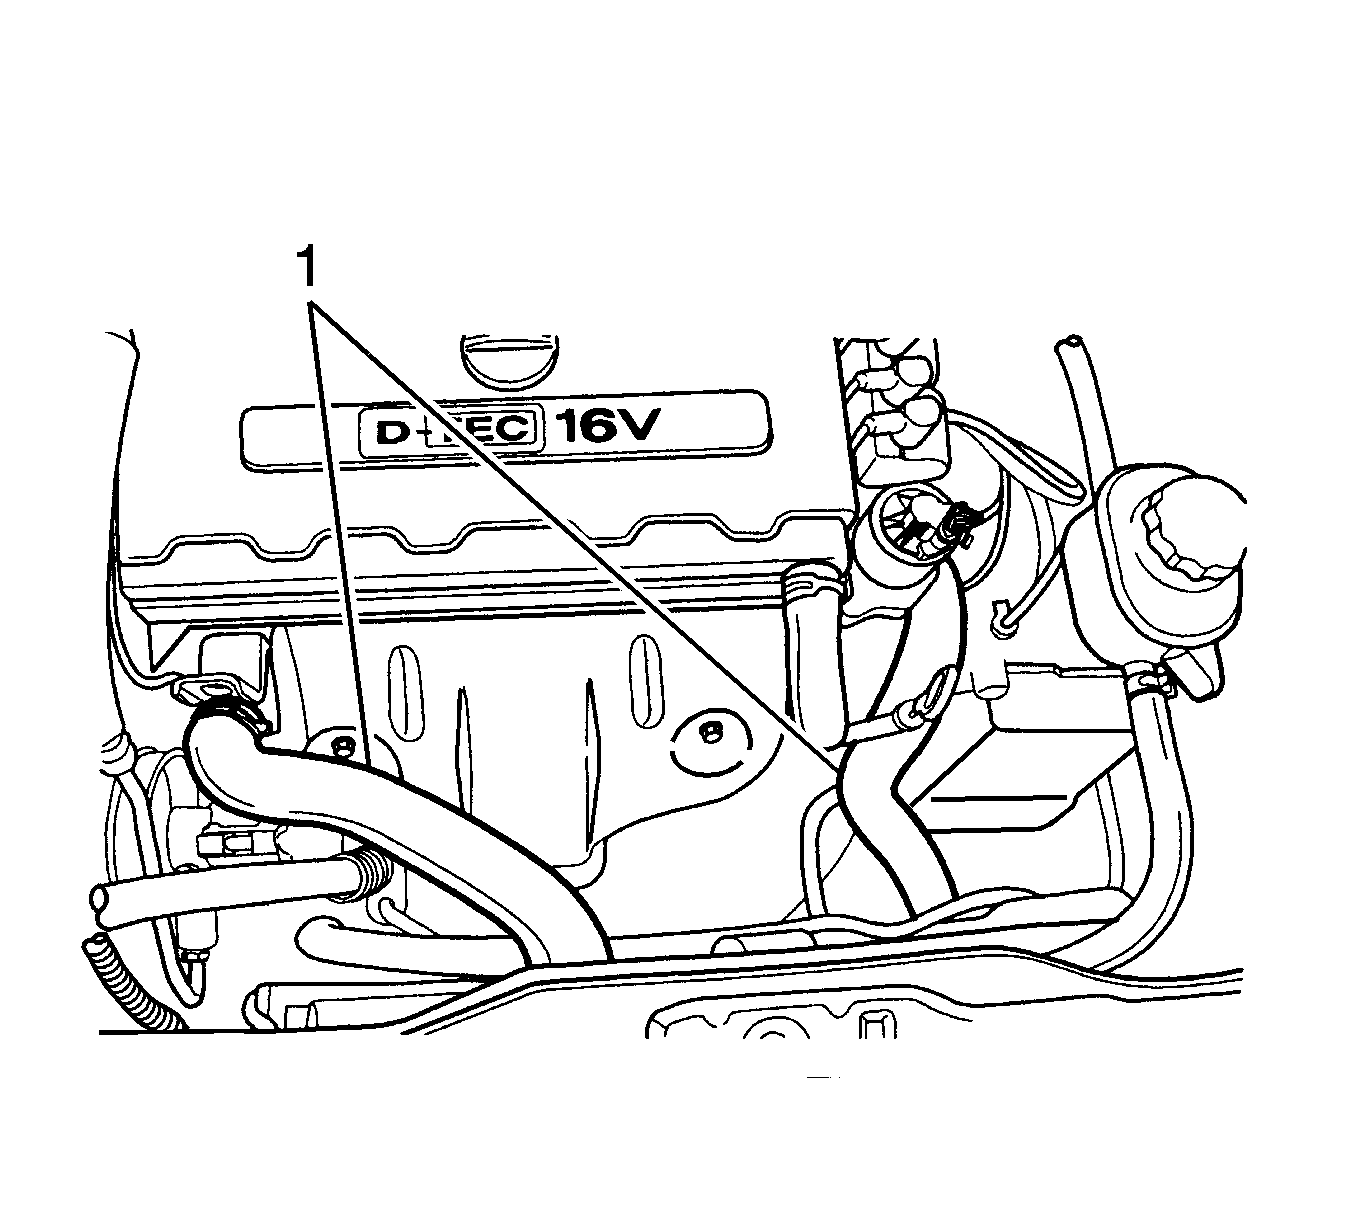
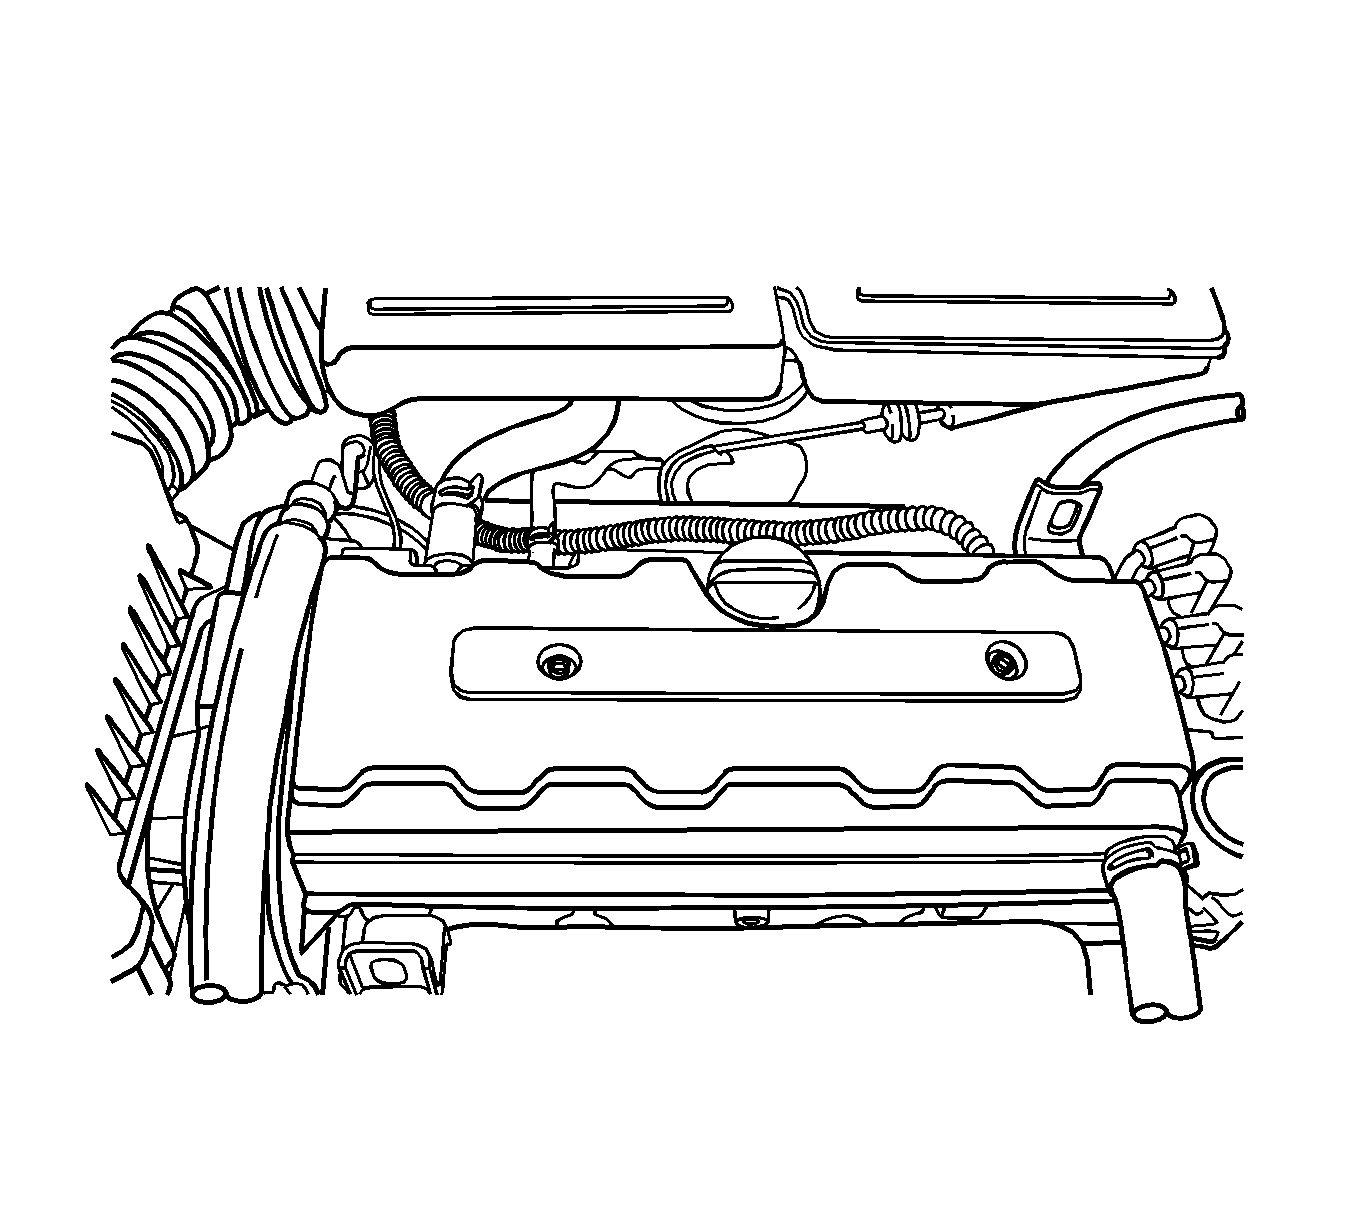
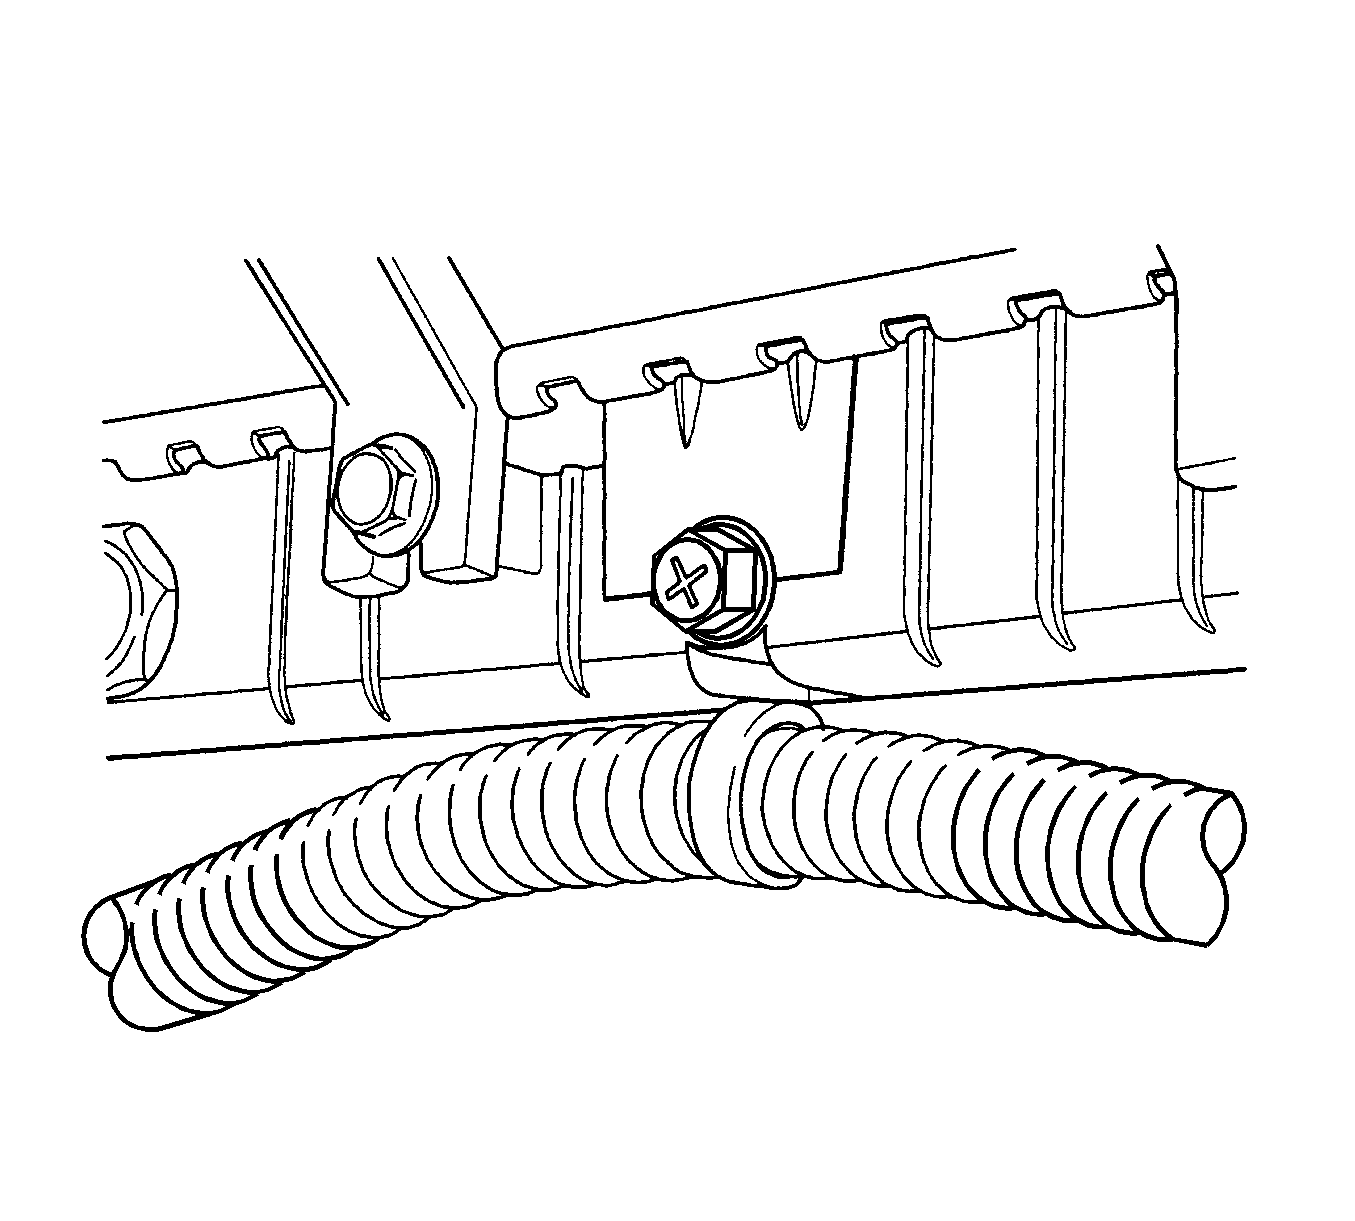
- Disconnect the breather tubes from the camshaft cover.
- Remove the right front wheel. Refer to Tire and Wheel Removal and Installation .
- Remove the right front wheel well splash shield.
- Remove the serpentine accessory drive belt. Refer to Power Steering Pump Belt Replacement .
- Drain the engine coolant. Refer to Cooling System Draining and Filling .
- Remove the cooling system radiator and the engine cooling fans. Refer to Radiator Replacement , and Engine Coolant Fan Replacement .
- Disconnect the upper radiator hose from the thermostat housing.
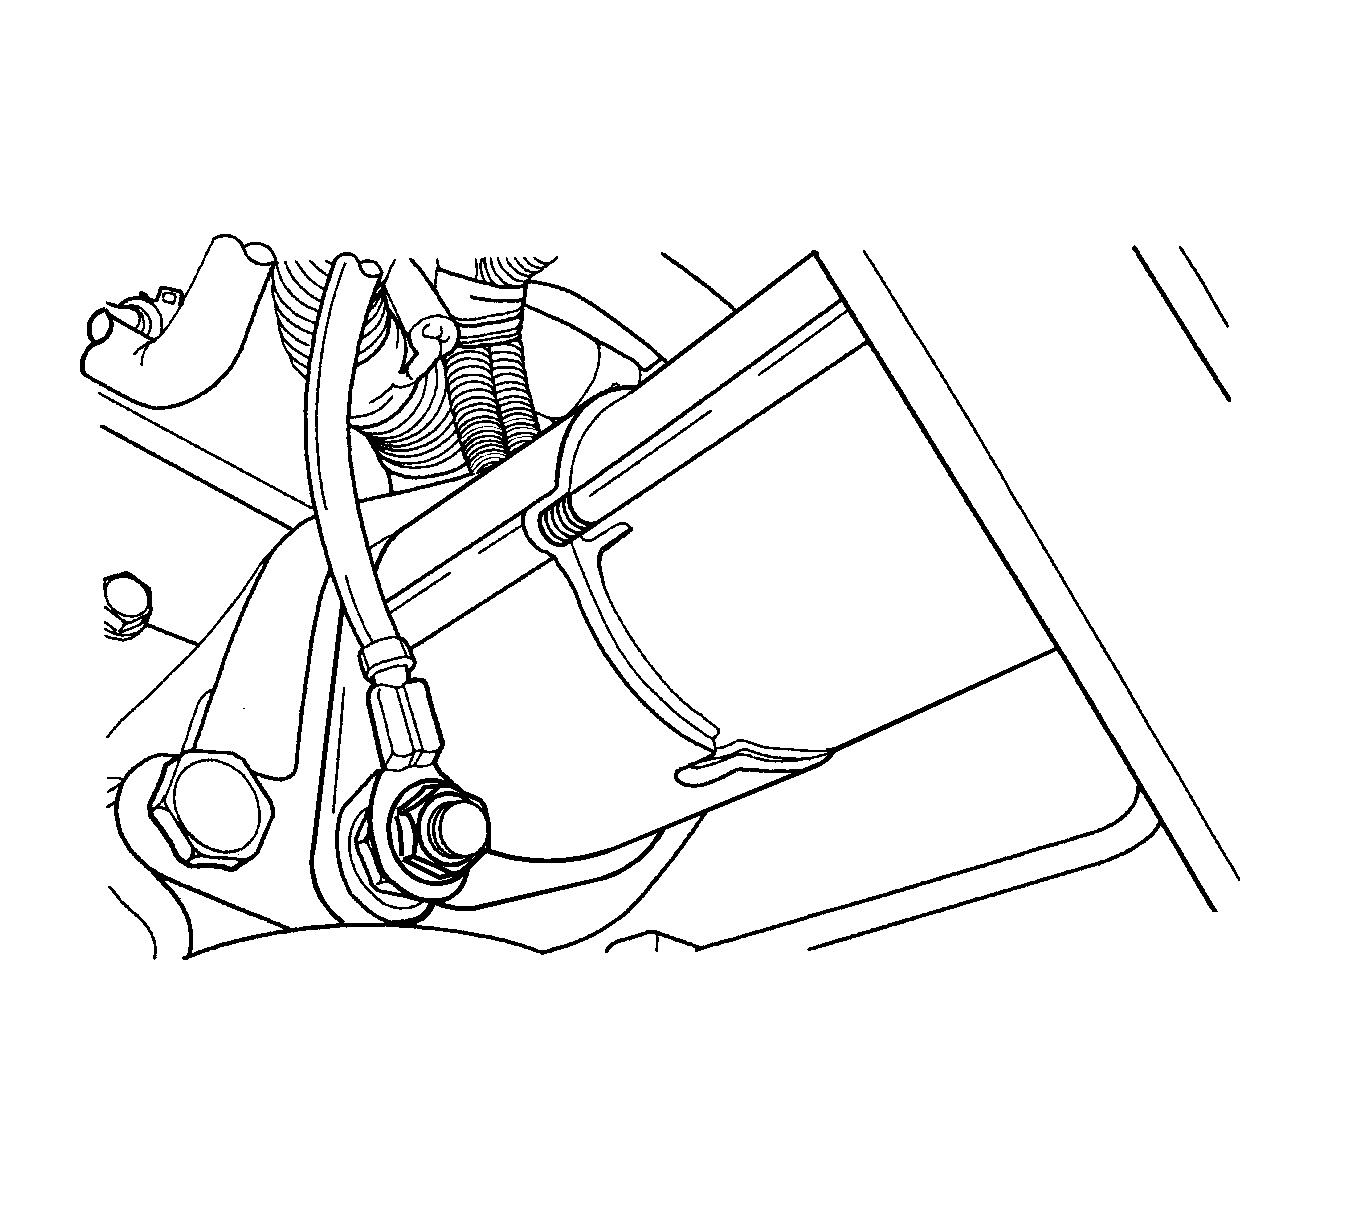
- Disconnect the power steering return hose from the power steering pump.
- Disconnect the power steering pressure hose from the power steering pump.
- Disconnect the electrical connector at the direct ignition system (DIS) coil and the electronic control module (ECM) ground terminal and at the starter motor.
- Disconnect the oxygen sensor (O2S) connector, if equipped.
- Disconnect the idle air control (IAC) valve connector.
- Disconnect the throttle position (TP) sensor connector.
- Disconnect the engine coolant temperature (ECT) sensor connector.
- Disconnect the coolant temperature sensor (CTS) connector.
- Disconnect the generator voltage regulator connector and power lead.
- Disconnect all of the necessary vacuum lines, including the brake booster vacuum hose.
- Disconnect the fuel return line at the fuel rail.
- Disconnect the fuel feed line at the fuel rail.
- Remove the fuel rail and injectors assembly. Refer to Fuel Injection Fuel Rail Assembly Replacement .
- Disconnect the throttle cable from the throttle body and the intake manifold bracket.
- Disconnect the coolant hose at the throttle body.
- Disconnect the heater outlet hose at the coolant pipe.
- Disconnect the coolant bypass hose from the cylinder head.
- Disconnect the surge tank coolant hose from the coolant pipe.
- Disconnect the lower radiator hose from the coolant pipe.
- Disconnect the starter solenoid "S" terminal wire and power lead.
- Remove the A/C compressor. Refer to Air Conditioning Compressor Replacement .
- Remove the exhaust flex pipe retaining nuts from the exhaust manifold studs.
- Remove the exhaust flex pipe retaining nuts from the catalytic converter or the connecting pipe.
- Remove the exhaust flex pipe.
- Remove the crankshaft pulley bolts.
- Remove the crankshaft pulley.
- Disconnect the vacuum lines at the charcoal canister purge solenoid.
- Disconnect the electrical connector at the charcoal canister purge.
- Disconnect the electrical connector at the oil pressure switch.
- Disconnect the crankshaft position (CKP) sensor connector.
- Disconnect the knock sensor connector.
- Remove the transaxle torque converter bolts, if automatic transaxle equipped.
- Remove the transaxle bell housing bolts and the oil pan flange bolts.
- Support the transaxle with a floor jack.
- Install the engine lifting device.
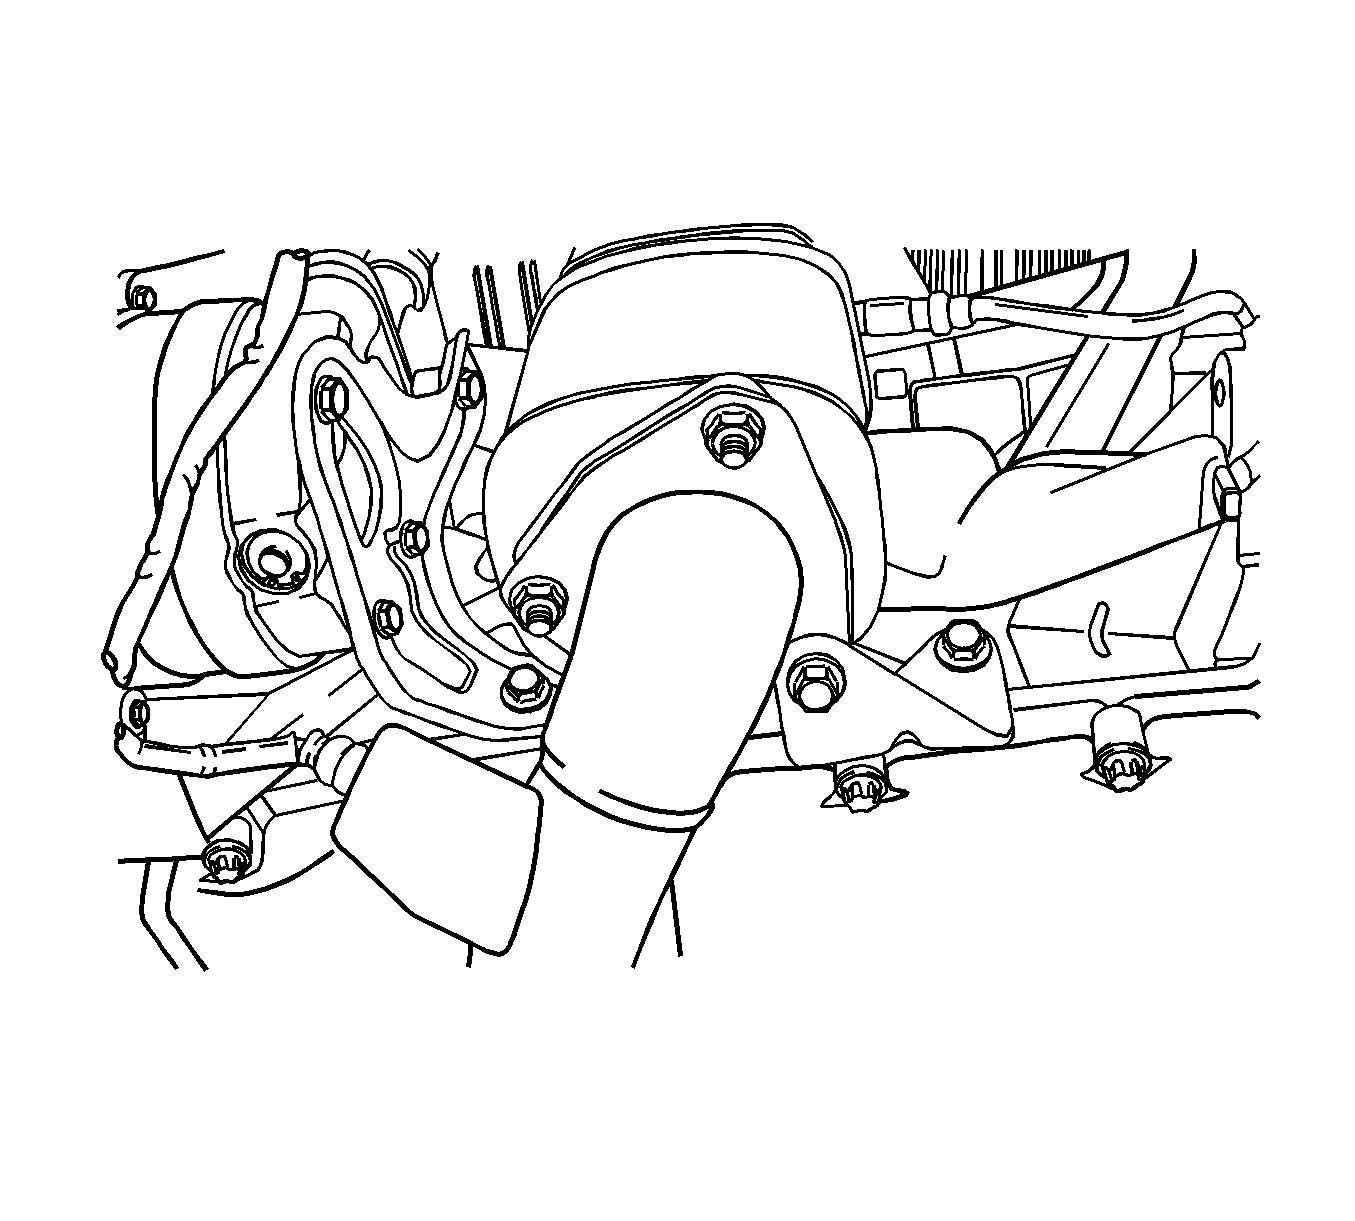
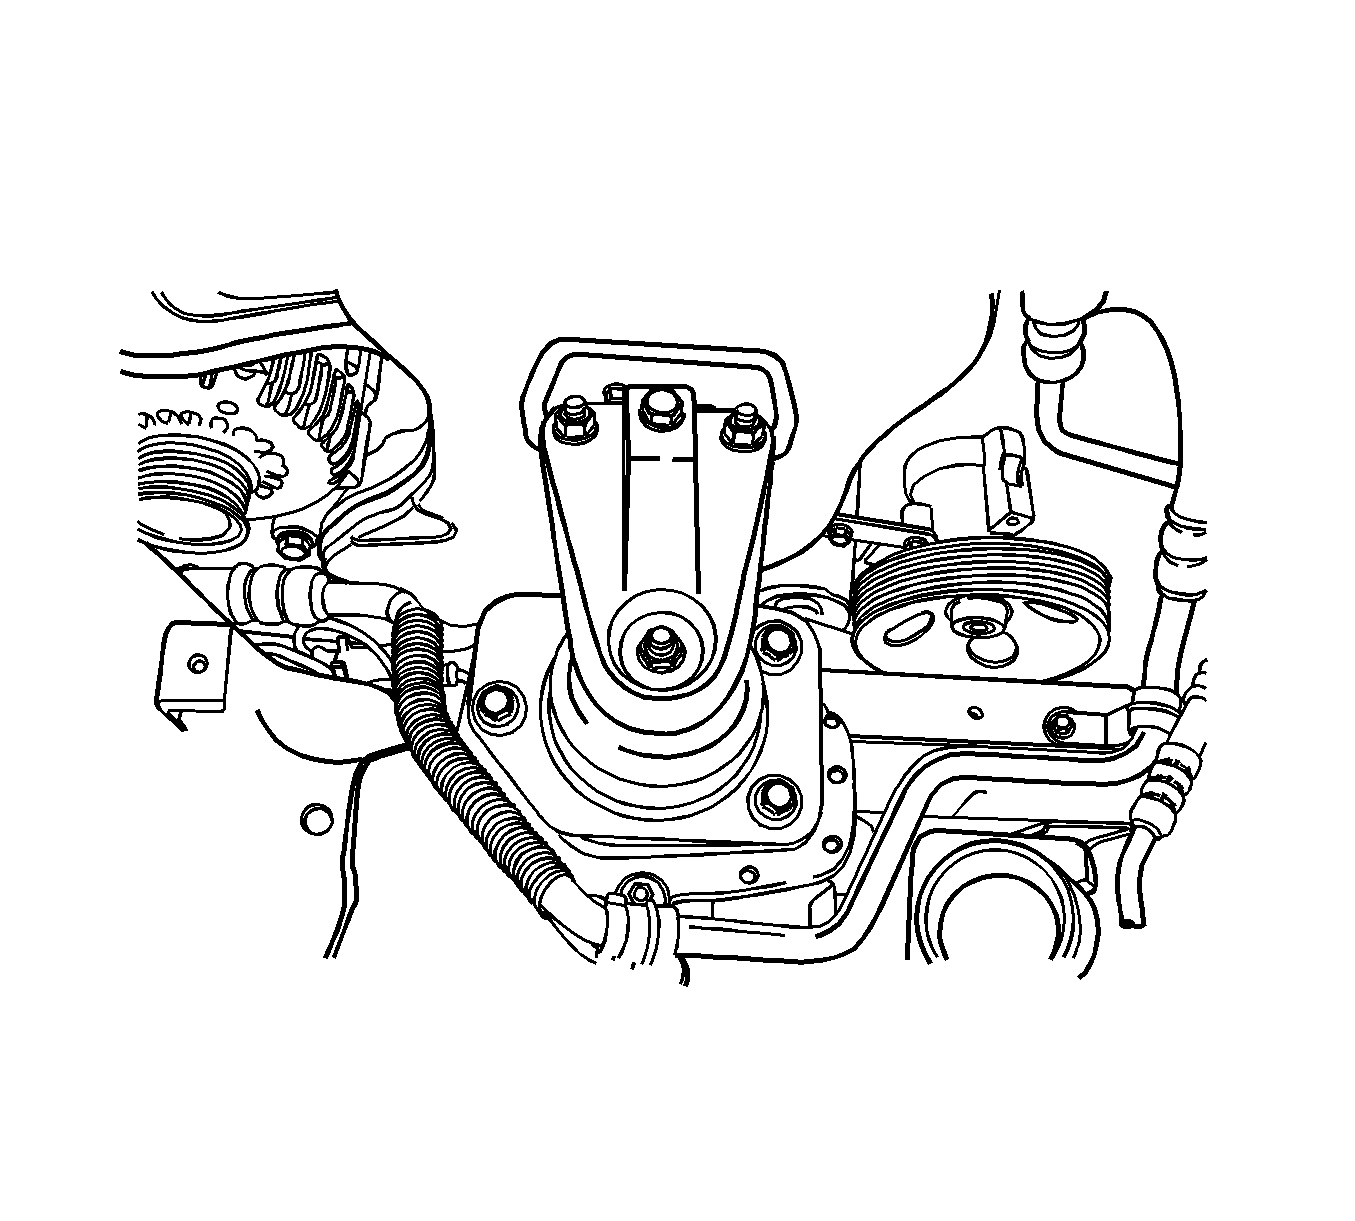
- Disconnect the right engine mount bracket from the engine mount by removing the retaining bolt.
- Remove the right engine mount bracket from the engine block and frame mount. Refer to Engine Mount Replacement .
- Separate the engine block from the transaxle. Remove the engine.
Caution: Refer to Battery Disconnect Caution in the Preface section.
Notice: Handle the oxygen sensors carefully in order to prevent damage to the component. Keep the electrical connector and the exhaust inlet end free of contaminants. Do not use cleaning solvents on the sensor. Do not drop or mishandle the sensor.


Installation Procedure
- Install the engine into the engine compartment.
- Align the engine alignment pins to the transaxle.
- Install the transaxle bell housing bolts.
- Install the oil pan flange-to-transaxle bolts.
- Install the right engine mount to the engine block mount and the frame mount.
- Install the right engine mount bracket retaining bolts and nuts.
- Remove the floor jack used for support of the transmission.
- Remove the engine lifting device.
- Install the transaxle torque converter bolts, if automatic transaxle equipped.
- Connect the vacuum lines at the charcoal canister purge solenoid.
- Connect the electrical connector to the charcoal canister purge and the EGR solenoid.
- Connect the oil pressure switch connector.
- Install the crankshaft pulley.
- Install the crankshaft pulley bolts.
- Connect the CKP sensor connector.
- Install the exhaust flex pipe.
- Install the exhaust flex pipe retaining nuts to the exhaust manifold studs.
- Install the exhaust flex pipe retaining nuts to the catalytic converter or the connecting pipe.
- Connect the power steering pressure hose.
- Connect the power steering return hose.
- Install the A/C compressor, if equipped. Refer to Air Conditioning Compressor Replacement .
- Install the serpentine accessory drive belt. Refer to Power Steering Pump Belt Replacement .
- Install the right front wheel well splash shield.
- Install the right front wheel. Refer to Tire and Wheel Removal and Installation .
- Connect the fuel feed line to the fuel rail.
- Connect the fuel return line to the fuel rail.
- Install the fuel rail and injectors as an assembly. Refer to Fuel Injection Fuel Rail Assembly Replacement .
- Connect all of the necessary vacuum lines including the brake booster vacuum hose.
- Connect the O2S connector, if equipped.
- Connect the starter solenoid "S" terminal wire and power lead.
- Connect the generator voltage regulator connector.
- Connect the CTS connector.
- Connect the ECT sensor connector.
- Connect the TP sensor connector.
- Connect the IAC valve connector.
- Connect the MAP sensor connector.
- Connect the knock sensor, if necessary.
- Connect the electrical connector at the DIS ignition coil and the ECM ground terminal and at the starter motor.
- Install the air cleaner outlet hose between the throttle body and the air cleaner housing.
- Connect the breather tubes to the camshaft cover.
- Connect the IAT sensor connector.
- Install the cooling system radiator and the engine cooling fans. Refer to Radiator Replacement .
- Connect the lower radiator hose to the coolant pipe.
- Connect the upper radiator hose to the thermostat housing.
- Connect the heater inlet hose to the cylinder head.
- Connect the heater outlet hose to the coolant pipe.
- Connect the coolant surge tank hose to the coolant pipe.
- Connect the coolant hose to the throttle body.
- Connect the throttle cable to the throttle body and the intake manifold bracket.
- Install the fuel pump fuse.
- Connect the negative battery cable.
- Refill the engine crankcase with engine oil.
- Refill the engine coolant system. Refer to Cooling System Draining and Filling .
- Bleed the power steering system. Refer to Power Steering System Bleeding .
- Refill the A/C refrigerant system, if equipped. Refer to Refrigerant Recovery and Recharging .
- Install the hood. Refer to Hood Replacement .

Notice: Refer to Fastener Notice in the Preface section.
Tighten
Tighten the transaxle bell housing bolts to 75 N·m (55 lb ft).
Tighten
Tighten the oil pan flange-to-transaxle bolts to 40 N·m (30 lb ft).
Tighten
Tighten the engine mount bracket retaining bolts and nuts to 55 N·m (41 lb ft).
Tighten
Tighten the transaxle torque converter bolts to 60 N·m (44 lb ft).
Tighten
Tighten the crankshaft pulley bolts to 20 N·m (15 lb ft) using a torque wrench.
Tighten
Tighten the exhaust flex pipe-to-exhaust manifold retaining nuts to 35 N·m (26 lb ft).
Tighten
Tighten the exhaust flex pipe-to-catalytic converter or connecting pipe retaining nuts to 35 N·m (26 lb ft).