Dome Lamp Replacement Impala and Monte Carlo
Removal Procedure
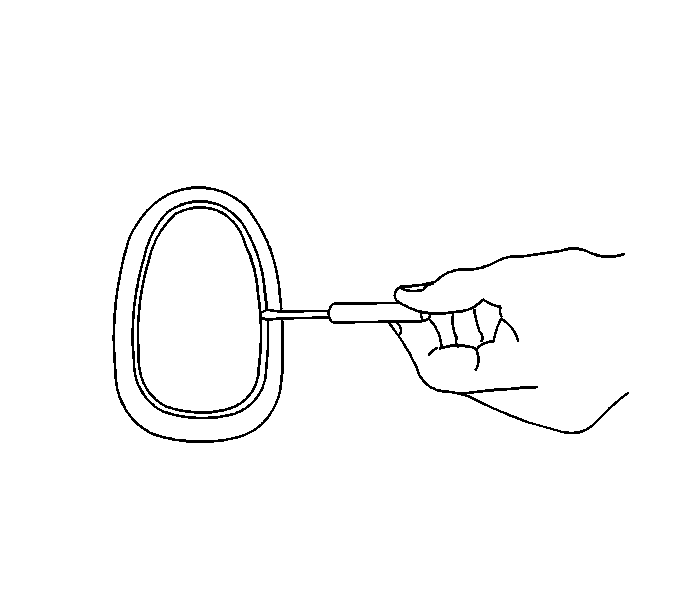
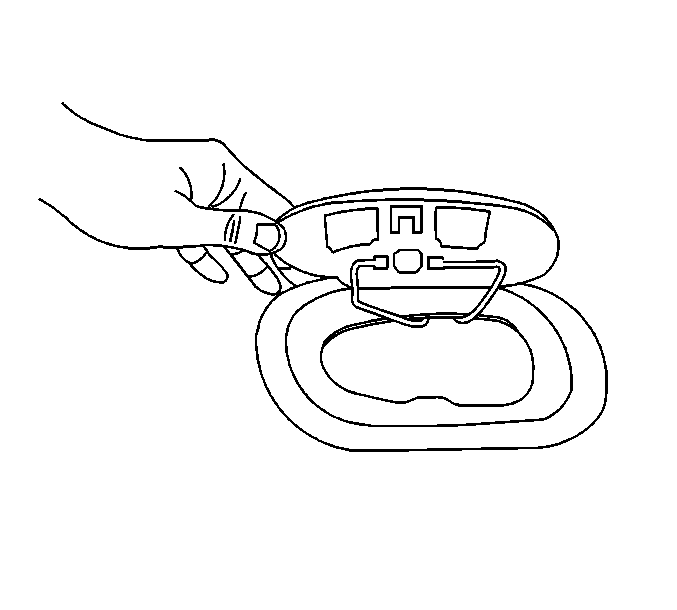
- Remove the dome lamp lens from the dome lamp bezel using a small flat bladed tool as a lever on the right side of the dome lamp lens.
- Remove the dome lamp lens from the dome lamp bezel.
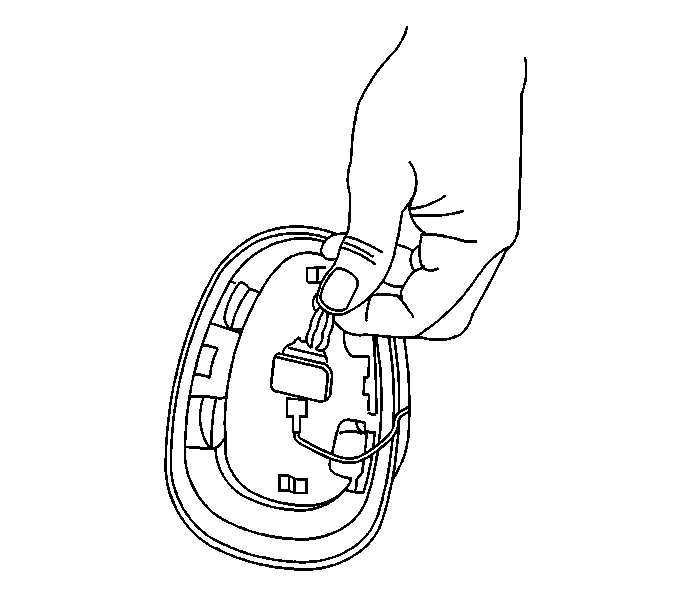
- Remove the dome lamp bulb.
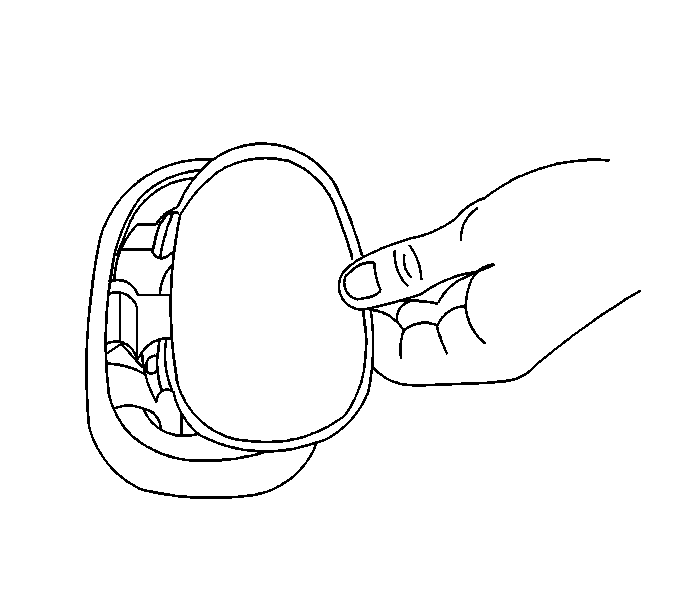
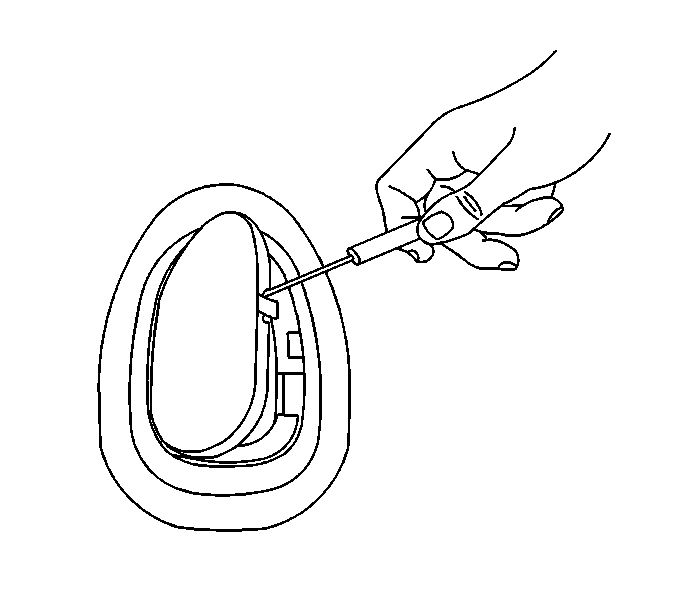
- Remove the dome lamp bezel from the headliner using a small flat bladed tool to depress the tab retainers.
- Remove the dome lamp from the headliner.
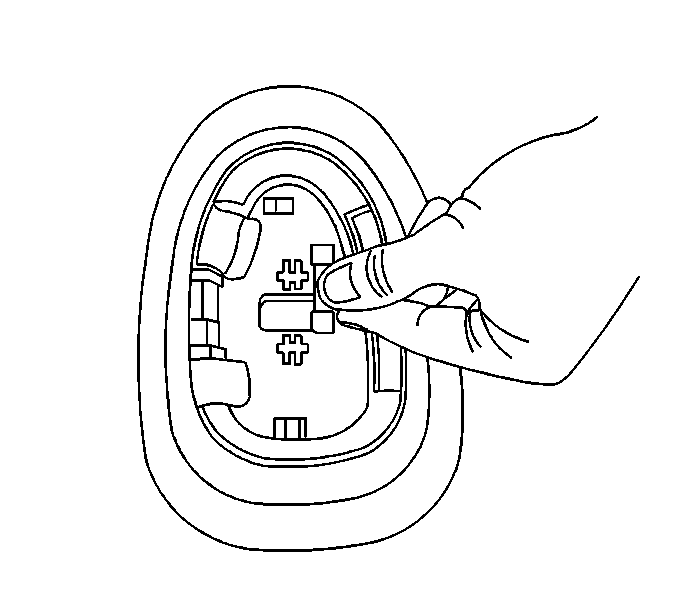
- Remove the dome lamp socket from the dome lamp bezel by squeezing each terminal and pressing out.
- Remove the dome lamp socket from the dome lamp bezel.
- Remove the dome lamp electrical wiring from back side of the dome lamp bezel.
- Remove the dome lamp from the vehicle.

Installation Procedure
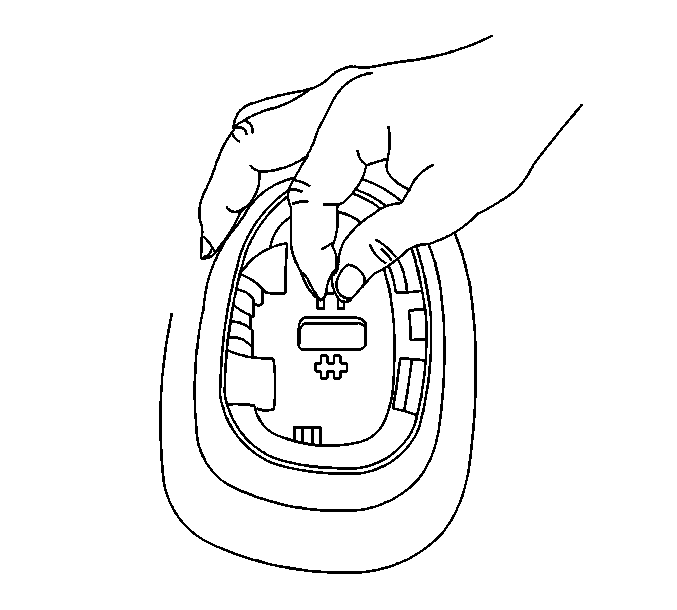
- Install the dome lamp socket to the dome lamp bezel by squeezing each terminal and pressing into place until fully seated.
- Install the dome lamp electrical wiring to back side of the dome lamp bezel.
- Install the dome lamp bezel to the headliner pressing into place until the tab retainers are fully seated.
- Install the dome lamp bulb.
- Install the dome lamp lens to the dome lamp bezel.
- Inserting the left side of the dome lamp lens with the two retainer tabs first them pressing in the right side until fully seated.
Important: The dome lamp bezel will not have a tight fit to the headliner until the dome lamp lens is installed.
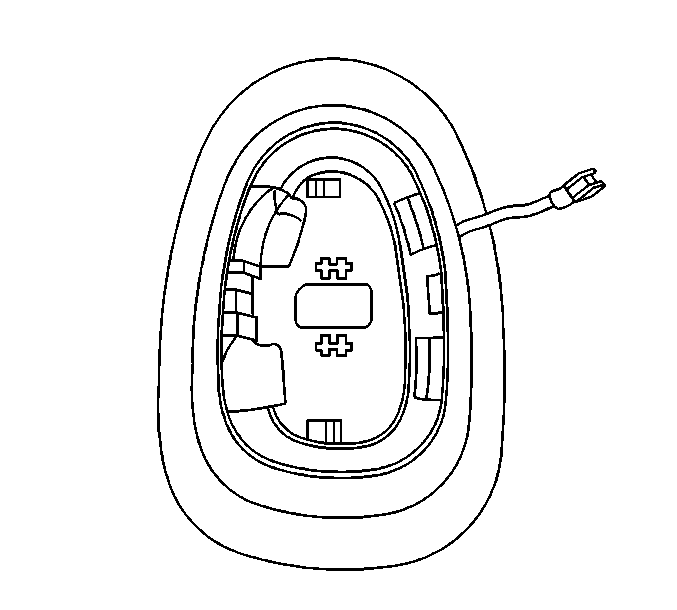
Dome Lamp Replacement Impala with SEO, RPO 6C7
Removal Procedure
- Remove the (TRK/ROOF BRP) fuse before starting dome lamp removal procedures. Refer to Power and Grounding Component Views in Wiring Systems.
- Remove the dome lamp lens from the dome lamp bezel using a small flat bladed tool.
- Remove the dome lamp bulb.
- Remove the screws from the dome lamp bezel.
- Remove the dome lamp bezel from the headliner.
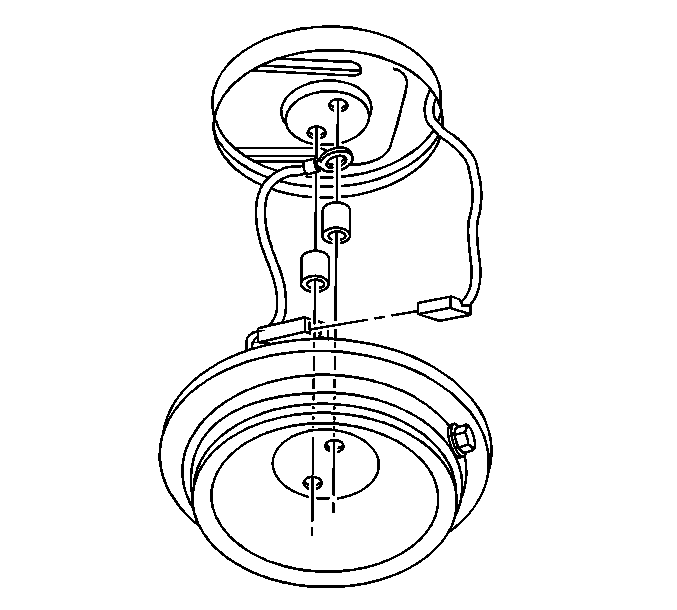
- Disconnect the electrical connector if required.
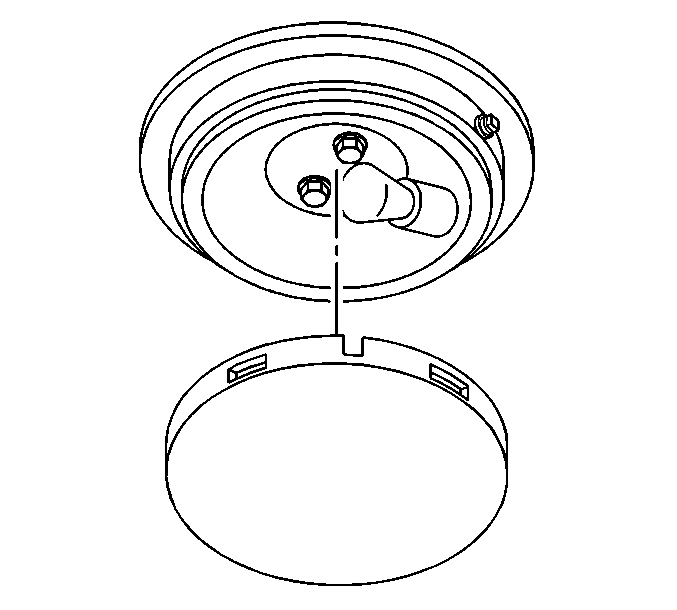
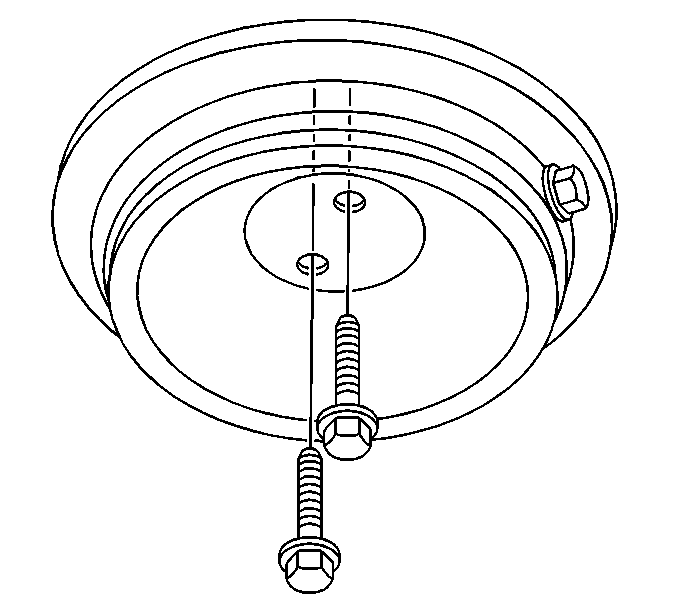
Important: Hold the dome lamp bezel in position when removing the screws from the dome lamp bezel. Remove the dome lamp bezel slowly to avoid loosing the dome lamp spacers.
Installation Procedure
- Connect the electrical connector if required.
- Position the done lamp spacers and wiring harness ground terminal to the dome lamp bezel and screws.
- Install the dome lamp bezel as an assembly to the dome lamp bracket with the dome lamp switch to the rear.
- Install the dome lamp bulb.
- Install the dome lamp lens.
- Install the (TRK/ROOF BRP) fuse. Refer to Power and Grounding Component Views in Wiring Systems .
Notice: Use the correct fastener in the correct location. Replacement fasteners must be the correct part number for that application. Fasteners requiring replacement or fasteners requiring the use of thread locking compound or sealant are identified in the service procedure. Do not use paints, lubricants, or corrosion inhibitors on fasteners or fastener joint surfaces unless specified. These coatings affect fastener torque and joint clamping force and may damage the fastener. Use the correct tightening sequence and specifications when installing fasteners in order to avoid damage to parts and systems.
Tighten
Tighten the dome lamp screws to 1.5 N·m (17 lb ft).
