For 1990-2009 cars only
Evaporative Emission Canister Replacement Maxx
Removal Procedure
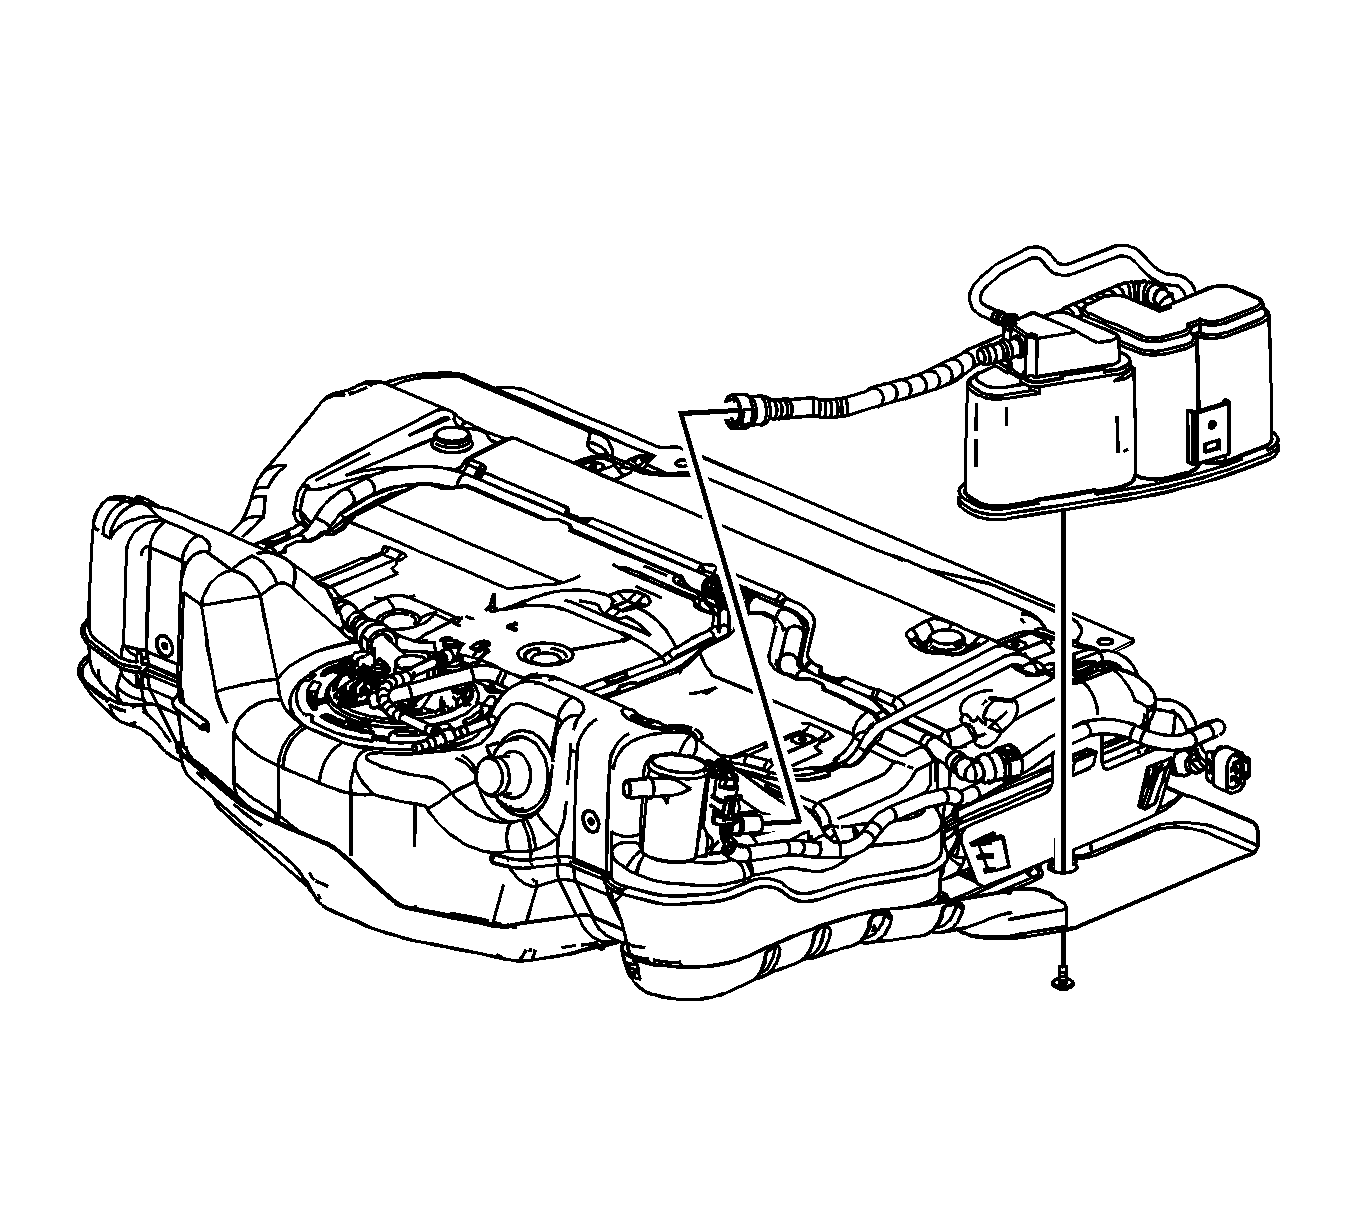
- Remove the fuel tank. Refer to Fuel Tank Replacement .
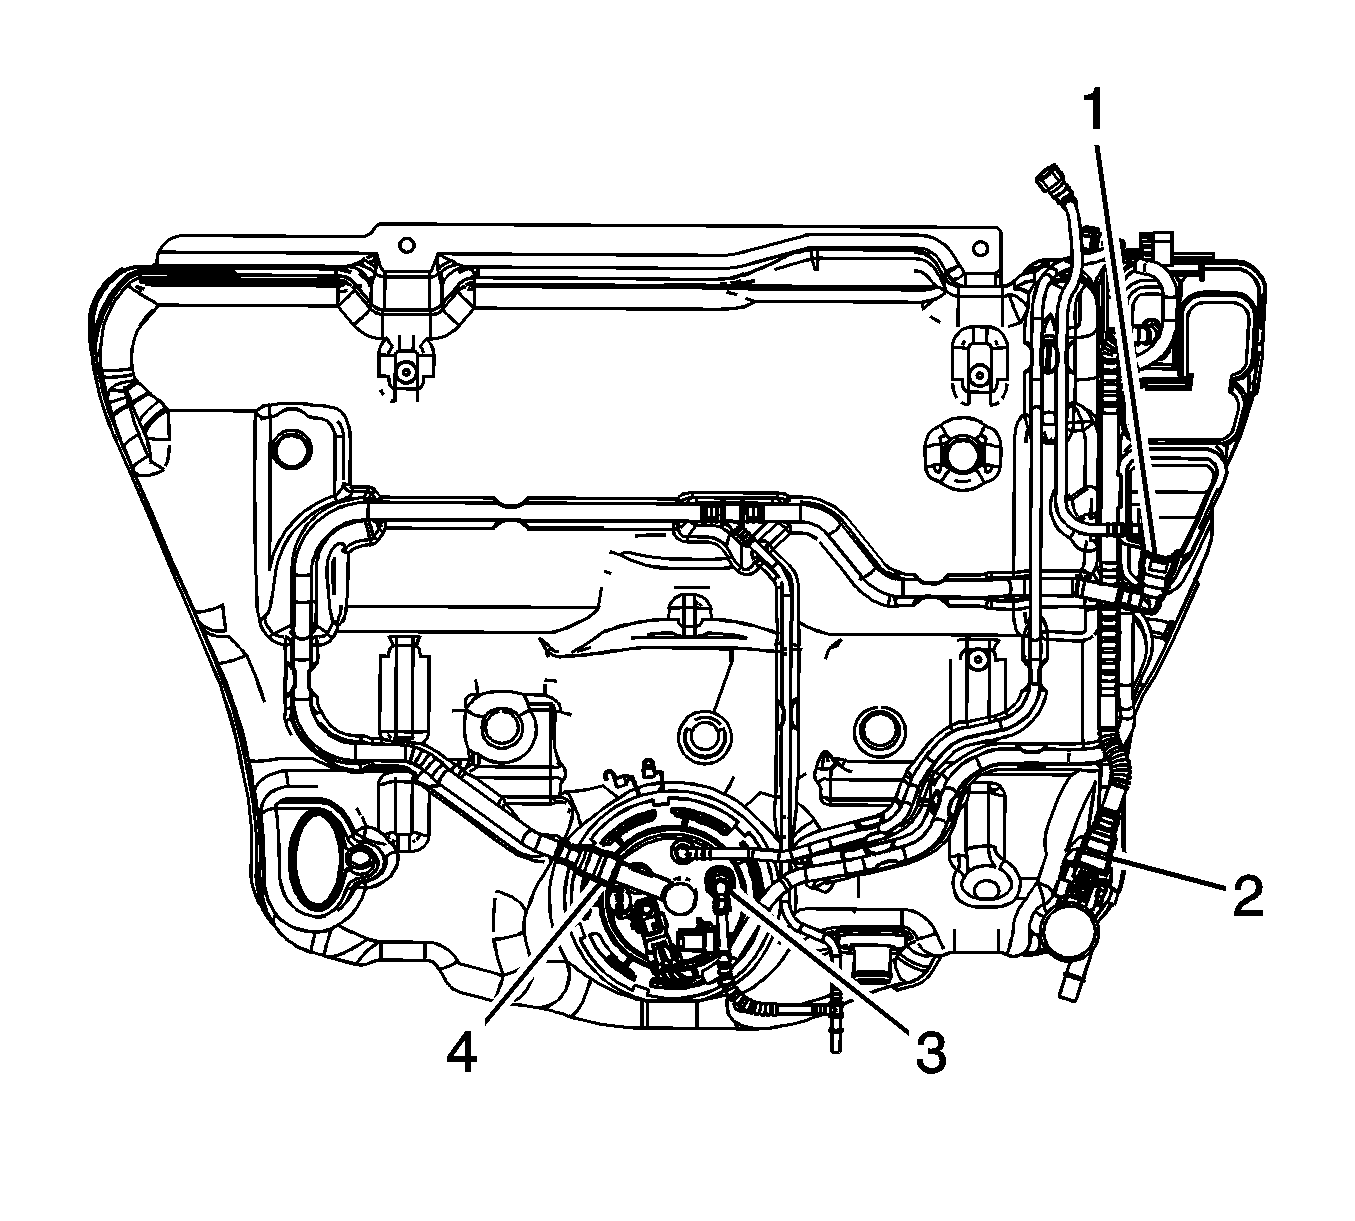
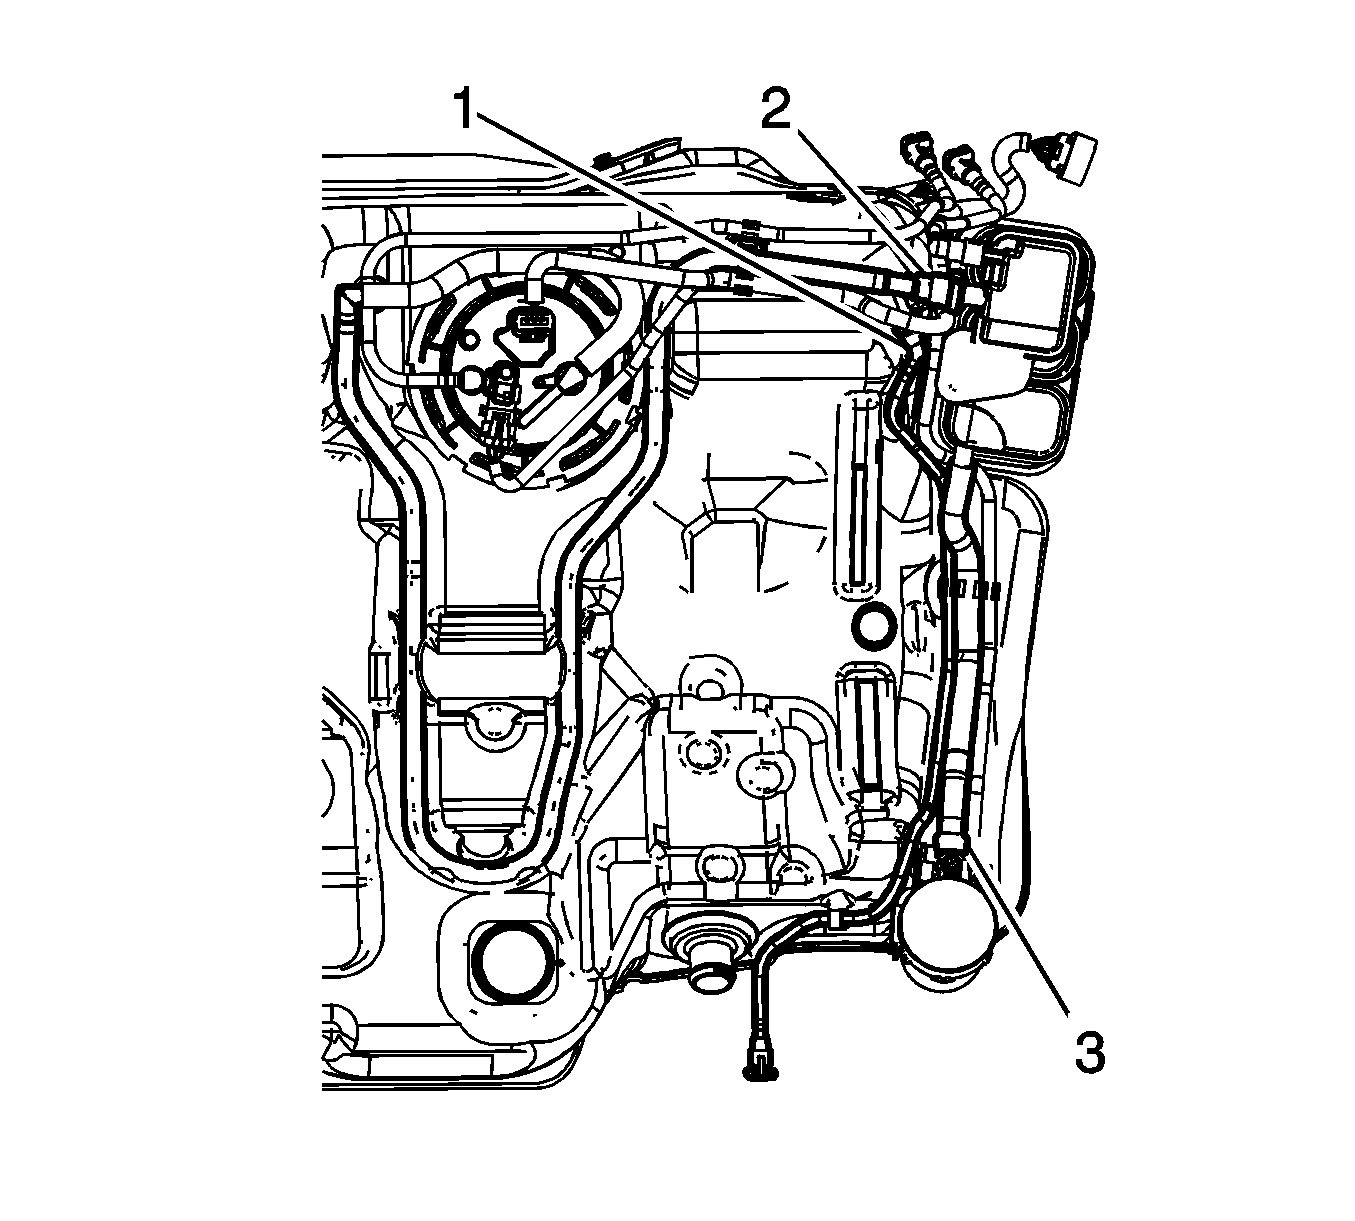
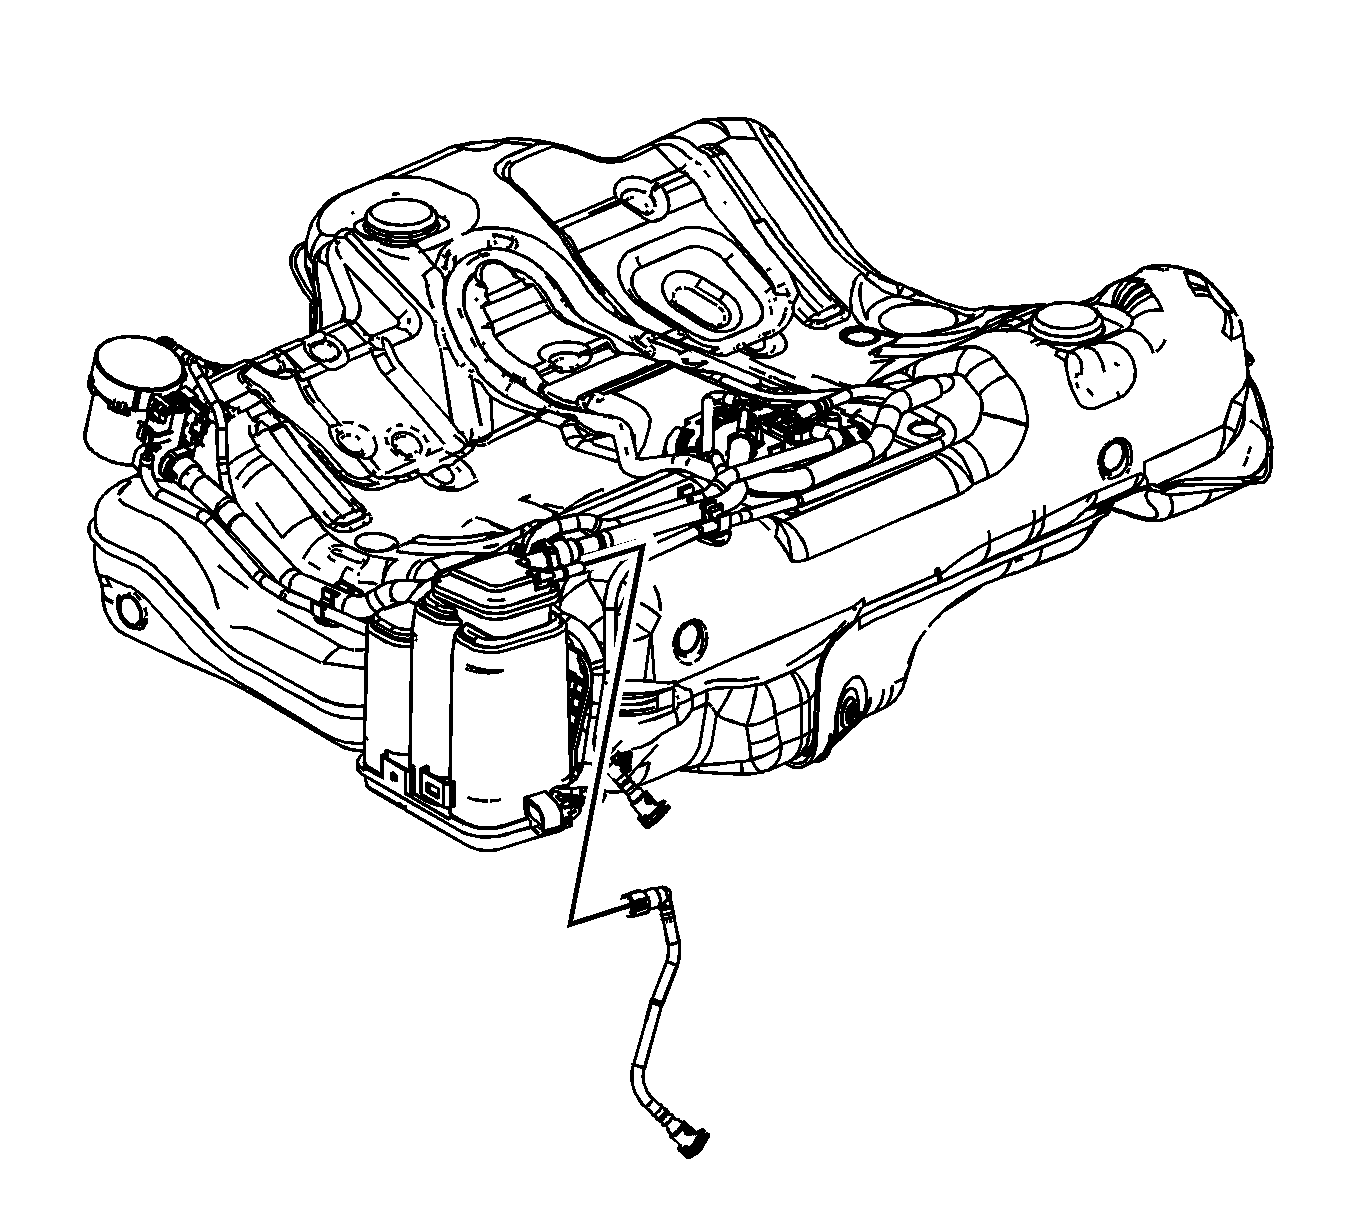
- Disconnect the fuel tank vent pipe quick connect fitting (1) from the EVAP canister. Refer to Plastic Collar Quick Connect Fitting Service .
- Disconnect the evaporative emission (EVAP) canister pipe quick connect fitting (2) from the EVAP canister vent solenoid valve. Refer to Plastic Collar Quick Connect Fitting Service .
- Remove the EVAP canister purge pipe from the retaining feature (3) built into the fuel tank.
- Reposition the fuel tank fuel pump wiring harness from around the EVAP canister.
- Remove the EVAP canister bolt.
- Slide up and remove the EVAP canister.
Installation Procedure
- Position and install the EVAP canister.
- Install the EVAP canister bolt.
- Position the fuel tank fuel pump wiring harness around the EVAP canister.
- Install the EVAP canister purge pipe to the retaining feature (3) built into the fuel tank.
- Connect the EVAP canister pipe quick connect fitting (2) to the EVAP canister vent solenoid valve. Refer to Plastic Collar Quick Connect Fitting Service .
- Connect the EVAP canister vent pipe quick connect fitting (1) to the EVAP canister. Refer to Plastic Collar Quick Connect Fitting Service .
- Install the fuel tank. Refer to Fuel Tank Replacement .
Notice: Refer to Fastener Notice in the Preface section.
Tighten
Tighten the bolt 3.5 N·m (31 lb in).
Evaporative Emission Canister Replacement Sedan
Removal Procedure
- Remove the fuel tank. Refer to Fuel Tank Replacement .
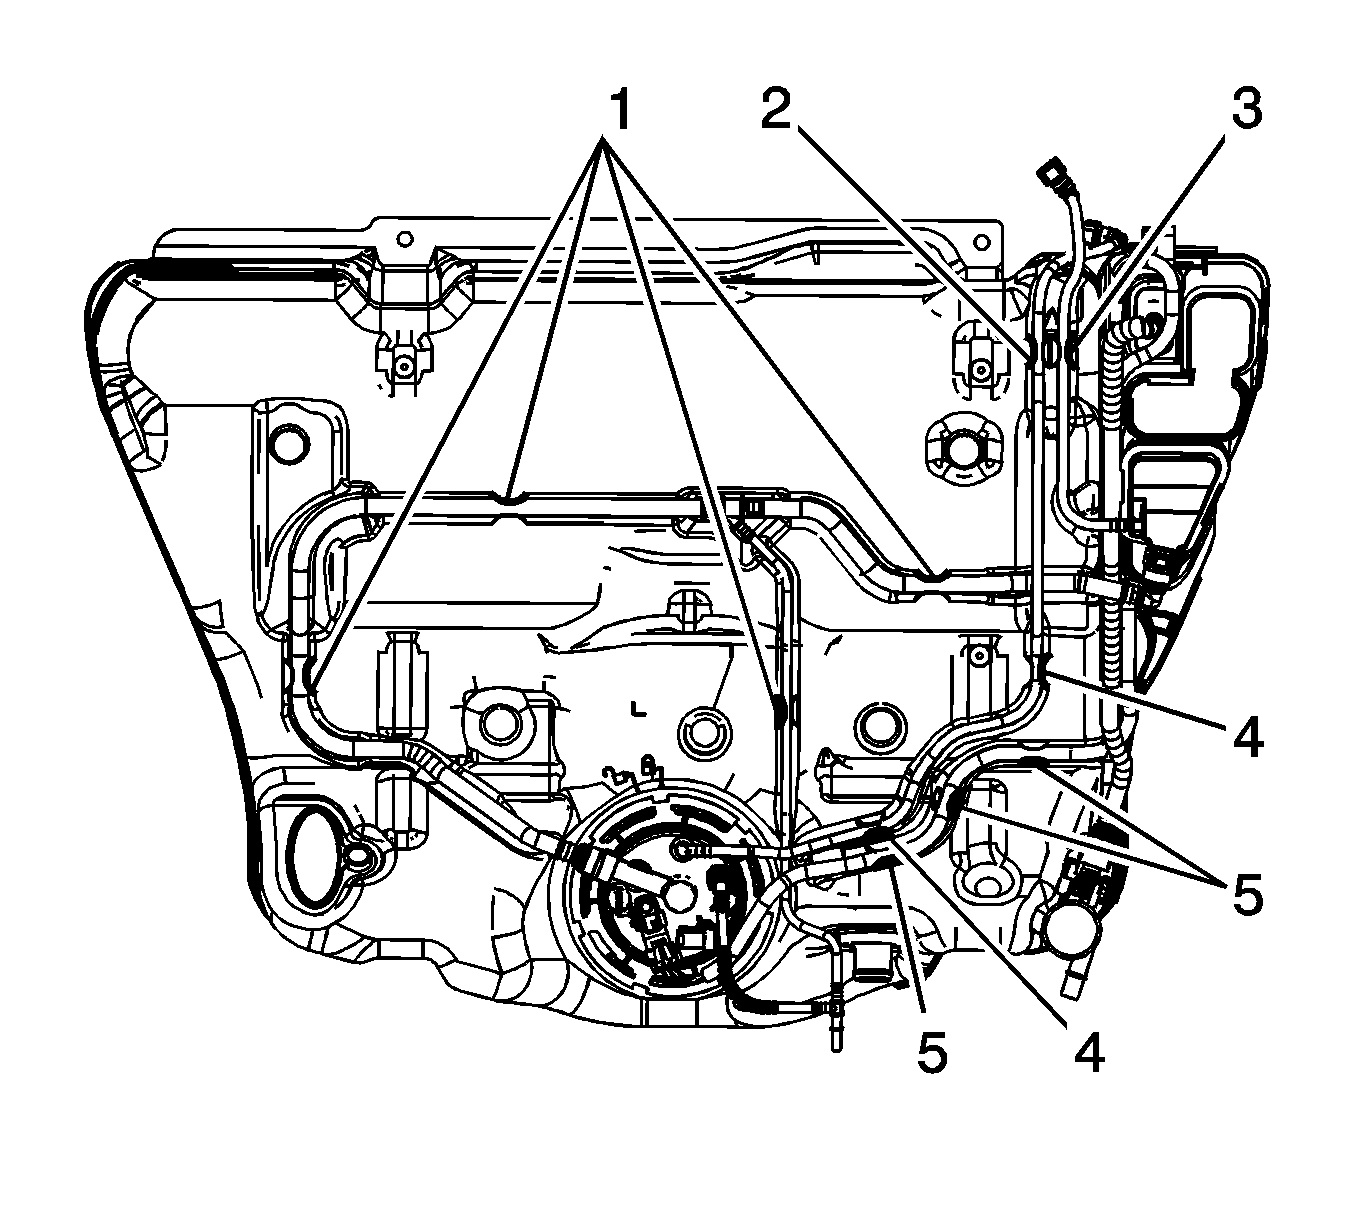
- Disconnect the evaporative emission (EVAP) canister vent pipe quick connect fitting (2) from the EVAP canister. Refer to Plastic Collar Quick Connect Fitting Service .
- Disconnect the EVAP canister pipe quick connect fitting (3) from the EVAP canister vent solenoid valve. Refer to Plastic Collar Quick Connect Fitting Service .
- Disconnect the EVAP canister purge pipe quick connect fitting from the EVAP canister. Refer to Plastic Collar Quick Connect Fitting Service .
- Remove the EVAP canister purge pipe.
- Remove the EVAP canister bolt.
- Slide up and remove the EVAP canister.

Installation Procedure
- Position and install the EVAP canister.
- Install the EVAP canister bolt.
- Install the EVAP canister purge pipe.
- Connect the EVAP canister purge pipe quick connect fitting to the EVAP canister. Refer to Plastic Collar Quick Connect Fitting Service .
- Connect the EVAP canister pipe quick connect fitting (3) to the EVAP canister vent solenoid valve. Refer to Plastic Collar Quick Connect Fitting Service .
- Connect the EVAP canister vent pipe quick connect fitting (2) to the EVAP canister. Refer to Plastic Collar Quick Connect Fitting Service .
- Install the fuel tank. Refer to Fuel Tank Replacement .
Tighten
Tighten the bolt 3.5 N·m (31 lb in).
