For 1990-2009 cars only
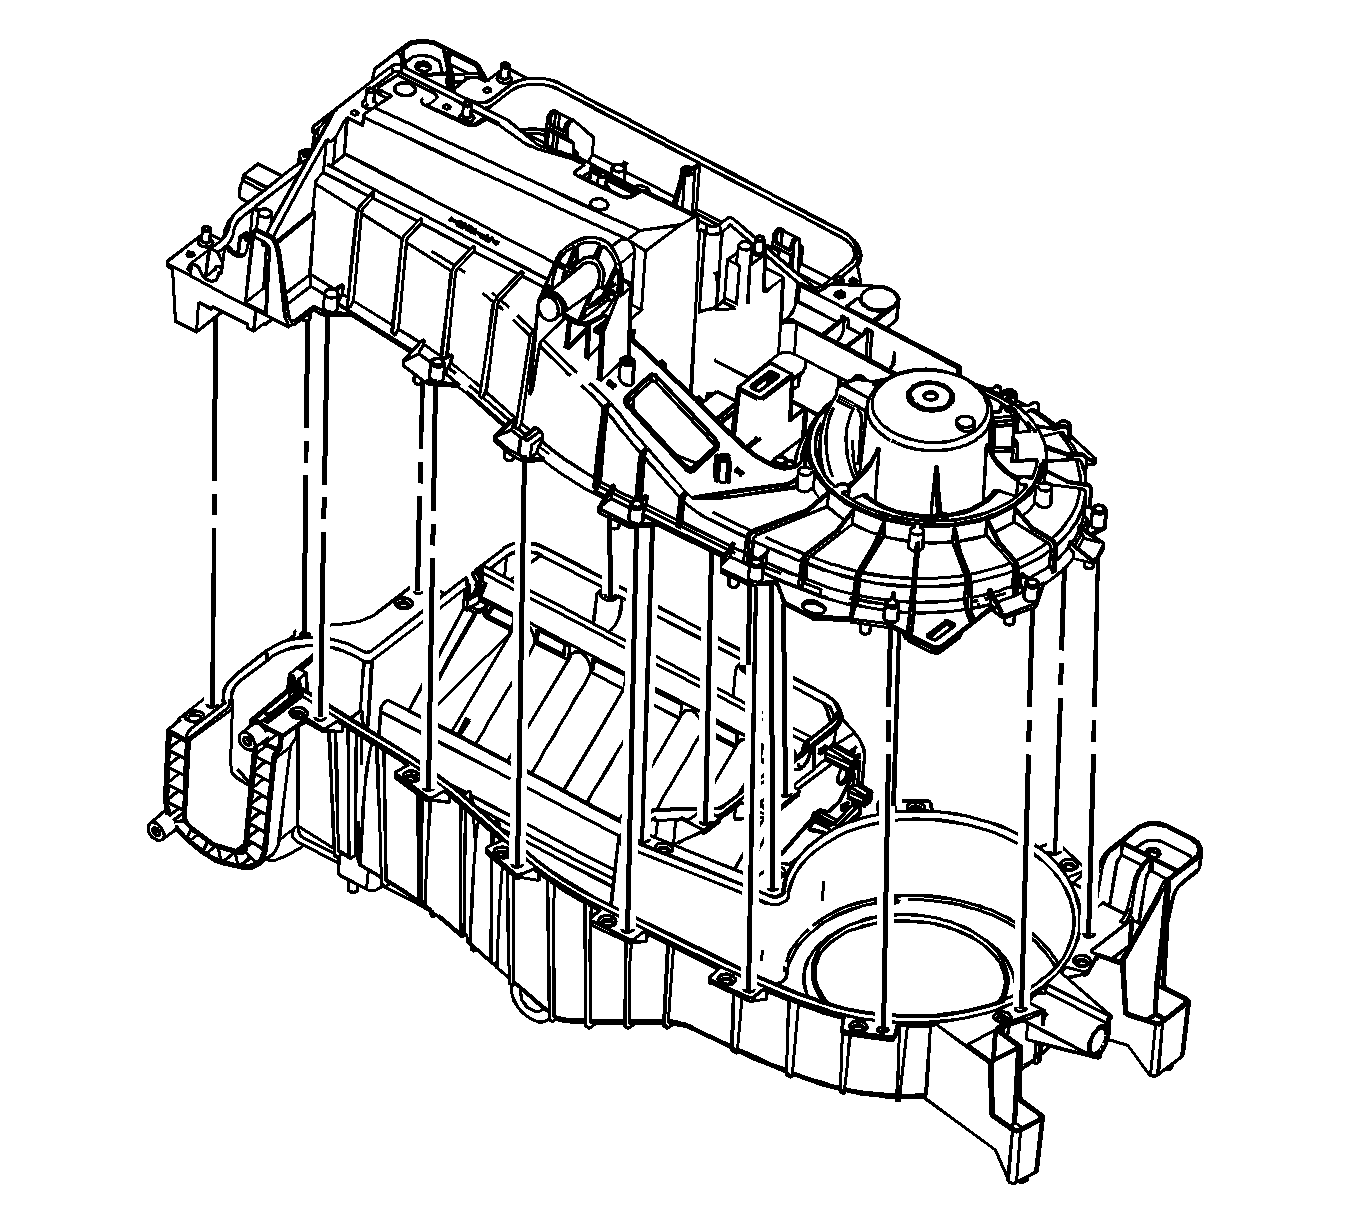
Removal Procedure
- Remove the HVAC module assembly. Refer to HVAC Module Assembly Replacement .
- Remove the center floor air outlet duct screws.
- Remove the center floor air outlet duct.
- Drill out the lower HVAC module case heat stakes.
- Remove the lower HVAC module case screws.
- Remove the lower HVAC module case.
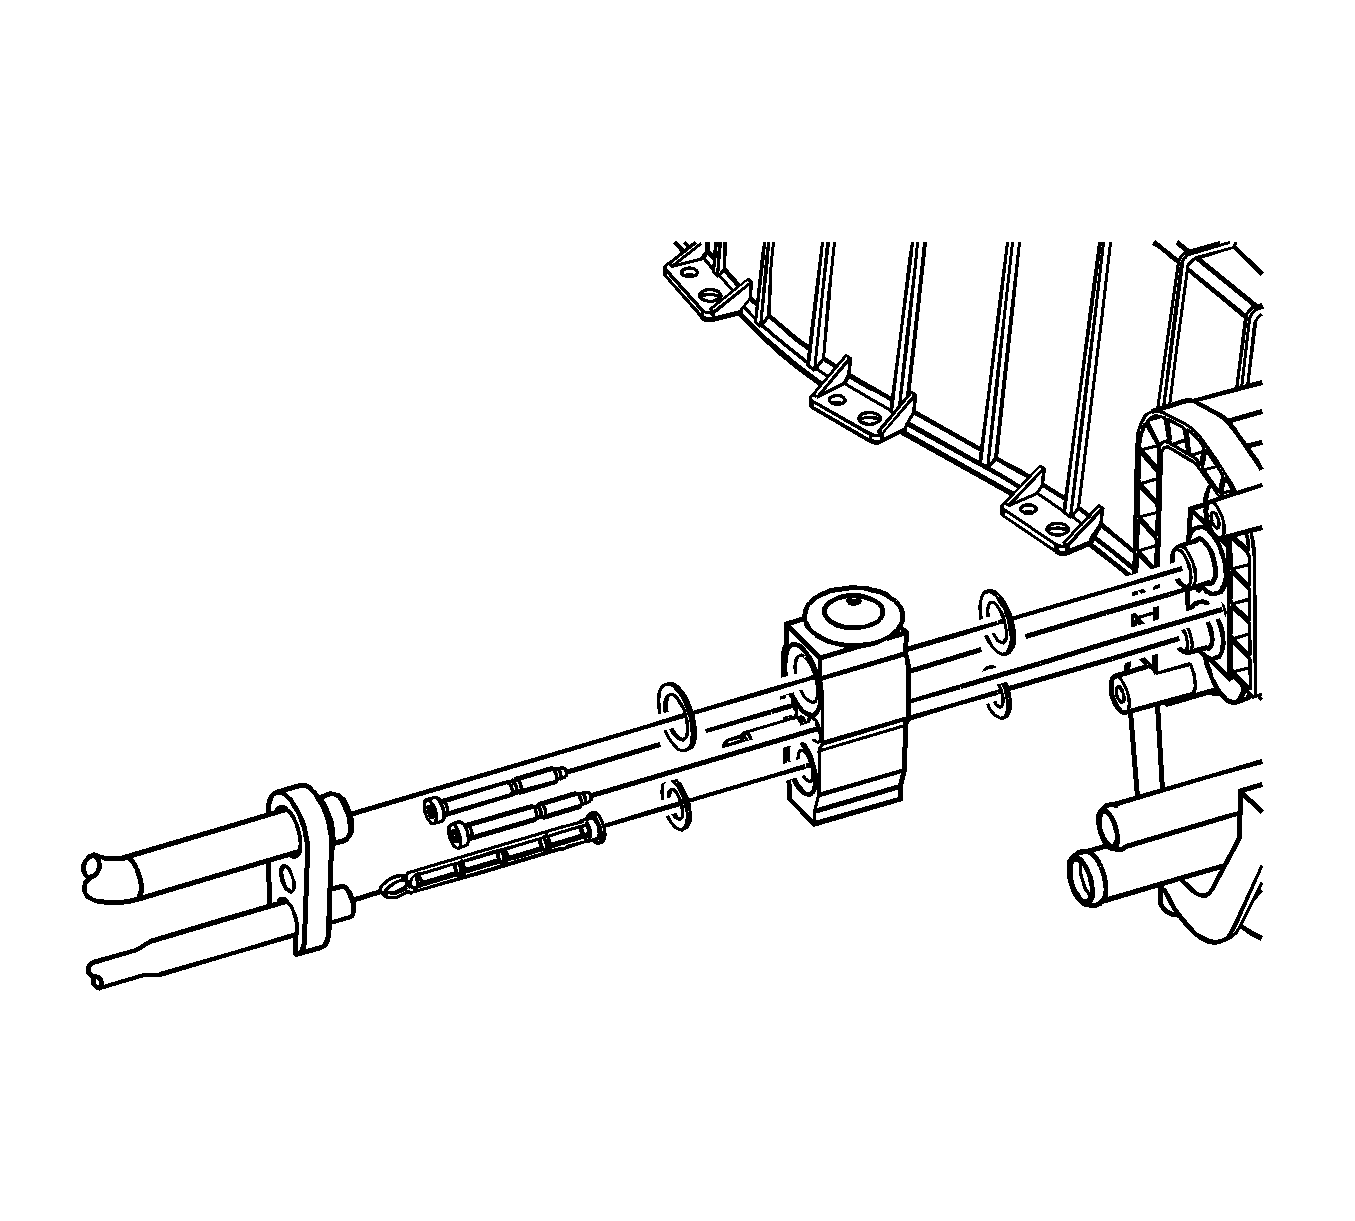
- Remove the thermal expansion valve screws.
- Remove the thermal expansion valve.
- Remove and discard the sealing washers.
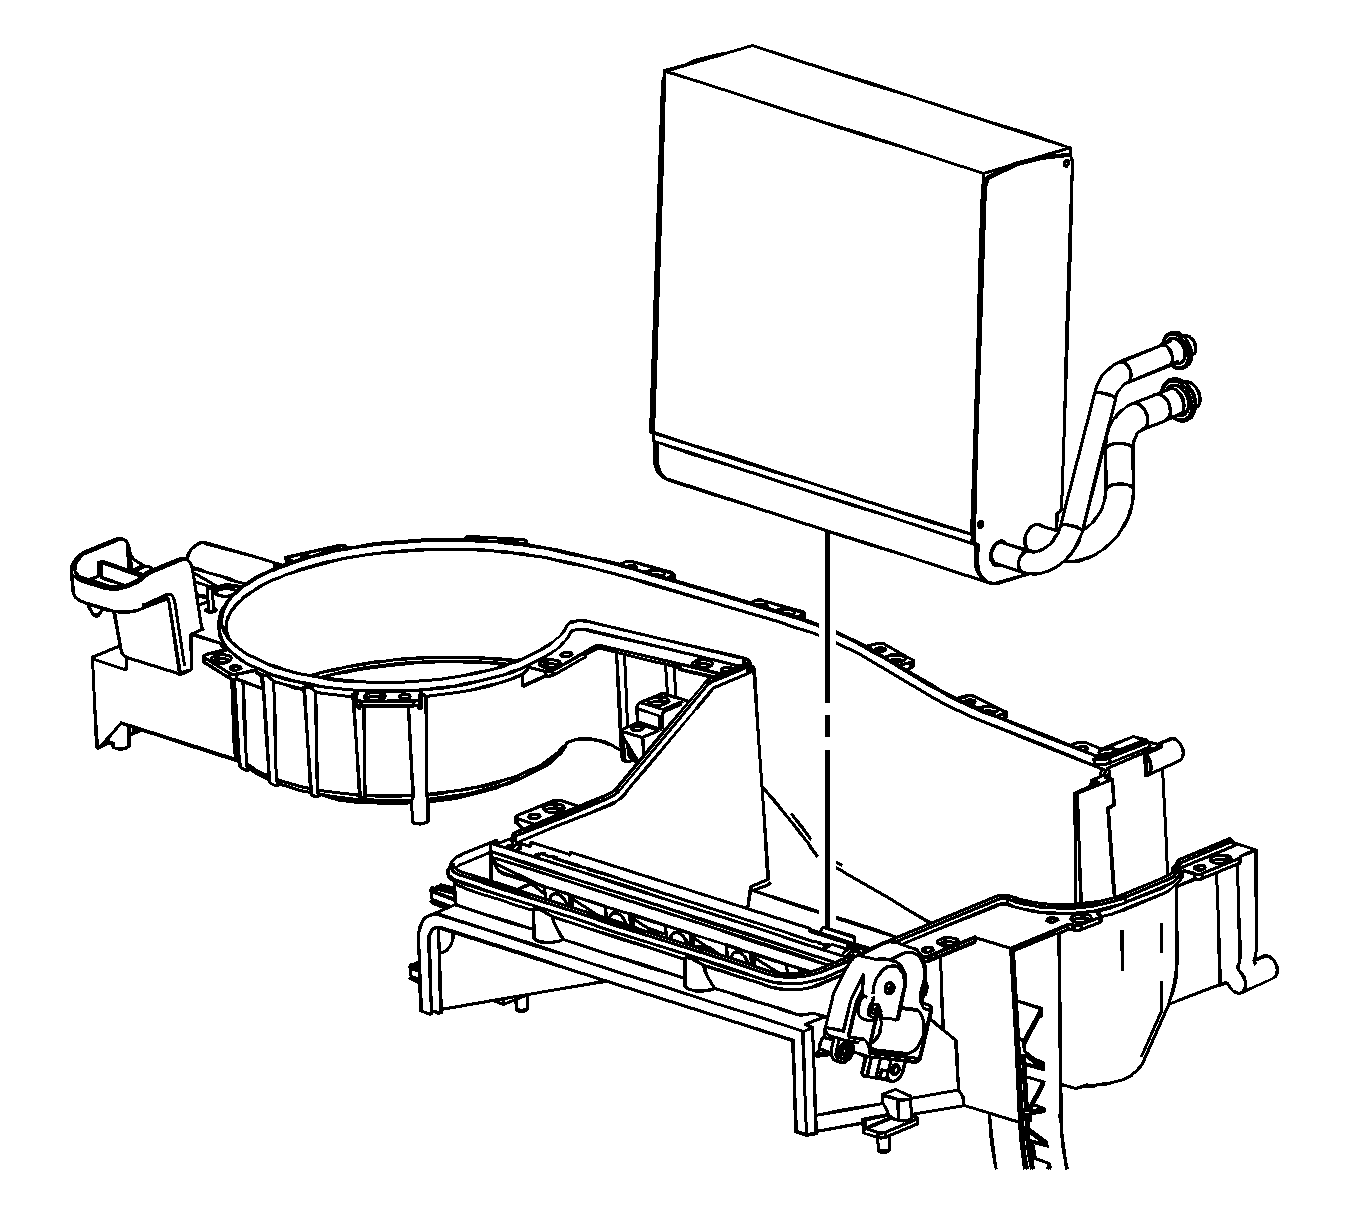
- Remove the evaporator.

Installation Procedure
- If replacing the evaporator, add the specific amount of PAG® oil directly to the evaporator. Refer to Refrigerant System Capacities .
- Install the evaporator.
- Install new sealing washers. Refer to Sealing Washer Replacement .
- Install the thermal expansion valve.
- Install the thermal expansion valve screws.
- Install the lower HVAC module case.
- Install the lower HVAC module case screws.
- Install the center floor air outlet duct.
- Install the center floor air outlet duct screws.
- Install the HVAC module assembly. Refer to HVAC Module Assembly Replacement .
Notice: Refer to Fastener Notice in the Preface section.
Tighten
Tighten the screws to 7 N·m (62 lb in).
Tighten
Tighten the screws to 1.5 N·m (13 lb in).
Tighten
Tighten the screws to 1.5 N·m (13 lb in).
